.png)
Creators are turning to live streaming for its ability to boost engagement and capture attention in real time. And with YouTube’s reliable platform and excellent video quality, going live has never been easier. With just your PC, a stable internet connection, an active YouTube channel, and the right gear, you can broadcast to a global audience straight from your desk.
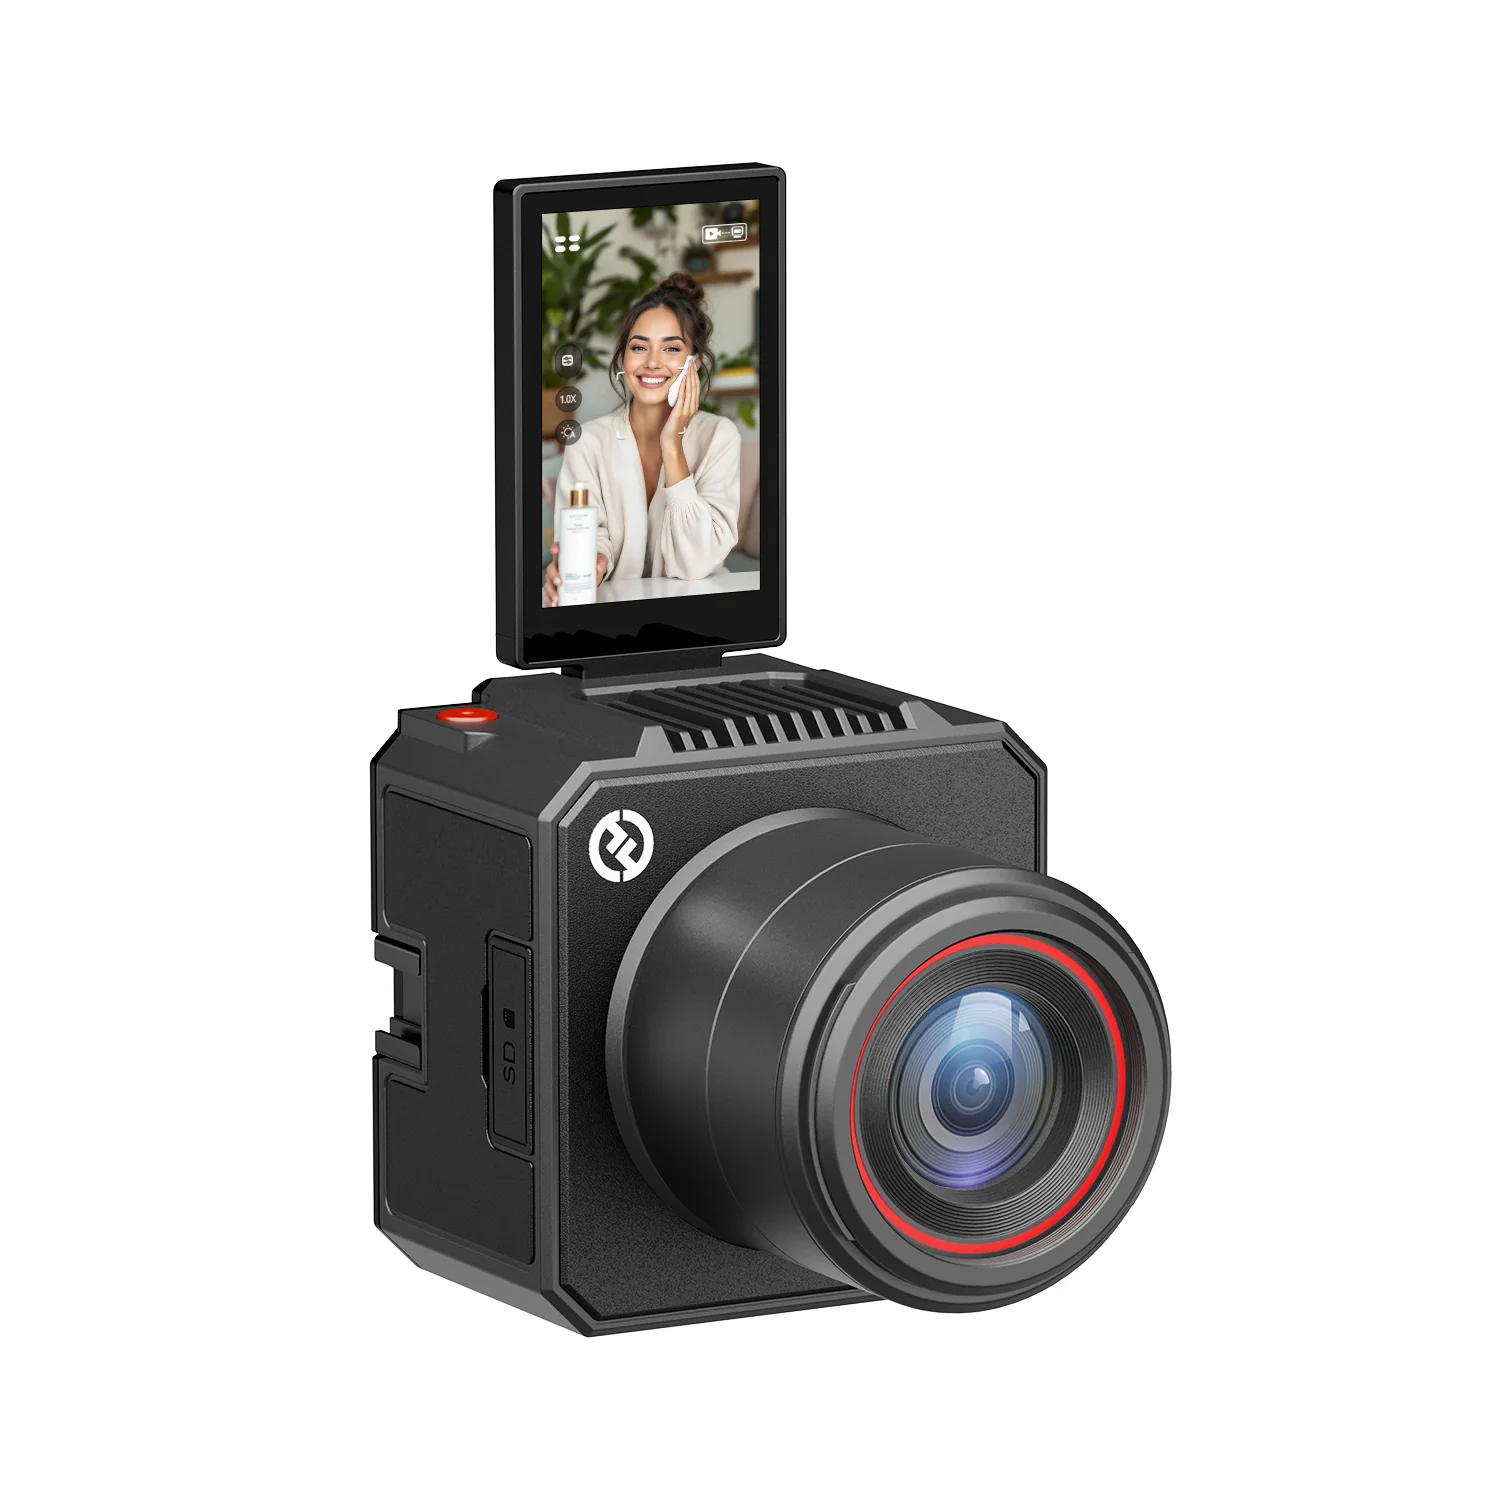
Hollyland VenusLiv Air makes the process even smoother, supporting continuous 24/7 streaming and using built-in AI tuning to help first-time streamers achieve professional results.

Let’s explore how you can start streaming on YouTube from your PC.
Step 1: Make Sure Your YouTube Channel Is Enabled for Live Streaming
You can’t live stream if your channel has active strikes or restrictions, so ensure your account is in good standing. Follow the steps below to register your account for live streaming.
- Open YouTube on your computer’s web browser and log in to the account you want to livestream on.
- Click the profile icon at the top right corner of your dashboard.
- Select “YouTube Studio” from the dropdown menu.

- Go to the left sidebar of the dashboard and click “Content.”
- Select “Live” from the available options under “Channel Content.”
- Scroll down and click on “Get Started.”

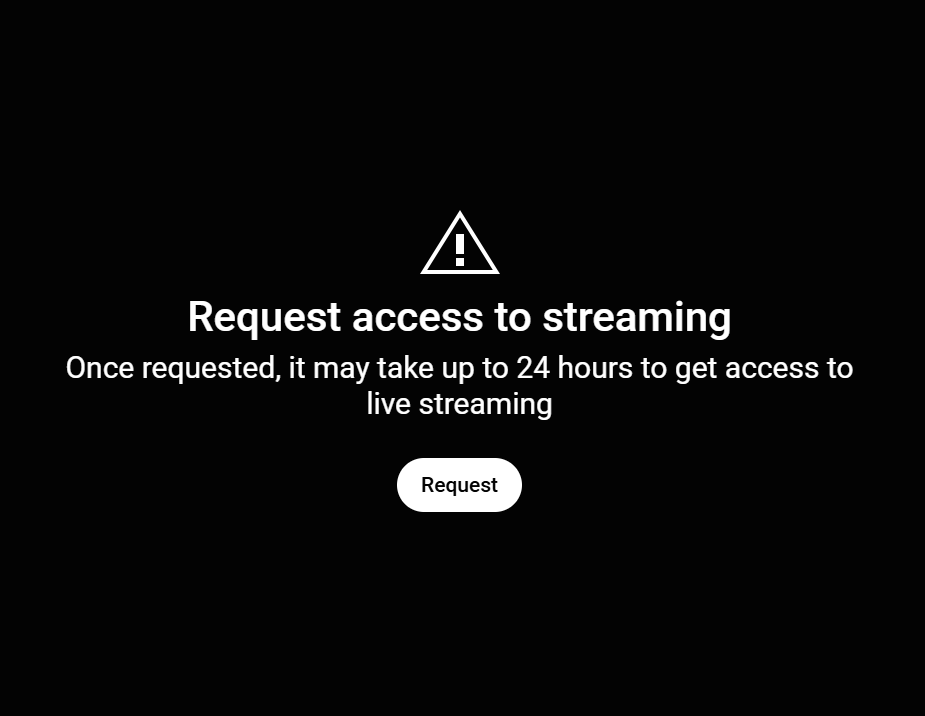
- If you’re streaming for the first time, you’ll see a prompt asking you to request access. Click the “Request” button.
- You’ll be asked to verify your phone number. Click verify.

- Complete the phone verification steps by entering your phone number, your country of residence, and your preferred method of receiving the verification code.

- Input the verification code sent to you and click submit.
- After verification, a countdown timer will appear on your Channel dashboard showing how long you’ll have to wait before you can start streaming.

Step 2: Choose How You Want to Stream on Your PC
There are two ways to stream from your computer: use your webcam or streaming software. The webcam is the simplest way to go live and is best for first-time creators and casual streamers.
How to Stream on YouTube Using Your PC Webcam
Follow these steps to stream using your computer’s built-in webcam.
- Open YouTube on your PC’s web browser and log in to your verified YouTube account.
- Click the Create (+) button at the top right corner of your dashboard.
- Select “Go Live” from the dropdown menu.

- Choose whether to go live now or schedule your stream for a later date. Even if you choose to go live immediately, you’ll still be able to review your settings beforehand.

- Choose the type of stream you want to use. For this section, you’re going to use your computer’s webcam, so click “built-in webcam.”

- A prompt box appears asking you to allow access to your microphone and camera. Select “Allow.”

- Create an appropriate title for your live stream video. This title will appear in your stream after you end and upload it to your channel.
- Select an appropriate category to help viewers find your stream.

- Upload your thumbnail.
- In the “Audience” section, carefully indicate whether the stream is for kids or adults.
- Click the “Next” button at the bottom of the page.

- Choose whether to enable monetization. Then click next at the bottom of the page.

- Under “Customization,” you can enable live chat, choose who can participate in the chat, add a message delay, and add a trailer, among other things.
- Click Next.

- Next is the visibility setting. The three options are public, unlisted, and private. New users should choose ‘private’ or ‘unlisted’ to control who can view their content. Switch to public once comfortable.
- Select the “Schedule for later” option if you would prefer to stream at a later date or time.
- Click Done at the bottom of the screen.

- You’ll see a stream preview containing all the details you filled in while creating the stream.
- Choose your preferred camera and microphone.
- Click the “Go Live” button at the bottom right corner of the page to begin your live stream.

- You can utilize the live chat option on the right side of your screen to interact with your viewers while streaming. Type in the chat box and hit send. There’s also an icon next to the chat box for engaging with the audience.

- When you’re done streaming, click the “End Stream” button at the bottom of the page and confirm by clicking “End” in the resulting prompt. You’ll then see a review of your stream, including details such as the number of views, chat rate, average view duration, total watch time, and more.


How to Stream on YouTube Using Streaming Software
If you want more control over your stream, you can connect an external streaming software instead of using your webcam. Professional creators and streamers prefer this for better control during streaming. Here’s how to stream on your PC using streaming software.
- Log in to your verified YouTube account.
- Click the Create (+) button at the top right corner of your dashboard and select “Go Live” from the dropdown menu.

- From the two options in the YouTube Live Control Room, select “Streaming Software.”

- Click “New Stream.” If you’ve streamed before, you can reuse your existing settings.
- Fill in your stream details. This includes the stream title, description, privacy setting, category, and thumbnail.
- Click “Create Stream.”
- Once your stream is created, you’ll see your Stream Setup panel containing your Stream Key and Stream URL. The stream key is a unique code that links your streaming software to your channel. Keep it private. Anyone with your stream key can stream to your channel.

- Set latency mode: choose Normal for the highest quality but with some delay, Low for a balanced setting, or Ultra-Low for minimal delay but lower quality.

- Open your preferred streaming software. We recommend using OBS Studio because it is free, powerful, and highly customizable. You can read our guide on how to stream on YouTube with OBS Studio.
- In the Stream or Broadcast settings section, select YouTube or YouTube – RTMPS as the streaming service.
- Paste your stream key.
- Save and apply the settings.

- Preview your settings on the streaming software.
- Start the live stream.

- Return to the YouTube Live Control Room.
- Click “Content” on the left panel of your dashboard.
- Select “Live” from the available options.
- You’ll see the broadcast from your streaming software under the “Live now” section. Click the broadcast icon to view the stream in the Live control room.

- Check whether your stream is live in the YouTube Control room.

- When you’re done streaming, click “End Stream.”

Conclusion
Streaming on YouTube with your PC is one of the easiest ways to share your content with the world in real time. With the right setup, internet connection, and a bit of practice, you can produce high-quality streams that engage and grow your audience.
FAQs
1. Why is my stream lagging or buffering?
A weak internet connection or high bitrate settings usually cause lag. Lower your stream resolution and use a wired Ethernet connection instead of Wi-Fi.
2. Can I save my live stream after it ends?
Yes. YouTube automatically saves your stream as an archive video, provided it is less than 12 hours long. To access the stream, go to YouTube Studio > Content > Live. From there, you can edit, download, or save the video.
3. How do I save my live stream if it is over 12 hours long?
YouTube does not archive any stream longer than 12 hours. If you plan to stream for more than 12 hours, you’ll need to use third-party recording software to record the stream locally on your PC while broadcasting.
4. How can I make my stream look more professional?
Use proper lighting, a clear microphone, and a webcam or camera that captures in HD. Streaming software also lets you add overlays, transitions, and scenes for a refined look.