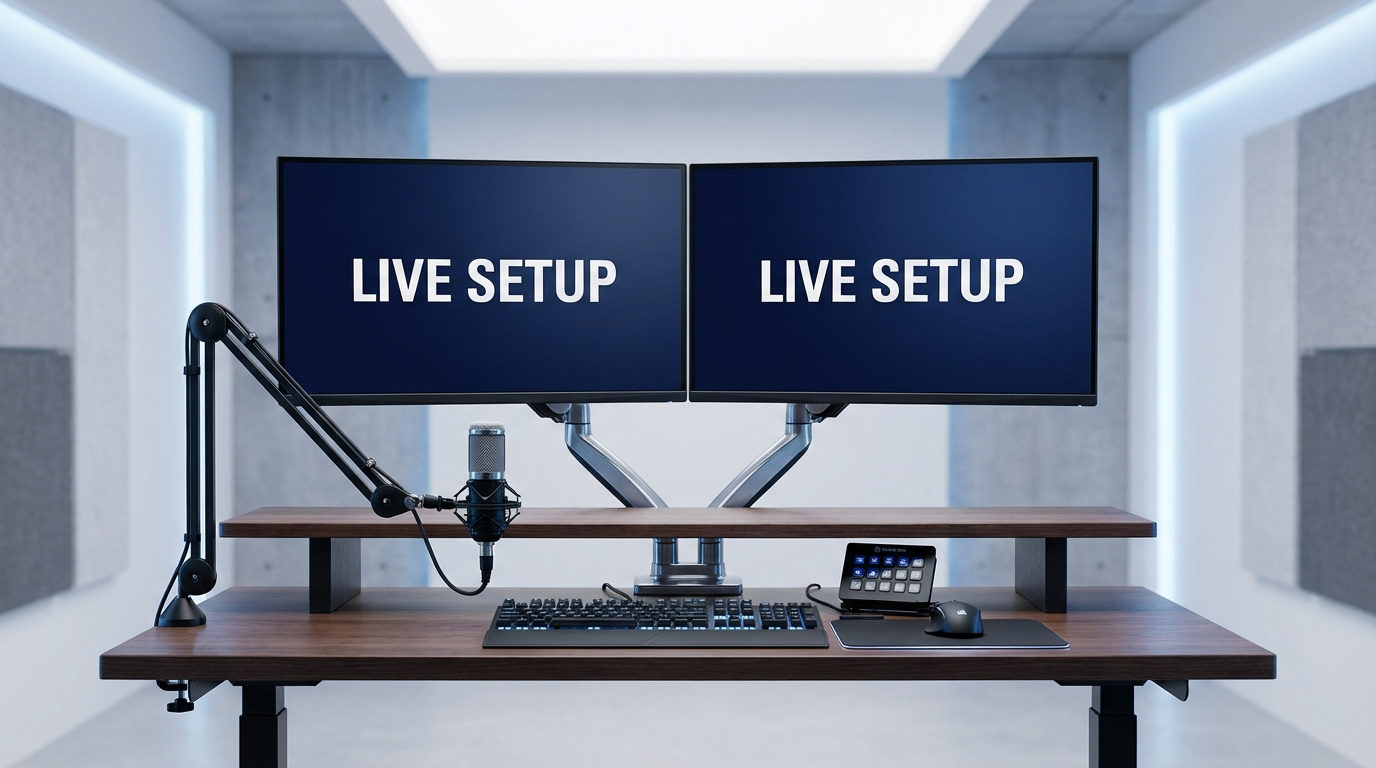
.png)
Streaming games is exciting and connects people worldwide. It is a way to share skills, build friendships, and enjoy every match together.
Still, many platforms make streaming hard without the right setup. Settings, tools, and software need proper adjustment before the stream runs smoothly. That is where guidance becomes important.
This article explains how to set up game streaming on PC with OBS Studio, Discord, Twitch, and YouTube, step by step, for a better streaming experience.
How to Set Up Game Streaming on PC with OBS?
Here, you will find the steps to start a live stream of your favorite game from OBS on PC.
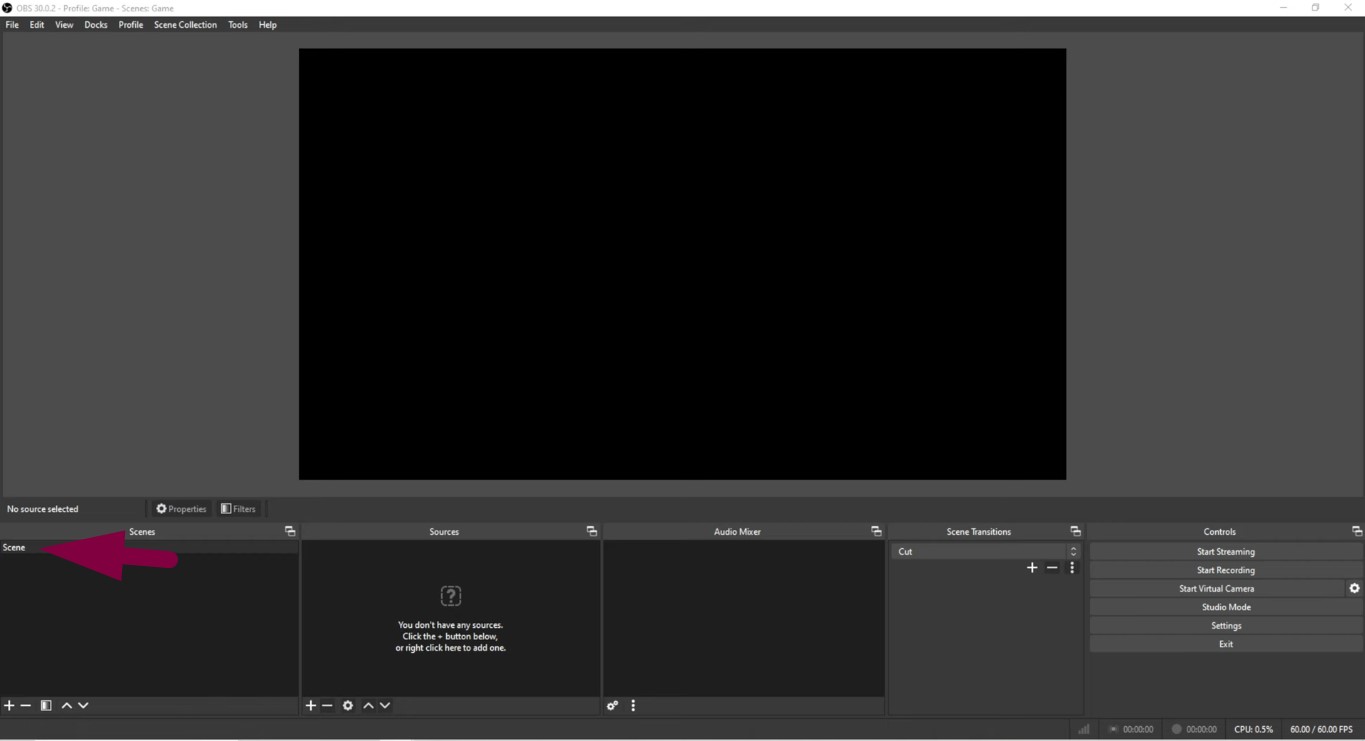
Step 1: Adding the Game Screen to OBS
- Turn on your computer and launch the game you want to stream.
- Open your OBS Studio, sign in, and add a scene. Once added, right-click on the scene and rename it to ‘Game’ (or any other term you prefer).


- Click the ‘+’ button in the ‘Sources’ section and select ‘Game Capture,’ and click OK.


- In the Game Capture properties, select the Mode (ideally, fullscreen), and click OK.

After that, your game screen will show up on your OBS Studio. You may need to adjust the size of your game display to match the OBS screen.

- Grab any corner of the screen and stretch it until it fits the OBS screen.


Step 2: Capture Game Audio
- Now, to capture the game’s audio, click on the ‘+’ button in the Sources section and select Application Audio Capture from the menu.

- Name the audio source, such as Game Audio, and click OK.

This step will let your audience hear the in-game sound while watching your live stream.
Step 3: Add Your Microphone for Commentary
If you’re running a faceless stream with commentary, you will need to add an audio input. For that:
- Click the ‘+’ button in the Sources tab and select the Audio Input Capture option from the menu.

- Name your microphone and select OK.

Now, you should see the Game Audio and Mic audio levels in the mixer, leveling up and down with the audio.

Step 4: Add Your Webcam Overlay
To add webcam display over the main gaming screen, click the ‘+’ button in the Scenes section. Create a scene, name it (for example, NS-Cam), and click OK.


- Go to the Sources section, click the ‘+’ button, and select the Video Capture Device option.


- On the Properties window, choose your camera from the Device section.

- Scroll down and tick the Use custom audio device option. And if you’re using the audio from your webcam’s built-in mic, select your camera name in the Audio Device dropdown list, and click OK.

If you have followed all the steps correctly, you should now see your webcam display on the OBS screen. However, it could be blurry, and you might need to adjust your focus or sit a bit closer or farther to the camera lens to ensure a smooth view for your audience.
That’s where the Hollyland VenusLiv Air comes to the rescue! Its AI Tuning feature and 1/1.3” CMOS sensor ensure remarkable clarity and life-like colors. It also lets you live stream 24/7 at 4K30 resolution, even when the lights are low.
Step 5: Remove Webcam Background (Optional)
If you want to remove the background from your cam’s display, follow these steps:
- Next, right-click on the NS-Cam scene and choose Duplicate. Rename the duplicate file, such as NS-Cam background.

- Then, go to the Sources section, right-click the source named Cam, and select Remove to delete it.

- Click the ‘+’ button in the Sources section, select the Source Clone option, and name it.

For example, you can name it as NS-Cam back or Cam back.
- Choose the file you want to clone (Cam back), and click OK.
- Right-click on the Cam back file and choose Filters.

- Click the ‘+’ button and choose the NVIDIA Background Removal filter.

Important Information: You will need to download the NVIDIA Background Removal plugin.
- As soon as you do that, the background will be removed.

- Click on the Game scene to see your game’s display.
- Once the screen appears, go to the Sources section, right-click on Mic, and select Remove.

You should remove the microphone that you selected previously to ensure your audio is captured through a single source (your webcam’s built-in microphone) to avoid sound problems for your audience.
- Add a new source, choose the NS-Cam back scene, and click OK.

This step will merge your game screen and webcam display into one screen, creating a picture-in-picture effect.

Now, you’re all set to go live!
How to Set Up Game Streaming on PC using the Discord Desktop App?
Streaming your favorite games on Discord requires a straightforward process. Here’s the step-by-step process:
- Open the Discord app on your PC and log in to your account.
- At the same time, run the game you want to stream.
- On the Discord interface, locate and click the Settings option (a gear icon).

- Scroll down the menu on the left side of the screen and choose Registered Games.

- Click the ‘Add it!’ option to view all the running apps, games, or software on your PC.

- Scroll the dropdown menu to find your game’s name. Alternatively, you can search for the game directly on the list.

- Click on the game, and it should automatically be added to Discord’s main screen.
- Click on the streaming icon next to the game to open the Screen Share option.

- Select the Streaming Channel, put a tick on the ‘Notify my friends in the server that I’m streaming’ option, and customize the streaming quality.

Important Information: Game streaming is only possible when you select voice channels in the Streaming Channel option. For streaming in higher resolution (1440 and Source) and frame rate (60 frames per second), you may need to upgrade your profile to a premium plan.
- Once you have made all the configurations, click the Go Live button to start streaming your game.

- To check who is watching your stream, click on the small game window to maximize it and view your current active audience.

How to Set Up Game Streaming on Twitch from Your PC?
To stream a game on Twitch, you need additional streaming software. While there are many options, most professional streamers use OBS with Twitch. However, you need to link your Twitch account and configure settings from the OBS software to begin a successful stream.
Here’s how it’s done:
- Make sure you already have a Twitch account.
- Next, download and sign up/sign in to OBS.
- Launch OBS and click on the Settings tab.

- Select ‘Stream’ and choose ‘Twitch’ from the dropdown list.

- Click Connect Account to include your Twitch account information.

- From the same panel, choose the ‘Video’ tab. We recommend keeping the Base Resolution at 1920×1080 and the Output Resolution at a minimum of 1280×720. You can leave other options set to their default values.

- Next, click the ‘Output’ tab. Increase the Video Bitrate to 6000 Kbps (recommended for high-action and graphic games). However, you can also set it to 4500 if your internet speed is slow.

- Click the ‘Audio’ tab. Select your PC’s audio for the ‘Desktop Audio’ option. At the same time, select your microphone (external mic recommended) for the ‘Mic/Auxiliary Audio’ option.

- Return to the main OBS screen and make sure the Mic and Desktop audio have separate levels in the Audio Mixer.

Important Information: Some professional gamers suggest keeping both levels to -30 to avoid clipping when streaming on Twitch. But you can always set these levels according to your situation.
- Create a scene and name it ‘Games.’
- Click on the ‘+’ button and click on the Game Capture option from the menu.

- Choose the ‘Capture any full-screen application’ or ‘Capture specific window’ mode.

- Hit the ‘+’ button in the Sources section and choose the Video Capture Device option.

- Select your webcam/streaming camera and adjust its display on the main streaming screen.
- Click the ‘Start Streaming’ button on OBS to begin your livestream on Twitch.
How to Set Up Game Streaming on YouTube from PC using OBS?
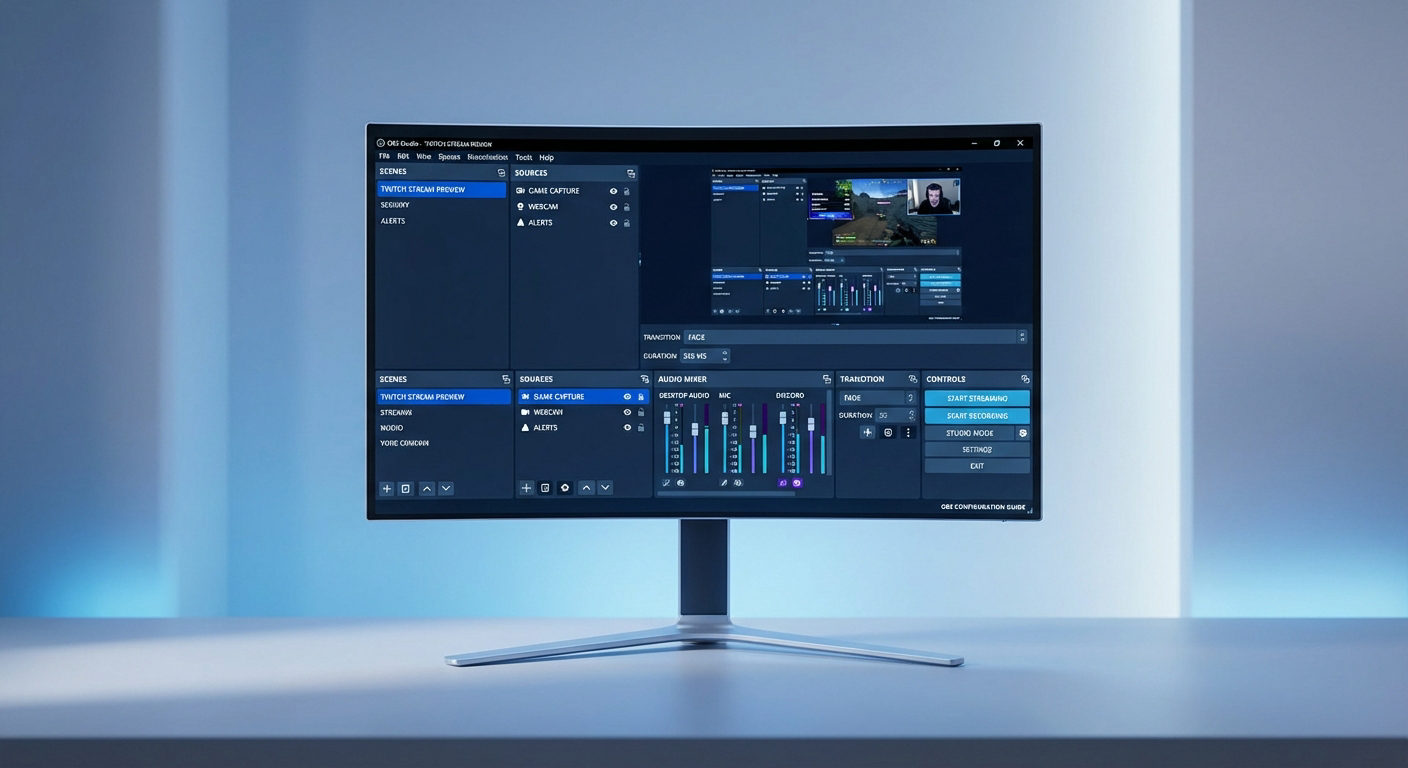
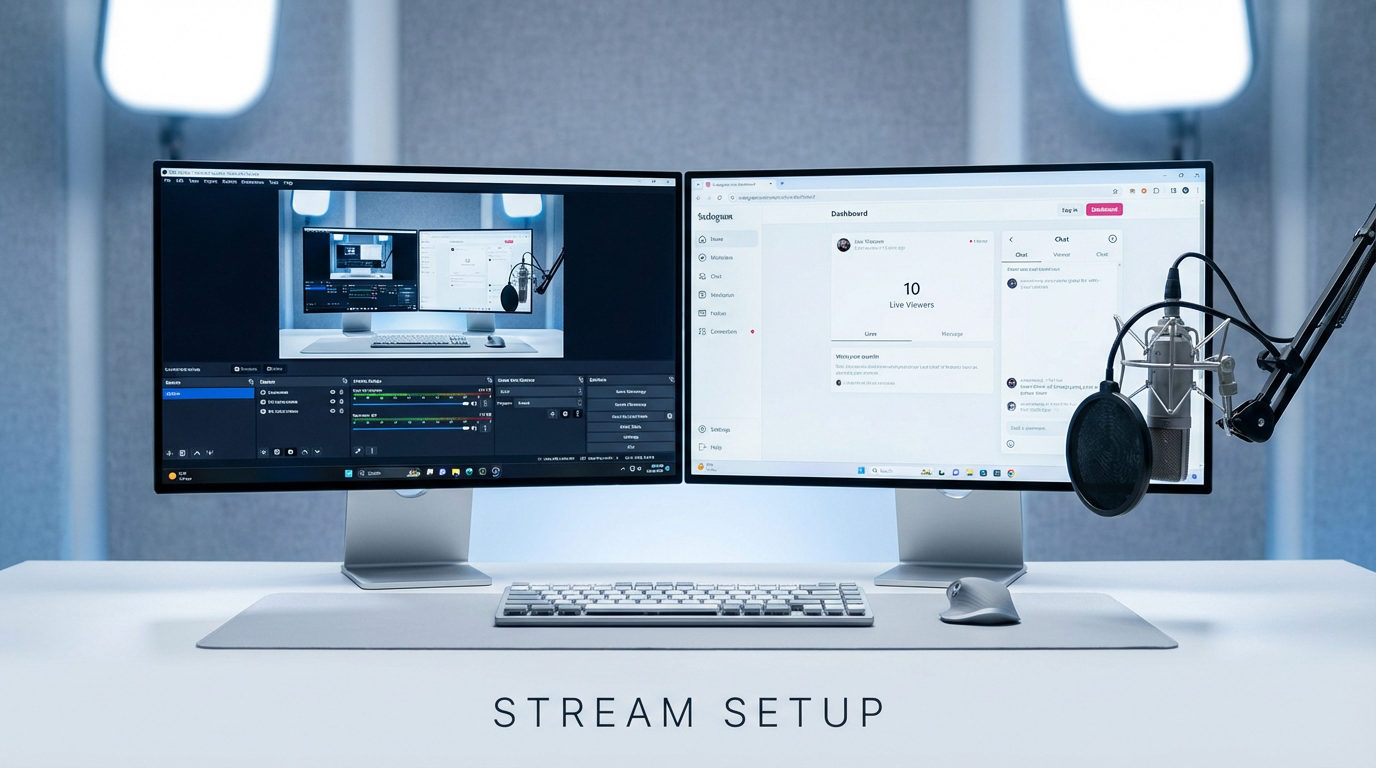
Playing live games for your YouTube audience may require a streaming software like OBS and a multi-monitor setup, one for the YouTube Studio and another for configuring OBS, something similar to this image posted by one of the Redditors.

So before streaming, make sure you have set up both monitors in OBS.
- Launch OBS Studio.
- Click ‘Settings.’
- Go to the ‘Video’ tab.
- Select 2 monitors in the ‘Base (Canvas) Resolution.’
Now follow these steps:
- Sign in to your YouTube account.
- Click on your profile icon and select YouTube Studio.
- Click the camera icon on the top pane and choose Go live.

- In the next screen, click the START button for the ‘Right now’ option.

- Hit the ‘GO’ button for the ‘Streaming software’ option.

- Click the ‘EDIT’ button.

- In the Edit settings menu, select the ‘Details’ tab to keep a suitable title for your stream and add a description so your audience knows what you’re about to stream.

- Switch to the ‘Customization’ tab and check or uncheck options as per your preference, and then click ‘SAVE.’

- Click the ‘COPY’ button next to your Default stream key.

- Open your OBS Studio and click ‘Settings.’

- Select the ‘Stream’ tab in the left pane. Choose ‘YouTube’ from the ‘Service’ dropdown list.
- Click on the ‘Use Stream Key’ button, paste your stream key, and click Apply and OK.


- Return to the main OBS interface and click Start Streaming.

- Open your YouTube Studio, and your game screen should display with streaming stats.

Wrap Up
Setting up game streaming depends on the platform used. OBS requires extra configuration, but it works smoothly once done. Discord setup is faster and easier. For Twitch and YouTube, streaming software must be linked for proper function and stable game streams.
FAQs
1. What kind of PC do I need for gaming and streaming?
You at least need a PC equipped with an Intel i5 or Ryzen 5 with 6 cores. A GTX 1660 Super or Radeon RX 580 works well. Additionally, a 16GB RAM, 512GB SSD, and good cooling are also important.
2. What streaming platform do gamers use?
Most gamers prefer Twitch for livestreaming. However, YouTube is another popular choice. Both platforms are widely used and expose gamers to a bigger audience.
3. Do I need a graphics card for my streaming PC?
A graphics card is useful for streaming, but does not need to be expensive. Software encoding stresses the CPU, while hardware encoding relies more on the GPU. Both balance tasks depending on the chosen encoding.