.png)
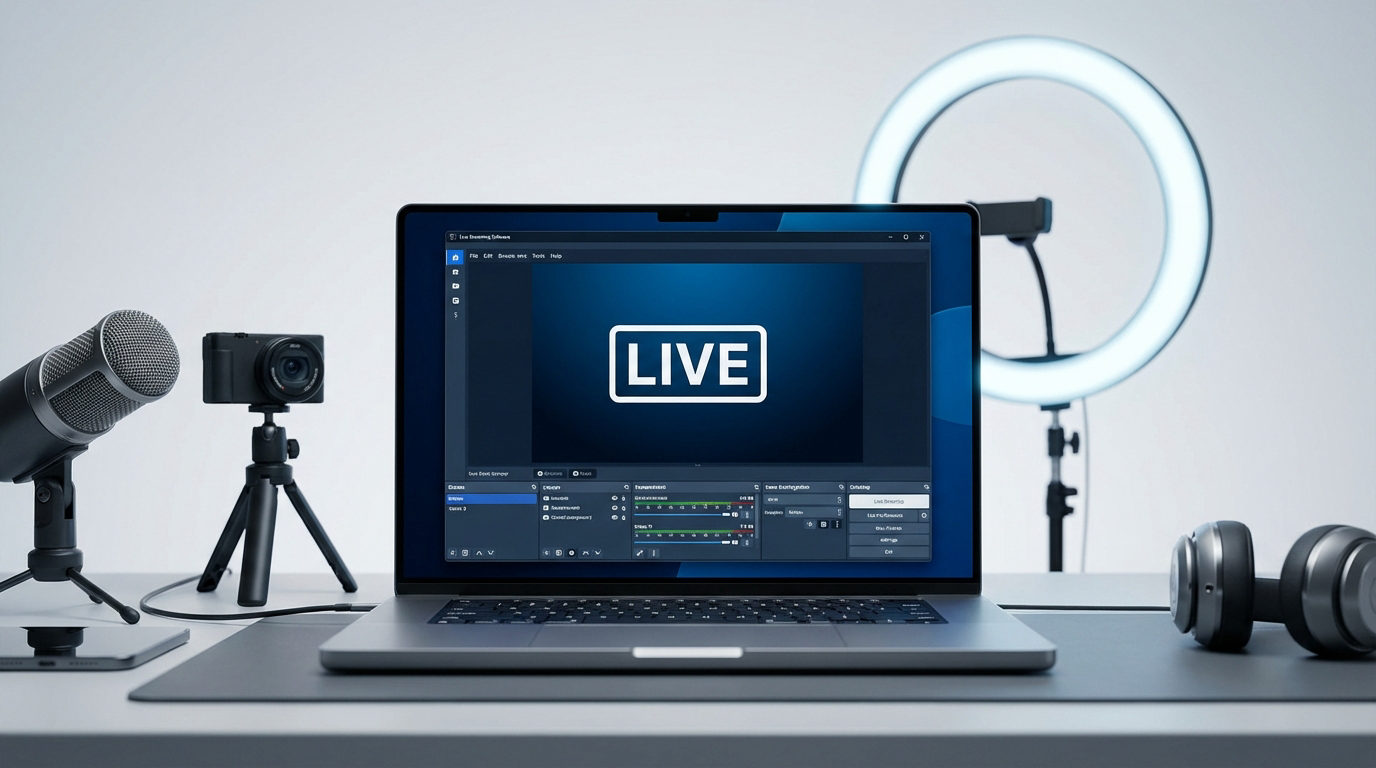
Are you among those who think Chromebooks are not powerful enough for live streaming? Then you are wrong.
What most people don’t know is that Chromebooks are an excellent choice for streaming. Thanks to cloud-based streaming apps and other browser-compatible solutions.
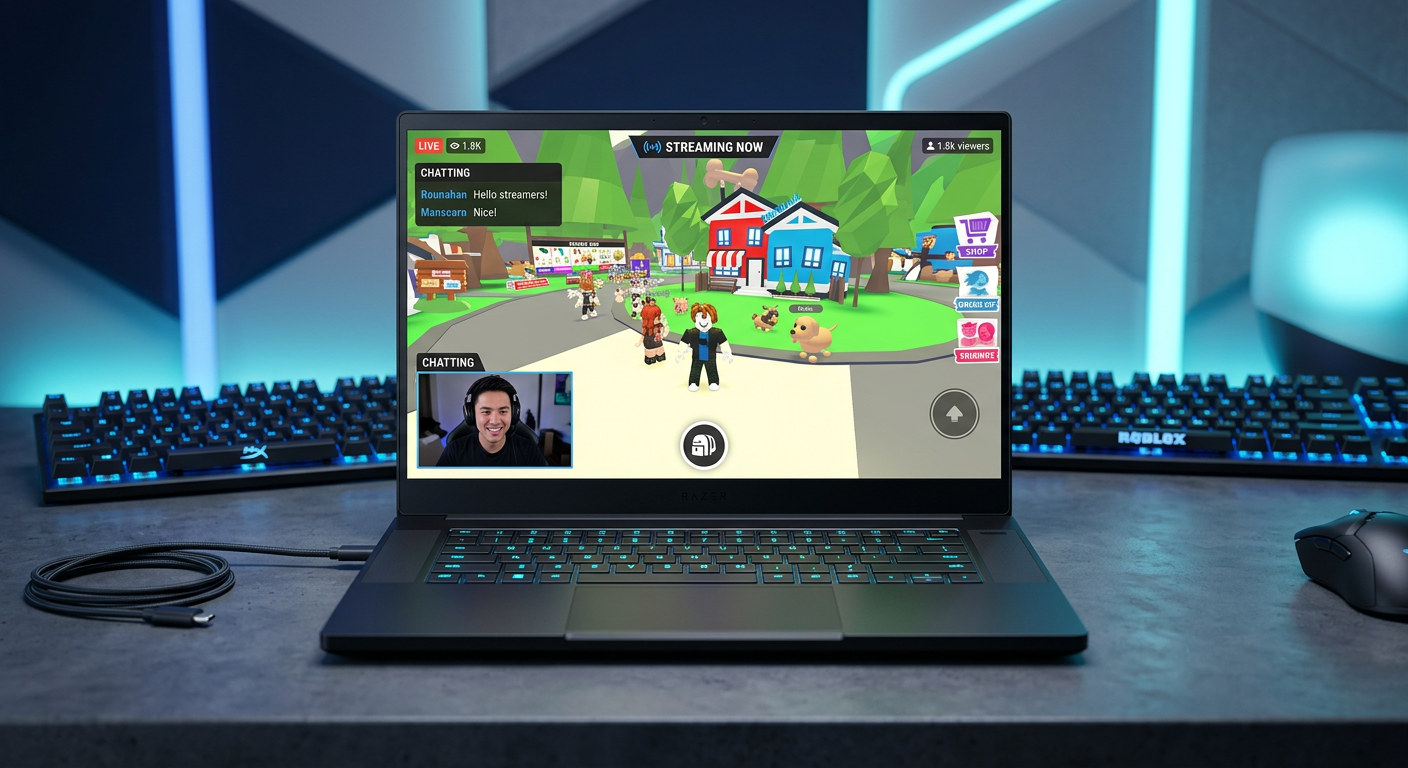
And if you are a gamer, you just need a Chromebook (budget-friendly) and some additional gear, like a microphone or a camera, like the Hollyland VenusLiv Air that supports 24/7 livestreaming and has brilliant features, including AI-Tuning, to start your gaming career with high-end live streaming.
Let us walk you through a step-by-step guide to streaming on a Chromebook like a pro.
Best Live Streaming Software for Chromebook
Apart from being budget-friendly, the latest Chromebooks offer powerful gaming features, including NVIDIA GeForce Now, which delivers a high-end gaming experience via cloud streaming.
Moreover, there are several browser-specific and user-friendly software available that work really well in Chromebooks.
- Talk Studio Streamlabs
- Restream
- StreamYard
So, you have got the stable internet connection, a Chromebook, a Microphone, a Camera, and a streaming platform account ready. The final step? Picking the right streaming software to broadcast your streams. Let’s explore the best options for you.
1. Using Streamlabs
Streamlabs offers a web-based streaming studio, Talk Studio, that works directly from your browser. You and your guests are not required to download the setup or anything. It is typically cloud-based and requires no heavy CPU usage or fast response time, ideal for Chromebooks.
Key Features:
- Multi-platform streaming.
- Up to 12 guests can be managed in a live stream.
- Screen sharing.
- Record during stream or offline.
- Capture raw audio and video tracks.
- 7 days free trial, the basic plans start at $7.50/month.
How to stream on a Chromebook using Streamlabs?
- Go to the Streamlabs website and select Talk Studio. In the top right corner, click on Get Started to register your account on Talk Studio and sign in to your newly made account.
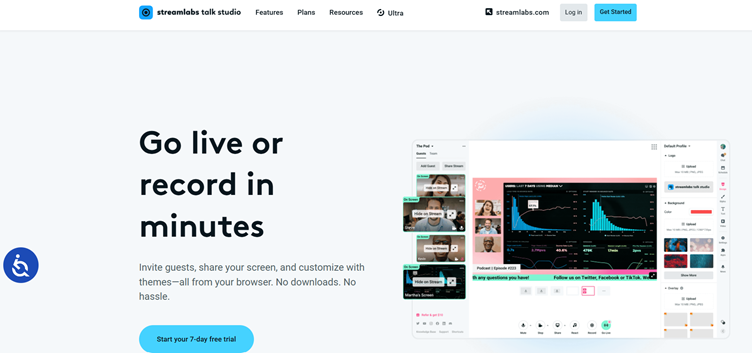
- Once you are logged in, a window will appear for permission to use the webcam and the microphone. Click on Allow while visiting this site to continue.

- This is how your main page will look.

- You can add your guests by clicking on the Add guests button and copying the link. Send it to the people you want to add, and they can easily be added from any device.

- Next, to share your screen, click the Share button in the bottom menu and follow the instructions.

- Now, select what you want to share: a Chrome tab, window, or your entire screen, and click on the Share button.

- This is what it looks like. After this, go to the menu bar on the right of this page, click Settings, and choose Account Settings.

- Select the Destinations from the menu on this page and click on Add Destination to add the streaming platform where you want to go live.

- After selecting your destination, go back to the main page and click on the Go Live button. And like this, you are all set to stream on your desired platform.

2. Using Restream
Restream is another great option for Chromebook users. It lets you multistream 2 channels simultaneously without spending a single penny. Like Talk Studio, Restream is also a web-based platform, which means no downloads and no heavy load on your ChromeOS.
Key Features
- Stream simultaneously to multiple channels on the same platform.
- Friends and guests can restream your live broadcast.
- Integration with top streaming apps, including OBS.
- Cross-platform chat and Engagement analytics.
- Offers a free plan for life and a paid plan starting from $16/month.
How to Stream on Chromebook using Restream?
- Go to Restream.io and create an account by clicking on the Get Started button in the top right corner of the page.

- Once your account is registered, you are redirected to your account’s main page.

- Now, click on the New Stream button in the top right corner of this page.

- Next, select the Restream Studio option from the menu.

- You are then asked to allow access to your microphone and cam.

- Once you have granted access, enter your name and the title of your stream, then hit Enter Studio.

- Next, click on the Add Channels button to add the streaming platform of your choice and connect your channels.

- To invite guests to your live stream, click on the person icon.

- Next, to access various other features, click on the x icon in the menu at the bottom.

- To share your screen, choose the Screen share option. Select what you want to show: the entire screen, a window, or just a Chrome tab, and hit Share.

- Once you have checked all the necessary settings, you are ready to live stream. Click on the Go Live button to start your streaming.

3. Using StreamYard
StreamYard is another great option for streaming from a Chromebook. You can use this web-based software to go live on any streaming platform in minutes. StreamYard lets you record content, invite guests, and offer customization for free.
Key Features:
- Offers streaming to multiple platforms at once.
- Comes with custom graphics.
- Offers online webinar platform, StreamYard On-Air.
- Supports custom RTMP destinations.
- It has both free and paid plans.
How to Stream on Chromebook Using StreamYard?
- Open the official StreamYard website and click Get Started to create your account.

- Your 1st step would be to add the destinations where you want to go live. So, click on the Add a destination button in the middle of the page.

- You will be redirected to a new pop-up window after selecting your desired destination, where you are asked to authorize StreamYard to send live stream chats, cut VODs, etc.

- Once your destination is added, go back to the home page and click on Live stream.

- Next, you are asked to select the source, destination, and the title accordingly.

- Now, allow StreamYard access to your mic and cam to record your live stream.

- After this, finish setting up your studio after selecting your display name.

- This is how your StreamYard studio looks. To invite guests to your live stream, click on Invite guest.

- After tweaking the necessary settings, click on the Record button in the top right corner to go live.

Conclusion
Although Chromebooks have many software and hardware limitations, they are still good devices for live streaming. With the use of the right streaming platforms like Restream, StreamYard, and Streamlabs, you can seamlessly stream on any streaming platform. You can use this article as a guide to know how you can stream and record your first live stream.
FAQs
Is a Chromebook good for live streaming?
Yes, it is a good choice for live streaming. Using the web-based streaming platforms like StreamYard or Restream, you can easily go live and invite guests to your broadcast for free.
How to stream Twitch on a Chromebook?
If you wish to stream on Twitch, select any web-based streaming software, add Twitch as a destination, link both accounts, set up your stream studio, and go live.
How to Use OBS Studio on a Chromebook?To use OBS Studio, first head to the OBS Studio website and download the Linux version. Then enable the Linex development environment on your Chromebook, open the terminal, and add sudo apt-get install obs-studio. This will install OBS Studio on your Chromebook.