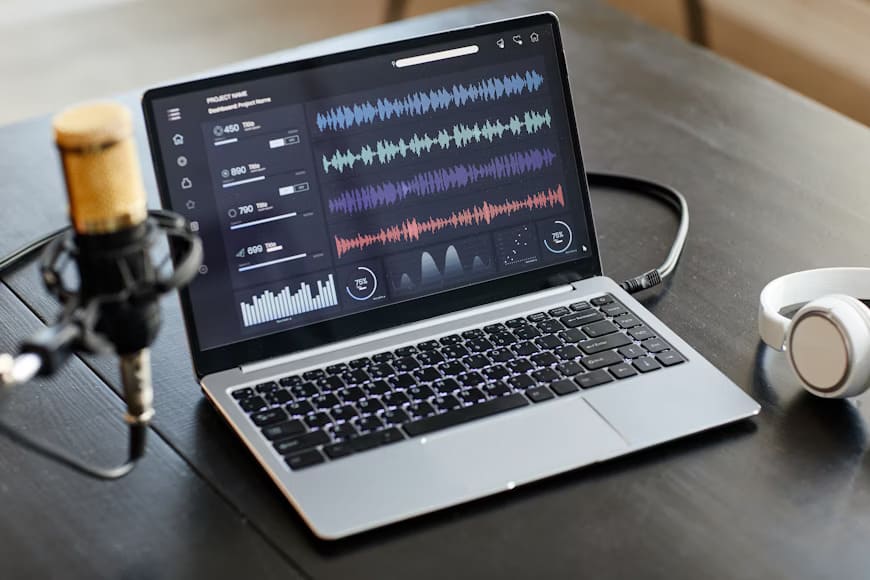
As a Chromebook owner, if you are confused about recording audio, then you are in the right place. Audio recording on a Chromebook involves using your device’s built-in microphone. You can also use an external one to capture sound.
There are many reasons to record audio on your Chromebook. As a student, you can capture lectures or even record yourself practicing presentations. If you are a professional, then you can use it to make voice notes, dictate emails, or even conduct interviews.
The possibilities are vast, and this makes audio recording a valuable tool for Chromebook users.

Understanding Your Chromebook’s Audio Capabilities
To put something to use, you’ll have to understand its capabilities first. Let’s discuss your Chromebook’s audio capabilities.
Built-in Microphone Specifications
Most Chromebooks come with a built-in microphone. This feature, in particular, conveniently eliminates the need for external hardware for basic recording needs.
Location: The microphone’s placement can vary depending on your Chromebook’s model. It’s typically found near the webcam. It can be placed often along the top bezel of the display or integrated into the keyboard deck.
Quality Considerations: Built-in microphones are generally optimized for everyday tasks like video calls and voice searches. They provide decent audio quality for capturing lectures, voice notes, or quick online meetings. However, for professional recordings like music production or podcasts, you might encounter limitations.
External Microphones: Compatibility and Recommendations
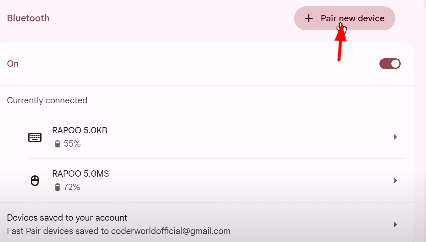
You get the power to easily expand your Chromebook’s audio capabilities with external microphones. Thankfully, most USB microphones are plug-and-play compatible. This means they’ll work seamlessly upon connection.
Choosing the Right Mic for Your Needs:
The ideal external microphone depends on your recording purpose. Here’s a breakdown with a specific product recommendation for each scenario:
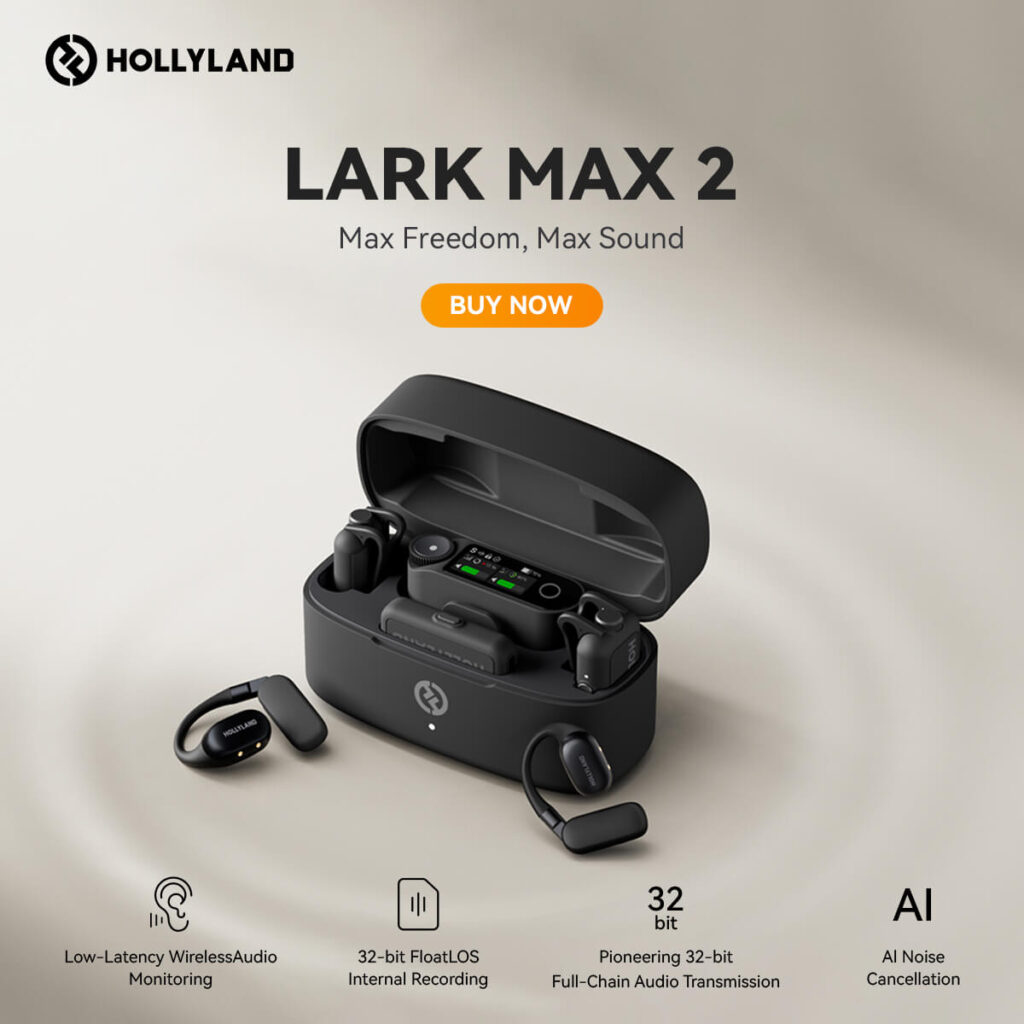
Here’s a specific recommendation: You should consider the Hollyland Lark Max. This is a compact and versatile wireless microphone system. It is perfect for recording clear voice overs on your Chromebook.
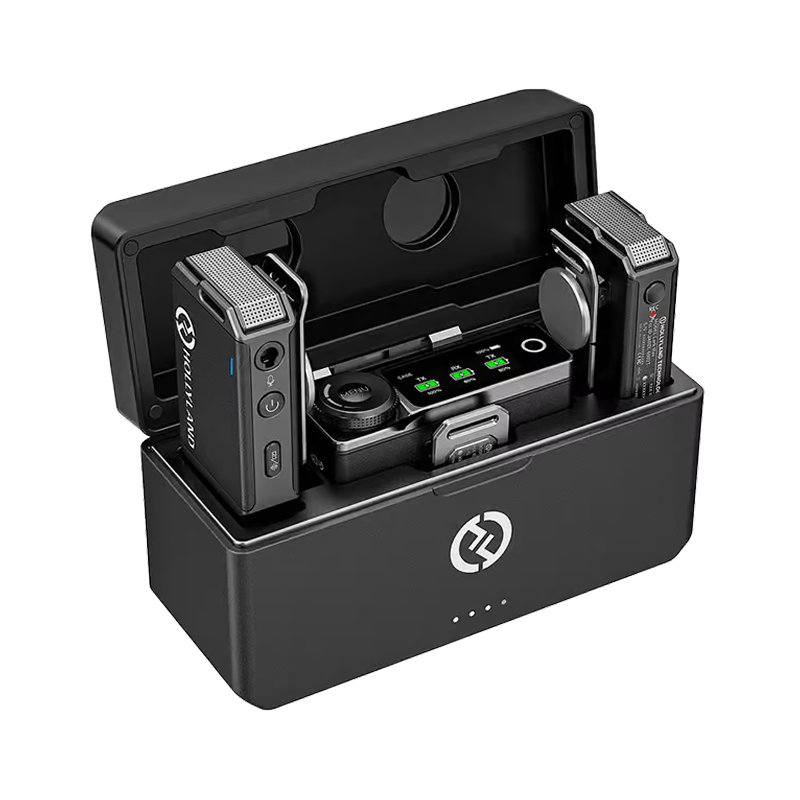

Hollyland LARK MAX - Professional Wireless Microphone
A professional wireless microphone system featuring studio-quality audio with advanced noise cancellation.
Key Features: Studio-Quality Audio | Magnetic Attachment | 8GB Internal Recording

Preparing Your Chromebook for Audio Recording
It’s important to make sure your Chromebook is perfectly configured for the best audio recording. These checks are to be done before you start recording. This is what you must do:
Checking and Adjusting Microphone Settings
Accessing the Sound Settings: Start with navigating to the sound settings on your Chromebook. How to do it is as follows:
- To begin with, you will locate the clock symbol present in the lower right corner of the screen is the system tray. Click on it.
- After that, click the gear symbol for Settings.
- Find and choose sound from the Settings menu.
- Changing Input Levels: The microphone and speaker volume controls are located under the sound settings.
- Locate the “Input” or “Microphone” area. It is probably going to feature a slider to change the input level.
After all, you can think of testing the microphone. To do that, click on the “Test Microphone” button (if available). Speak into the microphone and modify the slider accordingly.
Ensuring Privacy and Security Permissions for Microphone Access
We need to understand that Chromebooks require apps to request permission before accessing your microphone for security reasons. Here’s how to make sure your chosen recording app has the necessary access:
- Navigating to Privacy Settings: Access your Chromebook’s privacy settings. Follow these steps:
- Open the Settings menu (gear icon), as mentioned earlier.
- Find and tap on the Privacy and Security section.
- Granting Permissions to Apps:
- Within the Privacy and Security settings, you’ll have to look for a section labeled “Apps” or “Site Settings.”
- After that, you’ll Scroll down to the “Apps” section and find the specific recording application you plan to use.
- Once you locate it, click on the app to view its permissions.
- Ensure the toggle for “Microphone” access is switched on. This will grant the app permission to use your Chromebook’s microphone for recording.
Choosing the Right Software for Audio Recording
Once your Chromebook is prepped, it’s time to select the software that best suits your recording needs. Here’s a breakdown of your options:
Overview of Built-in Recording Tools
Your Chromebooks may come with a basic built-in recording app. This app is often called “Voice Memos” or similar. Let’s explore its features and limitations:
- Features and Limitations: We need to agree that built-in recorders offer a straightforward interface for simple recording and playback. They are convenient for capturing quick voice notes or ideas. However, these tools typically lack advanced features like:
- Extensive editing capabilities beyond trimming.
- Options for choosing file formats (like MP3 or WAV).
- Granular control over audio quality settings like bitrate.
Exploring Third-Party Audio Recording Apps
For deliberate and fine recording and editing functionalities, you should consider exploring third-party audio recording apps on your Chromebook. Here are some popular options:
- Online Voice Recorder: You can use this web-based app pretty conveniently. It allows you to record directly in your Chromebook’s browser without installation. It’s a good choice for basic recording needs.
- TwistedWave (online editor): We get that it is not a dedicated recording app. TwistedWave is actually considered to be a powerful online audio editor. This tool can be a great option if you’ve recorded audio elsewhere and need editing features.
- Audacity (if you’ve enabled Linux on your Chromebook): Your Chromebook has to be compatible with Linux for this. Audacity is a free, open-source audio editor known for its extensive features. However, you’ll be required to enable Linux on your Chromebook, which can be a more technical process.

Choosing the Right App
You’ll need to When selecting a third-party app, consider these factors:
- File formats supported: You’ll have to make sure the app can save your recordings in your preferred format. These formats can be MP3 for compressed files or WAV for lossless quality.
- Editing capabilities: If you need to trim recordings, remove background noise. You should also be able to apply basic effects so look for apps with editing features.
- Quality control: Some apps offer options to adjust the bitrate of your recordings. This affects file size and audio quality. You should choose settings that balance quality with your needs.
Step-by-Step Guide to Recording Audio
Here is a stepwise guide to recording audio
Using Built-In Tools
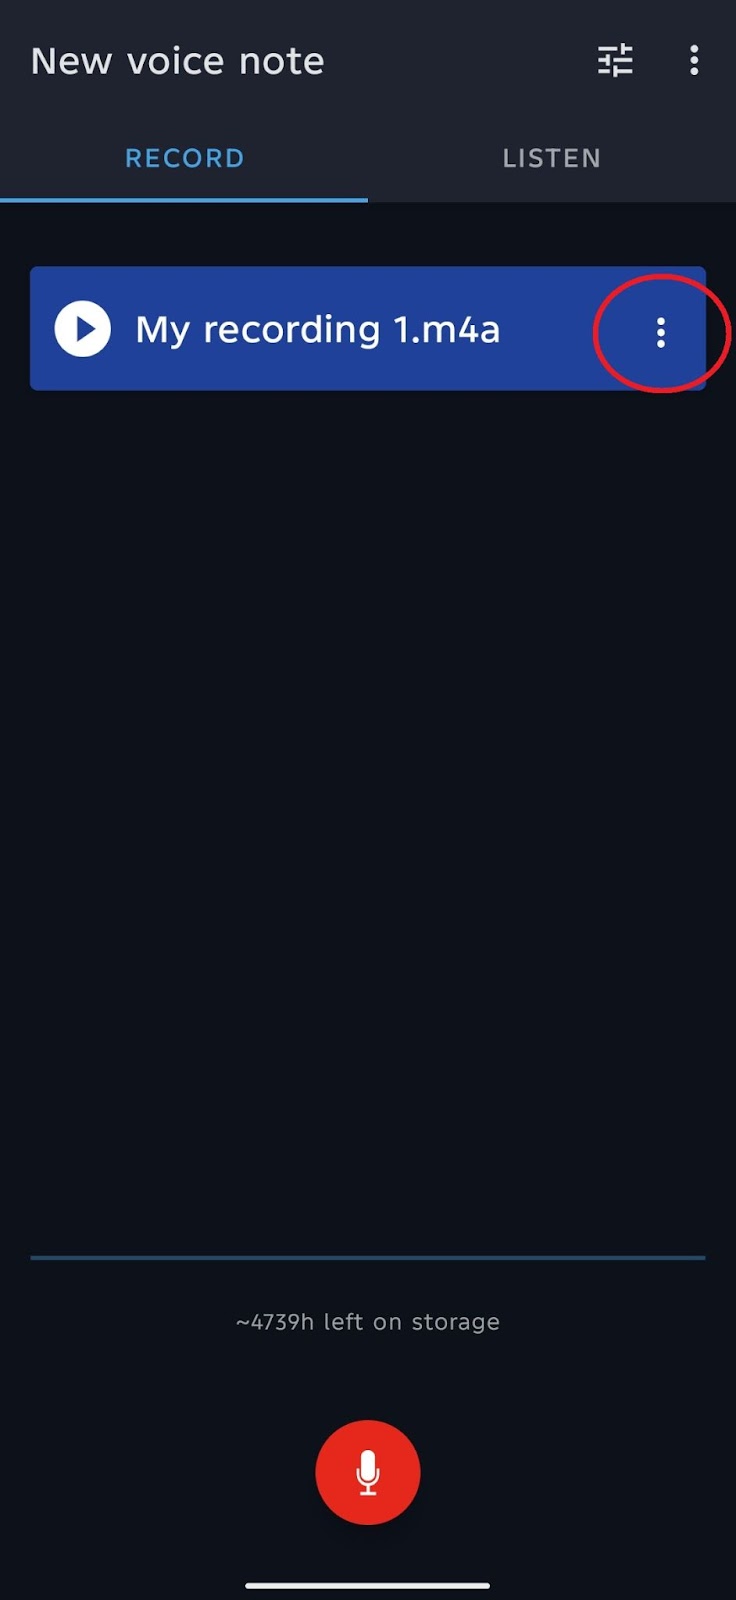
- Voice Memos: To start with, you need to locate this app in the launcher for quick recordings. There are simple buttons to guide you throughout the process. You can easily find saved files, usually in the Downloads folder.

Using Third-Party Apps
- To rightly select the app, you’ll be exploring the Chrome Web Store for a wider range of recording tools.
- When it comes to editing, we know that each app has its own interface. You’ll need to familiarize yourself with the provided recording, editing and quality control features.
- Most apps allow exporting recordings in common formats like MP3.

Tips for Improving Audio Quality
Let’s elevate your Chromebook’s audio game! Here are some handy tips to ensure your recordings shine:
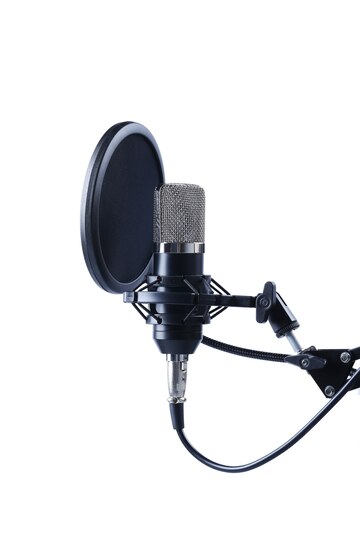
Optimal Microphone Placement and Environment
You need to find a quiet environment to minimize background noise. Imagine a library setting – perfect for capturing clear audio. You’ll have to efficiently position yourself close to the microphone. You can experiment with distance to find the sweet spot. Remember, your voice should be the star, not the microphone itself.
External Microphone Usage
You’ll need to consider an external mic. It can significantly improve audio quality, especially for podcasting or music production. These mics often can offer greater detail and clarity compared to built-in options.
Reduce Background Noise
To eliminate unnecessary noise, you should consider closing windows, turning off noisy appliances, and eliminating any potential sound sources that might disrupt your recording. A little peace goes a long way!
Finding the Perfect Balance:
Adjust your microphone input level to avoid clipping (distortion) or a weak signal. You’ll need to aim for a clear and undistorted recording. Most Chromebook sound settings have a level meter to help you visualize this.
Managing and Sharing Your Audio Files
Once you’ve captured your masterpiece, keep it organized and accessible!
Organizing Your Recording
You can create a personalized organization system for your recordings. Give your recordings clear titles that reflect their content. This makes finding them a lot easier.
You can curate folders to categorize your recordings. These folders can be dedicated to projects, lectures, or musical ideas for easy browsing.
Sharing Options
Sharing audio files is easy. Attach your recordings directly to emails for quick and easy sharing. You can also upload your audio to cloud storage services, for example, Google Drive or Dropbox for secure storage and accessibility from any device.
For smaller files, share your recordings directly through messaging apps. For this, you just have to be sure the file size is compatible.
Troubleshooting Common Issues
Sometimes, things don’t go according to plan. If you encounter issues like no recording happening, muffled audio, or trouble finding your files, check your Chromebook’s sound settings and microphone permissions.
For external mics, you should ensure compatibility and proper connection. If sharing proves tricky, consider file size limitations. When in doubt, a quick restart can often refresh things!
FAQs
Can I record audio in the background while using other apps on my Chromebook?
Chrome OS limitations typically prevent true background recording. Some screen recorders might offer workarounds, but functionality can be limited.
What are the best external microphones for Chromebooks?
This depends on your needs! Popular options include compact lavalier mics for mobility (e.g., Hollyland Lark Max) or USB mics for studio recording (research condenser mics).
How can I convert my audio recordings to different file formats?
Many online tools and third-party Chromebook apps can convert audio formats. Look for options supporting MP3, WAV, etc.
Are there any free audio editing tools compatible with Chromebooks?
Absolutely! Explore the Chrome Web Store for free audio editors. Online options like TwistedWave offer basic editing features.


.png)


