.png)
Effective communication lies at the heart of every interaction on your Android device, be it a crucial phone call, engaging video chat, or a simple voice recording. A fundamental element in facilitating these interactions is the proper functioning of your microphone. Ensuring the reliability of your microphone is not only about troubleshooting potential issues but also about guaranteeing a seamless and uninterrupted user experience. In this comprehensive guide, we embark on a journey to empower you with step-by-step instructions, demystifying the process of testing your microphone on an Android device.
Exploring the Origins of Microphone Problems
Microphone malfunctions can stem from various sources. A prevalent cause is the accumulation of dirt, especially if your phone tends to go uncleaned. Over time, the build-up of dirt can lead to distortion in your microphone’s performance, creating unexpected issues.
Additionally, common hardware challenges on Android devices often arise from software updates and the installation of third-party applications. These changes may unknowingly reconfigure or deactivate your microphone, presenting challenges that may not be immediately apparent. Furthermore, physical mishandling or internal malfunctions can contribute to hardware damage, affecting the proper functioning of your microphone.
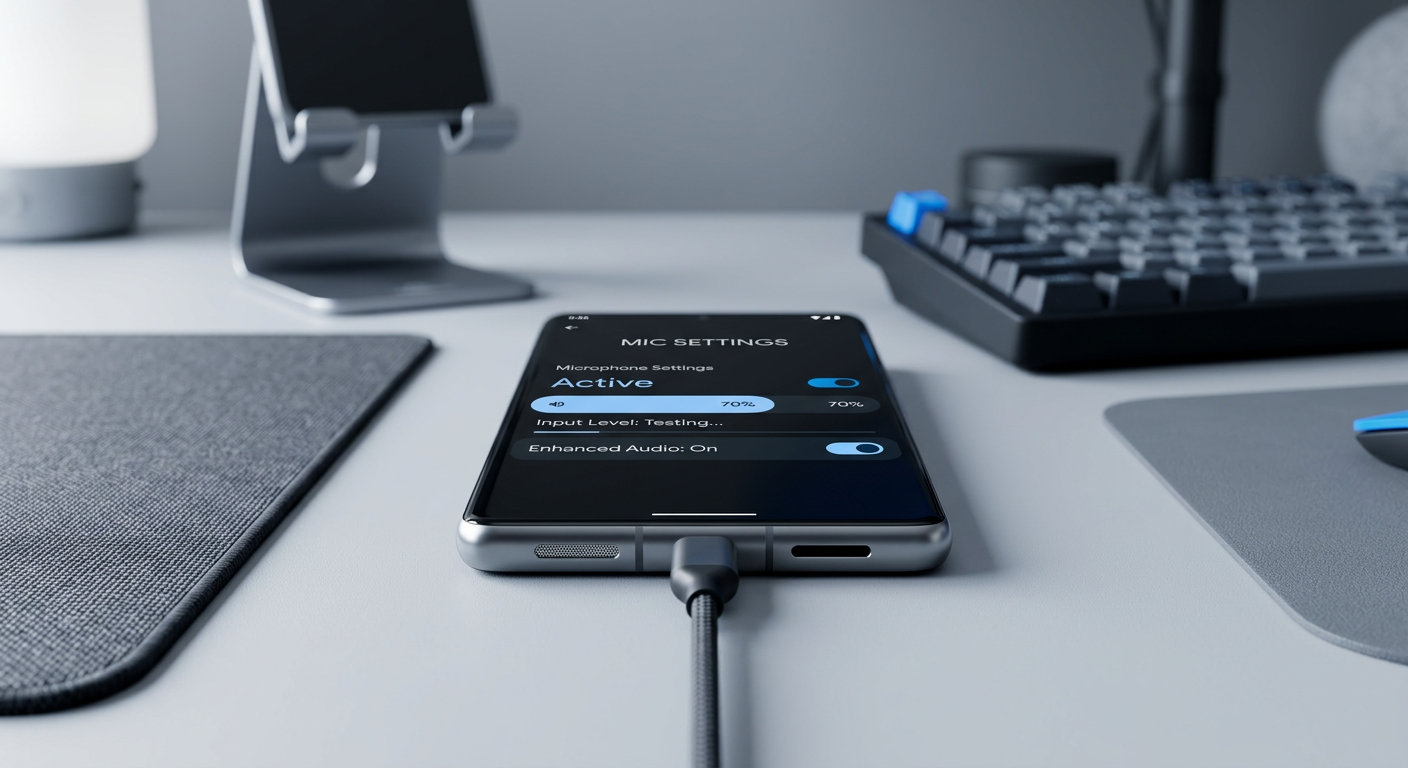
Test Microphone on Android
Following are the step-by-step instructions to help you seamlessly assess and enhance your Android device’s microphone performance.
Step 1: Verify Microphone Functionality Through Voice Recorder App
To ensure the proper functioning of your microphone, a straightforward method involves recording your voice on your phone and subsequently listening to the playback. This process allows you to easily identify any distortion in your voice, aiding in the diagnosis of potential issues.
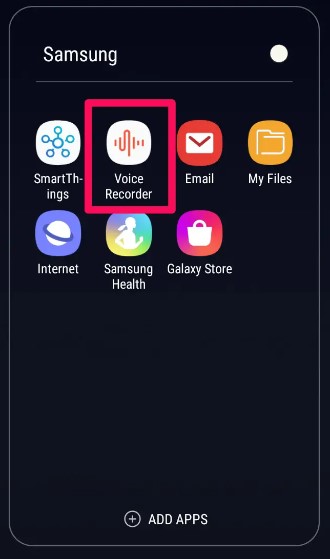
Many Android devices are equipped with a pre-installed voice recorder for this purpose. If your device lacks one, consider downloading a reliable voice recorder app, which might be named Voice Recorder, Sound Recorder, or a similar variation depending on your device’s manufacturer.
Step 2: Record a Test Audio Clip
After opening the voice recorder app, locate the record button typically denoted by a red circle. Initiate recording by tapping on it and articulate your speech into the microphone. Vary your speaking volumes and experiment with different distances to thoroughly assess the microphone’s range and sensitivity. This practical approach allows for a comprehensive examination of your device’s microphone performance.
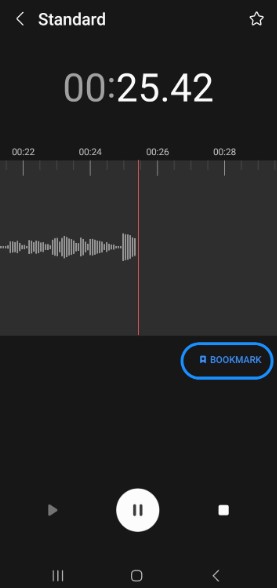
Step 3: Review the Recorded Clip
Following the brief recording of your voice, cease the process by tapping the stop button, commonly represented by a square icon. Subsequently, retrieve the recorded content and engage in a thorough playback. Pay close attention to the nuances of audio quality and the clarity of your voice, ensuring a meticulous assessment of the recording’s overall sound integrity. This step guarantees a comprehensive evaluation of your microphone’s performance, helping identify any potential issues with the audio playback.

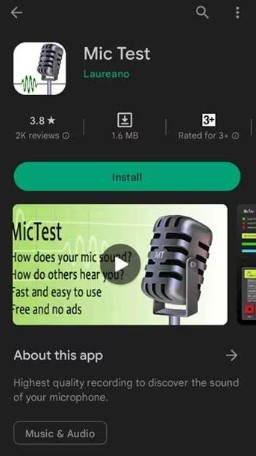
Step 4: Utilize Third-Party Applications for In-Depth Evaluation
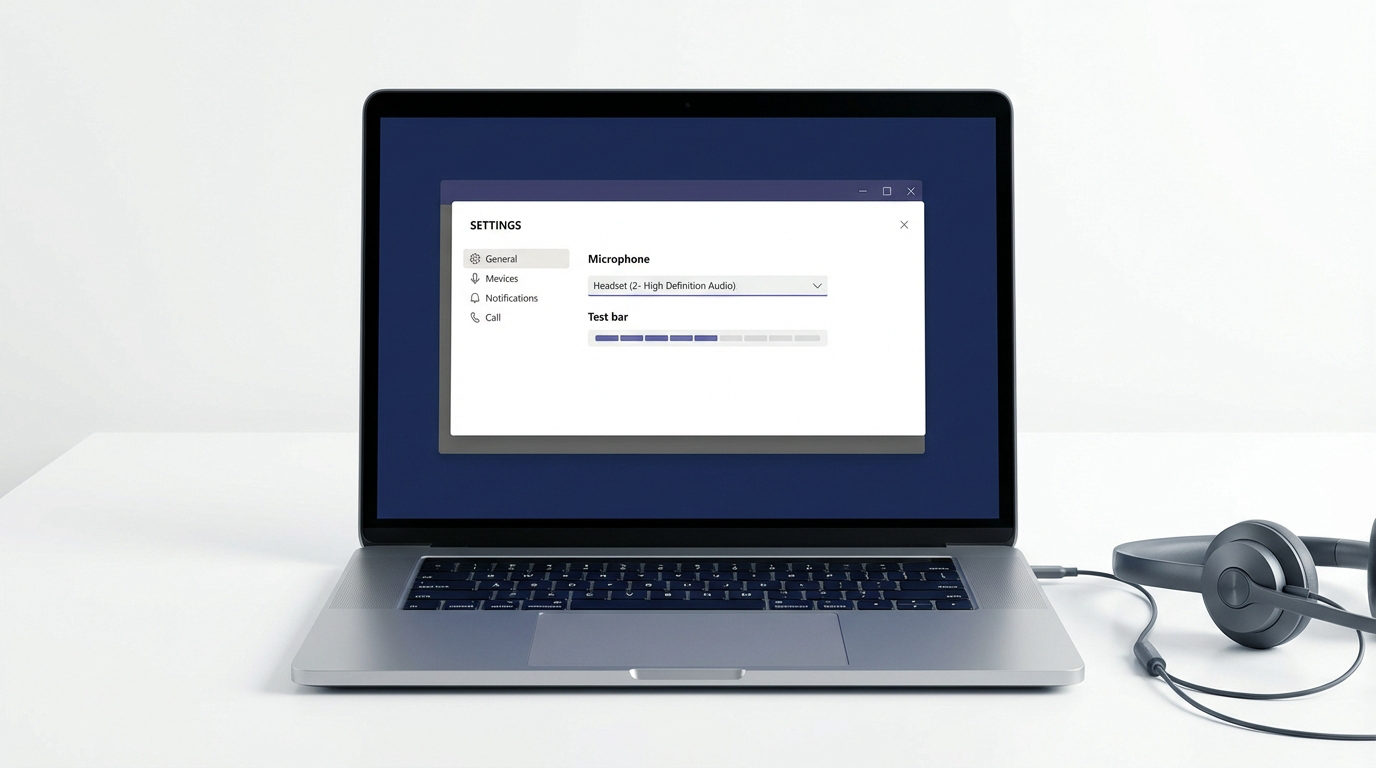
For a comprehensive examination of your microphone’s capabilities, consider exploring third-party applications available on the Google Play Store. Applications such as “Microphone Test” or “Mic Test” can be downloaded to provide extensive insights into your microphone’s performance. These apps go beyond the basic functionalities of built-in tools, offering a more thorough and detailed analysis. By leveraging these third-party solutions, you gain access to a broader spectrum of testing features, ensuring a meticulous assessment of your Android device’s microphone quality.
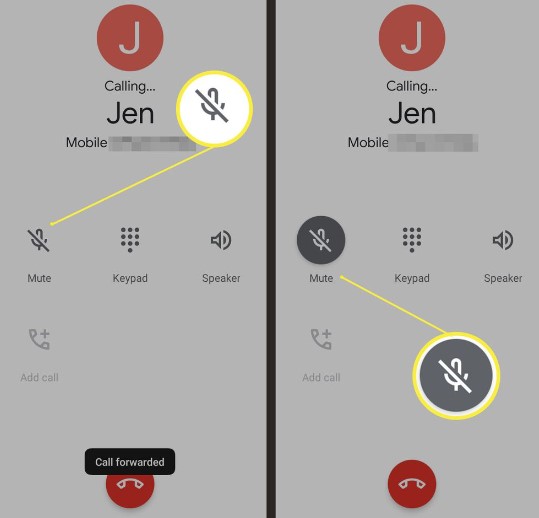
Step 5: Assess Microphone Performance Through Phone Calls
A pragmatic approach to evaluating your microphone involves making a phone call. Reach out to a friend or utilize specialized testing services such as the Echo Test Service. This unique service facilitates hearing your own voice with a slight delay, providing valuable insights into how your voice resonates during a call. By employing this method, you gain a practical understanding of the quality of your voice transmission, ensuring that your microphone functions seamlessly in real-world communication scenarios.
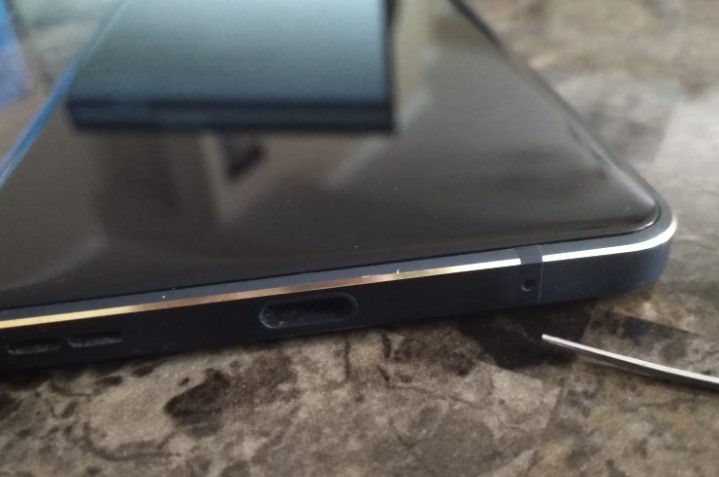
Step 6: Inspect for Physical Impediments
Occasionally, the functionality of your microphone may be compromised by physical impediments. Examine the microphone area for any presence of dirt, debris, or obstructive covers that may be impeding its performance. To rectify this issue, delicately clean the surrounding area, taking care not to inadvertently push debris further into the device. This meticulous examination ensures that the microphone operates unencumbered, maintaining optimal performance for clear and unobstructed audio transmission.
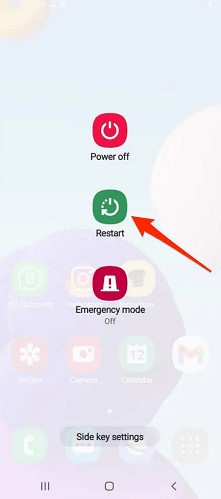
Step 7: Restart Your Device
In cases where microphone issues arise, a straightforward solution is to initiate a reboot of your Android device. By restarting the device, potential glitches affecting the microphone may be resolved. After the reboot, revisit the testing steps outlined above to ensure that the microphone functions optimally. This uncomplicated yet effective approach often proves successful in addressing temporary malfunctions and restoring the seamless performance of your Android device’s microphone.
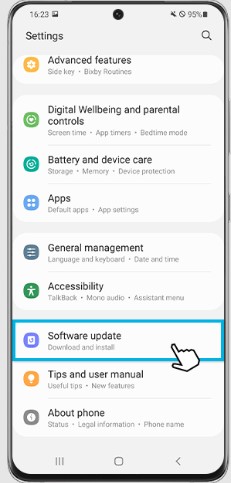
Step 8: Verify Software Updates
Confirm that your Android device is operating on the most recent software version available. Microphone-related challenges can often be resolved through software updates, which include bug fixes and performance enhancements. To check for updates, navigate to your device’s settings and select “System” > “System update.” Ensuring your device is running the latest software contributes to a more stable and optimized microphone functionality, addressing potential issues and enhancing overall performance.
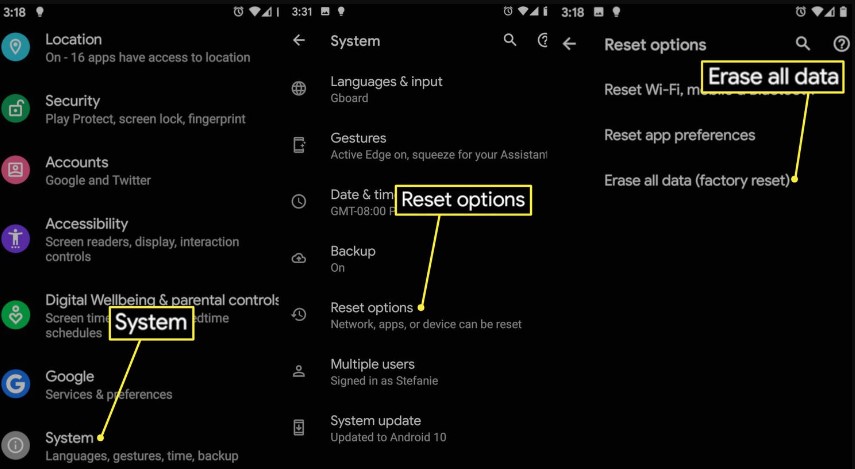
Step 9: Execute a Factory Reset as a Final Measure
In instances where the previously mentioned steps prove ineffective and there is a suspicion of software-related issues, contemplate the implementation of a factory reset. It is crucial to acknowledge that this action will result in the erasure of all data on your device. Hence, it is imperative to back up essential files before proceeding. Following the reset, configure your device as if it were new and conduct a comprehensive microphone test. This ultimate measure serves as a last resort, aiming to address persistent software-related complications and restore your Android device to optimal functionality.
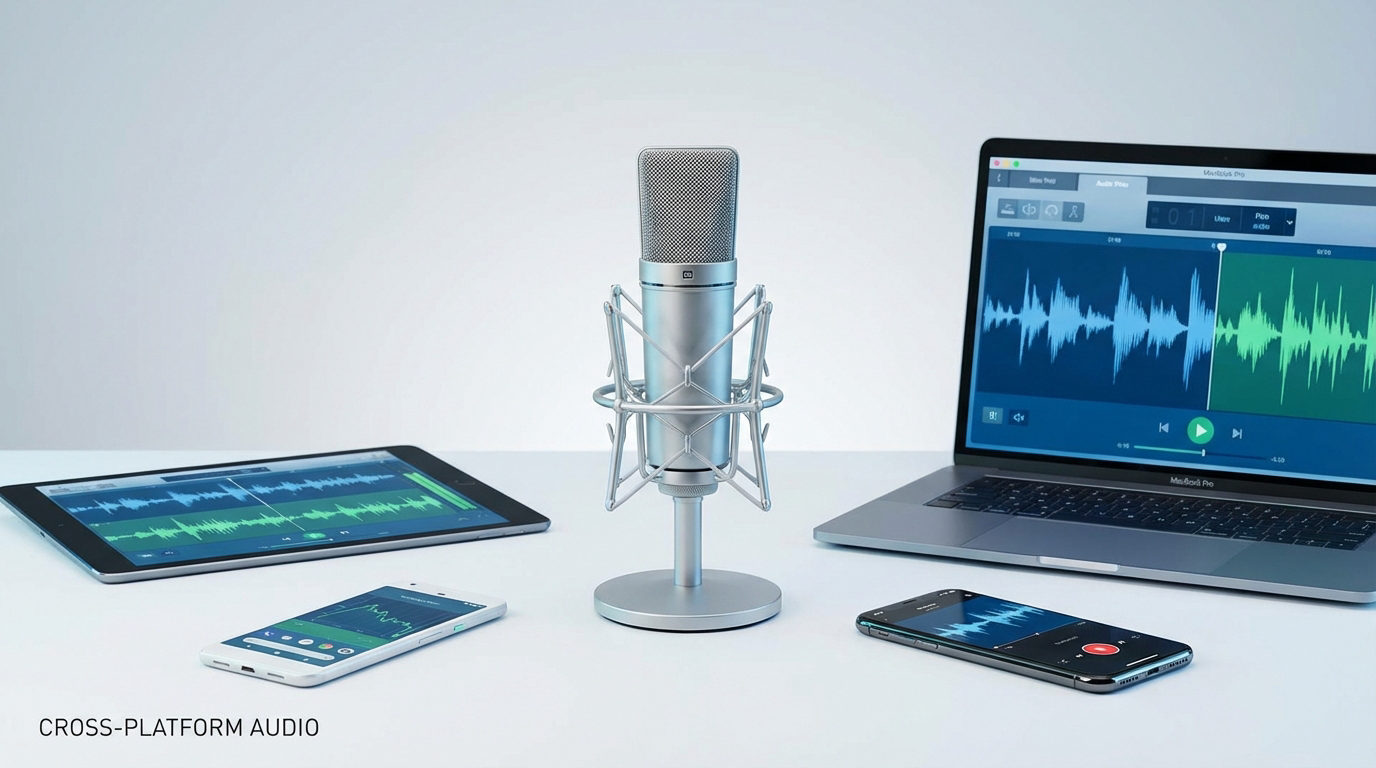
Bonus Tip: Use an External Wireless Microphone
For an additional boost to your audio experience on Android, consider utilizing an external wireless microphone. Opt for Hollyland Lark C1 which is particularly beneficial for users seeking improved sound quality in various scenarios, such as content creation, video recording, or live streaming.
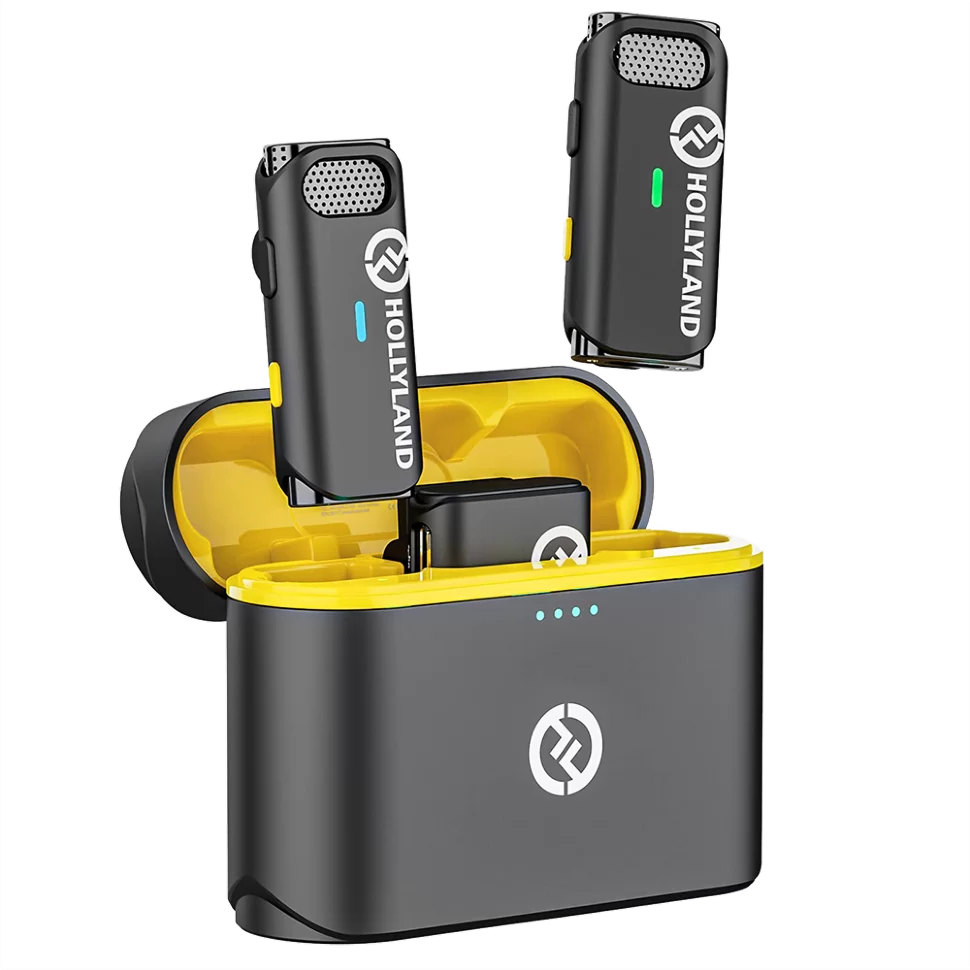
Hollyland Lark C1 - Wireless Microphone for Mobile
A plug-and-play wireless microphone system designed for mobile devices.
Key Features: MFi-certified | Hi-Fi Audio | 32 Hours Duration
By incorporating a Hollyland Lark C1 microphone into your audio setup, you not only enhance the overall quality but also introduce a level of flexibility that adapts to your dynamic recording or streaming requirements.
Conclusion
Through this comprehensive guide, we’ve equipped you with a systematic approach to testing your microphone on Android devices. From utilizing built-in voice recorders to exploring third-party applications, each step has been tailored for accessibility and effectiveness. Remember, a dynamic assessment involves not only software checks but also practical evaluations like phone calls and external microphone integration. Physical inspections, regular cleaning, and software updates contribute to the holistic maintenance of your microphone’s optimal performance.
Your Android device is a powerful communication tool, and maintaining a well-functioning microphone is key to unlocking its full potential. We value your input! Have you found this guide helpful in understanding and testing your Android microphone? Share your experiences, challenges, or additional tips in the comments below. Your feedback not only helps us enhance future content but also creates a collaborative space where Android users can exchange insights and solutions. We look forward to hearing about your microphone testing journey on Android!
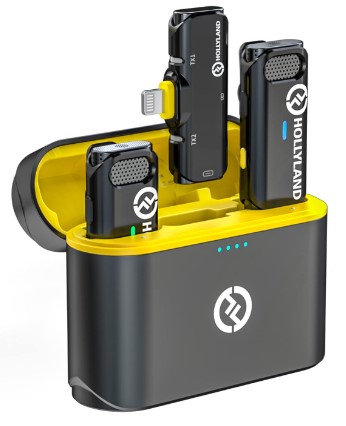
If you’re aiming for crystal-clear audio quality on your Android device, consider upgrading to a wireless lavalier microphone. Its streamlined design effortlessly captures pristine audio, making microphone testing and audio troubleshooting simpler and more effective.
Frequently Asked Questions
How do I know if my Android microphone is working properly?
You can perform a simple test by using the built-in voice recorder app on your Android device. Record a short audio clip and play it back to check for clear and undistorted sound. Additionally, make a test call to a friend or use a dedicated service like Echo Test Service to evaluate how your voice sounds during a call.
Can I test my Android microphone without any apps?
Yes, you can test your Android microphone without any apps by making a phone call or using the built-in voice recorder app. Both methods allow you to assess the microphone’s functionality without the need for additional applications.
What should I do if my microphone is not working on my Android phone?
If your microphone is not working, start by checking for physical obstructions or dirt around the microphone area. Restart your device, test the microphone again, and ensure that relevant apps have the necessary permissions. If issues persist, consider a factory reset as a last resort, but remember to back up your data first.
How can I clean my Android microphone?
Gently clean the microphone area using a soft brush or compressed air to remove dirt or debris. Avoid using sharp objects that could damage the microphone. Be cautious not to push debris further into the device during the cleaning process.
Are there any settings on Android to improve microphone sensitivity?
While Android may not have specific microphone sensitivity settings, you can try adjusting the volume levels during a call or while using voice recording apps. Additionally, keeping your device’s software up-to-date may contribute to overall microphone performance improvements.
Can a software update fix my microphone issues?
Yes, a software update can potentially fix microphone issues. Updates often include bug fixes and improvements that address various device functionalities, including microphone performance. Ensure your device is running the latest software version.
Is it possible to replace the microphone on an Android device?
Yes, it is possible to replace the microphone on an Android device, but it typically requires professional assistance. Contact your device’s manufacturer or a certified technician to inquire about repair or replacement options.
How can I prevent future microphone issues on my Android phone?
To prevent future microphone issues, avoid exposing your device to extreme conditions, regularly clean the microphone area, and handle your device with care. Keep your software up-to-date to benefit from improvements and bug fixes that may enhance microphone performance.
What are the common causes of microphone failure on Android devices?
Common causes of microphone failure on Android devices include physical damage, software glitches, app-related conflicts, and the accumulation of dirt or debris around the microphone area. Regular maintenance and proper handling can mitigate these issues.
How can third-party apps help in testing the Android microphone?
Third-party apps from the Google Play Store, such as “Microphone Test” or “Mic Test,” offer detailed insights into microphone performance. These apps provide additional testing features and analysis, allowing users to conduct more thorough assessments beyond the capabilities of built-in tools.