.png)
.png) Français
Français .png) Deutsch
Deutsch .png) Italiano
Italiano .png) 日本語
日本語 .png) Português
Português  Español
 Your microphone might stop working suddenly when attending an urgent call, resulting in a financial loss. Moreover, it is also possible that you may fail to record a vlog after your microphone stops working. To avoid such circumstances, you must regularly check your iPhone’s mic to detect any signs of error beforehand. For this purpose, this guide can help you learn about different ways to test iPhone microphones.
Method 1. Use Voice Memos App
iPhone has a built-in voice recorder that helps users test the workings of their microphones. Using this application, you can hear your voice after recording. Doing so will help you detect if there is any problem with the microphone. You can follow these simple steps to test your mic using this efficient application on your iPhone.
Step 1. Start by swiping to find the “Utilities” folder on your iPhone screen. Now, tap on this particular folder and choose the “Voice Memos” app to start testing your mic.
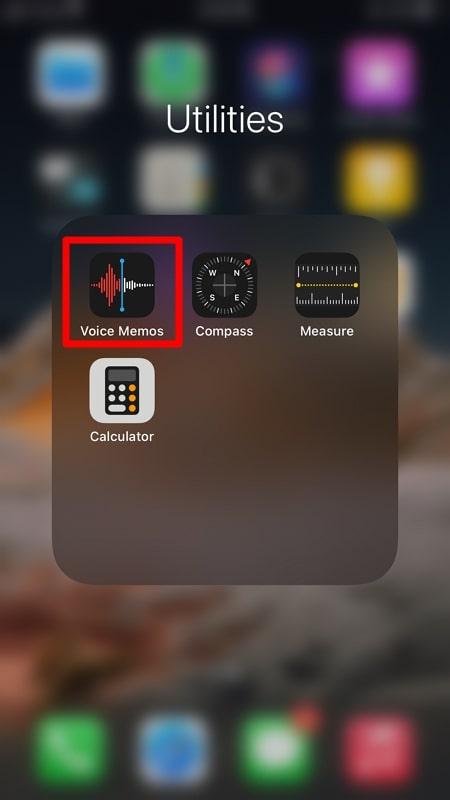
Start 2. After accessing the main interface, press the “Red Circle” button at the bottom to start recording your voice. Once you are done recording, hit the “Stop” button to save this audio.
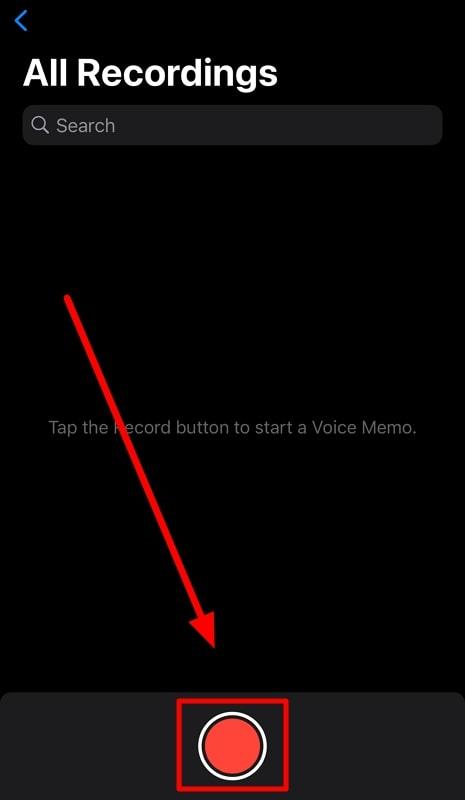
Step 3. Now, tap the “Play” button under the “New Recording” section to hear if there is any problem with the sound recorded by your microphone.

Method 2. Make a Phone Call
One of the most straightforward methods to test your microphone is to make calls using your iPhone. You can quickly determine the working condition of your mic if your voice is heard clearly by a person on the other side of the call. The following steps will help you test the mic using this calling method:
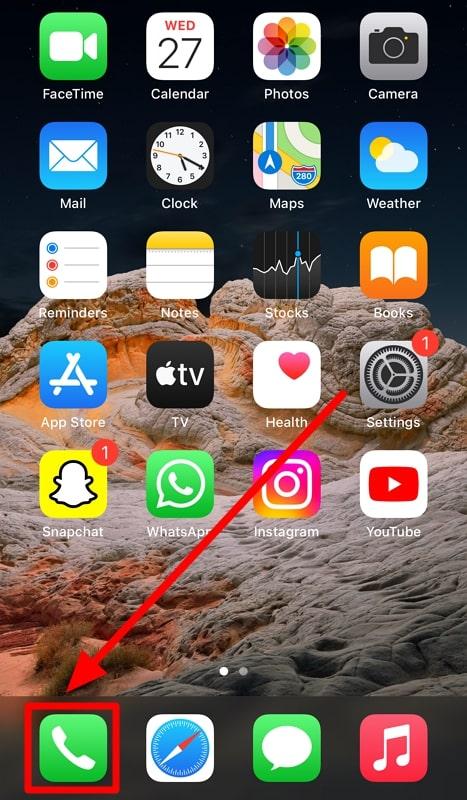
Step 1. Start the process by tapping the “Phone” app icon at the bottom of your screen. By doing so, you will access all the contacts and a keypad to make a call.
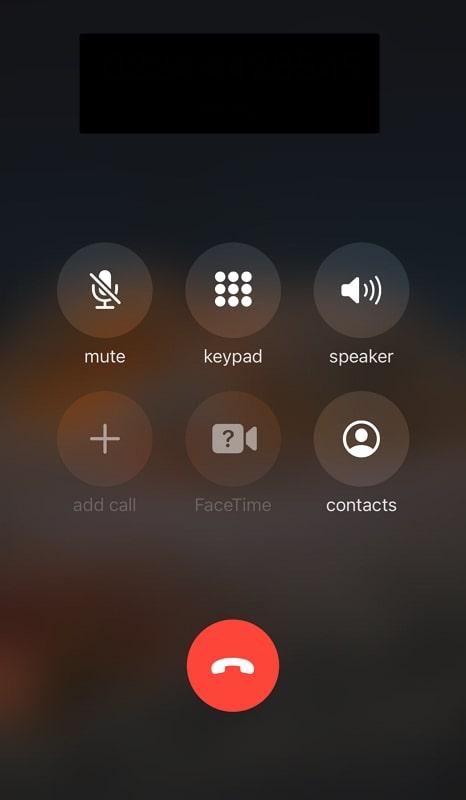
Step 2. Now, dial the number of the person you want to call to test your mic. After they pick up the call, talk to them to determine if they can hear your voice.
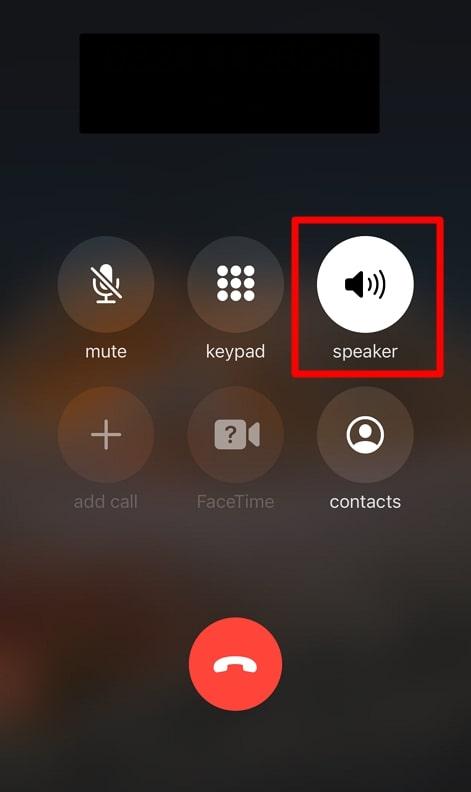
Step 3. Once satisfied with the working condition, switch to the “Speaker” mode to test the other microphone. Then, ask the person if they can hear your voice to get satisfaction about the proper working of this microphone as well.
Method 3. Ask Questions from Siri
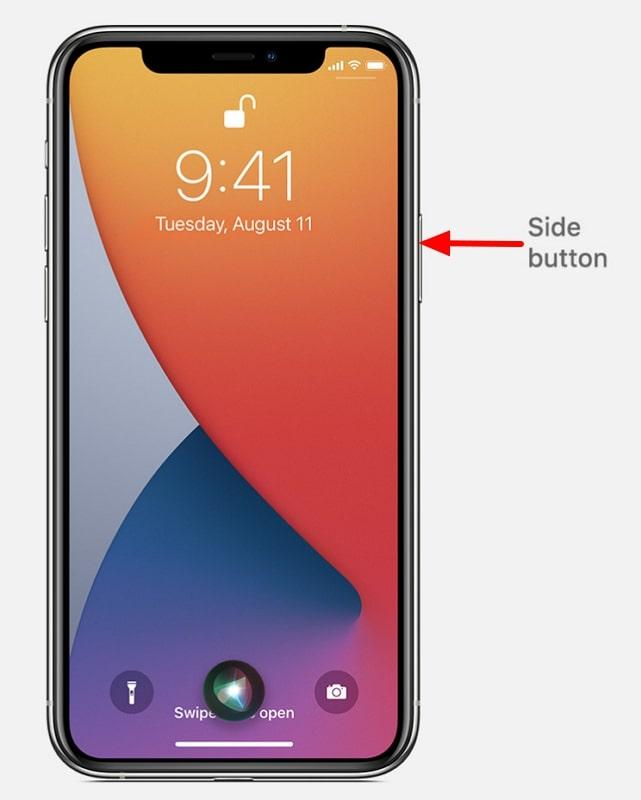
Users can also test the microphone condition by asking Siri questions. To do so, they only need to say “Hey Siri or Siri” to activate this AI assistance application. Upon activation, ask any question from this AI to see if it responds accurately.
After getting the correct answer from Siri, you can judge that your microphone is working correctly. Alternatively, you can also activate this AI assistant by pressing the “Side” button.
Method 4. Record a Video to Test the Mic
Video recording also proves to be a good option for testing the microphone and the camera. iPhone users can record videos in different settings to test whether their mic captures the sound properly. With these simple-to-follow steps, you can carry out this video recording function:
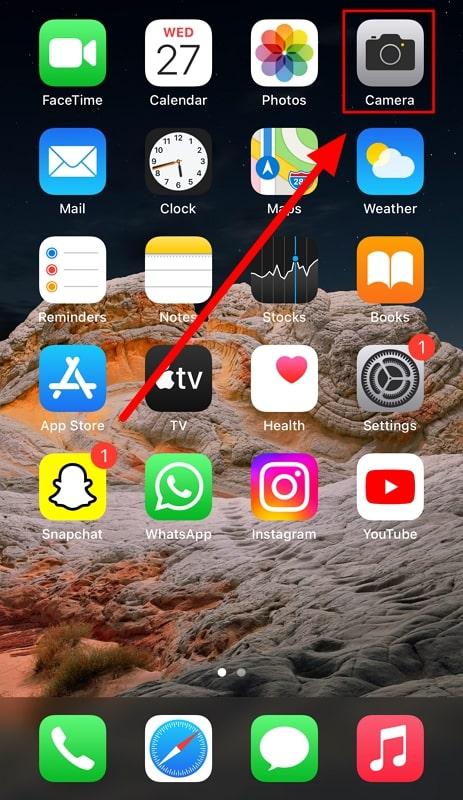
Step 1. To start the process, tap on the “Camera” app from the home screen of your iPhone to access the video recorder for mic testing.
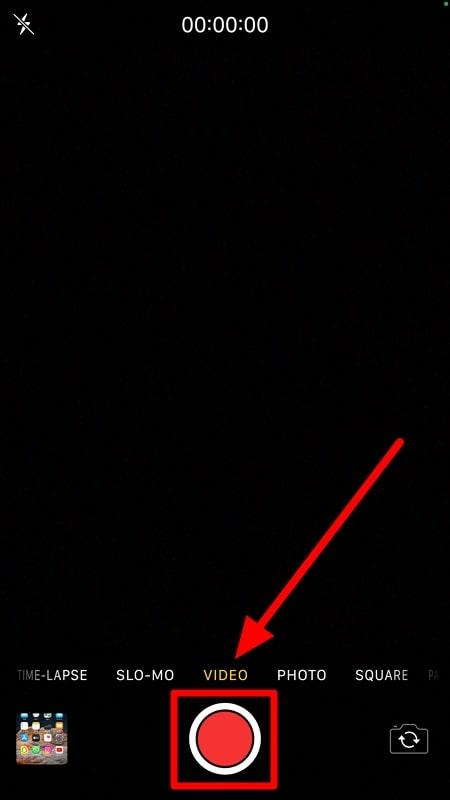
Step 2. Now, switch to the “Video” feature to reveal the recording button at the bottom of your screen. Then, press this “Red Circle” button to start recording your video and the audio. Finally, stop the video recording and play this newly recorded video to check if the microphone has appropriately worked or not.
Method 5. Check for Physical or Software Issues
There are some other methods that you can try to test and resolve any issues with your microphone. Using these physical and software-related methods will help you identify any specific problem with the mic. Also, we will explain some tips to rectify these errors related to the iPhone mic.
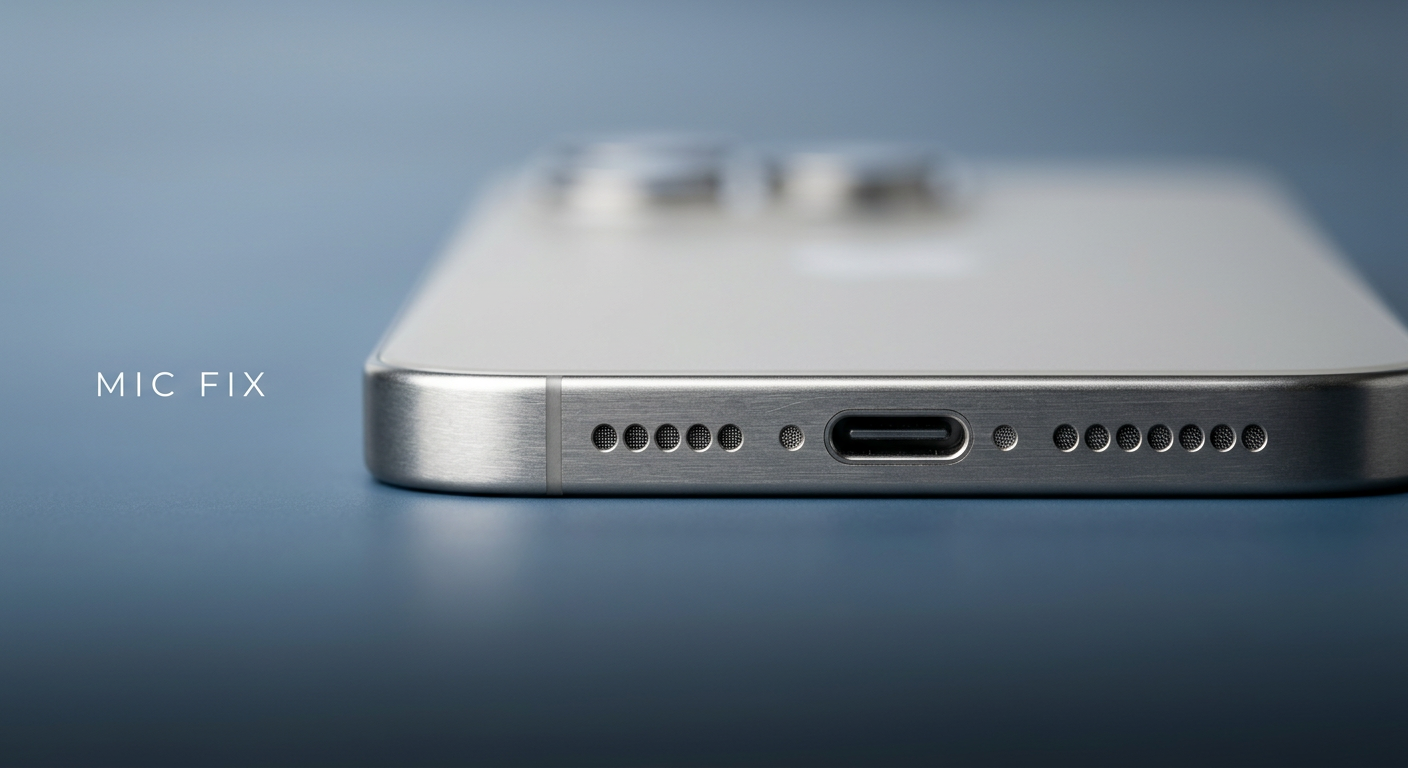
Inspect Your Microphone Ports
Dust and debris can accumulate in the microphone ports, eventually leading to dysfunctional mics. To fix this problem, you need to check if there are any dust particles trapped in the ports. Once you identify this issue, utilize a soft-bristled brush to clear any dust present in the microphone holes. You have to be careful while cleaning these ports to avoid damaging the mics.
Restart Your iOS Device
If you have detected some software-related issues with the microphone working, you can try restarting your device to resolve such issues. To perform this action, follow these simple instructions step by step.
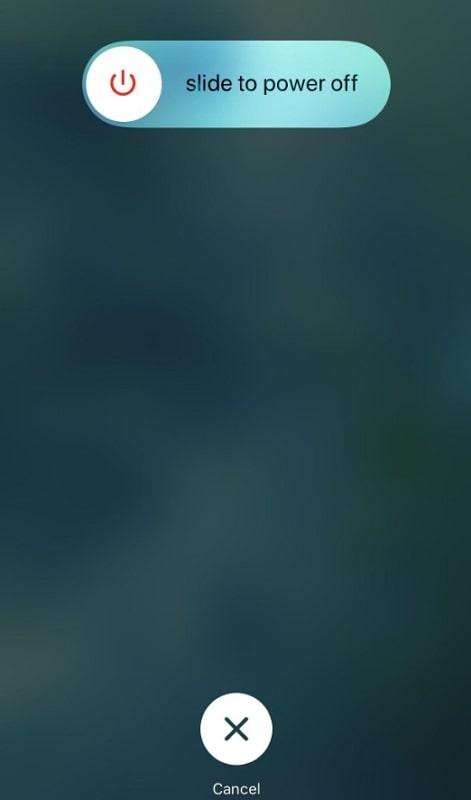
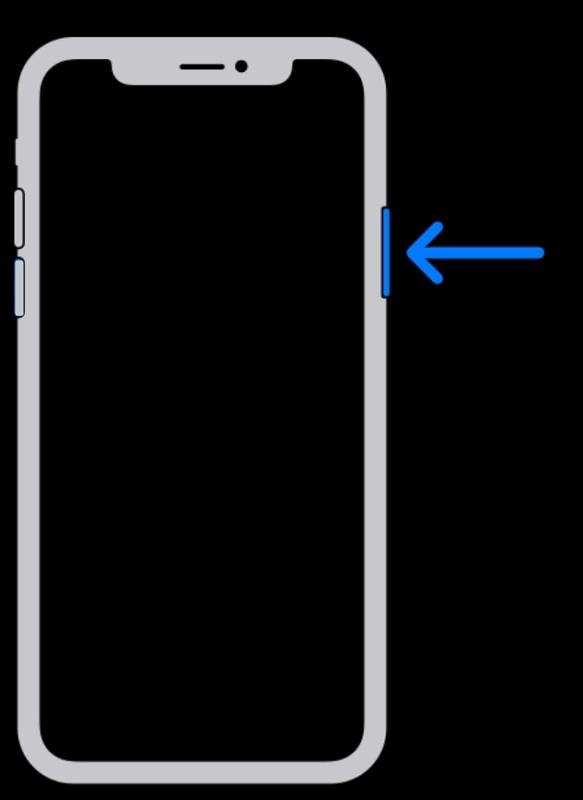
Step 1. Start this procedure by pressing the “Volume Up/Down” button and holding the “Side” button simultaneously. Continue to hold both these buttons until the power-off screen appears.
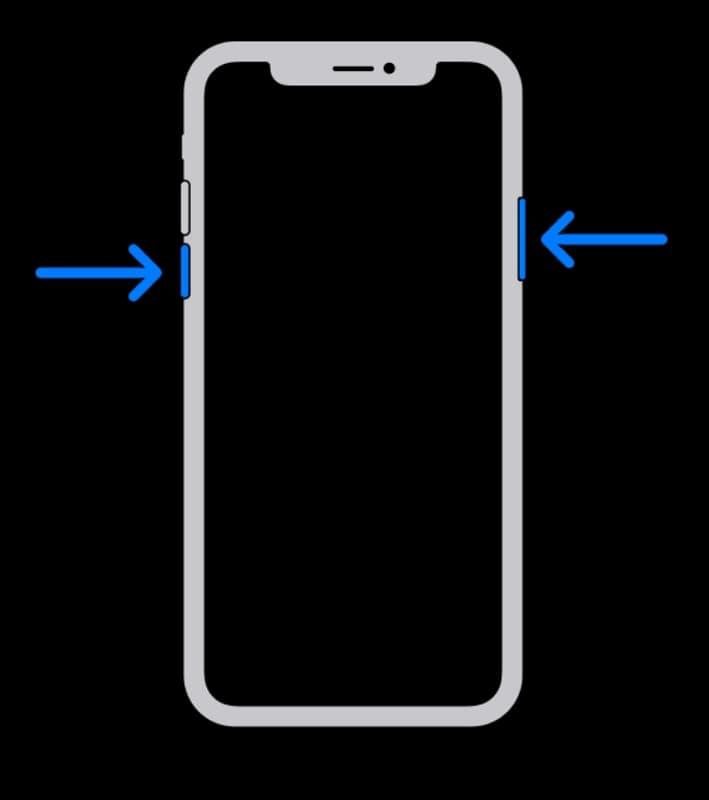
Step 2. Next, drag the “Power Off” slider to the right to resolve mic issues by shutting off your iDevice.
Step 3. Moving forward, press and hold the “Side” button to restart your iPhone. Doing so will fix any minor software-related issues with your microphone.
Update Your iOS Version to Rectify Software-Related Problems
Users will also be able to fix their microphone issues due to the software bug by updating their iDevice. This process is achievable using the following simple-to-follow instructions:
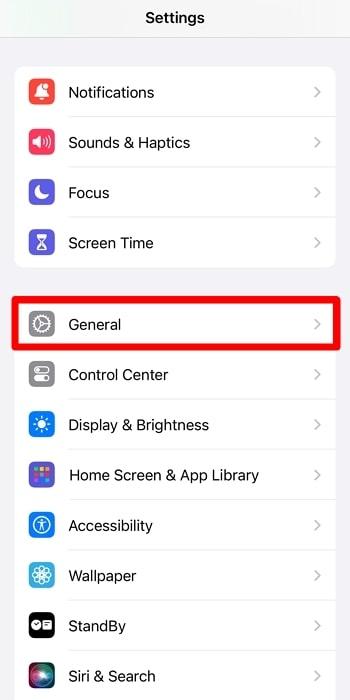
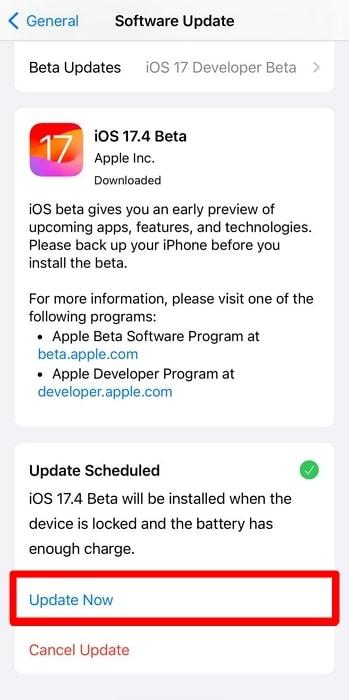
Step 1. First, you need to enter the “Settings” application from your iPhone’s home screen. From here, hit the “General” option to access your phone’s management settings.
Step 2. Within these settings, locate and tap the “Software Update” option to update your iDevice to resolve mic-related issues.
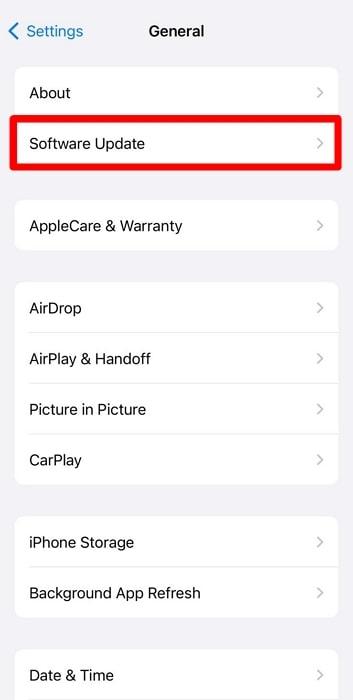
Step 3. Upon seeing the new update available, press the “Update Now” button to upgrade your iOS firmware.
Method 6. Use External Microphone to Test Microphone
You can also connect an external microphone to test on an iPhone. Here are the detailed steps to test your iPhone microphone using the Hollyland Lark M1 microphone:
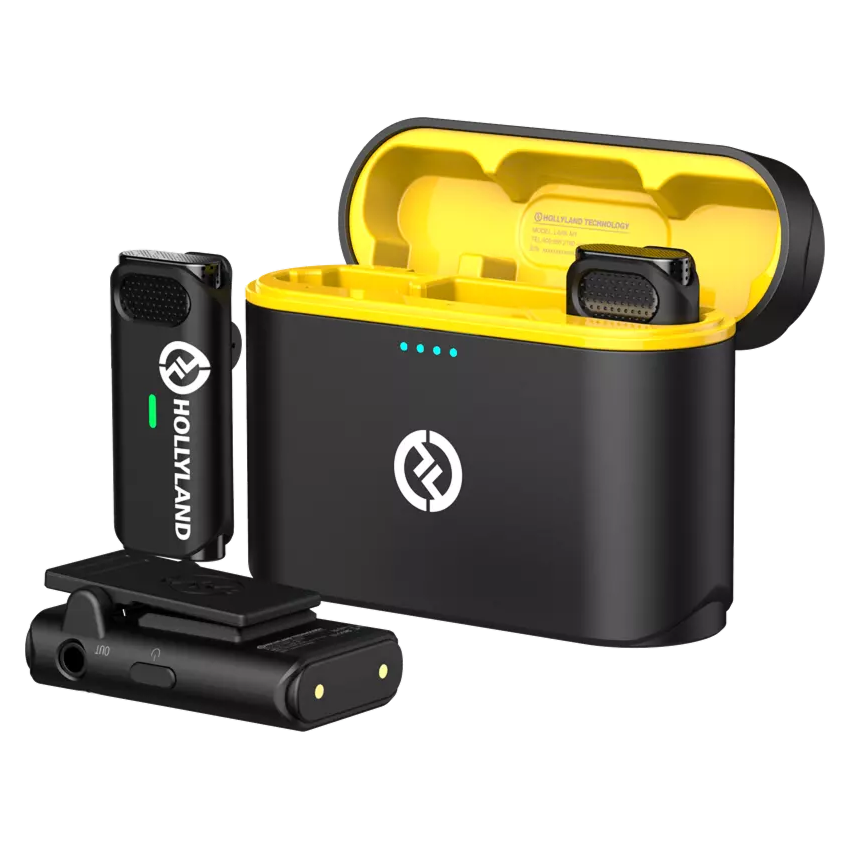
Hollyland LARK M1 - Tiny Wireless Microphone
A lightweight and user-friendly wireless microphone with one-click noise cancellation.
Key Features: Hi-Fi Sound Quality | Tiny & Light Design | Plug and Play
- Connect the Hollyland Lark M1 to Your iPhone:
- Ensure your Hollyland Lark M1 microphone is charged.
- Turn on the microphone and the receiver unit.
- Connect the receiver to your iPhone using the appropriate cable or adapter (usually a Lightning to 3.5mm cable or a Lightning to USB-C cable, depending on your iPhone model).
- Use Voice Memos to Test the Microphone:
- Open the “Voice Memos” app on your iPhone.
- Tap the red record button to start recording.
- Speak into the Hollyland Lark M1 microphone.
- Tap the red button again to stop recording.
- Play back the recording to ensure the microphone is capturing sound clearly.
- Make a Phone Call:
- Make a phone call to a friend or family member.
- During the call, speak into the Hollyland Lark M1 microphone.
- Ask the person on the other end if they can hear you clearly.
- Switch to speaker mode and repeat to test the iPhone’s built-in microphones.
- Ask Siri:
- Activate Siri by saying “Hey Siri” or by pressing the side button.
- Ask Siri a question and see if it responds accurately, indicating the microphone is working.
- Record a Video:
- Open the “Camera” app and switch to video mode.
- Record a video while speaking into the microphone.
- Play back the video to check the audio quality.
- Check for Software Updates:
- Go to “Settings” > “General” > “Software Update”.
- Update your iPhone to the latest iOS version if available.
- Test with Third-Party Apps:
- Use any third-party recording apps available on the App Store to further test the microphone.
Method 7. Use Third-Party Applications to Test Microphone
Other than built-in methods provided by your iPhone, you can try out third-party apps to test the functionality of your mic. For this purpose, Mic Test – Instant Audio Check will prove to be a good option.
With its excellent audio recording capabilities, you can access an instant volume meter to test your mobile’s sound-capturing ability. Users can take guidance from these simple steps to test their mic using this third-party app.
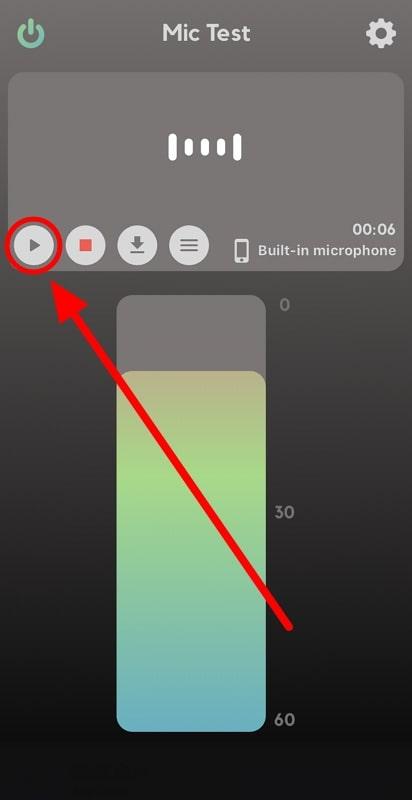
Step 1. To begin the process, tap on the “Mic Test” app icon on your mobile’s home screen. From the Mic Test app, press the “Record” button to start capturing your audio. Now, speak in different tones to test the working of your mics.

Step 2. Finally, stop the recording and hit the “Play” button to ensure your microphone has successfully recorded the audio.
FAQs Related to Testing Microphone on iPhone
Q1. How do I know which microphone is not working on my iPhone?
There are several methods to test different microphones on your device. To test the primary mic, you can utilize the Voice Memos application. In addition, a selfie video recording will help you check if your front mic is working. Also, you will be able to check the back microphone using the normal video recording mode.
Q2. Can iPhone microphone issues be fixed at home?
Yes, you can fix the mobile microphone issues at home using simple physical or software-related solutions. First, look to clean the dust gathered around the microphone ports to facilitate its functionality. Other than that, users should update their iDevice to fix this issue.
Q3. What can I do if my iPhone microphone is not working after the version update?
Whenever you face such issues, your priority should be restarting the device. In cases when the problem still persists, contact Apple Support to get this issue resolved.
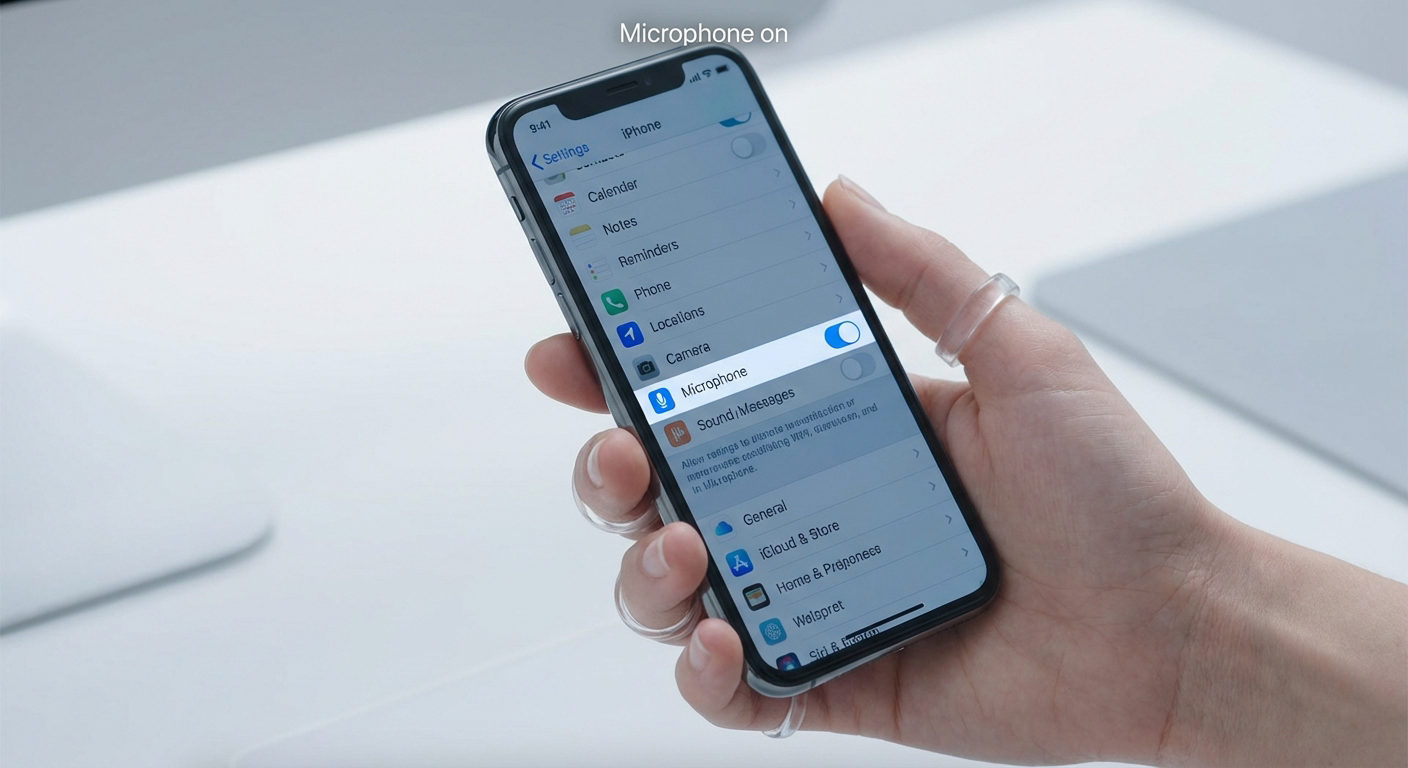
Q4. Are there any settings that can affect microphone functionality on an iPhone?
The microphone permission settings have the potential to affect the workings of your mic. You can adjust these settings by accessing them through the “Privacy & Security” setting option on your iPhone. Also, users can change the microphone modes to get access to mics with different functionality.
Q5. How can I test my iPhone microphone without making a call?
You can apply different methods to test the microphone without making a call from your device. One such method is recording your voice in the “Voice Memos” application. Alternatively, you can try recording the video to test the functionality of your mic.
Q6. Is it possible that a case or screen protector is blocking my iPhone microphone?
Yes, it is possible for a bulky case to put too much pressure on the bottom to block the mic ports entirely. In addition to that, some full-coverage screen protectors might extend down to cover the microphone holes. However, all these situations depend upon the type of charging case and position of your iPhone mics.
Q7. What are the signs of a failing iPhone microphone?
The first sign of your iPhone microphone dysfunction will be others complaining about the issues with your voice while calling. Moreover, Siri’s misunderstanding of your questions can also indicate that your microphone is not working properly.
Q8. Can water affect iPhone microphone functionality?
Nowadays, most iPhone models are water-resistant to protect your microphone from the harmful effects of water. However, these mics can be dysfunctional due to water damage, as they are not entirely waterproof. So, even a bit of water can make the audio muffled.
Q9. How many microphones does an iPhone have, and how can I test them all?
Typically, iPhones have three microphones located at the bottom, top, and back for proper sound capturing. You can test the bottom microphone by making a simple audio call to any person. On the other hand, the top microphone can be checked by recording video with the selfie camera. Plus, the mic on the back of your phone will be tested using standard video recording.
Q10. What should I do if none of the testing methods show a problem, but my microphone still doesn’t work?
If you have tried all the methods to resolve the mic issues, only one thing can solve this persisting problem. For this purpose, you need to contact Apple Support to get your mic fixed.
Final Thoughts
All the methods discussed in this article will help you test the iPhone microphone. After detecting the issue, you can try various methods explained here to get the mic fixed. However, if the issue still remains, we recommend you contact the Apple Support team to finally settle this problem.