.png)
 简体中文

Sax recordings can sound disappointing even with a great microphone. Most of the time, the microphone placement causes the actual recording problems. A saxophone sends sound from several points along its body. Pointing straight into the bell only captures one part.
This guide covers four main microphone placement positions to try. It also explains useful distance and angle guidelines for placement. You will also learn about matching microphones with different sax styles. Wireless options for live gigs and mobile recording get covered too. Plus, we will explain common placement mistakes that quietly ruin recordings.

Why Saxophone Acoustics Determine Where You Place the Mic
The instinct when miking any horn is to aim at the bell. For a trumpet or trombone, that instinct is at least partially justified since those instruments project most of their energy from the bell opening. The saxophone behaves differently. Sound exits at multiple points along the tube, distributed according to which tone holes are open for the note being played. This means the acoustic picture shifts constantly as the player moves through a passage.

High-frequency content does exit primarily from the bell, which is why bell-aimed captures can sound bright and forward in a mix. Mid and lower frequencies come through those open tone holes. They’re spread across the saxophone’s upper body section. A microphone placed directly in front of the bell and aimed straight in picks up a spectrally incomplete signal: heavy on top-end energy, thin in the mid-range, and prone to overloading on low notes where the bell’s output concentrates suddenly.
Understanding the saxophone’s three radiation zones changes every placement decision that follows:
- Bell: Primary source of high-frequency content, transient attack, and projection
- Upper body tone holes: Mid-range and lower-frequency emission; the broadest acoustic output point across most of the instrument’s range
- Overall body resonance: Diffuse low-mid energy that spreads into the room rather than projecting in a single direction
Placing the microphone to capture the tone holes alongside the bell is not a workaround or a compromise. It is the approach that delivers the full frequency spectrum the instrument actually produces.
The Four Core Microphone Placement Positions for Saxophone
No single position performs equally well across every recording context. Each of the four positions below targets a different sonic priority, comes with a specific starting distance and angle, and suits particular genres and use cases. Working through them in order of general usefulness gives you a practical hierarchy to draw from.
Upper Body / Tone Holes: The Most Balanced Starting Position
Position the microphone at chest-to-neck height relative to the instrument, angled inward toward the upper body where the tone holes are most concentrated. This intercepts the mid-range output from the tone holes and a portion of the bell’s high-frequency output simultaneously, which is why it tends to produce the most spectrally complete, natural-sounding capture of the four positions.
Start at 12 to 18 inches from the instrument body, with the capsule angled slightly toward the center of the instrument rather than pointing straight in at 90 degrees. Moving the mic a few inches downward toward the bell introduces more brightness and attack. Moving it upward toward the neck and mouthpiece area softens the top end and can add more breath character, which suits certain musical contexts more than others. Work from the baseline by ear rather than committing to an exact position before listening back.
| Distance | 12-18 inches |
| Angle | Slightly off-axis, angled toward upper body |
| Tonal Character | Balanced, full-range, natural |
| Best For | First sessions, most genres, demo and release recordings |
Bell Placement: Brightness and Projection
The bell position captures the saxophone’s forward, projecting character, making it a strong choice for genres like pop, R&B, and uptempo jazz where the instrument needs to cut through a dense arrangement. Place the microphone 12 to 24 inches from the bell, angled 30 to 45 degrees off the center axis rather than pointing directly into the opening.
That off-axis angle is the detail most beginners miss. On-axis placement concentrates the highest-SPL, highest-frequency output straight into the capsule. On low notes, this causes overloads even at moderate preamp gain levels, and the resulting brightness reads as harshness rather than presence. Moving off-axis smooths the high-frequency response, reduces the clipping risk, and pulls the upper key mechanism outside the mic’s direct line of sight, which also reduces key noise.

| Distance | 12-24 inches |
| Angle | 30-45 degrees off the center axis of the bell |
| Tonal Character | Bright, forward, projecting |
| Best For | Pop, R&B, uptempo jazz; recordings needing clear presence in a dense mix |
Pro Tip: If the recording still sounds harsh after moving off-axis, increase the distance by a few inches before reaching for a high-shelf EQ cut. Distance solves the problem at the source; EQ can only soften the symptom.
Overhead Placement: Natural Air and Reduced Key Noise
Place the microphone 18 to 36 inches directly above the player, angled downward toward the instrument body. From here, the capsule picks up a balanced blend of saxophone sound. It avoids directly facing either the bell or tone holes. This keeps the captured sound more naturally balanced. The result is an open, slightly ambient sound with a more even low-mid balance than close bell placement, and noticeably less mechanical key noise because the upper key mechanism is farther from the capsule.
The trade-off is that overhead placement captures more of the room. In a well-treated or naturally good-sounding space, this adds useful air to the recording. In an untreated room, it risks introducing early reflections that blur the instrument image.
| Distance | 18-36 inches above the player |
| Angle | Angled downward toward the instrument body |
| Tonal Character | Natural, airy, slightly ambient |
| Best For | Acoustic jazz, ballads, rooms with good natural acoustics |
Room / Ambient Placement: Adding Space to a Close-Mic Setup
Placing another microphone three to eight feet away captures natural room reverb. It records that ambience alongside the saxophone’s direct instrument sound. This approach only helps when the room already sounds good. Otherwise, acoustic problems get captured just as clearly too.
Combining this microphone with a close mic requires phase coherence. Misaligned microphones can create noticeable frequency cancellations during the mix. Those cancellations may leave the combined recording sounding noticeably hollow. The multi-mic section below explains the practical solution.
Distance and Angle: Practical Rules to Dial In Your Placement
Distance is not just a proximity preference. The microphone’s placement directly affects the captured frequency balance. At under six to eight inches from the source, directional microphones produce a measurable low-frequency buildup known as proximity effect. For saxophone, this typically creates a muddy low-end that conflicts with other instruments in a mix, and it exaggerates the mechanical thump of key presses. Starting at 12 to 18 inches avoids this entirely and gives you a tonally neutral baseline to work from before making any adjustments.
Microphone angle changes the recording in its own distinct way. Most cardioid microphones have a slight on-axis frequency peak. That boost often emphasizes higher frequencies more noticeably. On saxophone, that extra high end can sound harsh. This happens because saxophone covers a broad frequency range. A 15 to 45 degree off-axis placement smooths that response and lowers the overload risk at closer bell distances. Player movement is also a real variable worth planning around. Saxophonists naturally shift their posture and raise or lower the bell during a performance. Designing placement around the widest expected arc of motion prevents tonal inconsistency within a single take.
| Distance Range | Tonal Effect | Notes | Best Scenario |
|---|---|---|---|
| Under 6 inches | Heavy proximity buildup; high overload risk | Significant mechanical noise | Rarely recommended |
| 6-12 inches | Close, present, some proximity warmth | Monitor gain carefully | Deliberate close-mic character |
| 12-18 inches | Balanced, natural, full-range | Universal starting point | Most studio sessions |
| 18-36 inches | More room, softer direct signal | Sensitive to room quality | Overhead placement |
| 3-8 feet | Room capture only | Phase alignment required | Ambient second mic |
Matching Microphone Type to Placement Position
Mic type and placement interact directly. Choosing one without considering the other leaves performance on the table.
| Mic Type | Recommended Position | Resulting Character | Key Caveat |
|---|---|---|---|
| Large-diaphragm condenser | Upper body, overhead | Detailed, full-range, clear | Sensitive to room reflections |
| Small-diaphragm condenser | Overhead stereo pair | Tight transients, accurate stereo imaging | Less flattering as a solo close mic |
| Dynamic mic | Bell, close positions | Handles high SPL cleanly; warm-to-neutral | Less extended top-end than a condenser |
| Ribbon mic | Mid-distance upper body | Warm, smooth, natural | Fragile; avoid close bell placement where SPL is highest |
Polar pattern adds a second layer of choice. A cardioid microphone rejects sound from behind while remaining sensitive to the sides, which improves isolation in rooms that are not acoustically treated. An omnidirectional microphone captures sound equally from all directions, yielding a more natural low-end without proximity effect. This makes omni a useful option for the upper-body position in rooms with clean acoustics. In an untreated home studio, cardioid is the safer starting pattern because it limits how much of the room bleeds into the recording.
Wireless and Clip-On Mic Placement for Live and Mobile Recording
Mic stands and studio cables are not always practical. For live performance, busking, outdoor recording sessions, or mobile content creation, a small clip-on wireless transmitter gives the player freedom of movement while maintaining a consistent pickup point. The placement principles remain the same as in the studio context; the goal is still to capture the full frequency spectrum rather than just the bell’s output. The difference is that the mounting point is now dictated by where the transmitter clip can attach to the instrument.

Two clip positions have become standard in live saxophone work. The first is near the upper body and tone holes area, which closely mirrors the balanced studio placement described earlier. This captures a natural frequency balance across the instrument’s range and keeps the module away from the bell’s peak SPL output. The second option is mounting the transmitter at or near the bell rim, angled slightly inward. This placement gives the saxophone a brighter, stronger projected character. But live monitoring can increase feedback risk with this setup. That happens because the microphone sits closer to the bell. The pickup point sits near the bell’s direct output zone.
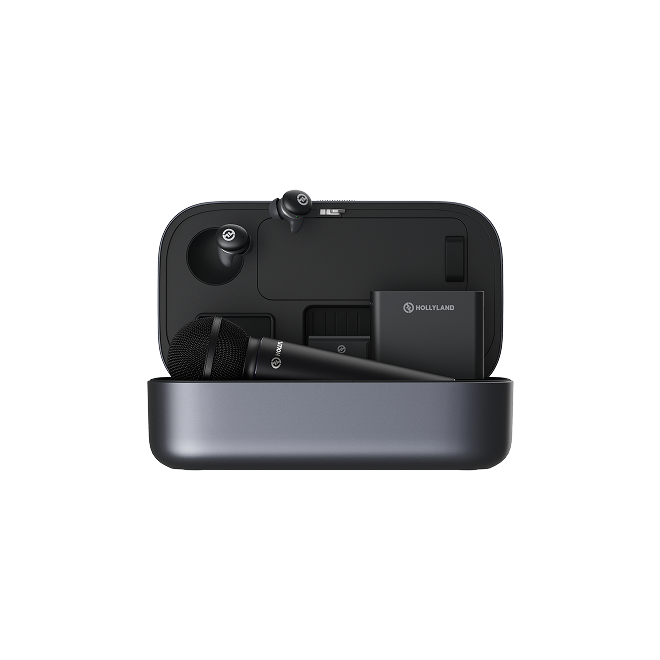
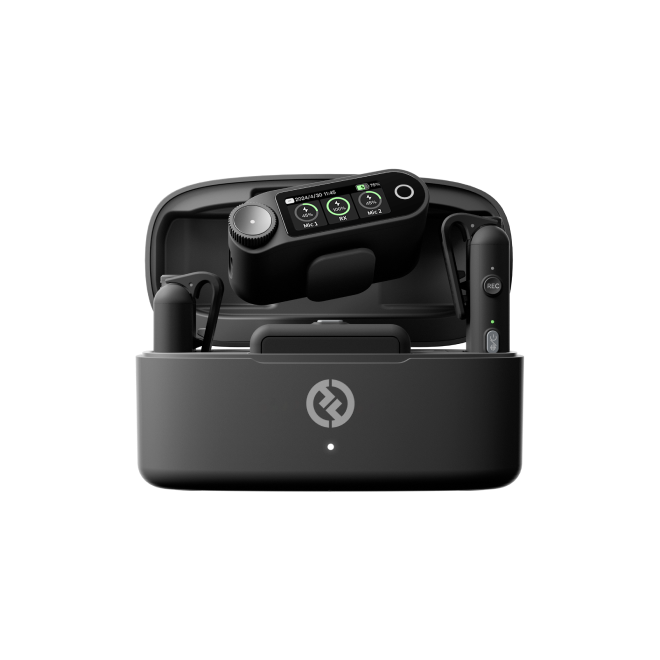
For live gigs and mobile recording, the Hollyland LARK MAX 2 deserves attention. Its transmitter clip mounts around the saxophone’s upper body area. That makes it the closest wireless match for studio placement. The transmitter also records internally using 32-bit float technology. That matters because saxophones have unpredictable, wide dynamic ranges.
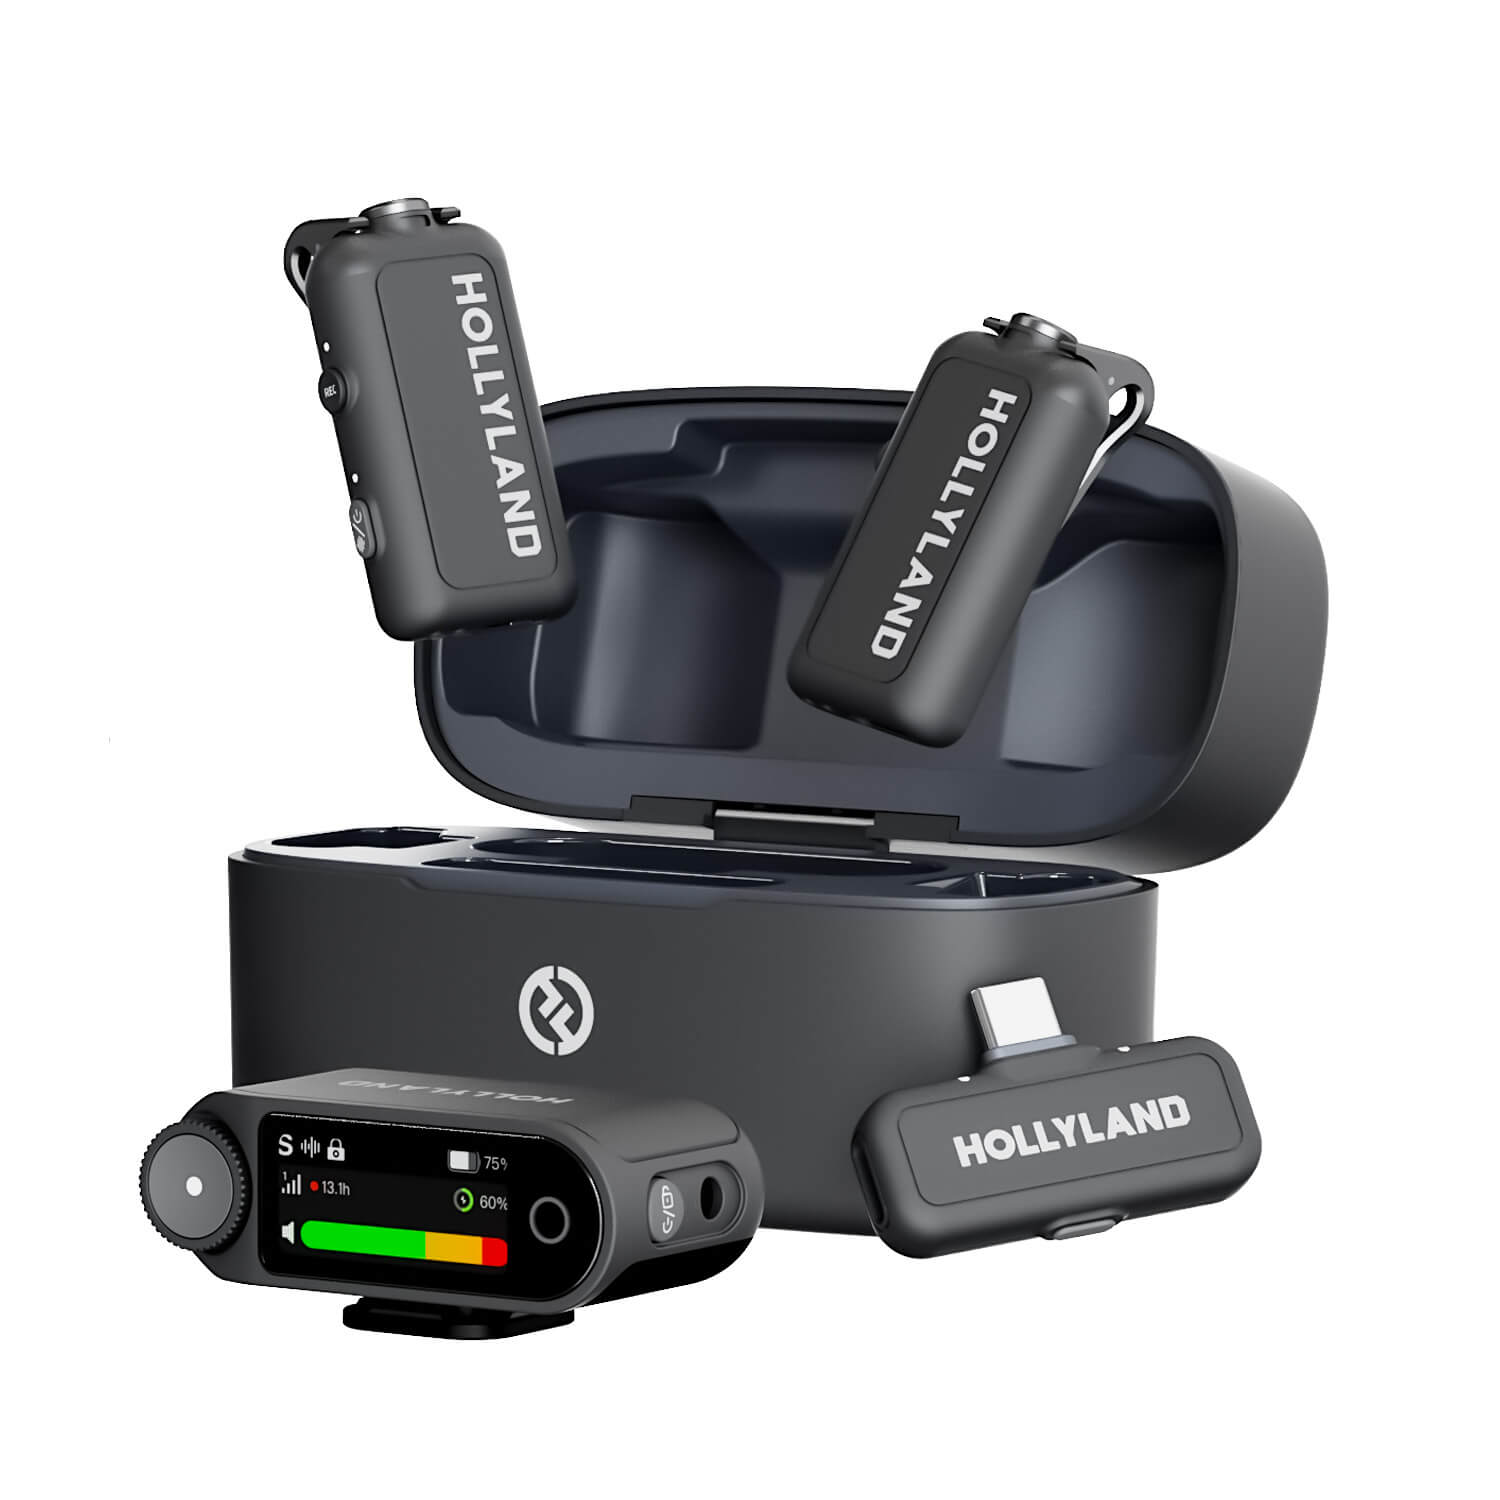
Hollyland LARK MAX 2 - Premium Wireless Microphone System
A premium wireless microphone for videographers, podcasters, and content creators to capture broadcast-quality sound.
Key Features: Wireless Audio Monitoring | 32-bit Float | Timecode
Altissimo notes can suddenly create intense peaks during performances. Hard accents and quick swells can also become unexpectedly loud. Fixed-gain recordings may clip when those sudden peaks happen. With 32-bit float, internal recording helps protect against clipping. It maintains that protection regardless of the incoming input level. This removes manual gain adjustments during an ongoing performance.
Another important issue is taking care of the audio levels while playing the saxophone. But LARK MAX 2 solves this problem since the kit comes with low-latency OWS wireless earphones. Performers or nearby engineers can check the capture while recording. They can confirm clean placement without stopping the entire session.
Clip Placement Options:
- Upper tone holes area (recommended): Balanced frequency capture; mirrors studio upper-body position; lower live feedback risk
- Bell rim, angled inward: Brighter character; higher feedback risk; works in controlled venues with carefully positioned monitor speakers
Multi-Mic Techniques: Combining Positions Without Phase Problems
Pairing a close upper-body mic with an overhead or room mic adds depth and natural space that a single mic cannot deliver alone. The technique is practical at any studio level but introduces one specific technical risk: phase cancellation.

When two microphones capture the same source from different distances, the sound arrives at each capsule at slightly different times. When you sum those signals in a DAW, the time offset creates frequency cancellations. Certain frequencies add together; others cancel out. The combined recording sounds thinner, hollower, or oddly coloured compared to either mic soloed independently.
The 3:1 rule gives you a solid starting point here. Keep microphone two at least three times farther away. Compare its distance against microphone one’s distance from the saxophone. For example, the close mic sits 12 inches from the saxophone. The ambient microphone should then sit at least 36 inches away. This spacing limits overlap between both microphones’ pickup areas. That helps reduce phase interference before any DAW correction. So, you can start mixing without immediate phase fixes.
When in doubt, run a quick phase check:
- Record a passage with both mics simultaneously
- Solo each mic and confirm both capture the source clearly on their own
- Sum both mics and compare the level and tone to each mic soloed
- If the combined signal sounds noticeably thinner or quieter, flip the polarity on one track
- Keep whichever polarity setting produces the fuller, more coherent combined sound
Physical adjustment of the second mic’s position remains more reliable than relying on a polarity flip, because flipping polarity can resolve one cancellation zone while creating another at a different frequency range. Use the DAW check to diagnose the problem, then move the mic to fix it at the source.
Common Microphone Placement Mistakes When Recording Saxophone
- Pointing the mic directly into the bell center: Produces a spectrally unbalanced recording with exaggerated high-end and frequent overloads on low notes where bell output is most concentrated.
- Placing the mic under 6 inches from any position: Proximity effect thickens the low end artificially, and mechanical key noise becomes prominent in the capture.
- Ignoring player movement: As the bell swings in and out of the mic’s capture zone during a performance, tonal balance shifts noticeably between takes or within a single phrase.
- Combining two mics at equal distances without a phase check: Frequency cancellations make the summed signal sound thinner than either mic recorded on its own.
- Using heavy EQ to correct a placement problem: EQ cannot reconstruct frequency information the microphone never captured; fix placement first, then reach for EQ if needed.
FAQs
Where is the best place to start when miking a saxophone?
Start about a third of the way up the instrument between the bell and the mouthpiece (aimed at the mid-body keys), roughly 12 to 18 inches from the instrument, with the capsule angled slightly inward. This position captures the broadest frequency balance across the instrument’s range and gives you a neutral baseline to adjust from. It works across genres, suits large-diaphragm condensers, and requires less trial-and-error than any other starting point.
Should I mic the bell of a saxophone?
Off-axis bell placement can work well, but pointing the mic straight into the center of the bell is one of the most common recording mistakes. Position the capsule 30 to 45 degrees off the center axis at a distance of 12 to 24 inches. This captures the bell’s brightness and projection while reducing harshness and lowering the risk of low-note overloads.
Condenser or dynamic mic for saxophone?
The right choice follows the placement position. A large-diaphragm condenser handles upper-body and overhead placement well, delivering detailed full-range capture. A dynamic mic suits close bell placement better because it handles high SPL cleanly without distorting, though its top-end extension is more limited. Decide on placement first, then select the mic type that matches what that position demands.
How do I reduce key noise in a saxophone recording?
Increase the mic distance slightly, angle the capsule away from the upper key mechanism, or shift to an overhead position. Greater vertical distance reduces the level of mechanical clicks relative to the instrument’s core tone. Keeping the mic at 12 inches or above generally keeps key noise at manageable levels in any final mix.
Can I use a wireless clip-on mic to record saxophone?
Yes. Clip the transmitter near the upper tone holes area to mirror the balanced studio placement position. Microphones with 32-bit float recording make sax sessions much easier. The Hollyland LARK MAX 2 handles those loud moments smoothly. You won’t need constant gain adjustments during your performance. That’s super convenient for live gigs and mobile recording. Stopping mid-performance just to tweak gain gets annoying. With 32-bit float recording, you can keep playing instead.
Conclusion
Start around the upper body and tone holes, about 12 to 18 inches. Keep the microphone slightly off-axis for a solid starting point. This setup stays reliable across genres, rooms, and microphone types. From there, trust your ears and make tiny placement tweaks. Move slightly toward the bell when you want extra brightness. Move a little higher when you want more airy sound. Once that foundation feels good, you can explore room treatment. Preamp gain staging can also help polish your recorded sax sound.


