.png)
Nothing ruins your “pro editor” credibility faster than audio that peaks everywhere and nowhere. You’re leaning forward to hear someone whisper, and then BAM. A sound effect or vocal clip out of nowhere.
The best way to solve that issue is to get yourself an excellent wireless microphone, like the Hollyland LARK MAX 2. It comes with various modern features, including 32-bit float onboard recording. It is also equipped with wireless monitoring through OWS Bluetooth earphones. Really helpful if you’re covering any live event.


But despite the best gear, you still have to battle your audio in post-production. So, lets learn how to normalize audio in Premiere.
What is Audio Normalization in Premiere?
Essentially, normalization in Premiere functions similarly to an auto-level button. It brings your volume up or down so your clips are not all vying for attention.
But heads up—normalization isn’t a fairy godmother. You can kill the dynamics in a song if you knock it out flat. That quiet-loud drama in music or movies? Gone. So sure, use normalization to fix chaos, not to polish what’s already working.
Why Should You Even Care?
Dialing in normalization just makes everything sound professional. Everything from the speaking to the background music sounds smooth—and it’s not rocket science, but it makes your video way more watchable. It’s a “little” tweak that makes you look like you know what you’re doing.
Quick Detour:
Professional editors love discussing LUFS (Loudness Units relative to Full Scale). Basically, it’s how streaming platforms measure loudness (YouTube wants -14 LUFS, for example). Premiere doesn’t have a giant LUFS meter in your face, but normalization is your gateway to hitting those targets.
Times When You Shouldn’t Normalize:
Don’t normalize all the things haphazardly. Some material needs those volume dips:
- Tracks where the soft spots and huge drops are critical.
- Movie scenes where the whisper-to-scream rollercoaster is the whole point.
If that’s what you’re after, just let it ride.
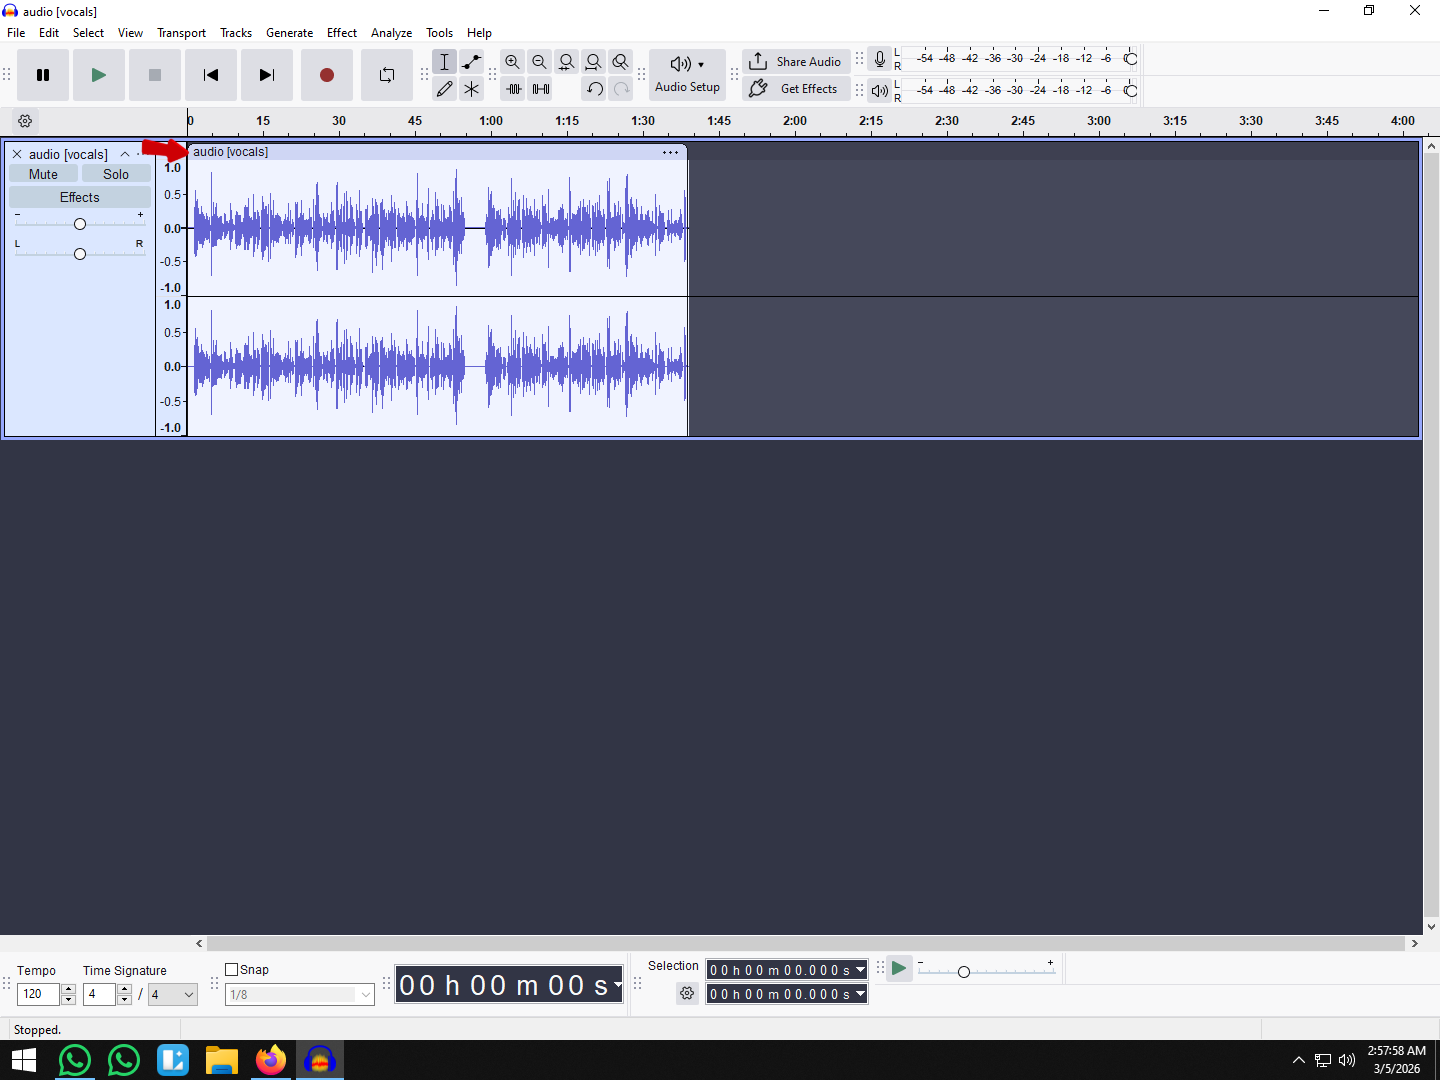
Ready to roll? If you haven’t got Premiere Pro yet, grab it from Adobe’s website—your interface should look like what I’m showing below.


Method 1 – Normalize Audio Gain
This is the quick-and-dirty method. Gets the job done—perfect for when you’re on deadline and can’t play around.
How:
- Select your audio clip(s) in the timeline
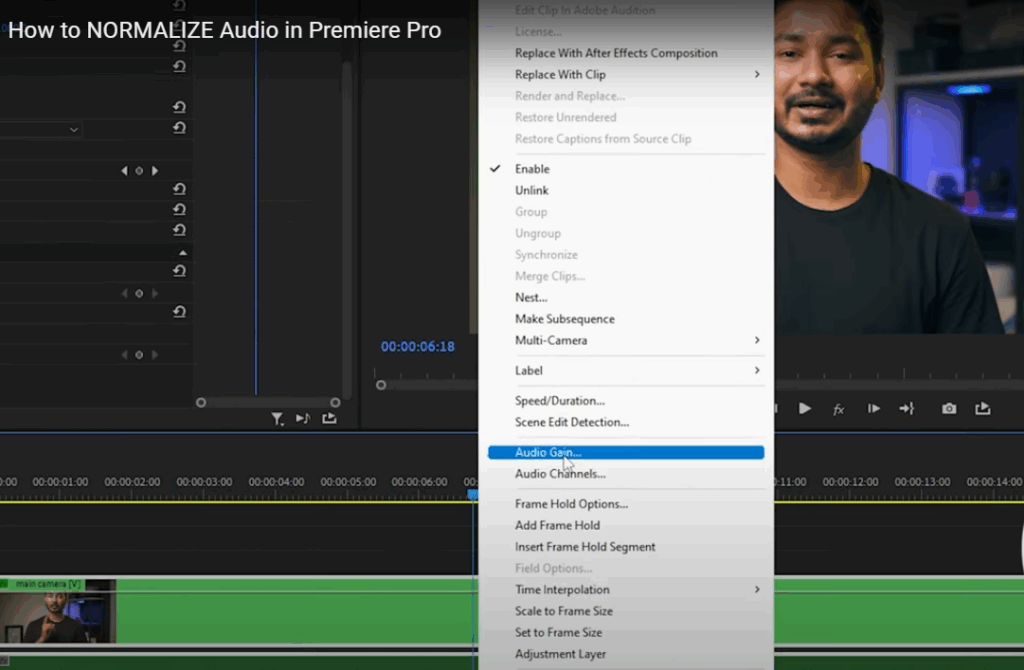
- Right-click and choose Audio Gain
- Choose one of these options:
- Normalize Max Peak: to be adjusted about the loudest point
- Normalize All Peaks: to set the volume to average across selected clips.

- Set the level (e.g., -3 dB)

- Click OK and preview the clip
When to use it:
- It’s perfect for leveling out a bunch of B-roll clips that were recorded at slightly different volumes.
- It’s fast, simple, and gets you in the ballpark instantly.
Method 2 – Use the Essential Sound Panel
This is the Cadillac of built-in Premiere tools for dialogue. Super clutch if you’re editing interviews, vlogs, or documentaries.
Steps:
- Select your clip(s) and open the Essential Sound Panel (Window → Essential Sound)
- Assign the clip as Dialogue
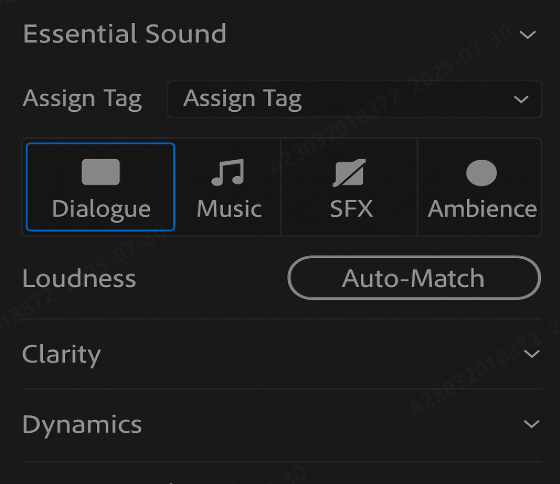
- In the Loudness section, just click Auto-Match
- Use Clarity, Dynamics, or EQ (Equaliser) to enhance speech further
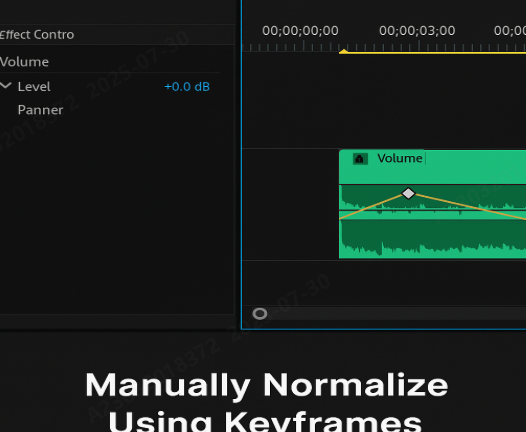
Method 3 – Manual Normalization with Keyframes
This approach provides the most control, making it ideal for noisy or dynamic environments.
Steps:
- Expand your audio track to see keyframes
- Use the Pen Tool or Command/Control-click to place volume keyframes
- Adjust keyframe levels (up or down) to manually shape the volume second by second
- Combine with DeNoise, Dynamics, or Multiband Compressor effects
Use case:
- It is essential for scenes with varying ambient noise or sudden peaks (e.g., live concerts, outdoor vlogs)
Pro Tip: Use the waveform display as your cheat sheet to spot jumps or weirdness in the audio
Troubleshooting Common Normalization Issues
1: Your Audio still sounds unbalanced after normalization
- Normalization only establishes a minimum for your audio’s level; it never addresses dynamic range imbalances. Compression is required to even things out between soft and loud sections. To clarify: normalization determines the peak level, whereas compression maintains balance along the track.
2: Auto-Match Has No Perceptible Effect
- If the Auto-Match feature does not alter your audio, it is likely that the original clip already aligns with the target loudness. This generally indicates your source material is well-prepared
3: Background Noise Is Amplified Post-Normalization
- Apply normalization before deploying noise reduction tools (such as DeNoise). This order ensures that the signal is at an appropriate level and avoids inadvertently boosting unwanted background noise.
4: Peaks Are Still Present After Normalization
- Slightly decrease the gain and introduce subtle compression. This approach mitigates transient peaks without compromising overall loudness.
5: Inconsistent Loudness Across Exports
- Review your export settings. Reapplying normalization within Adobe Media Encoder can rectify discrepancies across different exports.
Quick Tips for Better Results
- Normalize at the outset of editing.
- Use high-quality headphones for critical listening.
- Treat music and dialogue separately during normalization.
- Remain vigilant regarding background noise; normalization may enhance it unintentionally.
- Preview on multiple devices to ensure consistency.
- Monitor LUFS levels for broadcast or streaming deliverables.
Conclusion
Normalization in Premiere Pro is the solution to achieving balanced, professional-standard sound. Through using the platform’s own features—and, where necessary, third-party apps—creators can streamline post-production and ensure that strict industry standards are met.
FAQs
Q1: What does normalization do to audio?
Normalization brings levels to parity so the audio is at an even level, keeping volume fluctuations at a minimum without introducing distortion.
Q2: When should I normalize my audio?
Normalize early in editing so that there is consistency in loudness and less rework.
Q3: Can I normalize multiple clips at once?
Yes. Normalize multiple clips at once by batch processing through the Audio Gain window or the Essential Sound Panel.