Inconsistent volume levels can distract your viewers. One clip may be too loud, another too quiet. That’s where audio normalization helps. It evens out your sound so everything plays smoothly.
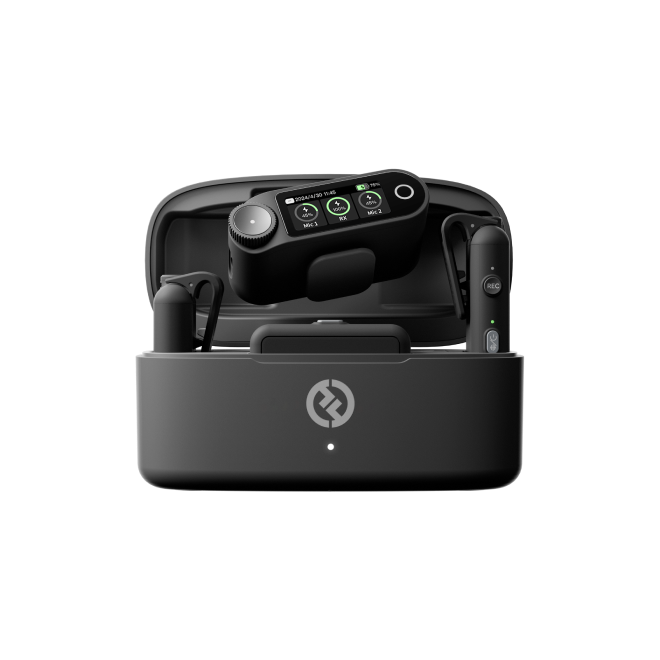
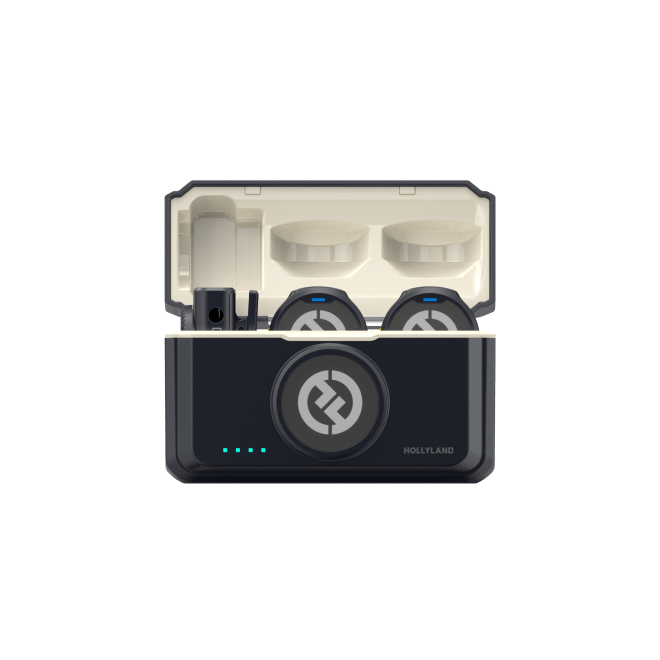
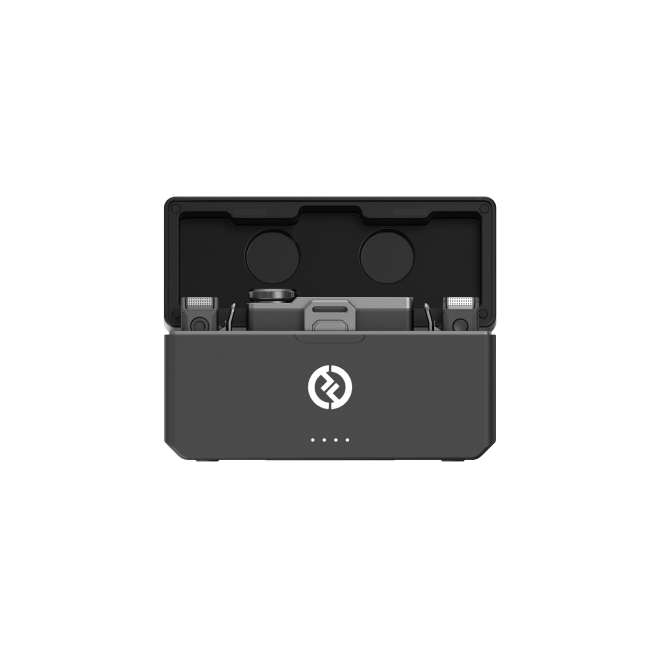
DaVinci Resolve offers several simple ways to do this. And if you’re using a quality mic like the Hollyland LARK MAX 2, you’ll start with clean audio that’s easier to balance. This wireless mic reduces noise and captures a clear voice. Let’s look at how to normalize your audio in DaVinci Resolve, step by step.


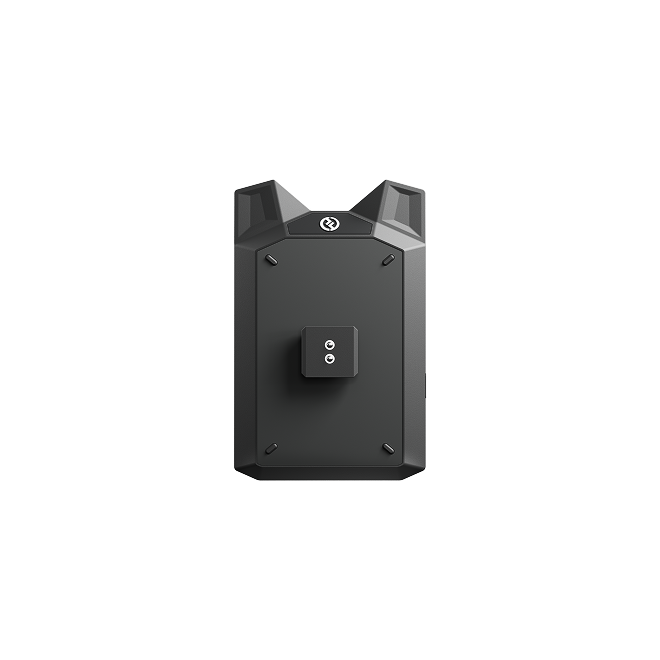
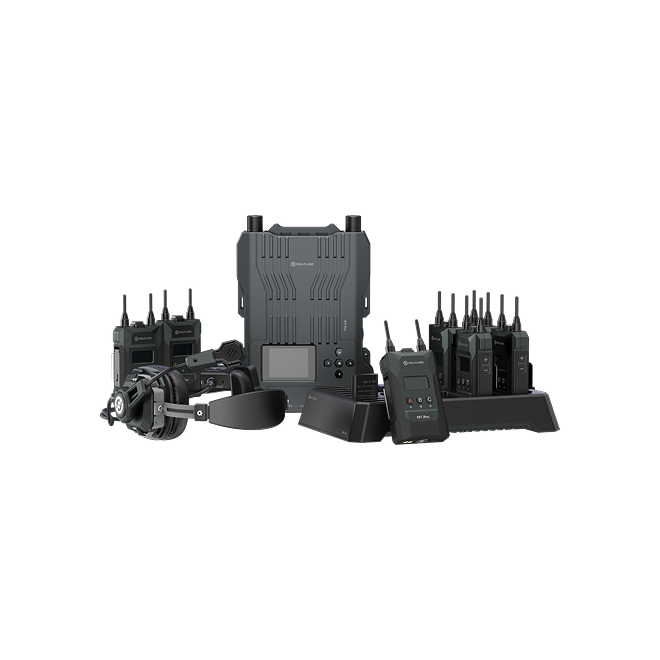
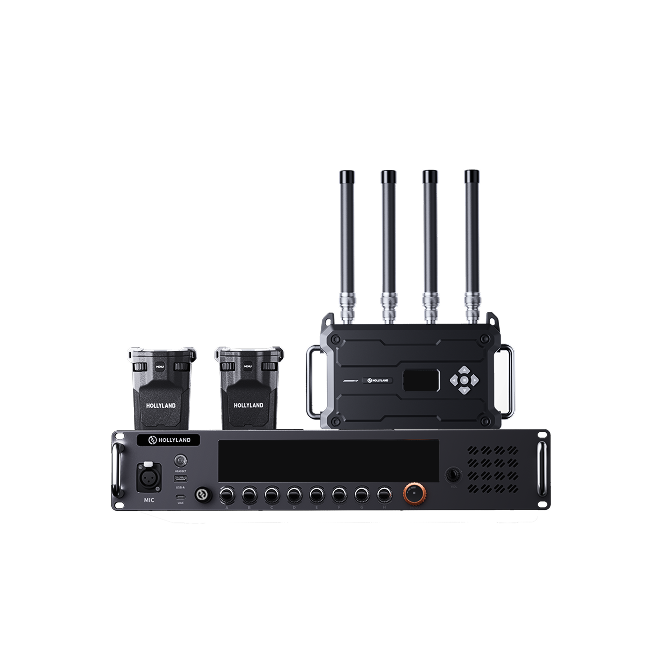
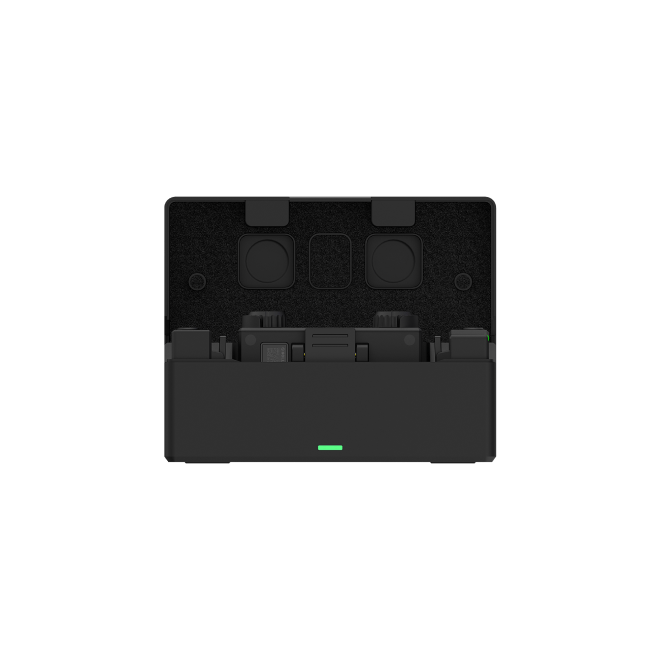
Hollyland LARK MAX 2 - Premium Wireless Microphone System
A premium wireless microphone for videographers, podcasters, and content creators to capture broadcast-quality sound.
Key Features: Wireless Audio Monitoring | 32-bit Float | Timecode
What Is Audio Normalization?
Audio normalization is the process of adjusting the overall volume of your audio so that all parts play at a consistent loudness. This doesn’t change the natural highs and lows of your recording (the dynamics), but it does make sure nothing is distractingly quiet or overly loud.
For example, if you have a voiceover that’s much quieter than your background music, normalization can raise the voice level to match. Or, if you are combining clips from different sources, normalization helps make sure they all sound equally strong, no sudden jumps or drops.
In DaVinci Resolve, normalization typically targets a specific loudness value (like -14 LUFS or -16 dBFS), making it easier to meet YouTube, broadcast, or streaming standards.
Method 1: Manually Normalize Audio in DaVinci Resolve Using Keyframes
If you want more control over specific moments in your audio, using keyframes is an excellent method. This is helpful when only certain parts of your clip are too loud or too soft.
- Start by opening your project in DaVinci Resolve.
- Head to the Edit tab and select the audio clip you want to adjust in your timeline.
Tip: For easier control, zoom into the audio waveform so you can see volume changes clearly.
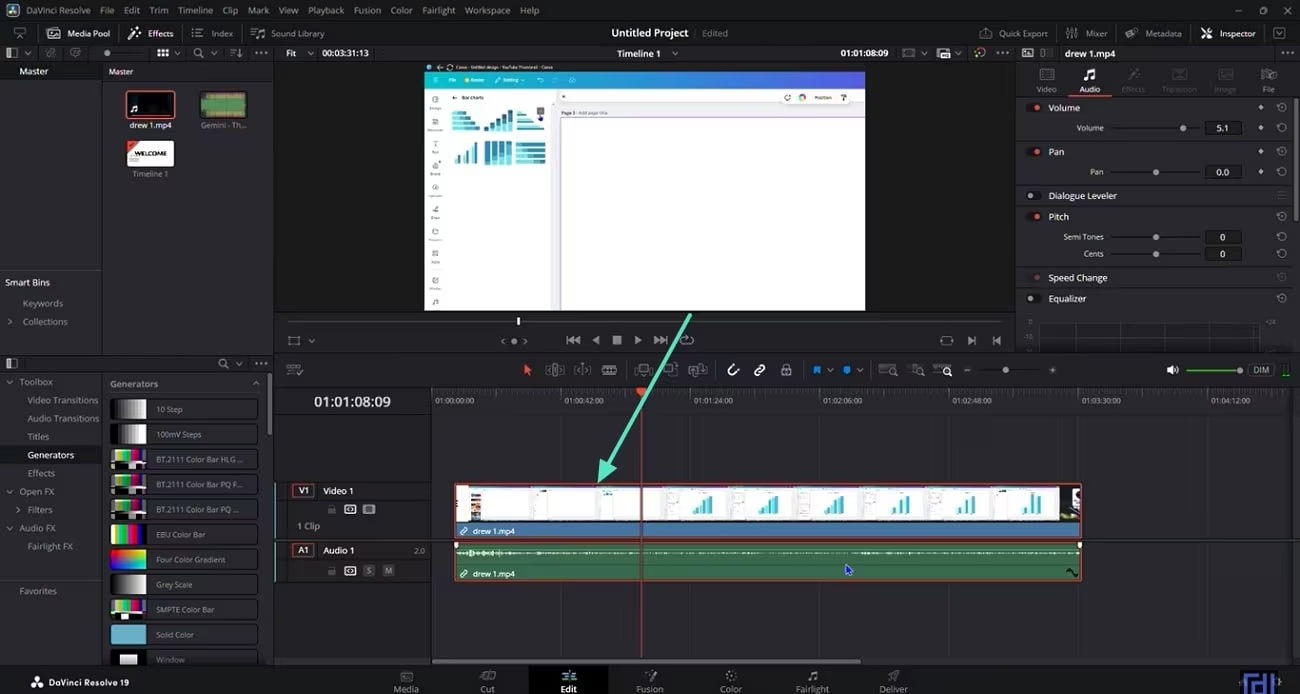
- Look for areas where the audio spikes or drops.
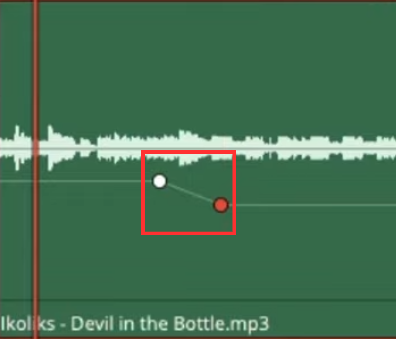
- To fix them, click directly on the white horizontal volume line in the audio track.
Tip: Each click adds a keyframe. These keyframes mark points where the volume can be changed.

- Now, drag the keyframes up to raise the volume or down to lower it.
- You can add as many keyframes as needed to smooth out uneven audio.
Tip: This method is excellent if your clip has inconsistent volume and needs detailed adjustments for a natural sound.
Method 2: Normalize Audio in DaVinci Resolve without Keyframes
If your clip has fairly consistent volume but just needs a boost or reduction, you can use DaVinci’s built-in Normalize feature. It’s quick, effective, and does not require any manual keyframe work.
- Right-click on your audio clip in the timeline (A menu will appear)
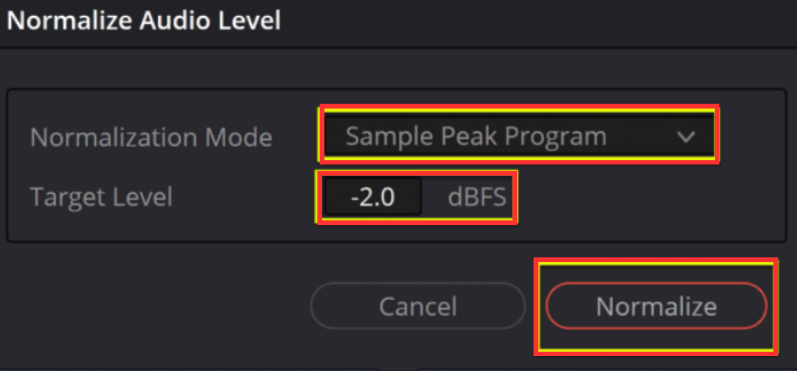
- Click on Normalize to open the normalization settings window
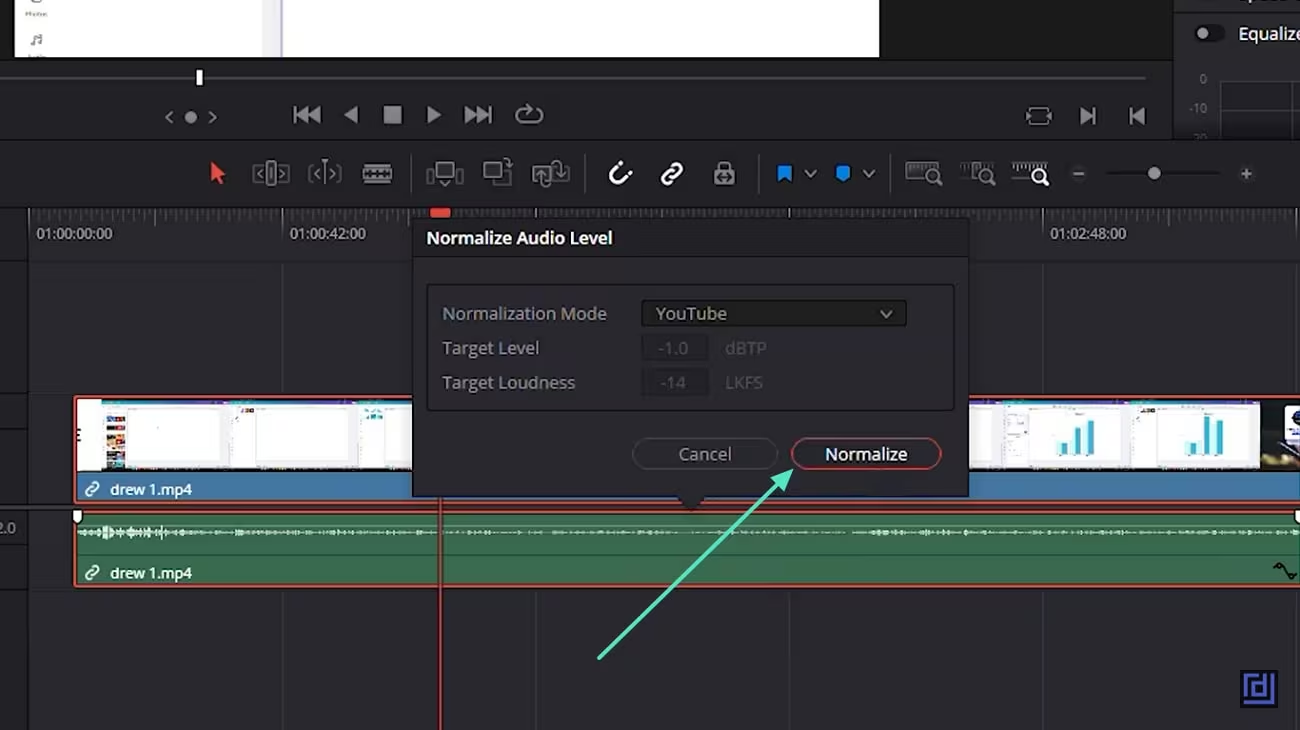
- In the pop-up, select Sample Peak as the mode
- Set Target Level between -9 and -16 dBFS, depending on whether it’s for YouTube or Netflix
Tip: If you are working on content for broadcast TV or radio, choose True Peak mode and use -23 dBFS as your target.
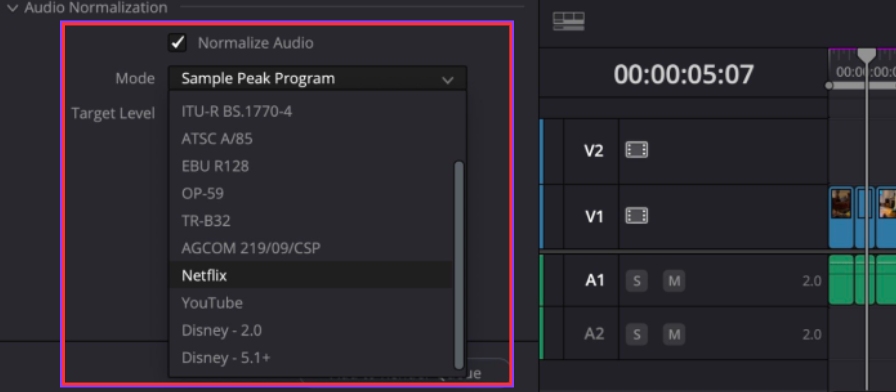
- Once you have set the target level, click Normalize.
- Davinci Resolve adjusts volume automatically to match peak level, giving you balanced, professional audio fast.
Method 3: Normalize Audio in Davinci Resolve with the Fairlight Tab
If you want more control or are working with longer projects, switch to the Fairlight tab:
- Go to the Fairlight page in DaVinci Resolve

- Select the audio clip(s) in the timeline

- From the top menu, go to Clip > Normalize Audio Levels
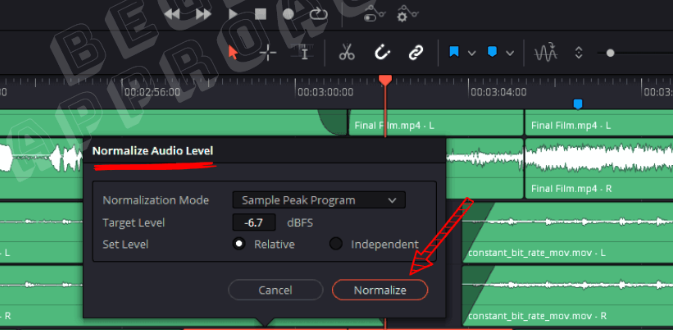
This lets you view the waveform and meters while adjusting. It’s useful when you are balancing multiple voices.
Method 4: Normalize Audio Using the Dynamics Panel in DaVinci Resolve
If your audio varies too much, soft in one place and harsh in another, using the Dynamics panel helps smooth things out. This method uses compression to control dynamic range, ensuring everything sounds balanced.
- Navigate to the Fairlight page in DaVinci Resolve, where all advanced audio tools are located

- Click the track header for the audio clip you want to normalize using dynamics

- Open the Mixer. If it’s not visible, press M to open the Mixer panel
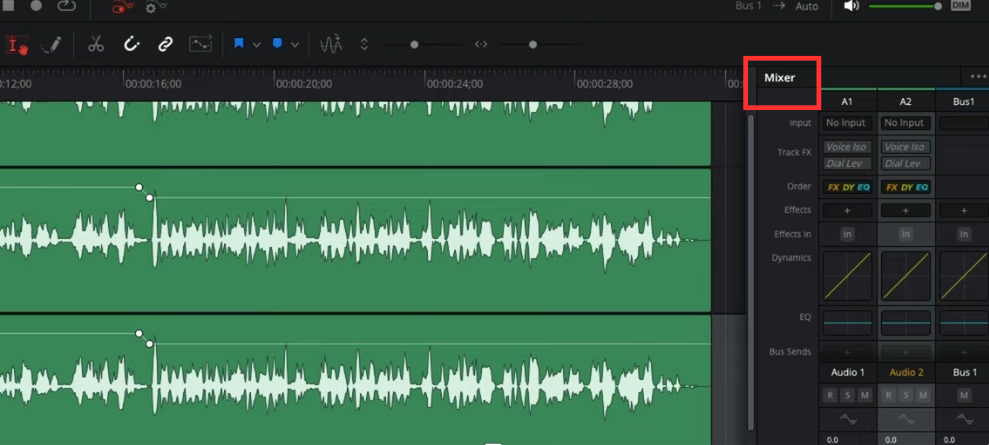
- In the Mixer, click the Dynamics button. A new window will appear with multiple tools: Compressor, Expander, Gate, etc

- Turn on the Compressor and set a threshold (e.g., -20 dB) so it activates when audio exceeds that level

- Adjust the ratio (start with 3:1 or 4:1) to control how much compression is applied

- Tweak the attack and release to control how quickly it reacts
Tip: Use the makeup gain to bring up the overall volume after compression

- Watch your meters. Use the Gain knob or fader to fine-tune the overall output.
- Your audio should now have consistent volume without harsh spikes or sudden dips

This method is ideal when you are working with live dialogue or recordings with dynamic speakers. It gives you control without flattening the natural feel of the voice.
Conclusion
Audio normalization in DaVinci Resolve helps your project sound clean, clear, and professional. Whether you use auto tools like Normalize Audio Levels or go manual with meters and compressors, you have complete control.
And with the right gear, you’ll spend less time fixing bad audio and more time telling your story. Try these methods out and find the best one that fits your workflow.
FAQs
1. What is the best LUFS level for YouTube or social media?
Most online platforms use -14 LUFS as the target loudness for music or general content. For speech-heavy videos or podcasts, -16 to -23 LUFS is common.
2. Can I normalize multiple clips at once?
Yes. Select multiple clips in the Edit or Fairlight page, right-click, and choose Normalize Audio Levels. Just make sure they are similar in content (e.g., all voice clips).
3. Why does my audio still sound uneven after normalization?
Normalization balances loudness, but it does not fix poor recording quality. If your original audio has noise or echo, use a noise reduction plugin, or re-record with a better mic.


.png)


