


.png)
.png) Français
Français .png) Deutsch
Deutsch .png) Italiano
Italiano .png) 日本語
日本語 .png) Português
Português  Español
 Built-in laptop cameras often lack the clarity and control needed for professional video calls, meetings, or streaming. To get better image quality, an external Logitech webcam with adjustable settings is a much better choice.
As of 2025, Logitech has updated its software with improved AI image processing and auto-framing tools in both G Hub and Logi Tune. Popular models like the C920, C922, Brio 500, Brio 505, and the newer MX Brio series now provide sharper visuals, HDR support, and more reliable exposure control. This guide walks you through each Logitech software option and the essential settings to optimize your webcam.
How to Download and Install Logitech Webcam Software?
There are several ways to adjust your Logitech webcam settings, but the easiest and most reliable option is to use Logitech’s official software. It gives you the best control over your camera.
For adjusting the webcam settings, Logitech offers three software programs. There’s a simple Logitech Camera settings app, which just provides simple controls.
Then there’s a software aimed at just video conferencing and meetings, called Logitech Tune. It’s aimed for headsets, Logi Dock, and webcams – accessories used in video meetings.
Currently, Logitech G Hub is the single software for syncing and controlling all Logitech accessories, including keyboards, mice, headsets, speakers, and webcams. It supports all of the webcam models.
Here’s how to install the Logitech Webcam Software:
- Visit the Logitech G Hub’s site. (https://www.logitechg.com/en-us/innovation/g-hub.html).
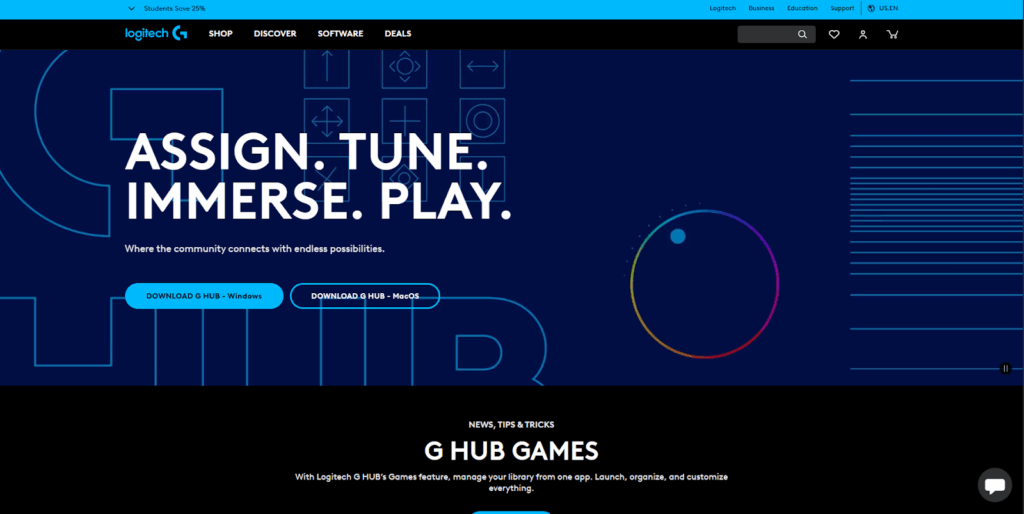
- It is available for download on Windows and Mac OS. Select the option.
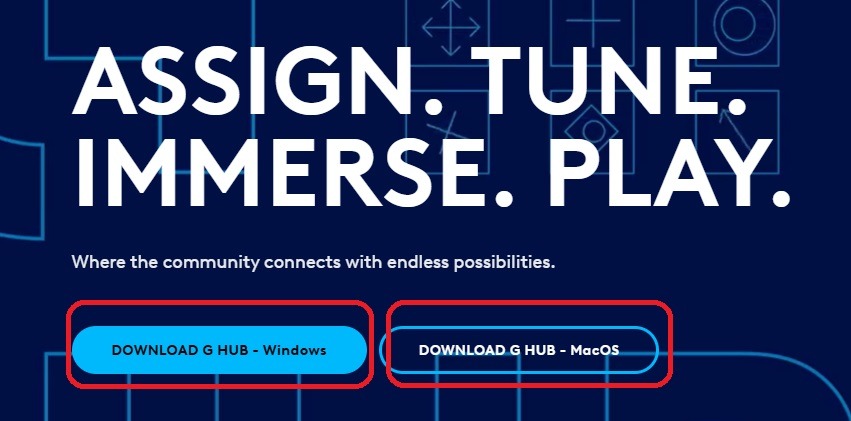
- The installer begins downloading automatically.
- Once it’s installed, run the executable file and download the complete software.
Logitech G Hub Software Interface
Logitech G Hub Software is an all-in-one software for all Logitech devices. It does offer advantages over the predecessor Logitech Capture, as you can control and customize all accessories from a single software. However, the webcam settings are slightly cut compared to ‘Capture’. You can no longer add text overlays or borders.
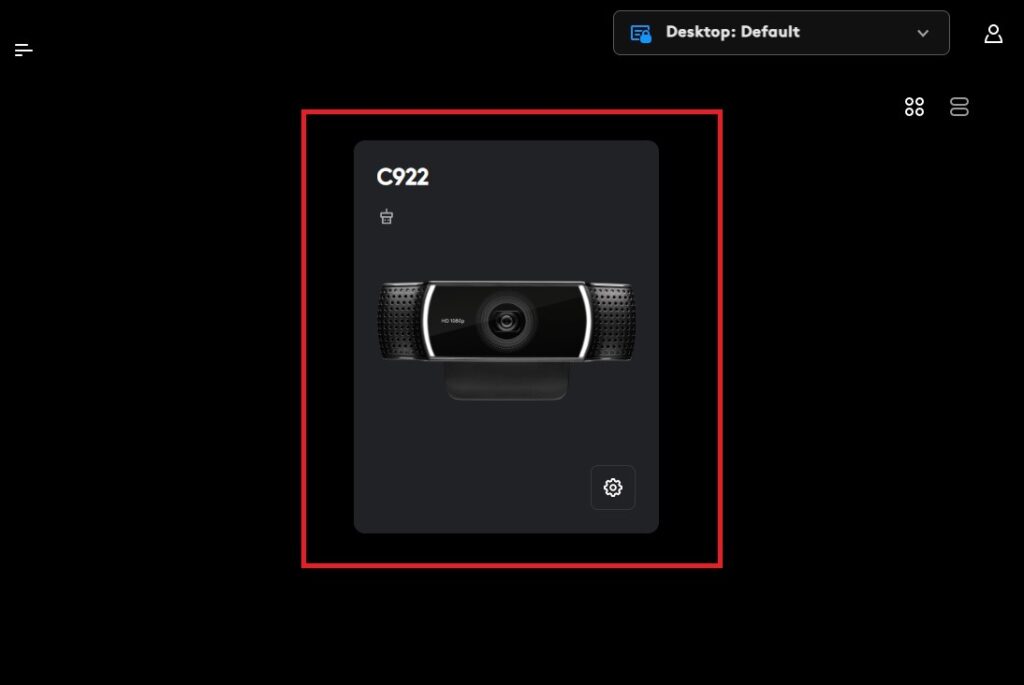
When you start the G Hub Software, it automatically displays all the devices connected. You can select your webcam from the list, and it takes you to the customized settings.
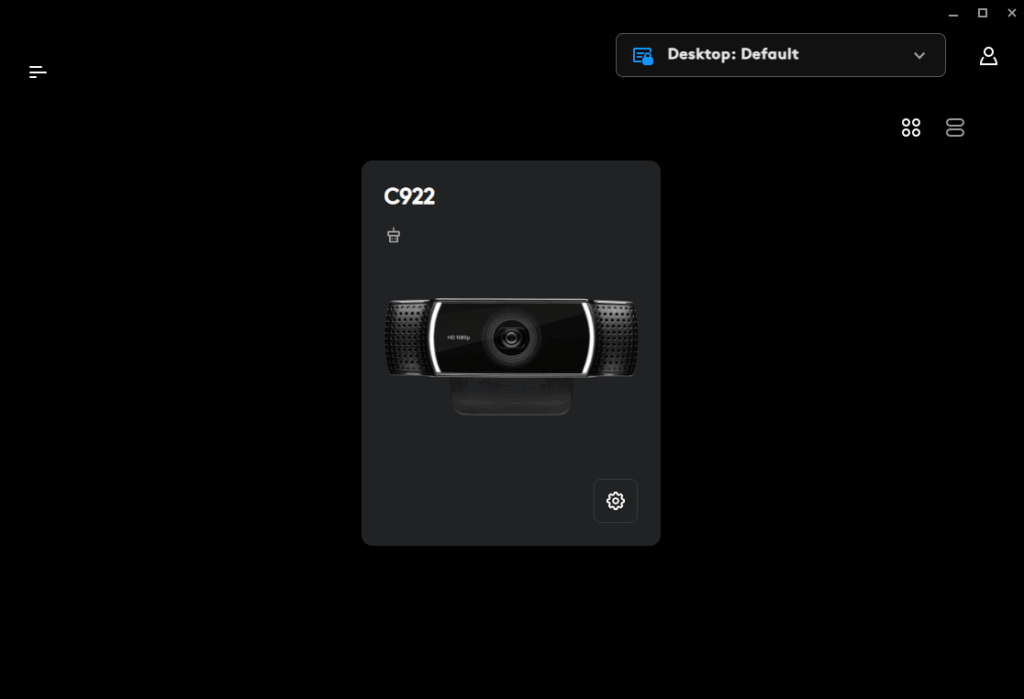
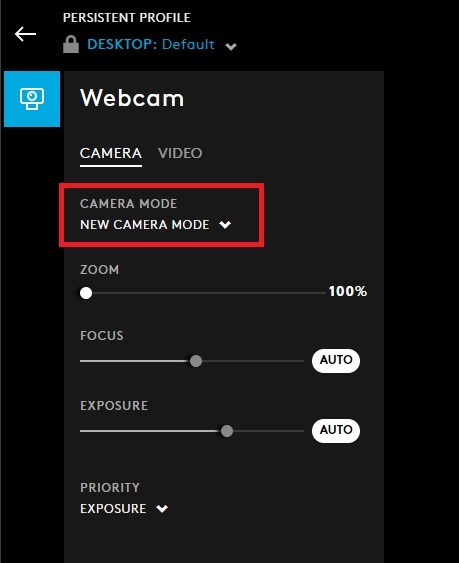
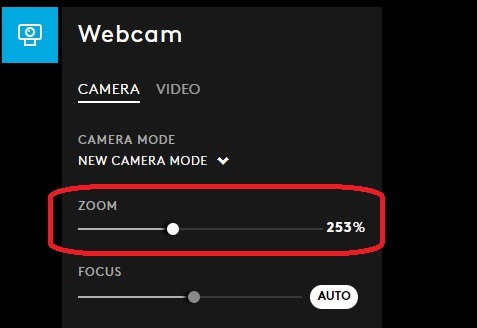
On the webcam, you will see two tabs ‘Camera’ and ‘Video’. The camera has three further modes: default, video call, and streaming mode. You also have an option to add a new camera mode with your custom settings.
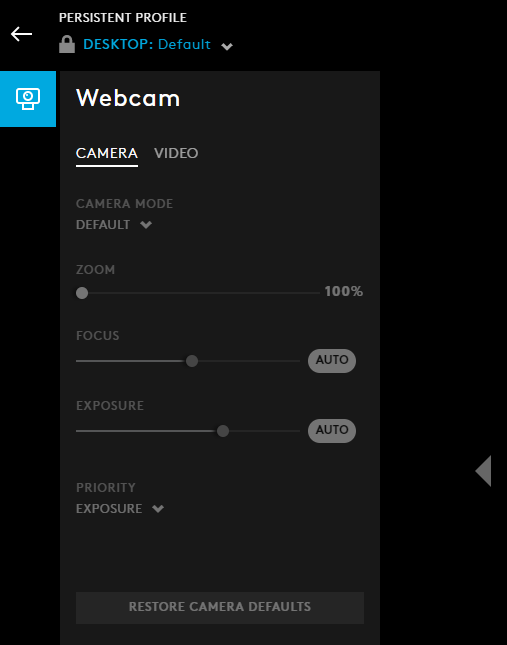
For each camera mode, values for ‘zoom’, ‘focus’, and ‘exposure’ are preset. You may alter it when creating “New Camera Mode”.
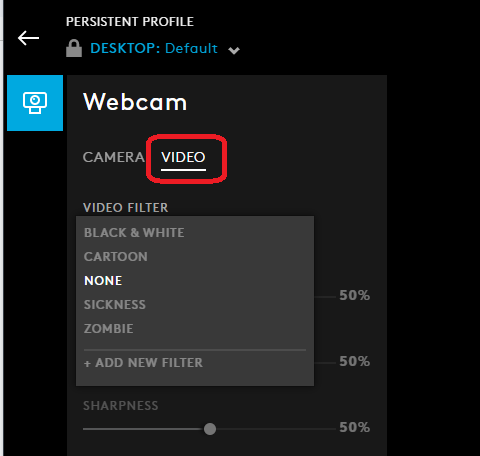
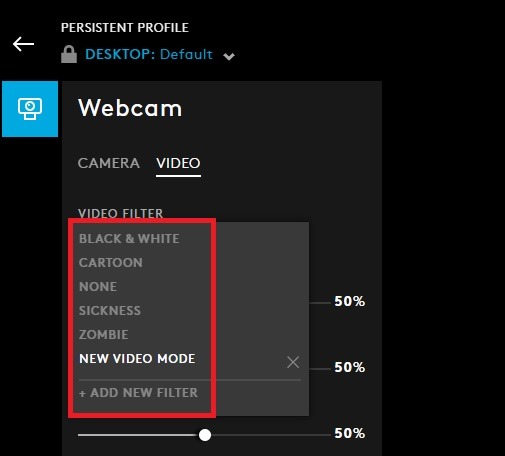
When you tap ‘Video’, you will come across five preset video filters: black and white, zombie, cartoon, sickness, and none. Against, each preset setting, there’s customization for brightness, contrast, sharpness, white balance, and saturation. When creating a new video mode, you can alter all these settings.
LogiTune Interface
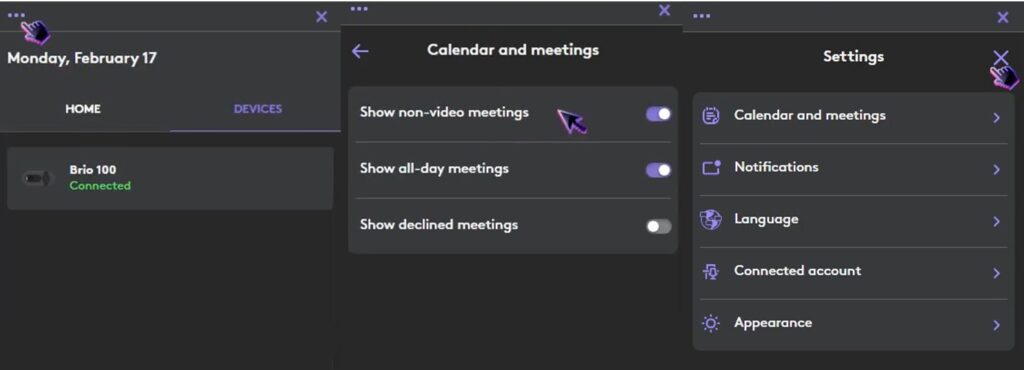
LogiTune software is mostly for video conferencing devices, primarily headsets and webcams. Most new Logitech webcams work best with it.
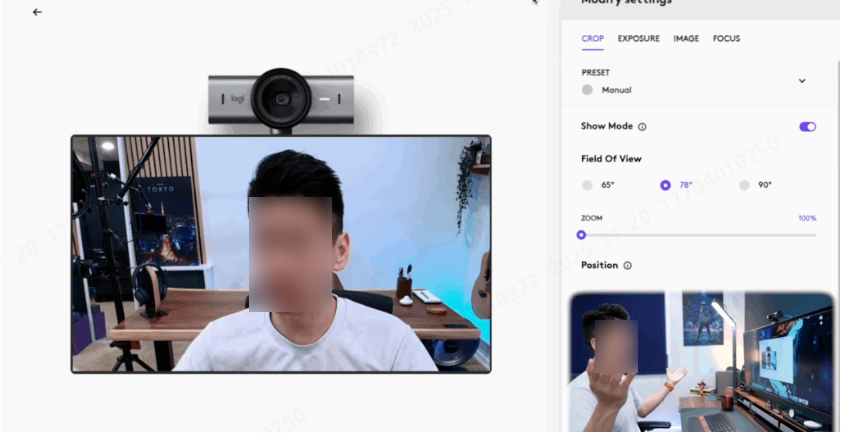
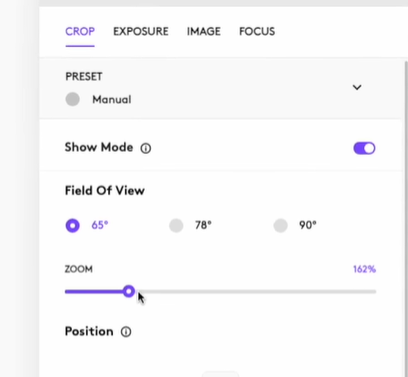
The user interface is very simple. Here, you get an additional “Rightsight” feature, which is for auto-focusing on the face. You can also set fields of view at different angles. Rest, we have similar sliders for adjusting image quality. HDR mode is an additional feature.
Adjusting Camera Controls for Logitech Web Cams
Once you know where the settings are, the next step is understanding how each one can improve the look of your video.
Adjusting the video quality webcam involves tweaking various settings to ensure the video output looks as clear and professional as possible. To adjust the video quality settings:
- Launch the Logitech G Hub App. Select your webcam.
- Press the ‘Video Tab’, create “Add New Filter Mode”, or select any of the preset modes.
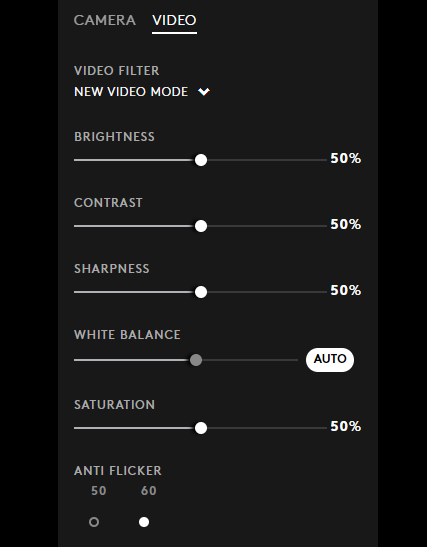
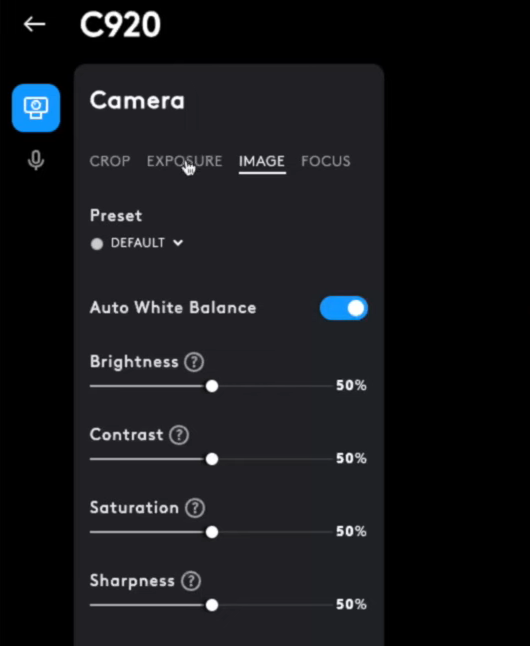
- You now have access to change these video settings:
- Brightness: This setting determines how light or dark your video appears. By default, it’s set to 50%. You may change based on your lighting conditions. For instance, if you’re in a dimly lit room, increasing the brightness can help, but be careful not to overdo it. Increase at most by 3 to 5%.
- Contrast: Contrast affects the difference between the light and dark areas of your video. Adjusting this can help define features and add depth to your image. You may increase by 3% to make your face stand out.
- Saturation: Saturation controls the intensity of the colors in your video. If your video looks too bland, increasing the saturation value can make the colors more vivid. However, too much saturation can lead to unnaturally bright colors. So, don’t increase it more than 5%.
- Sharpness: This setting defines the clarity and detail of your video. More sharpness, more distinct lines, and crisper images. You can change if your face looks blurry or soft.
In most cases, the default modes work, and you may not need to alter the settings. However, you can customize it if the room is highly lit or has dim lighting.
You can perform similar steps in LogiTune, but there’s no option for creating custom profiles.
Pan, Zoom, and Tilt
Adjusting the webcam’s movement is essential for capturing the perfect shot, especially during important conferences. The zoom, pan, and tilt customization options can be seen as you select the ‘Image’ tab on the G Hub software.
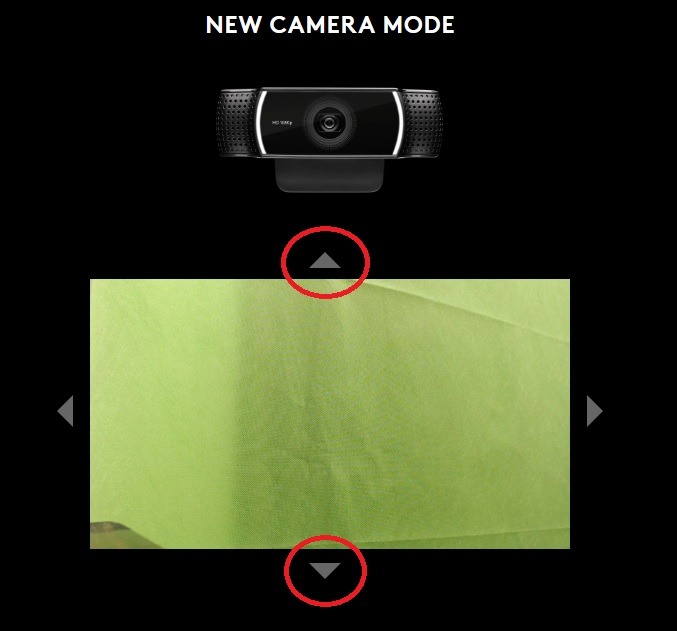
Pan means moving the camera’s view horizontally. It’s useful when you want to show more of the space to your left or right without physically moving the camera. You can use the arrow keys to slide the webcam to the right or left.
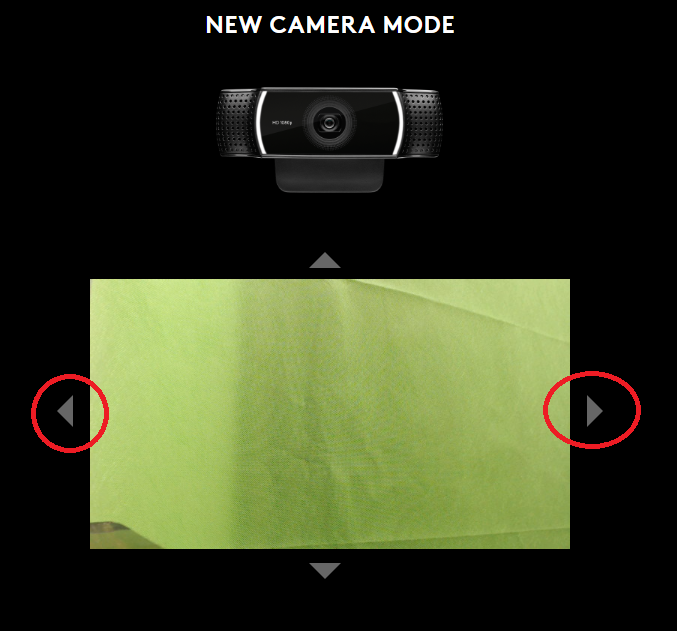
The zoom function allows you to get closer to or further from the subject without physically moving the camera. This is ideal for focusing on your face or a specific object. Just slide the zoom slider to increase or decrease the zoom level.
Tilting the camera adjusts the vertical angle, letting you point the camera up or down.
We don’t recommend tweaking such settings unless you’re too far from the camera that you need to zoom in to focus.
Advanced Settings
We don’t see multiple advanced camera settings; however, there’s an option to control focus and white balance. By default, both modes are set to Auto. Auto-focus keeps the main subject sharp, while white balance adjusts color temperature for accurate tones. We don’t recommend changing these unless you’re making intentional visual adjustments.
Additional Features
As of 2025, Logitech continues to refine its webcam ecosystem with several advanced features designed to improve video quality and user control.
Image Noise Reduction
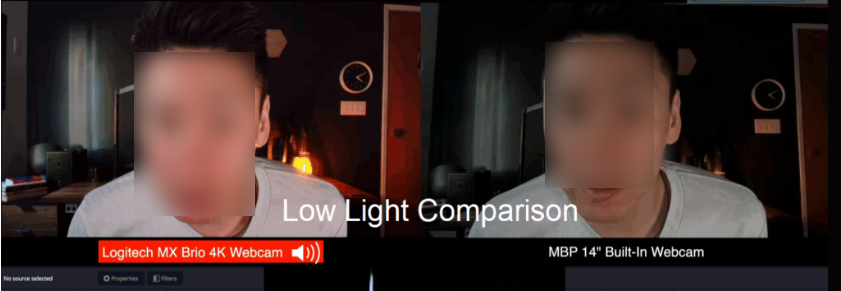
The latest Logitech webcams now include AI-based image noise reduction, which automatically cleans up low-light footage and enhances overall clarity. On models like the MX Brio, this feature works seamlessly through Logi Tune, reducing visual grain without the need for manual tweaks.
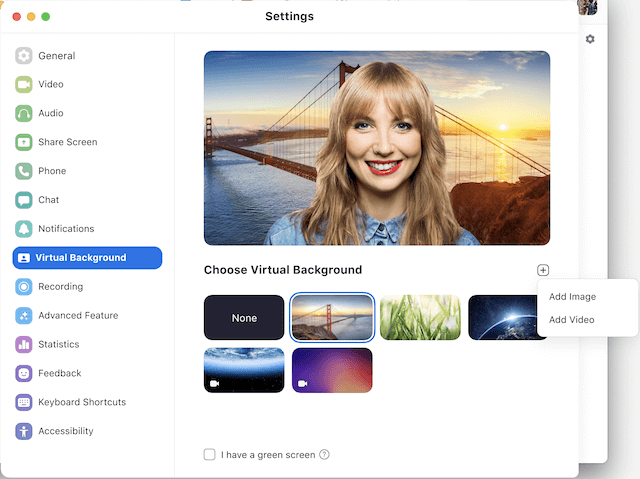
Background Blur
Logitech webcams such as the MX Brio and Brio 505 include built-in background blur support in Logi Tune, while full custom background replacement still relies on third-party apps like Zoom, Microsoft Teams, or OBS. These external tools provide more advanced background effects that remain fully compatible with Logitech webcams.
Face Tracking and Auto Framing
The MX Brio and Brio 505 now support AI-powered auto-framing through the Logi Tune app, which keeps your face centered even when you move. However, Logitech G Hub does not currently include dedicated auto-framing or motion-tracking options.
AI-Enhanced Image Quality
Logitech’s latest webcams, for example, the MX Brio 4K, feature AI-enhanced image processing that automatically improves brightness, contrast, and facial details in real time. This technology ensures more accurate skin tones and sharper visuals, even in low-light or mixed-lighting environments.
Saving Logitech Webcam Setting
Both Logitech G Hub and Logi Tune automatically save your webcam settings in real time and sync them across devices through your Logitech account. This means you won’t lose custom profiles even if you reinstall the app or switch computers. You can also restore default settings or quickly switch between profiles for different apps or environments.
Troubleshooting Common Issues
Here are a few issues you might encounter with webcams:
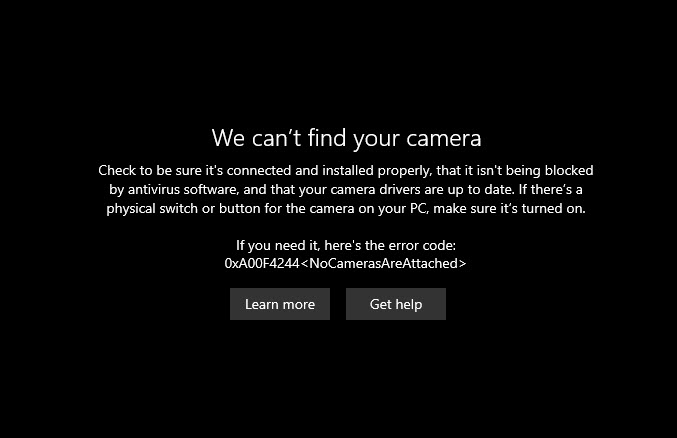
Camera Not Detected
Sometimes, even when the webcam is connected to the PC, the software doesn’t detect the camera. In that case, you need to check if the webcam cable is properly inside the USB port. Restart your computer to reset the connection. Or try connecting the webcam to a different USB port.
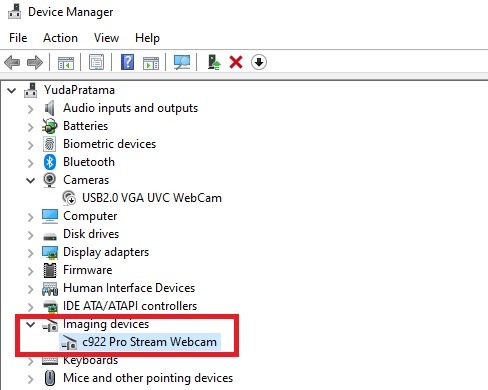
Webcam Driver Issues
The webcam automatically installs the drivers. However, you can also go to Device Manager in Windows or System Preferences in macOS. Right-click on the webcam name under ‘Imaging Devices’ and update its driver.
Poor Video Quality
If you feel the video quality is poor, first try resetting the camera to its default setting. Also, adjust the lighting in your environment. Clean the webcam lens to remove any dust or smudges.
Auto Framing Not Working
Trying to update Logi Tune to the latest version if the Auto-Framing feature is not working.
Conclusion
Optimizing your Logitech webcam settings is essential for achieving consistently sharp, professional-looking video in any situation.
With the improvements introduced in 2025, such as AI-enhanced image processing, cleaner low-light performance, and refined auto-framing, Logi Tune and G Hub now offer deeper control than ever before.
Whether you’re streaming, joining meetings, or recording content, taking time to fine-tune exposure, color, and framing ensures your camera performs at its best. Pairing these tools with proper lighting and positioning allows any compatible Logitech webcam to deliver outstanding visual quality.
FAQs
- Why is my Logitech webcam not detected in Logi Tune or G Hub?
As of 2025, Logitech has rolled out several updates that can cause temporary detection issues after OS or firmware updates. Make sure you’re using the latest version of Logi Tune or G Hub, and check that your webcam’s firmware is up to date. If the issue persists, try reconnecting the webcam or switching USB ports.
- Why is my webcam’s image too bright or washed out?
Recent Logitech models like the MX Brio and Brio 505 use AI-enhanced image processing, which automatically adjusts exposure and lighting. However, if the result looks overexposed, you can manually fine-tune brightness and contrast in Logi Tune for a more natural look.
- What are the recommended settings for streaming video games with a Logitech webcam?
For game streaming, you can use the ‘Streaming mode’ in Logitech G Hub. Further, make sure that your workspace is well-lit and that you are centrally positioned in front of the camera for the best visual quality.


