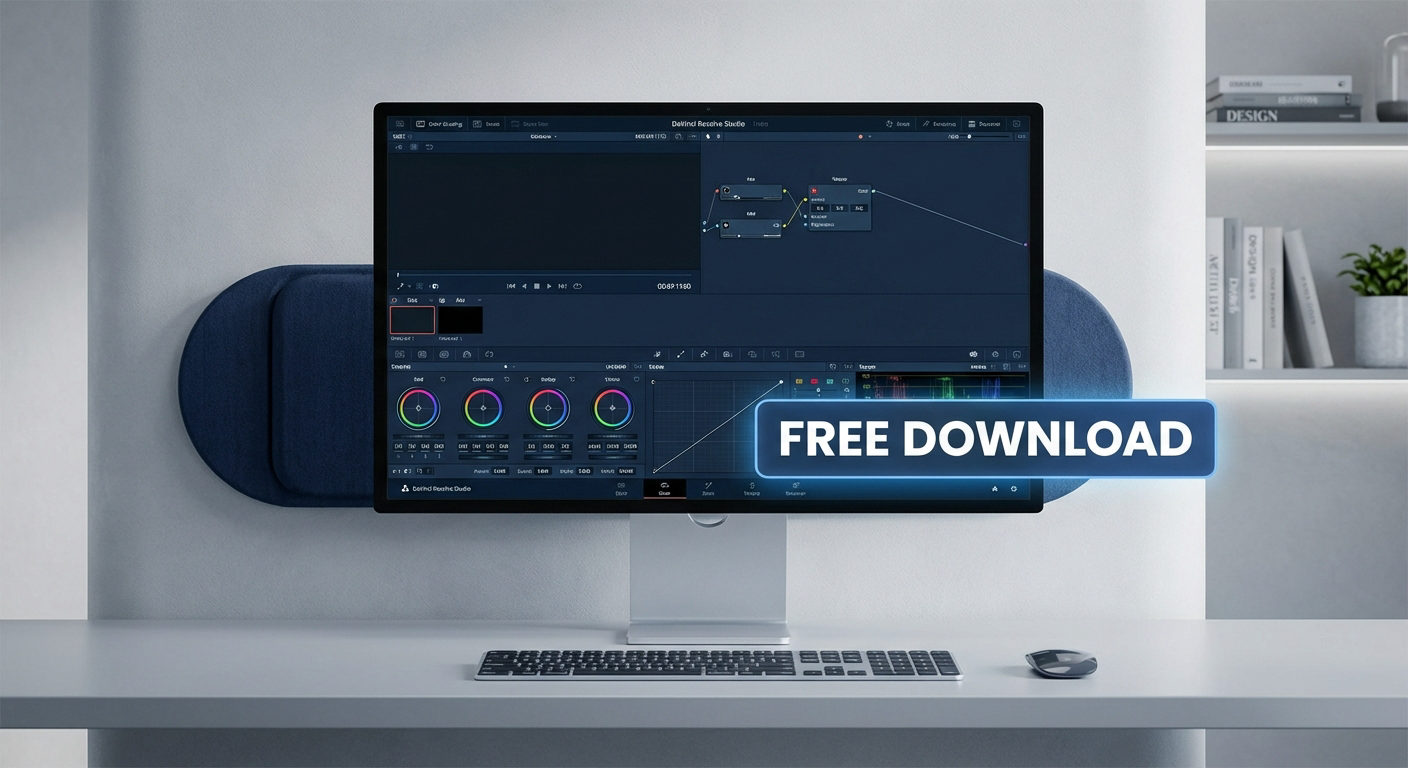
.png)
Learning how to calibrate your monitor for DaVinci Resolve is the single most important technical skill a colorist can master. If you have ever graded a project in DaVinci Resolve, exported it, and then panicked because the colors looked completely different in QuickTime or YouTube, you have experienced the “Confidence Crisis.”
But here’s the thing! The issue isn’t really your grading skills. Technically, this is how DaVinci Resolve manages color differently from other applications you have been running on your system. So keep reading to learn the right ways to match your monitor and software, so what you see is what you actually get.
The “Confidence Crisis”: Why DaVinci Resolve is Different

Most applications (like Photoshop, Chrome, or Premiere Pro) rely on your Operating System Windows or macOS to manage color. When you calibrate your monitor and save an ICC Profile, the OS acts as a filter, adjusting the colors globally to ensure they look correct on your specific screen.
DaVinci Resolve does not work this way.
Instead of using your system’s color settings, DaVinci Resolve often uses its own process to keep things fast and on the dot. It sends raw pixel data directly to your GPU. This leads to a dangerous disconnect:
- Your Desktop: Is being corrected by your calibrated ICC profile.
- Your Resolve Viewer: Is likely displaying a raw, uncorrected signal.
You might be adding contrast to your footage not because the video needs it, but because your monitor is washing it out, and Resolve isn’t using your calibration profile to fix it.
GUI Viewers vs. Reference Monitors
To make sure what you see is reliable, you will need to separate the two kinds of images in a color suite. Here they are:
- The GUI Viewer (Unreliable): This is the video window embedded inside the DaVinci Resolve software interface. Because it works through your operating system and GPU, you might see minor gamma shifts and color issues. It is fine for editing cuts, but it is not trustworthy for critical color grading.
- The Reference Monitor (Reliable): This sends a clean video signal directly from your PC, usually through a dedicated tool like DeckLink or UltraStudio, to a separate display. This signal bypasses the OS and the GPU drivers. And since it doesn’t rely on your OS or graphics driver, the image stays pixel-perfect.
If you are grading strictly off the GUI viewer without specific configuration, you are essentially guessing. The goal of calibration in Resolve is to bridge this gap, ensuring that what you see is mathematically accurate to the industry standard (Rec.709).
Essential Gear: What You Need Before Calibrating

You cannot calibrate a monitor with your human vision. It is because your eyes adjust to colors pretty fast. So if you’re seeing something that looks white in the morning, it can look blue at night. To get an objective baseline for color grading, you need specific hardware to measure the output of your screen.
With DaVinci Resolve, a probe only gets you halfway there, and the signal path your image takes from your computer to reach your display is also equally important.
The Signal Path: Why Your GPU is the Enemy
In a standard computer setup, your Operating System manages the color sent from your Graphics Card (GPU) to your monitor. It applies ICC profiles, “Night Shift” modes, and gamma corrections that you often can’t turn off. For color grading, you want a clean, unadulterated video signal.
There are three main ways to set this up:
| Setup Type | Hardware Needed | Cost | Accuracy Level | Who is this for? |
|---|---|---|---|---|
| The “GUI” Viewer | Standard Monitor + GPU (HDMI/DisplayPort) | $0 (Existing Gear) | Low/Risky | Editors doing rough cuts; not recommended for final grading. |
| Video Clean Feed | Secondary Monitor + GPU | $0 (Requires Studio Version) | Medium | YouTubers and Content Creators. Bypasses GUI clutter but still relies on OS color management. |
| Dedicated I/O (Reference) | Blackmagic DeckLink or UltraStudio Monitor 3G | $120 – $1,000+ | High (Bit-Perfect) | Professional Colorists. Bypasses the GPU/OS entirely for a 100% pure signal. |
The Calibration Probe: The “Eye” of Your System
No matter which signal path you pick, you will still need a device to check and read the actual light that’s coming from your screen.
- Entry Level (Datacolor SpyderX Pro/Elite): Affordable and fast. Great for standard sRGB/Rec.709 monitors, though they can struggle with shadow detail on higher-end displays.
- Mid-Range Industry Standard (Calibrite Display Plus HL): Formerly X-Rite. These are the workhorses of the industry. They can handle higher brightness levels (up to 3000 nits), making them essential if you are grading on a newer HDR-capable display or an Apple XDR screen.
Pro Tip: If you are on a budget, buy a Calibrite Display SL or Plus HL and use the free, open-source software DisplayCAL. It is widely considered more accurate than the manufacturer’s bundled software, though the profiling process takes longer.
Step 1: Hardware Calibration (The Probe Workflow)

Once you have your probe, you must create a reliable base profile for your monitor. Follow this standardized workflow using software like i1Profiler, Calman, or DisplayCAL.
- Warm Up the Monitor (30+ Minutes): Turn your monitor on at least 30 minutes before calibrating. Panels—especially OLEDs and older LCDs—shift colors as they heat up.
- Reset to Factory Defaults: Open your monitor’s OSD (On-Screen Display) menu and perform a factory reset. Turn off features like Dynamic Contrast, Eco Mode, or Auto-Brightness. These features actively fight against calibration.
- Set Target White Point to D65 (6500K): This is the industry standard for video. D65 mimics average midday light. While some graphic designers prefer D50 (5000K) for print, video strictly requires 6500 Kelvin.
- Select Your Target Gamma:
- Gamma 2.4 (BT.1886): Choose this if you are grading in a dimly lit, controlled environment. This is the standard for broadcast and cinema.
- Gamma 2.2: Choose this if you are grading in a bright office or exclusively for the web. Since most computer monitors and phones default to 2.2, this provides a safer “what you see is what they get” environment for social content.
- Set Luminance (Brightness):
- 100 nits (cd/m²): The standard for a dim grading suite.
- 120 nits (cd/m²): A practical standard for a typical office environment with some ambient light.
- Run the Profiling Sequence: Place the probe flat against the center of the screen. The software will flash color patches, measure the output, and generate an ICC Profile. Save this profile and ensure it is set as the system default.
Important Information about ICC Profiles
Once you complete this step, your Operating System will use this ICC profile to correct colors on your desktop and in web browsers. However, remember that DaVinci Resolve interacts with these profiles differently. Simply creating this profile is not the end of the road; you must now configure Resolve to recognize and respect this calibration.
Step 2: Configuring DaVinci Resolve Project Settings

If your physical monitor is calibrated to Rec.709 Gamma 2.4, but DaVinci Resolve is sending out a signal designed for a different standard, your grading decisions will be flawed.
To access these controls, open your project, click the Gear Icon in the bottom right corner (or press Shift + 9), and navigate to the Color Management tab.
The Configuration Checklist
- Color Science: DaVinci YRGB For most users moving from Premiere or Final Cut, DaVinci YRGB is the standard choice. It is a “display-referred” workflow, meaning Resolve does not automatically transform your footage; you manually normalize your log footage to Rec.709 using nodes or LUTs.
- Timeline Color Space: Rec.709 Gamma 2.4 This setting dictates the color space of your working timeline.
- Rec.709: The industry standard for HD television and most web content.
- Gamma 2.4: The broadcast standard for grading in a dim environment. Even if you are delivering for the web (Gamma 2.2), grading at 2.4 is industry best practice because it ensures your shadows have adequate contrast.
- Data Levels: Video vs. Full (The “Auto” Trap) This is the most common cause of “milky” blacks or “crushed” shadows. This setting controls how black and white points are mapped (e.g., is “Absolute Black” 0 or 16?).
- Auto: In theory, Resolve selects the right mode. However, practically, it is quite the opposite.
- The Fix: Do not rely on “Auto.” Check your monitor’s internal menu. If your monitor is set to receive a “PC/Data” signal, force Resolve to Full. If your monitor is a TV or calibrated reference display set to “Video/Legal,” force Resolve to Video. A mismatch here will immediately invalidate your calibration.
Step 3: The “Video Clean Feed” Solution (Bypassing the OS)

If your setup lacks a proper dedicated I/O device, such as the Blackmagic Ultra Studio, do not expect Resolve to show accurate colors on the second monitor. The operating system overlays, window borders, and UI elements all interfere with how your graphics card renders the image.
The built-in solution for this is Video Clean Feed.
This feature forces DaVinci Resolve to send a full-screen, unencumbered video signal to a secondary display. This feature lets DaVinci Resolve send a clean, full-screen video signal to your second display. Plus, it gets rid of GUI clutter and tries to bypass some OS color interference.
How to Enable Video Clean Feed
- Ensure your secondary monitor is connected and detected by your OS.
- Open DaVinci Resolve.
- Navigate to the top menu bar and select Workspace > Video Clean Feed.
- Select the monitor you wish to use as your reference display.
The Limitation: GPU vs. Dedicated I/O
While Video Clean Feed is a massive improvement over the standard GUI viewer, it is essentially a “software hack.” Since the signal still goes out through your Graphics Card (GPU), it is still affected by your operating system.
Pro Tip: When “Good Enough” Isn’t Enough If you are grading for broadcast television, Netflix, or theatrical release, you cannot count on Video Clean Feed. To achieve 100% signal accuracy, you must bypass the Operating System entirely using a Blackmagic DeckLink or UltraStudio. They take the video data right from Resolve and send a pure SDI or HDMI signal to your screen.
Advanced Value-Add: Solving the “Mac Gamma Shift” (1.96 vs 2.4)

Editing on a Mac leads to another horror, and we call it the “QuickTime Nightmare.” What happens is that you spend hours fine-tuning contrast, and when you export and open it in QuickTime or Safari, the visuals are washed out, flat, and desaturated.
So, is there something wrong with your grading expertise that creates this mess? Not at all. In reality, this happens because of the conflict between the industry standards and Apple’s ecosystem. DaVinci Resolve operates on Gamma 2.4, while macOS ColorSync manages video playback using a gamma closer to 1.96.
Solution 1: The “Rec.709-A” Tag Trick
The simplest way to make QuickTick match what you saw in DaVinci is by adjusting the metadata tags when exporting the file.
- Go to the Deliver Page in Resolve.
- Scroll down to the Advanced Settings section.
- Locate Gamma Tag.
- Change it from “Same as Project” to Rec.709-A.
The “A” stands for Apple. This tag essentially tricks macOS into applying the correct display transform, ensuring your contrast looks correct on Mac screens, iPhones, and iPads.
Solution 2: “Use Mac Display Color Profiles for Viewers”
If you are grading directly on a Mac display (like an iMac or MacBook Pro) without an external I/O device, you can force the Resolve Viewer to match the OS.
- Navigate to DaVinci Resolve > Preferences > System > General.
- Check the box for “Use Mac Display Color Profiles for Viewers.”
- Restart DaVinci Resolve.
Warning: Do not use this setting if you are using a dedicated external reference monitor via a DeckLink. It will cause a mismatch between your clean feed and your GUI.
Myth vs. Fact: The Export Crisis
| The Myth | The Fact |
|---|---|
| “My export is broken.” | “Your export is fine; the player is wrong.” |
| Users often panic, thinking they rendered the file incorrectly because the blacks look gray in QuickTime. | If you re-import that “washed out” file back into DaVinci Resolve, you will see the contrast returns perfectly. The data is safe; the video player is simply interpreting the gamma curve incorrectly. |
Loading a 3D LUT into Your Monitor (For High-End Displays)

If you’re chasing maximum accuracy, hardware 3D LUTs can go further than any software ever can. However, this option requires a professional display, such as an EZIO CG, ASUS ProArt, or LG OLED.
A Hardware LUT workflow bypasses your computer’s graphics card entirely. The color correction instructions are uploaded directly into the monitor’s internal memory. This means the monitor corrects the image after it receives the signal but before it displays the pixels.
The Workflow: Using DaVinci as a Pattern Generator
To generate a highly accurate 3D LUT, you shouldn’t rely on static test images. You should use DaVinci Resolve to generate the color patches.
- Connect Your Probe: Plug your colorimeter into your computer.
- Connect the Data Cable: Ensure the USB upstream cable is connected from the monitor to the PC (allowing the software to “talk” to the monitor).
- Enable Remote Grading: In DaVinci Resolve, go to Workspace > Monitor Calibration and select your software (e.g., Calman, ColourSpace).
- Run the Calibration: In your calibration software, connect to DaVinci Resolve as the “Pattern Source.” DaVinci will automatically flash the necessary color patches on your screen.
Once calculated, upload the resulting 3D LUT directly to the monitor’s firmware slot (e.g., “User Mode 1”).
Frequently Asked Questions (FAQ)
What is the best Gamma for DaVinci Resolve: 2.2 or 2.4?
The correct choice depends on your viewing environment.
- Gamma 2.4 (The Standard): Use this for Rec.709 broadcast work in a dimly lit, controlled environment. It provides the most accurate contrast and shadow depth.
- Gamma 2.2 (The Web/Office): Use this if you are grading in a bright office or exclusively for YouTube/Social Media, where users watch on bright screens.
Can I calibrate my monitor without a probe?
No. You cannot accurately calibrate color with the naked eye. Human vision is prone to chromatic adaptation. If you stare at a screen with a slight blue tint for 10 minutes, your brain will “auto-white balance” and tell you that the screen is pure white. You can adjust Brightness and Contrast using PLUGE patterns (SMPTE bars), but not color temperature.
Why does my video look different on my phone?
This happens for three reasons:
- No Calibration: Phones are factory calibrated to look “punchy,” not accurate.
- Different Color Spaces: High-end phones often use the P3-D65 color space, which is wider than Rec.709.
- User Settings: “True Tone” and “Night Shift” drastically alter the image. The Solution: Trust your calibrated monitor and your scopes. If your scopes say the image is balanced, it is balanced. You cannot control how every uncalibrated device in the world displays your work.
Conclusion & Final Checklist
Color accuracy is a journey, not a destination. Even with the most expensive probe and a high-end reference monitor, displays drift over time. Once you follow the workflows discussed in this guide, you turn “guessing” into actually “knowing.”
If you take away one thing from this guide, let it be this: If you cannot trust your monitor, trust your scopes.
Keep in mind that human eyes get used to warm light and get tired after hours of grading. Scopes, like Waveform, Vectorscope, and Parade, don’t do that, and they show you the image signal as pure math (as they are). They will tell you if your blacks are crushed or your skin tones are too green, regardless of what an uncalibrated screen displays.
Your Pre-Grade Calibration Checklist
Before you start your next color session, run through this quick audit:
- Warm-Up: Has the monitor been on for at least 30 minutes?
- Environment: Is the room lighting controlled (dimmed) and neutral?
- OS Settings: Are “Night Shift,” “True Tone,” or “f.lux” disabled?
- Resolve Settings: Is your Timeline Color Space set to Rec.709 Gamma 2.4?
- The “Eye” Test: Do your skin tones look natural on your reference screen compared to your scopes?
Don’t let a lack of expensive hardware stop you from creating. Learn to read the data, and your grades will look professional on every screen.