.png)
Although clean and crystal-clear audio is crucial for podcasts and recordings, it’s challenging to eliminate unwanted background noises. Fortunately, Audacity, a free and open-source audio editor, has built-in noise reduction tools that can analyze and filter out specific audio frequencies.
If you are a beginner or professional, knowing how to remove unwanted sounds can significantly enhance your audio clarity. This guide provides a comprehensive process for efficiently removing background noise and refining rough recordings into polished, professional audio.
How to Remove Background Noise in Audacity
Audacity provides a straightforward process for identifying and removing background noise while preserving audio quality. However, before starting, ensure to install the latest version to avoid Audacity compatibility issues. Below is a detailed breakdown of how to use Audacity efficiently and adjust different settings to get optimal audio quality.
Step 1- Open the Audio Recording
- Launch Audacity and click “File” at the top left corner of the menu bar
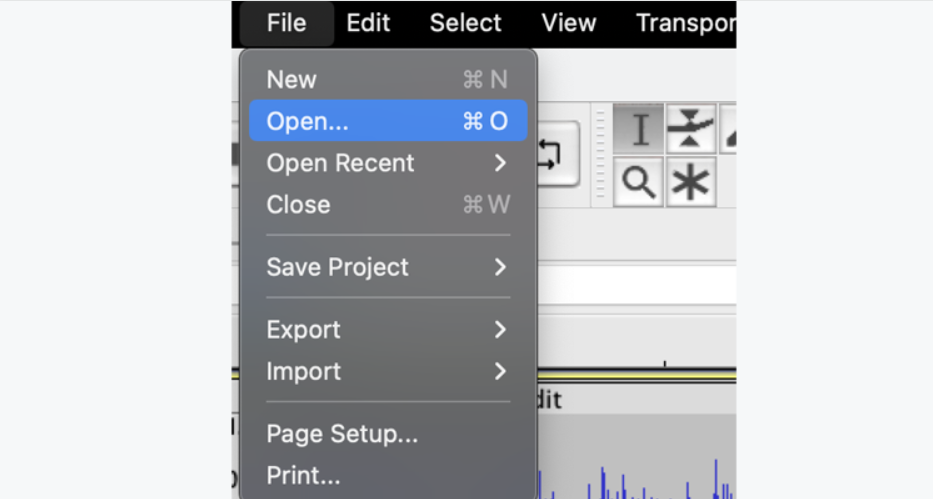
- Choose the “Open” or “Import” option and browse your computer to select the desired audio file
- Alternatively, press “Ctrl + O” for Windows or “Cmd + O” for macOS on your keyboard to browse audio
Step 2- Locate and Select the Noisy Section
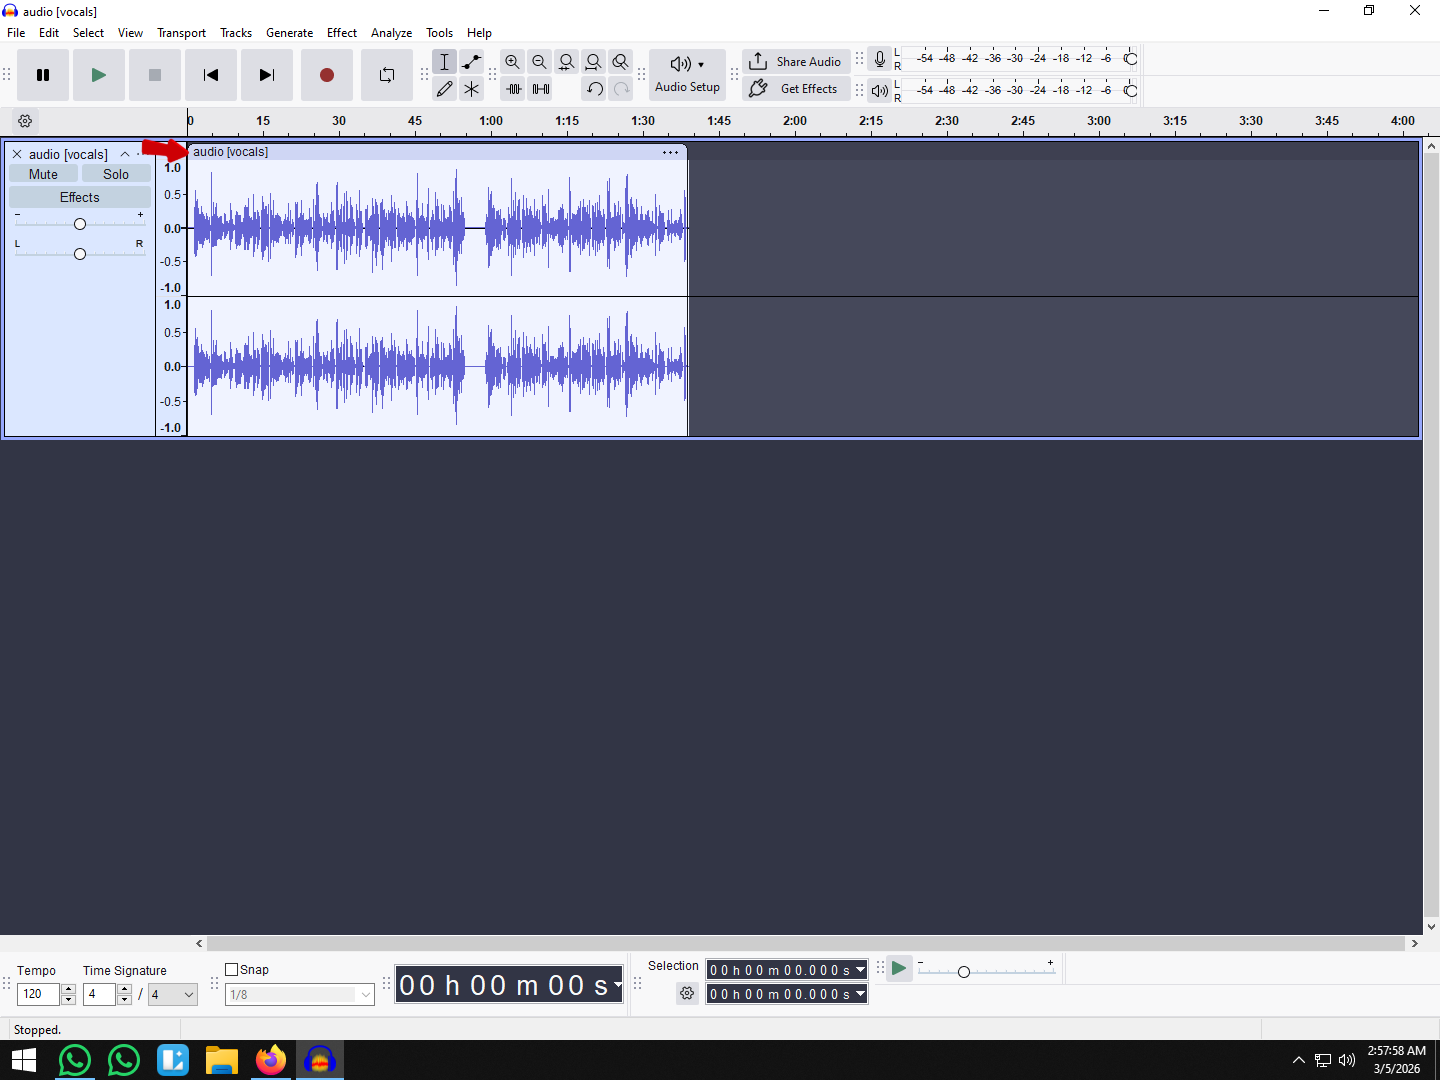
- Once the audio file is added, carefully select the noise by left-clicking on your mouse and dragging it.

- The longer the chosen noise section, the better Audacity will analyze and remove it.
- Identifying the noise helps Audacity to differentiate efficiently between the recorded voice and ambient sound.
Step 3- Noise Reduction Profile

- Select “Effects” at the top menu bar and choose “Noise Reduction” from the pop-up window.

- From the Noise Reduction dialogue box, click the “Get Noise Profile” button in the Step 1 section.
- The noise profile window will then close, and Audacity will create a “Noise Profile” from the selected part of the audio track.
Step 4- Removing the Noise
- In its default settings, the generated noise profile will be used to remove the ambient noise from your recordings.
- Then, you can select either a portion of your recordings or all of your tracks by pressing “Ctrl + A” on Windows or “Cmd + A” on Mac.
- After selecting your recordings, reopen the noise reduction dialogue box by navigating to “Effects” in the menu bar and selecting “Noise Reduction.”
Noise Reduction Options
If the noise remains after applying the noise reduction with default settings, Audacity allows you to customize your noise removal settings.

Noise Reduction
It’s measured in decibels and controls the volume level of unwanted background noise you want to remove. A higher value will actively remove all unwanted noises, but it may remove part of your required audio.
On the other hand, a lower value retains the original sound but cannot remove all noises. The default setting is adjusted at six, and it’s good to increase the slider gradually to eliminate unwanted audio while maintaining the original sound.
Sensitivity
Sensitivity determines how effectively Audacity differentiates between noise and the original track. Higher or overly sensitive settings may entirely remove background noises, but this results in audio artifacts, such as distortions in the original audio file. Therefore, increase the slider as low as possible to effectively remove the unwanted part without affecting the recording.
Frequency Smoothing (Bands)
It helps by smoothing the noise artifacts that may have been generated during the sensitivity settings. It levels out the transition by spreading noise reduction into the surrounding bands, reducing harshness and preserving the natural tone. Sometimes, the frequency smoothing setting can be left at zero, especially if you have a strong recording with minimal background noise.
Noise: Reduce

It’s the default and required setting that will remove the background noise from the selected audio track.
Noise: Residue
It plays the actual noise or selected part to hear what will be filtered out, allowing for analysis of the audio Audacity plans to remove. After selecting this option, if you still hear the sound you want to preserve, adjust the sensitivity and noise reduction settings to achieve an optimal balance.
How to prevent background noise in your recordings
While Audacity’s noise reduction feature is efficient, the best practice for achieving clean audio is to minimize the introduction of background noise. Below are the practical ways to eliminate unwanted sounds during recording.
Record a Noise Profile
One of the simplest yet effective methods is to record a few seconds of silence before speaking into the microphone. It will allow Audacity to identify the correct noise profile for your audio project. Audacity actively distinguishes between your audio and noise, improving clean-up accuracy for a smooth sound.
Optimize your recording space
Hard surfaces result in sound reflections and echoes, while open spaces allow noise to dissipate. To improve the quality of your recordings, choose a quiet location away from the distracting sounds of air conditioning units, traffic, or external hard drives. Therefore, close doors and windows and use soft furnishings such as carpets or cushions to absorb the noise.
Use a Dynamic Microphone
Dynamic mics have a narrow pickup pattern and are less sensitive to distant and ambient sounds. These microphones are ideal for untreated or semi-treated rooms, efficiently reducing background noise at its source.
Check your Recording Equipment
Sometimes, low-quality or faulty audio equipment can introduce hums and electrical interference in recordings. Therefore, use a quality microphone and ensure your audio interface or sound card is not fully loaded. Furthermore, use a pop filter or shock mount and try to position the microphone away from the possible background noise.
What to do if Audacity Noise Reduction is Not Working
Different recording sessions and environments require varying levels of noise removal. Audacity’s noise removal feature is flawless, but sometimes the background noise issue persists, or distortions appear in the audio.
Constant Background Noise
Audacity’s noise reduction feature works best with constant noise rather than fluctuating or irregular sounds. Changing noises, such as inconsistent fan speed, are more difficult for the software to identify and remove during post-production.
Run the Noise Reduction Effect More Than Once
Instead of overdoing the noise reduction effect in one go, it’s better to run it multiple times with the default settings. Sometimes, the audio has too much background noise, and the more you use the noise reduction tool, the more it will remove unwanted sounds.
Audio Artifacts on Track
Adjusting the noise reduction tool minimizes unwanted sounds, but it can result in audio artifacts, such as robotic and distorted audio. Therefore, change the values gradually to find the optimal settings and achieve an acceptable level of noise reduction. Additionally, every track requires different adjustments, and it’s best to use EQ filters to clean up specific frequency ranges.
Sensitivity
Reducing the sensitivity preserves the original audio while enhancing the chances of unwanted sounds. Therefore, sensitivity is balancing between how much background noise you want to remove and how much to keep without affecting the original audio.
Notch Filter
If the issue is high-frequency interference, such as electrical hum, consider using Notch filters to remove it without touching the original audio. You can find it under the effects menu, and it allows you to set a frequency at which the hums will be cut off.
Conclusion
Removing background noise is more than pressing one button and having all ambient sounds on the audio track disappear. However, the Audacity noise reduction tool is simple and easy to use, but it requires optimal settings to achieve the best results. Along with this tool, recording in a quiet environment and checking the equipment can ensure the cleanest audio. Knowing how to manage and remove background noise in Audacity ensures a quality and professional-grade sound.
FAQs
Does Audacity noise removal work on live recordings or phone call audio?
Audacity does not remove audio in real-time or during live recordings, but once the recording is complete, you can apply the noise reduction feature. This reduction tool analyzes a portion of the selected audio with noise and then applies the filter to the whole recording.
Why does my voice sound distorted after applying noise reduction in Audacity?
The bubbly or distorted voices are caused by overusing noise removal or using the wrong settings. If “Sensitivity” and “Noise Reduction” are set too high, Audacity may mistakenly remove parts of your original recordings. So, use moderate or gradually increase values and preview after applying to maintain a balance.
Can I automate noise reduction for batch processing in Audacity?
Audacity allows you to automate noise reduction for batch processing using macros. First, prepare the noise profile by clicking “Get Noise Profile” under Noise Reduction, as Audacity doesn’t support auto-profile detection. Then, create a new macro by going to “Tools” and clicking Macros.
Is it better to apply noise reduction before or after other editing effects?
It depends, but generally, it’s better to apply noise reduction before applying other effects to ensure cleaner audio for editing. When using noise removal early, the equalization setting can respond accurately to your actual voice. Moreover, applying edits before noise reduction can make these sounds more noticeable and more difficult to remove.