.png)
Want to boost your sound quality and extend the life of your microphone? Cleaning is key!
Dirt, dust, and moisture can quickly make your recordings muffled. But with a few simple steps, you can keep your microphone sounding sharp and clear.
A well-maintained microphone is essential whether you’re a musician, podcaster, or live performer. This essential guide will teach you how to clean a microphone effectively and safely. Discover the tools and techniques to transform your sound and keep your microphone performing at its best.
Read on to get started!
General Tips For Cleaning The Microphone Before Getting Started
Before you grab your cleaning supplies, consider these essential tips. They will help you clean your microphone safely and effectively, preventing damage and ensuring optimal performance.
- Unplug the Microphone: Always disconnect the microphone from any power source or recording device. This prevents electrical shock and protects your equipment.
- Handle With Care: Microphones are delicate instruments. Avoid dropping or bumping them during the cleaning process.
- No Submerging: Never submerge your microphone in water or any other liquid. This can cause irreparable damage to the internal components.
- Avoid Harsh Chemicals: Avoid harsh chemicals or abrasive cleaners. These can damage the microphone’s finish and sensitive parts.
- Regular Cleaning is Key: Make cleaning a routine to prevent dirt, dust, and bacteria buildup. Regular maintenance ensures your microphone stays in top condition.
Detailed Step-By-Step Guide To Cleaning The Microphone
Preparing to Clean
Before you start cleaning, gather all your tools and materials. This preparation will make the process smoother and more efficient. Here’s what you’ll need:
Tools and Materials Needed:
- Soft-bristled brush or toothbrush: Ideal for gently scrubbing away dirt and debris without scratching the surface.
- Compressed air: Helps remove dust from hard-to-reach areas, like the grille or ports.
- Microfiber cloth: Perfect for wiping down surfaces without leaving scratches or lint behind.
- Isopropyl alcohol (optional): A safe disinfectant for cleaning and sanitizing the microphone’s exterior.
- Mild soap and water: Useful for cleaning removable parts like grilles, windscreens, or pop filters.
Step #1: Cleaning the Microphone Handle
Start by cleaning the microphone handle, as it often comes into contact with hands. Use a microfiber cloth slightly dampened with isopropyl alcohol to wipe down the microphone body. Pay special attention to buttons or switches, where dirt often accumulates.
For stubborn dirt, use a soft-bristled brush to gently scrub the surface. Be careful not to let any moisture enter the microphone’s internal components.
After cleaning, use a dry microfiber cloth to remove any remaining moisture. This process not only cleans but also disinfects the microphone handle, reducing the risk of bacterial spread.
Step #2: Cleaning the Grille and Windscreen
The grille and windscreen are crucial parts that require careful cleaning to maintain sound quality. If possible, remove the grille from the microphone by unscrewing or gently pulling it off.
For removable grilles, soak them in a mild soap solution and scrub lightly with a soft brush. Rinse the grille thoroughly with distilled water and let it air dry completely before reattaching. For non-removable grilles, hold the microphone upside down and gently scrub with a damp toothbrush to prevent moisture from leaking into the cartridge.
Remove the foam windscreen and wash it with a mild soap solution. Squeeze gently and let it air dry thoroughly. Avoid using alcohol on foam windscreens, as it can cause the color to leech out.
Step #3: Cleaning External Windscreens, Pop Filters and Mic stand
To clean external windscreens and pop filters, use only warm water or hydrogen peroxide. Avoid using soap or liquid detergents as they’re difficult to rinse completely. Gently wash these accessories and allow them to air dry fully before reattaching them to the microphone.
For the mic stand, wipe it down with a cloth dampened with isopropyl alcohol to remove any accumulated dirt or grime. Pay attention to joints and crevices where dirt can accumulate. Don’t forget to dry the moisture using a dry cloth.
Regularly cleaning these accessories maintains hygiene and ensures optimal sound quality during performances or recordings.
Special Considerations
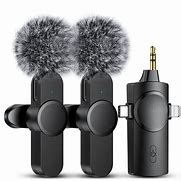
Miniature & subminiature lavaliers and headset microphones
When cleaning miniature and subminiature lavaliers and headset microphones, take extra care:
- Use a cloth slightly dampened with isopropyl alcohol and water solution to wipe down the surface.
- Be extremely cautious not to let any liquid enter the microphone capsule.
- Clean in sections for headset microphones. Start with the area between the microphone element and the headband, then move to the headband and the cable.
- Hold lavalier microphones upward with the cable hanging down to prevent liquid from flowing into the microphone element.
- Allow the microphone to dry completely before use
Bodypack transmitter and receiver microphones
For bodypack transmitters and receivers, follow these steps:
- Remove the lavalier mic, headset, or earphones and clean them separately.
- Power down the transmitter and remove the battery before cleaning.
- Close the battery door to minimize cleaning agent ingress into the bodypack.
- Use minimal cleaner – avoid saturating the product.
- Clean with mild, soapy water, Clorox Disinfecting Wipes, or isopropyl alcohol.
- Use a clean cloth or soft-bristled toothbrush instead of abrasive cleaning tools.
- After cleaning, pat dry with a soft cloth.
- Open the battery door to check for damp spots in the battery area, and pat dry if necessary.
- Allow the bodypack to dry fully with the battery door open before use.
Remember to handle these sensitive microphones carefully and avoid excessive moisture to prevent damage to the electronic components.
NOTE: Using soap and water is not recommended for all microphone parts.
Maintenance and Storage
Protection
Use pop filters or windscreens to protect microphones from plosives, wind noise, and moisture. This improves sound quality and prolongs the microphone’s lifespan by reducing stress on the diaphragm. For outdoor use, consider additional wind protection. Avoid exposing microphones to extreme temperatures or humidity, which can damage internal components.
Maintenance
First, clean it regularly to prevent dirt buildup. Use a soft cloth to wipe down the exterior. For tougher dirt, lightly dampen the cloth with water. Avoid harsh chemicals or abrasive materials.
Check cables and connectors for signs of wear. Replace them if needed to ensure good sound quality. Always use the correct phantom power levels as specified by the manufacturer. Consider professional servicing for condenser microphones to keep them performing well.
Storage
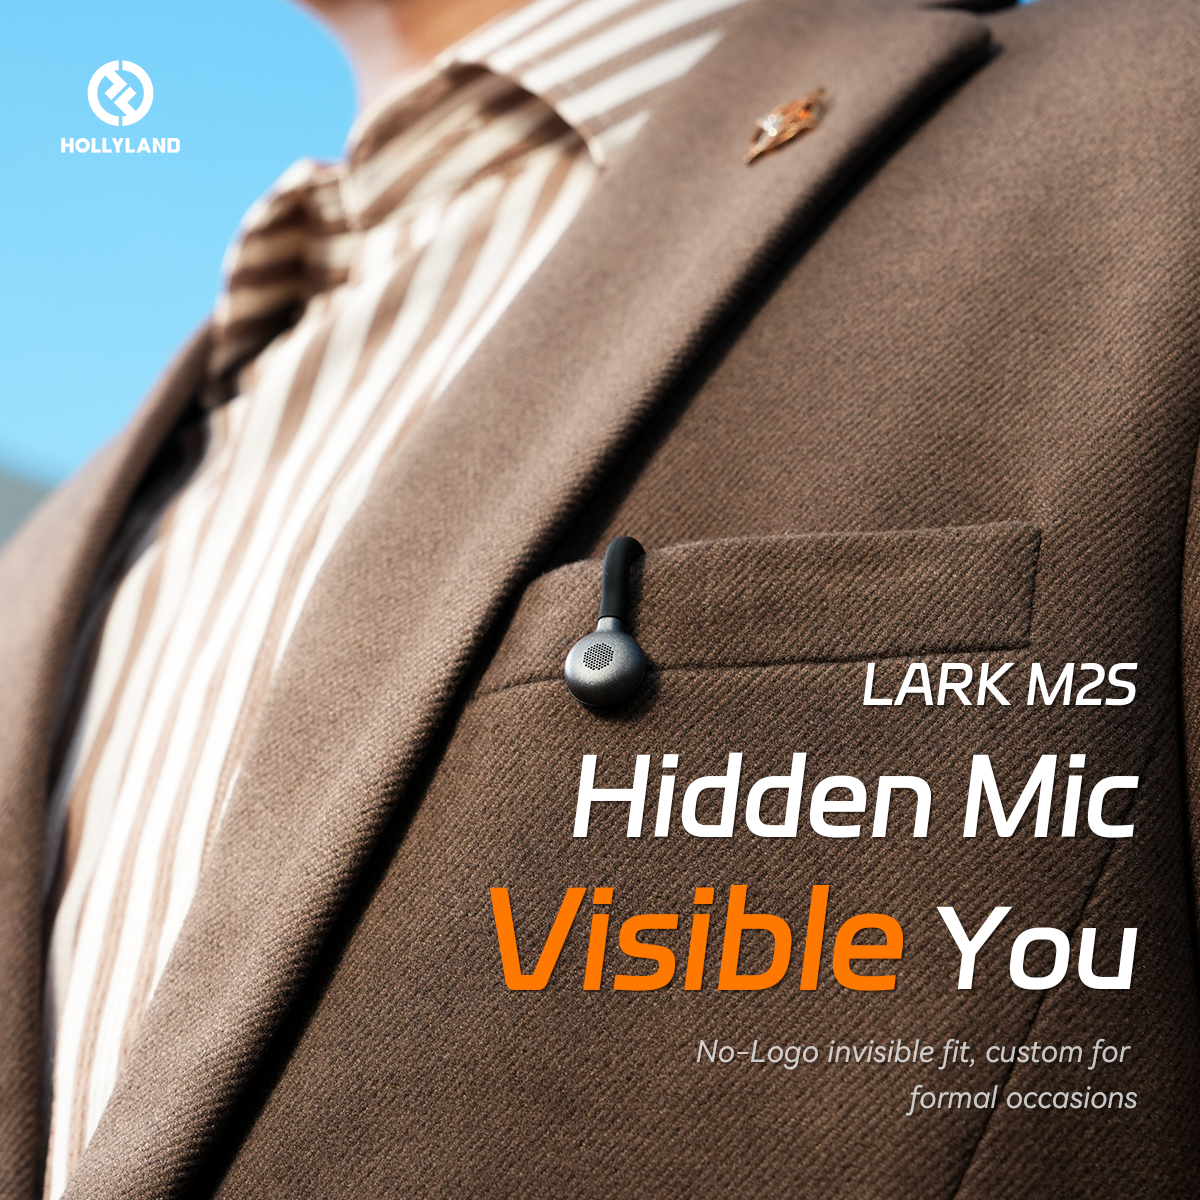
Proper storage is essential for microphone longevity. Some mics, like the Hollyland Lark M2S, come with storage cases. This microphone features a titanium clip-on and logo-free design, making it both durable and comfortable to wear. The titanium material ensures the mic can withstand regular use while remaining lightweight.

When storing, keep your microphone in a dry place, away from dust and moisture. This helps prevent damage and keeps it working well.
Conclusion
Cleaning your microphone effectively is crucial for maintaining sound quality and extending lifespan. You can keep your microphone in top condition by following these simple steps and using the right tools.
Regular cleaning and proper storage ensure optimal performance and longevity. Whatever purpose you are using your microphone, a well-maintained microphone will always give a perfect sound.
FAQs
Is it safe to use isopropyl alcohol on microphones?
Yes, it’s safe to use isopropyl alcohol on microphones. Just be sure to use it sparingly and avoid getting inside the microphone.
Can I use compressed air to clean my microphone?
Yes, you can use compressed air to clean your microphone. It’s great for blowing away dust from hard-to-reach areas. Just be careful not to spray it too close to sensitive parts.
Are there any parts of the microphone I should avoid cleaning?
Yes, avoid cleaning the microphone capsule or diaphragm directly. These parts are very sensitive and can be easily damaged.