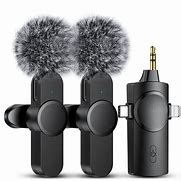
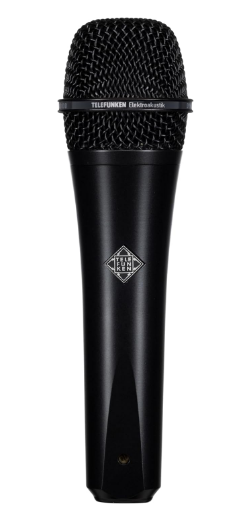
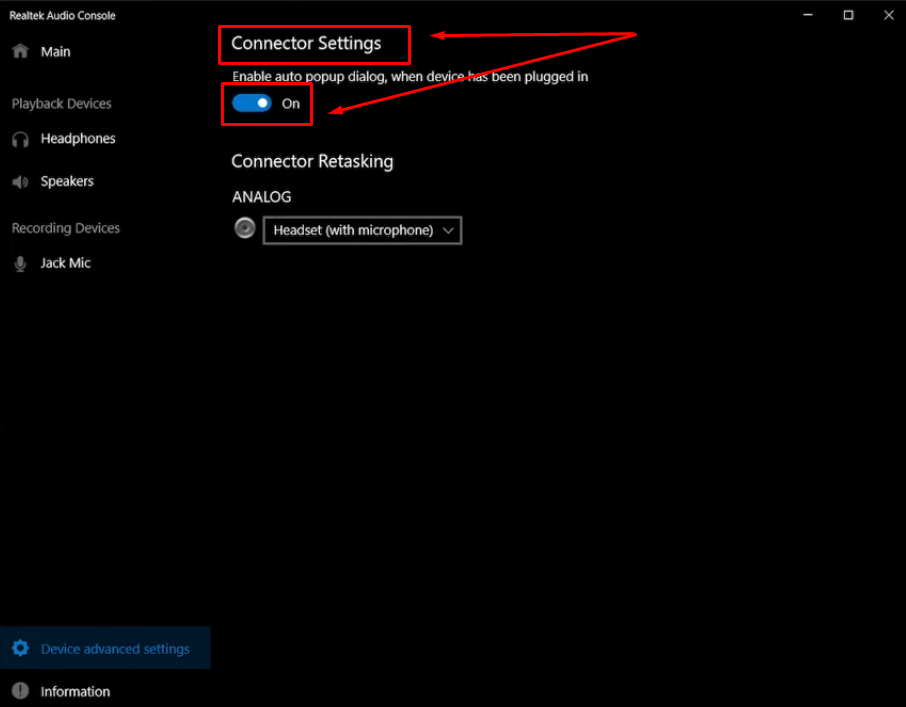
Many people are experiencing issues with Skype microphones not working. This is a common problem, and it’s annoying, especially when you have to talk to others. There’s a range of fixes available, and most can be applied easily. You can fix these issues with a step-by-step guide to help you troubleshoot if there’s no sound, low volume, or cracking noise.
Before you get frustrated, here are some quick fixes that could resolve the issue. In this article, we will list the most common fixes that can solve the most common causes of Skype microphone issues. No technical expertise will be necessary to follow these steps. Here’s how you can get your microphone up and running again and get back to your calls.
Check if Skype Has Permission to Use the Microphone
Skype requires permission to access your mic. Without this permission, Skype can’t listen to you, and your microphone won’t function on calls. Here’s how to make sure Skype has permission to use your microphone:
- Press the Windows + I keys together to open Settings.

- Under Privacy, head over to the Microphone section.
- Scroll down to the App Permissions section, locate Skype, and ensure the microphone is enabled for Skype.
- If your microphone is off, turn it on. After this, restart Skype and see if the problem is resolved.

Troubleshooting tip
Other apps might be using your microphone, blocking access to Skype. Ensure no other app uses the microphone while you’re trying to get Skype working. This will help resolve the problem.
Adjust Skype’s Audio Settings
With Skype, your microphone volume level can be adjusted automatically at times, but this can lead to issues with the way your voice sounds while on the call. You can resolve that by adjusting Skype’s audio settings if that happens. It allows you to adjust the volume of your microphone and prevents your microphone volume from being adjusted automatically by Skype.
How to Adjust Audio Settings in Skype?
- Log in to your Skype account.
- Click Tools at the top of the screen, then Options.

- Go to Options and then Audio Settings.
- Select the proper microphone from the drop-down list. Turn off the Automatically adjust microphone settings checkbox.

- Save the changes and restart Skype.
Why does this help?
Unchecking Automatically adjusting the microphone settings allows you to control the volume of your microphone. That way, Skype will not modify the settings, which might be the cause of creating the problem.
Additional Tip
Make sure your microphone’s input level is set correctly. If the level is too low or too high, it can affect how well people hear you during calls. Adjust it to a level that works best for you.
Verify and Restart the Windows Audio Service
If Skype is not working because of your microphone, the issue may be related to the Windows Audio service. This service is responsible for managing your computer’s audio devices and microphones. Your microphone might not work if it stops. By restarting the Windows Audio service, you may be able to fix any temporary glitches or issues preventing your microphone from functioning properly.
How to check and restart the Windows Audio service
- Open the Run dialog box: Press the Windows + R keys together.
- Access Services: Type services.msc into the Run box, then press Enter. This will bring up the Services window.

- Find Windows Audio: Scroll through the services list until you find Windows Audio.
- Check the status: If its status is Stopped, you can right-click on Windows Audio and click Start.

- Restart if already running: If the service is already running, right-click on it and select Restart to refresh it.
Why restarting helps
Restarting the Windows Audio service can fix temporary glitches or issues blocking the microphone from working properly.
Troubleshooting tip
If restarting the service itself does not resolve the issue, try restarting your computer. A simple system restart may help to apply the changes and fix the root causes of the problem. Make sure that the Windows Audio Service is on and running properly to solve the microphone issues that are not working on Skype.
Update Sound Card Drivers
To update the sound card driver, visit the manufacturer’s website (Realtek, for example) to download the latest range for your computer. If you don’t feel comfortable manually updating the driver or want to save time, consider using a tool like Driver Easy, which can do it automatically. Driver Easy will search for the appropriate drivers for your system and install them for you.
Here’s how you can use Driver Easy:
- Download and install Driver Easy.
- Open the program and tap Scan Now. Driver Easy will then scan your computer and detect outdated drivers.

- It will tell you in the free version what drivers need to be updated. You can update them individually by clicking on the Update button.
- Once you upgrade to the Pro version, you can click Update All to update all your drivers.

Why Updating Helps
Updating to new drivers fixes bugs and enhances performance, making them work with new software such as Skype. This ensures that the drivers on your computer are always updated, which helps prevent and fix audio issues.
Additional Fixes to Try
If you have tried the above solutions and your Skype microphone still does not work, try these additional fixes:
Test the Microphone in a Different App
The real problem may not be with Skype but with your system mic settings. Check if your microphone works in another application, such as Windows Voice Recorder or a Zoom call, to check if the issue is specific to Skype. If the microphone works perfectly in other applications, the problem is likely with Skype.
Test Your Microphone Hardware
Check that your microphone is plugged in correctly and that the cables are not damaged. Disconnect and reconnect the mic to verify that it is well connected.
Try a Different USB Port or Audio Output Jack
Try using a different USB port or audio jack for external microphones, as faulty connections can lead to problems. Also, try plugging your microphone into another port on your computer.
Reinstall Skype
As a last resort, uninstall and then reinstall Skype to reset any configuration issues that may be causing the microphone malfunction. This can help to fix problems caused by corrupted files or settings.
Enhance Your Audio Quality with a High-Quality Microphone
If you are looking to level up the audio experience, you can do that by switching to a high-quality microphone like the Hollyland LARK M2S. It is a compact wireless microphone system known for its anticipation of high-performance features such as a logo-free design and titanium clip-on for discreet and comfortable wear. This includes high-fidelity audio capture, automatic noise canceling, and a 300-meter wireless transmission range for reliable audio for your calls and recordings.
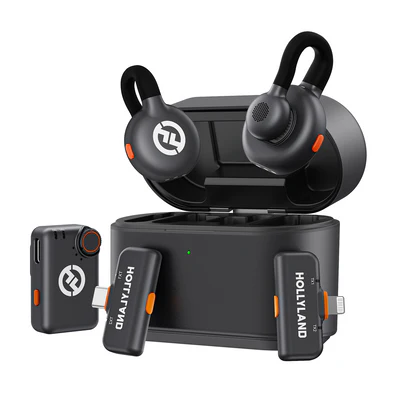

Hollyland LARK M2S - Wireless Hidden Microphone
An ultra-discreet wireless microphone featuring a clip-on transmitter for an “invisible” fit.
Key Features: No-Logo Fit | Ti+ Design | 48 kHz/24-bit
How do you Check and Confirm that the Microphone is Working?
Make sure you test it in multiple apps to verify that your microphone works fine. Record a short clip with the Windows Voice Recorder or jump on a video call on Zoom. If you can clearly hear your voice, then the microphone is functioning well. This will help you determine whether the problem is with the microphone or certain software (like Skype).
Another check is to perform a microphone test built into Skype. Open Skype Settings > Audio Settings, and Skype will allow you to test your microphone. If you can hear your voice clearly, the microphone works correctly.
Conclusion
Use these simple steps to resolve most Skype microphone problems. Start by checking settings, updating drivers, or restarting your system. If not, testing the microphone in other apps or using a high-quality external microphone, like the Hollyland LARK M2S, can improve performance.
Keep in mind that microphone problems are usually just a matter of changing settings or making sure everything is plugged in. If the issue persists, reinstalling Skype or contacting support can help you get back to smooth calls.
FAQs
How do I allow Skype to access my microphone?
In Windows, you can enable your microphone for Skype by going to Settings > Privacy > Microphone. Ensure that the toggle next to Skype is set to on, allowing the app to access your microphone.
Why can’t someone hear me on Skype?
If no one can hear you on Skype, test your microphone connection to ensure it is properly plugged in. Also, ensure the microphone is not muted in Skype or your system settings.
How do I know if my microphone is working on Skype?
To test if your microphone is working on Skype, go to Tools > Options > Audio Settings. The volume bar must respond when you talk, indicating that Skype is picking up sound.
What Do I Do to Unmute the Microphone on Skype?
If your microphone is muted in Skype, you can unmute it using the microphone icon. Quickly. Just press Ctrl + Shift + M to unmute during a call.
How do I enable my team to access my microphone?
You should have allowed microphone access within privacy settings to allow your team to use your microphone in Skype. Ensure your mic is unmuted and set as the default device for team calls.


.png)


