.png)
Going live for the first time can feel both exciting and nerve-wracking. Whether you’re sharing gameplay, chatting with friends, or building a new community, the tools you choose will make a huge difference in how confident you feel on stream. Devices like the Hollyland VenusLiv Air help simplify that process with 24/7 streaming capability and sharp 4K at 30fps, so you can focus less on technical hiccups and more on connecting with your audience.
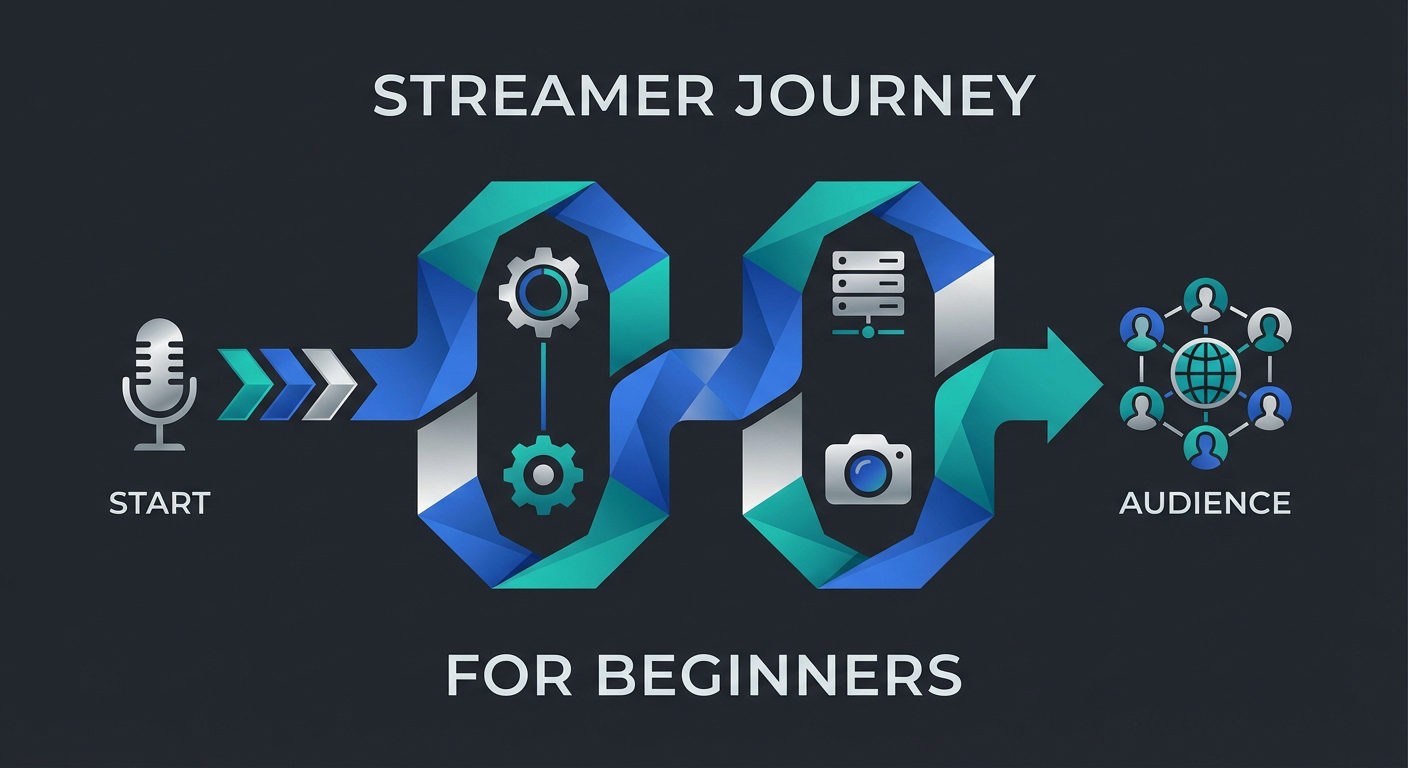
In this guide, we’ll walk through the essential steps to become a Twitch streamer and make your live experience engaging from the start.
Step 1: Set Up Your Twitch Account
Sign up on Twitch
Go to Twitch.tv → click Sign Up if you’re new, or Log In if you already have a Twitch account.


Choose your username and profile picture.
Pick a unique, memorable username and upload a clear profile image that represents your channel (square images work best).

Enable two-factor authentication (2FA)
Turn on 2FA in Settings → Security & Privacy using an authenticator app or SMS to keep your account secure.


Quick checks
Verify your email, add a short bio, and preview your channel to make sure everything looks right before you start streaming.
Step 2: Prepare Your Streaming Setup
Before going live, ensure you have the necessary tools in place.
- Start with the basics: a PC or console, a webcam, a microphone, and a stable internet connection.
- Go to Speedtest.net to check your internet speed. Aim for at least 5 Mbps upload for 720p streams, and higher if you want to stream in 1080p.

- Create a comfortable workspace with good lighting, a quiet background, and an ergonomic desk setup so you can stream longer without distractions.

Step 3: Choose and Configure Streaming Software
Pick your software
Choose OBS Studio (free, full control) or Streamlabs OBS (easier UI).

Download & install
Download from the official site, run the installer, and open the app.

Create scenes
In OBS or similar streaming software, a scene is simply a layout that contains different elements of your stream, like your gameplay window, webcam feed, overlays, and alerts. You can switch between scenes to change what your viewers see at different moments.Make a Main scene for gameplay, plus optional scenes: Starting Soon, Live, BRB.

Add sources to a scene (sources are the individual items you add to a scene),
For example,
- Game Capture (or Window/Display Capture) for gameplay.Video Capture Device for your webcam.Audio Input Capture for your mic and Desktop Audio for game sound.Arrange and resize sources so overlays don’t block important content.

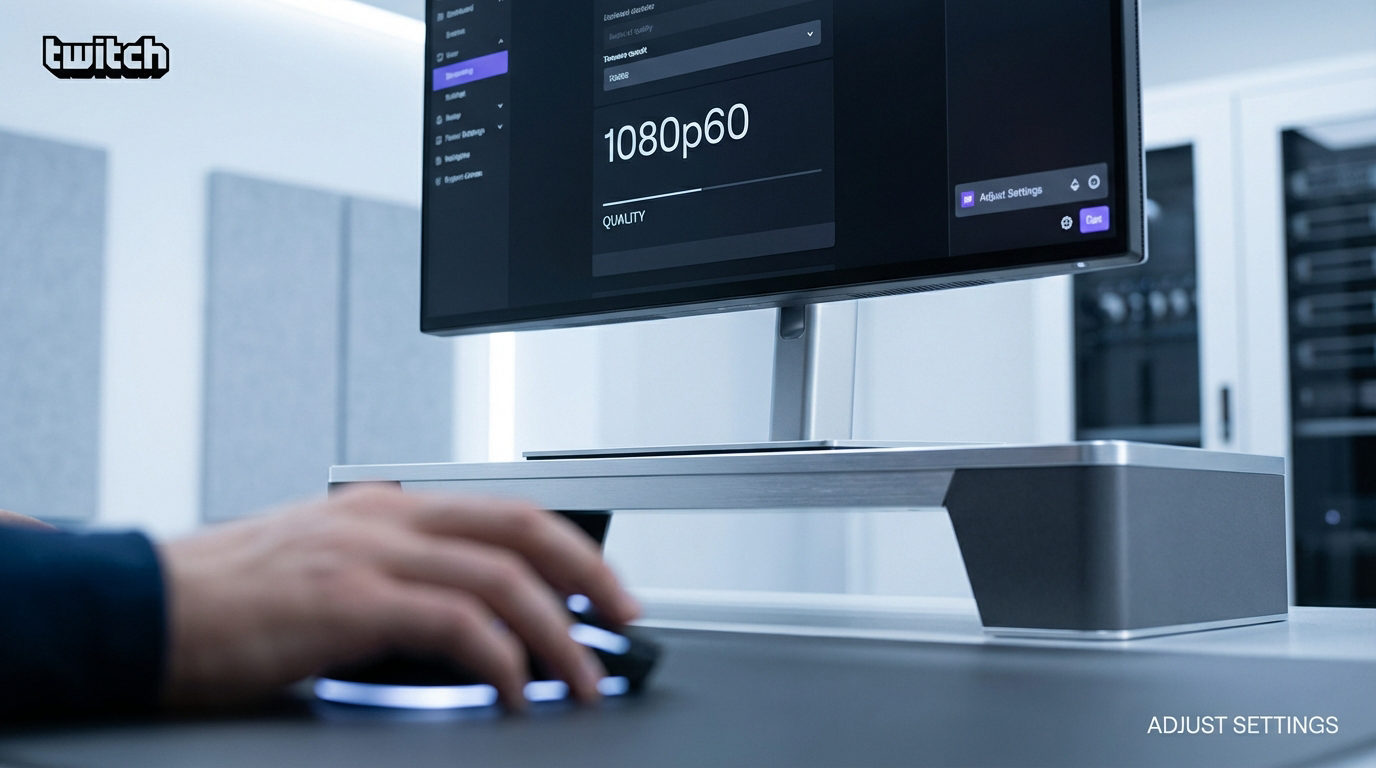
Configure basic video settings.
- Settings → Video: set Base (Canvas) Resolution and Output (Scaled) Resolution.Choose frame rate: 30 fps or 60 fps, depending on your hardware.

Set output & bitrate
- Go to Settings → Output → pick an encoder (hardware if available).Bitrate guidance (quick reference): 720p ≈ 2500–4000 kbps, 1080p ≈ 4500–6000 kbps.Reduce the quality or bitrate if you notice dropped frames.

Audio setup
- Settings → Audio: set sample rate and ensure mic/desktop devices are chosen.Adjust the mic gain and desktop volume so the voice is clear over the game sound.

Add overlays, alerts & widgets.
- Add alert sources (follows/donations) and a chat box or recent-donor widget.Keep the layout readable; don’t overcrowd the screen.

Test before you go live
Go to Settings → Stream → click on Enable bandwidth test mode. This lets you test your stream without going fully live.


Run a private test: Record a local session or conduct a brief bandwidth test stream.
Check your audio, video, and overlays carefully. Fix sync, loudness, or layout issues before you go live.
Save & back up
- Export your scene collection/profile so you can restore it if needed.

Quick troubleshooting tips
If you experience dropped frames, try using a wired connection, lowering the bitrate, or utilizing a hardware encoder.
If the audio is too quiet, increase the mic gain or use the normalize feature in OBS filters.
Step 4: Brand Your Channel and Layout
- Go to your Twitch dashboard and edit your profile banner, panels, and About section. This is the first thing new viewers see, so make it welcoming.

- Keep your webcam feed and chat box in consistent positions on your stream layout. This helps regular viewers feel at home and avoids distraction.
- Pick custom colors, fonts, or themes that reflect your personal brand or gaming style. A unique look helps you stand out.

- Always check how your channel looks on desktop and mobile. A clean, uncluttered design makes it easier for people to watch and engage.
Conclusion
Becoming a Twitch streamer takes the right setup, practice, and consistency. Start small, improve gradually, and focus on building real connections with your audience. With steady effort and reliable tools, you’ll grow naturally and enjoy the journey.
FAQs
Q1. Do I need expensive equipment to start streaming on Twitch?
No. You can start with a basic PC, a built-in mic, and free software like OBS Studio. Upgrade gear gradually as you grow.
Q2. How often should I stream to grow?
Consistency matters more than frequency. Streaming 2–3 times a week at fixed times helps build an audience.
Q3. Can I stream on Twitch without a webcam?
Yes, many streamers begin without one. However, adding a webcam later can improve engagement by creating a more personal connection.
Q4. What’s the best internet speed for Twitch streaming?
A stable connection with at least 5 Mbps upload is recommended. For 1080p 60fps, aim for 8–10 Mbps or higher.