Wondering how to upload your audio to Roblox? That’s exactly what this guide covers. While Roblox already offers its audio library, you can also upload your favorite sounds to the platform to personalize your games and make them even more fun.
In this guide, we’ll walk you through the exact step-by-step instructions you might need to follow to upload audio from your device to Roblox. By the end, you’ll also learn how you can make your uploaded audio public for others. So, keep reading to learn about it.
Quick Steps to Upload Audio to Robolox
Uploading your audio to Roblox is straightforward, but you need to know exactly where to go and what to click. Below, we’ve broken it down step by step so you can follow along without confusion.
Step 1. Go to the Roblox Website and log in
- Firstly, open any web browser on your PC, laptop, or mobile phone.
- After launching the browser, head over to the “https://create.roblox.com/” address.

- Now you need to log in to your Roblox user account. To do that, click on the Login button in the top-right corner.

- Next, simply enter your username and password, then click the login button to access your account.

- After logging in, you’ll also see download the official creator hub. Without downloading that, you can still upload your audio file to Roblox.

Step 2. Head Over To “Create” Tab
Now that you have logged into your user account, it’s time to access the “Create” section. This section is where you’ll find the upload audio option. Here’s how to do that:
- Within the Roblox Creator Hub window, look at the top navigation bar and click on the “Dashboard” at the top bar.

- Next, locate the “Creations” tab from the left-side menu and click on it. You’ll then be directed to the Creations window, where you should be able to see several options in the sidebar.
- Inside the Creations window, locate and click on the “Development Items” option under Creations.

Step 3. Navigate to Audio Section
- Under Development Items, you’ll see the options for the items you can upload to the platform. From that list, click on the “Audio” button.

- Once you click on Audio, you’ll be directed to a page. This page allows you to view your existing audio assets (if any). In the same window, you’ll also see an option to upload a new audio file named “Upload Asset.”
Step 4. Upload Your Own Audio Asset
- Now, click on the “Upload Asset” button. A new window will appear, allowing you to browse your device, name the audio file, and select the desired audio file to upload.

- Inside the Upload Asset window, first click the Upload button and navigate to the location of the audio file you want to upload. Once you’re in, just select it or double-click it to choose the file. Then, hit the Open or Upload button.

- Next, you need to name the audio file. Just name the audio anything you want. Then, write down the description for the audio. After you’re done with all the above steps, just hit the “Upload” button at the bottom.

- Roblox will then take some time to process it and add it to your library. From there, you can access your audio file and even use it in your games or make it available for others if you set it to public.

And that’s it, you’ve successfully uploaded the audio file to Roblox.
However, there are a few rules to keep in mind when uploading an audio asset to ensure it complies with Roblox’s Terms of Use and Community Rules. Let’s discuss them now:
If your Roblox ID is verified, you’ll be able to upload up to 100 free audio files every 30 days. On the other hand, non-verified users can only upload 10 free audio files every 30 days.
Also, your audio file must be in a supported format (.mp3, .ogg, .flac, .wav). Otherwise, you won’t be able to upload your audio file.
Furthermore, if you plan to record your sounds, it’s best to use a professional microphone, like the Hollyland LARK MAX 2. This mic filters out background sounds with its advanced AI noise cancellation capability, and its 32-bit float recording ensures clear audio.
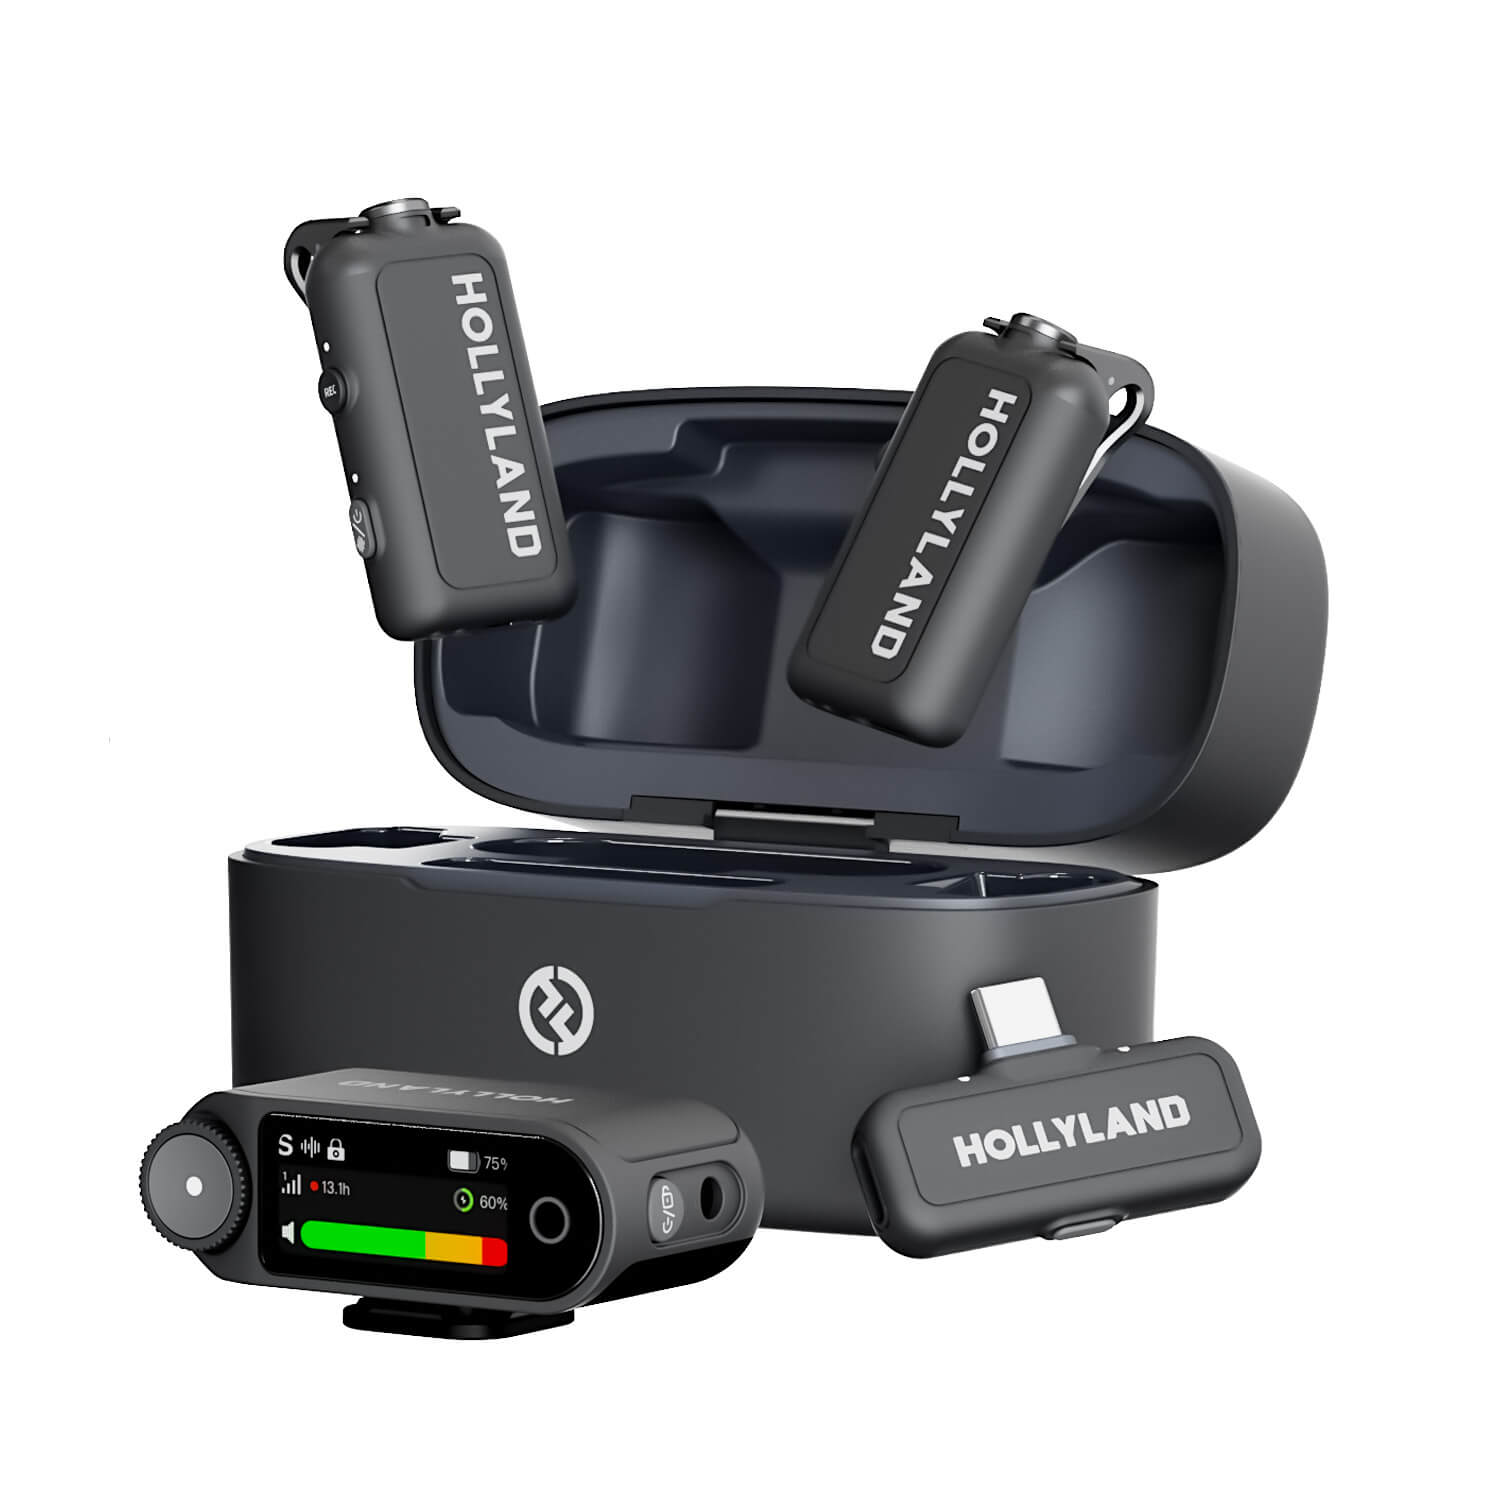

Hollyland LARK MAX 2 - Premium Wireless Microphone System
A premium wireless microphone for videographers, podcasters, and content creators to capture broadcast-quality sound.
Key Features: Wireless Audio Monitoring | 32-bit Float | Timecode
Apart from that, your audio file must also follow Roblox’s length (less than 7 minutes) and size restrictions.
And the most important rule is that you can only upload audio that you actually own and have the legal rights to use. Because if Roblox identifies your audio file as copyrighted music, they may remove it from the platform.
How to Make Your Roblox Audio Public?
After you’ve uploaded the audio asset to Roblox, by default, only you can use it. However, if you want to make your audio asset public for other players and creators to use in their games, here’s how you can do that:
Step 1: Find Your Uploaded Audio:
- First, make sure you’re on the Upload Audio Asset page. If you have gone back, just click on Dashboard > Creations > Development Items > Audio. Now you’ll see the list of all audio files uploaded in the bottom section.

Step 2: Submit the Audio Asset for Review
- From the list of uploaded audio assets, locate the audio file you want to make public. Then, click on it.
- You’ll then be directed to a Settings or Configuration window. Inside the configuration window, just scroll down to the “Get approval to distribute” section. Then, click on the “Submit For Review” button.

- Once you click on submit for review, an “Audio Distribution” window opens. Within the window, first verify your Roblox ID if it’s not verified yet. Once you’re done verifying your Roblox ID, just refresh the page.

- Now that your ID is verified, scroll down to the Legal Agreements section and check the box for all the terms and conditions. Then, click the Submit button.

- After you submit your audio asset for approval, you’ll get a message saying “Distribution approval pending.” The approval process can take 24 hours or more. You will need to keep checking for approval.

Step 3: Make Audio Asset Public
- Once you receive the green colored “Approved to distribute” message on the configuration window, turn on the toggle button to the “Distribute on Creator Store” option. Then, click on the Save Changes button. Your audio asset is now public.

Note: Keep in mind that you can only make audio public on Roblox if it’s 6 seconds or less. You cannot public a newly uploaded audio regardless of duration.
Wrap Up
Creating audio for Roblox is simple and straightforward. To get started, simply follow the step-by-step process outlined in this guide and keep Roblox’s audio upload requirements in mind, including file size, length limits, copyright rules, and duration. By doing so, you’ll avoid errors and ensure your audio uploads smoothly.
FAQs
- Is Roblox audio copyright-free?
No, not all Roblox audio is copyright-free. Roblox has its own audio library with safe-to-use tracks. However, if you upload your audio, you must own the rights to it or have permission from the creator. Otherwise, your audio asset will be taken down.
- What audio file format does Roblox use?
Currently, Roblox supports the following audio asset formats: .mp3, .ogg, .flac, and .wav.


.png)


