.png)
Learning how to record audio in DaVinci Resolve is essential during your regular video recording as a content creator, YouTuber, or influencer. A clear, high-quality audio recording ensures your sound is relayed clearly to the target audience. Are you struggling to find the best way to record audio on DaVinci Resolve?
You shouldn’t look any further since this step-by-step guide has everything you need to know, moving you from beginner to pro level in DaVinci audio recording. We’ll outline steps for recording high-quality audio using DaVinci Resolve 20, as well as via older versions of this tool. Keep reading to learn more.
How to Record Audio in DaVinci Resolve 20
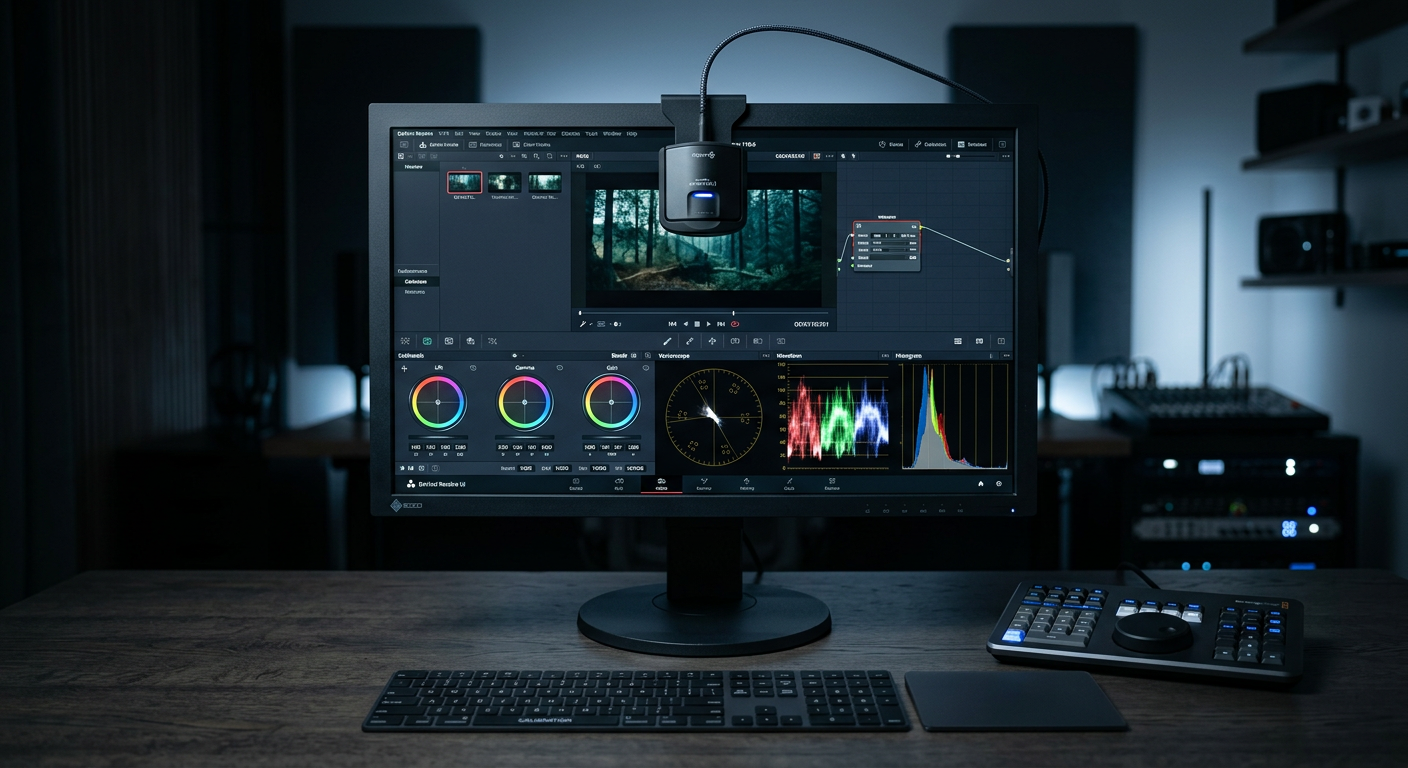
DaVinci Resolve 20 offers a better way to record audio than its predecessors, like version 19 or 18. Before using this tool, ensure that a proper microphone is connected to your computer. A reliable mic like the Hollyland LARK MAX 2 offers the best experience when recording audio in DaVinci Resolve.


The tool features a 32-bit float recording capability, letting you capture every moment with utmost clarity. It also features an OWS Bluetooth monitoring capability, allowing for real-time audio checks without the need for cables. Once you have everything ready, you can follow these steps:
Step 1. Launch DaVinci Resolve 20
Start the application and navigate to the “Edit” tab in the lower section. Next, click on the microphone icon to launch the recording panel for your audio.

Step 2. Select Your Microphone
Go to the “Audio Input” setting and select the microphone you’ve connected to your computer from the listed ones. You can test your mic a bit to ensure it’s the one you selected. Don’t make the mistake of selecting your built-in mic, since the audio recording won’t be clear.

What if your microphone isn’t showing up? On your PC, you can resolve the issue by right-clicking the speaker icon, then navigating to “Sound Settings” > “Input.” You can then make your mic the default device. If using a Mac, you can troubleshoot your microphone by going to “System Settings”>”Sound”>”Input.” You can then pick your preferred microphone and adjust the input volume.
Step 3. Record Your Audio/Voiceover
Once set, move the playhead to where you wish to start the recording. You can then click on the record button to initiate your audio recording. You can stop/pause your recording at any time by clicking the record button again. The recorded audio clip will appear on your Timeline.

Note: It’s important to note that with DaVinci Resolve 20, you don’t need to arm your track.
How to Record Audio in DaVinci Resolve 19 and Previous Versions
The older versions of DaVinci Resolve don’t support audio recording via the Voiceover panel, but you’ll need to use the Timeline instead. Follow the steps below to record audio on DaVinci Resolve 19 and other previous versions.
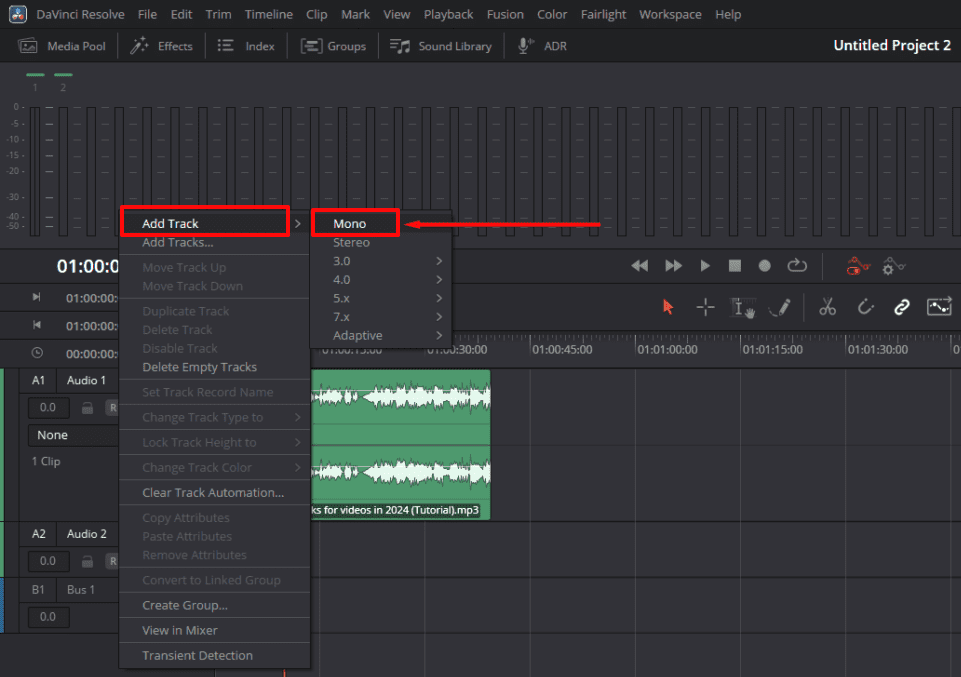
Step 1. Add an Audio Track in the Fairlight Page
Once you’ve launched DaVinci Resolve 19 or a previous version, navigate to the “Fairlight” page on the lower section of your screen. To add a new track, right-click under your existing tracks and select the “Add track” option. Next, select “Mono” if you’re using only one mic.
Step 2. Patch Your Preferred Microphone Input
The next step is to select the microphone you wish to use. You can do that by clicking on the “Fairlight” option in the upper section of your screen and selecting “Patch Input/Output.” When the next window appears, navigate to the “Input” section and select the microphone you want to use for your audio recording.
Next, select your preferred audio track and click “Patch” to finalize your selection.

Step 3. Arm Track for Audio Recording
Navigate to the left panel of your Timeline and check out the list of available tracks. Select the track you patched in the previous step, click the “R” button next to it, and check whether it lights up red. This signals that you’re ready to begin the recording.

Step 4. Start Recording Audio
Once set, you can initiate the audio recording by moving the playhead to the desired start point. You can then hit the record button to begin. Start speaking to your microphone, and DaVinci will record the audio. You can press the “Stop” button at any time to finish your recording, and the recorded file will be displayed in the tracks.

Bonus: How to Make Clear and High-quality Audio Recordings
As a professional content creator or YouTuber, you need to ensure that your recordings are clear and of high quality, providing your audience with a better experience. Below are important tips to consider to ensure that it happens.
1. Select a conducive recording environment
You must make adequate preparations to ensure your recording space is conducive. For example, before starting your audio recording, select a quiet room/place. You can do that by minimising all noise distractions. A good microphone is also critical to minimize the capture of background noise.
Before getting started, ensure you run a sample audio test on your microphone to ascertain that it doesn’t capture any background sound.
2. Improve the sound clarity using EQ
The success of any audio recording is measured by the clarity of the output sound. You can use EQ and compression in DaVinci Resolve to balance your sound and make it clearer. First, click on the “Fairlight” page, then launch the “Mixer.”
Next, double-click the “EQ” button within your audio track recording and add a high-pass filter to “Band 1” to remove any muddiness. To eliminate higher-pitched noises from your audio recording, select a low-pass filter.
3. Use the Voice Isolation feature to remove background noise
DaVinci Resolve Studio has a built-in feature (called Voice Isolation) that allows you to trim out any noise from your recordings. You can access this feature by going to the “Fairlight” page and picking your audio recording. Next, go to “Inspector”>”Audio Effects” and choose “Voice Isolation.” Use the “Strength” slider to adjust the background noise level in your recording.
Conclusion
DaVinci Resolve offers the best platform for YouTubers and content creators to record audio. To ensure better recordings using this tool, selecting a high-quality microphone is essential. This saves from the hassle of coping with background noises and unclear recordings. For a better audio recording experience on DaVinci, ensure a quiet working environment.
FAQs
1. How do I add a microphone to DaVinci Resolve 20?
First, ensure you connect a reliable mic to your computer. You can then launch DaVinci Resolve 20 and go to the “Audio Input” setting. Select the name of your microphone from the list of connected mics. You can then test it to ensure you’ve picked the correct one.
2. What can I do to get clear, high-quality audio recordings?
First, ensure that your recording space has a quiet environment. Consider turning off any gadgets that may cause unnecessary sounds during the recording period. For high-quality recordings, it’s essential to use a microphone that performs efficiently. A good microphone will save you from rampant background noise during active recording.