.png)
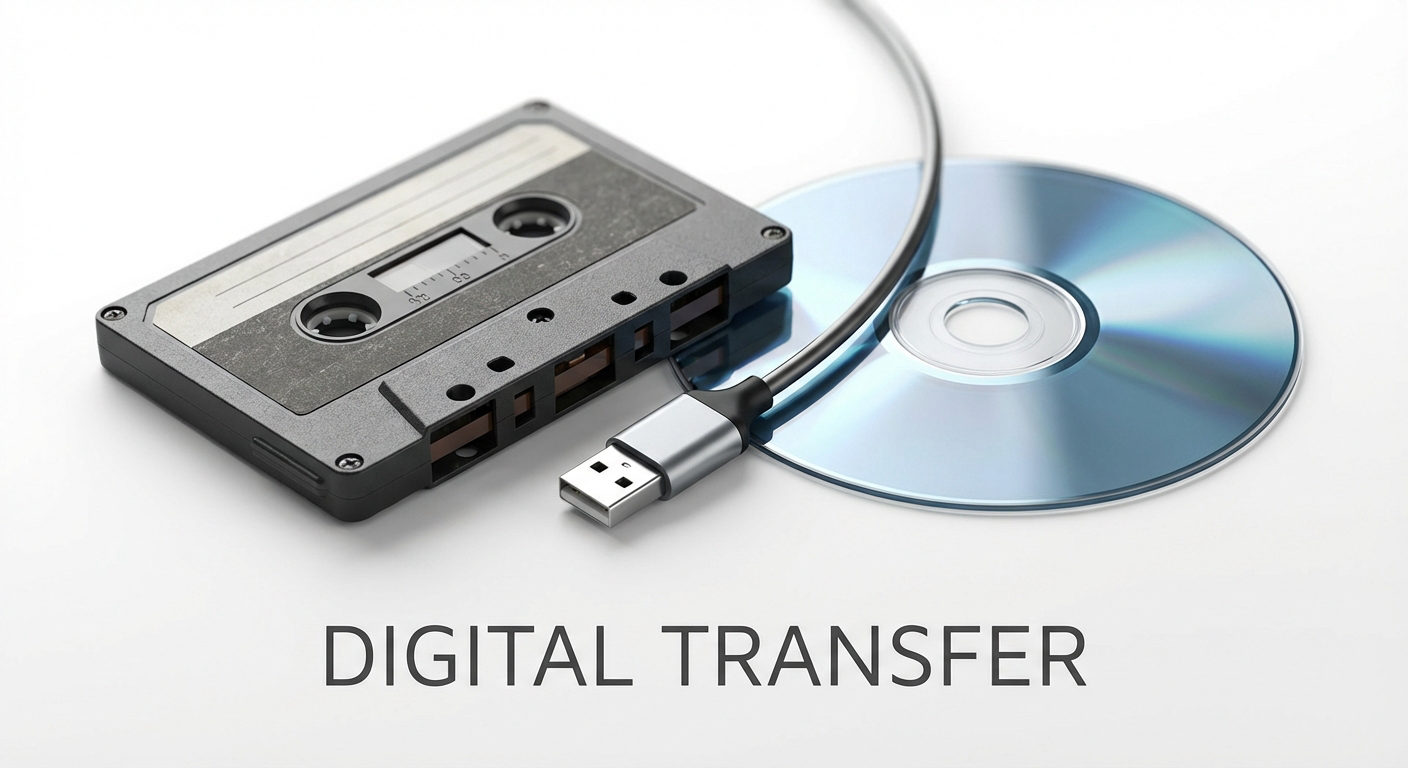
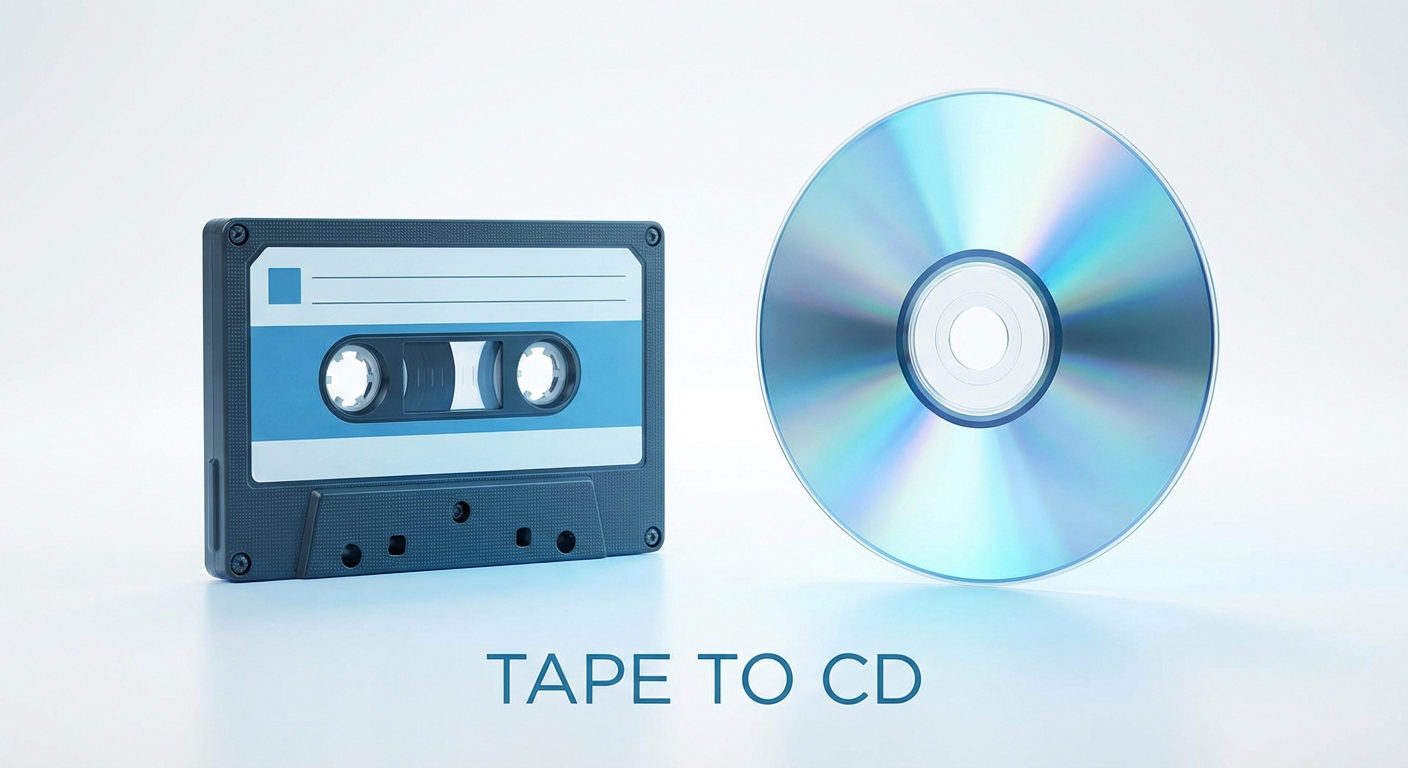
Once a treasured source of entertainment and memories, audio cassettes have now become a rare sight. If you still own a collection, it’s important to know that cassettes are not a lossless medium, and over time, the recordings may fade or get damaged. To preserve those precious sounds, digitizing them is the best solution. Thankfully, there are several easy ways to transfer cassette recordings to a computer.
In this article, we’ll walk you through the available options, explain how each one works, and show you why it’s worth taking the time to complete this task.
4 Ways to Transfer Audio Cassette to a Computer
Here are four of the most effective methods worth considering. Let’s go through them one by one.
Method 1: Transfer via Cassette To MP3 Converter and USB Drive
One of the simplest options is to use a cassette-to-MP3 converter that comes with a USB drive feature. It works by converting the audio from your cassette tape directly into MP3 format and saving it onto a USB flash drive. You do not require any special software or even a computer during the initial transfer.
Once the recording is complete, insert the USB drive into your computer, copy the files, and play them just like any other digital audio. Here’s a step-by-step tutorial:

- Grab a cassette-to-MP3 Converter and pull its ejected slider down. The cassette plate then opens.

- Open the door to the battery bay and insert two batteries to power the unit.
- Insert the cassette tape and close.

- Insert the USB flash drive into the unit’s USB port. When the indicator light on the device is green, it’s ready to convert the cassette’s audio.

- Your unit may also have an auto mode that detects the breaks between audio and separates them into distinct files. To enter this mode, press and hold the next track button until the indicator light becomes blue.


- Press the “Record” button on the back of the converter, then press “Play” on the cassette to begin recording. Let the tape play through completely without interruption.
- Some converters include an auto-reverse function, which automatically switches to the other side of the cassette once the first side finishes, saving you the trouble of flipping it manually. If your device doesn’t have this feature, simply pause the recording, eject the cassette, turn it over, and then resume recording.

- When the recording is complete, eject the USB drive.

- Insert the drive into your computer and transfer the MP3 files there.
Method 2: Transfer via the USB Cassette Capture Device and Audacity Software
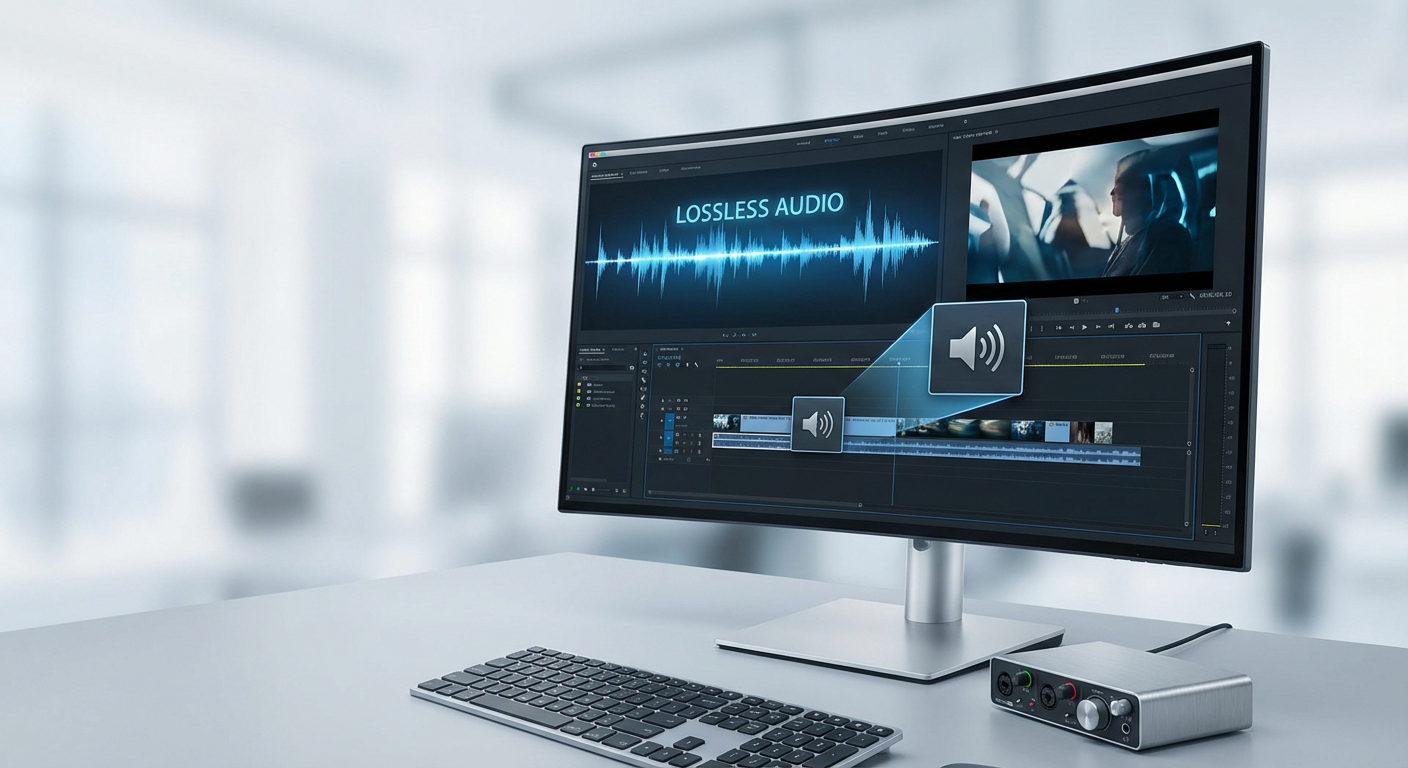
USB cassette capture device connects to your computer via a USB cable and transfers the cassette’s audio directly. To make it work, you’ll need recording software such as Audacity, which is free and widely used.
This method often delivers slightly better audio quality compared to standalone converters. Plus, using software like Audacity gives you more control—you can edit the recording, remove background noise, or clean up the sound for a sharper result. Let’s look at the method in detail:

- Plug the USB cable into your computer and the cassette capture.


- Open the door of the USB cassette capture device and insert your audio cassette. Close the cassette door.
- Download and install the Audacity program on your computer. It’s available for both Windows and Mac computers.

- In Audacity, configure the recording input setting to the “Microsoft Sound Mapper”.


- Hit the “Record” button in Audacity. Raise the volume slider on the USB cassette capture device and press “Play” to commence recording.

- While the cassette is playing, you’ll see the sound waves appear in Audacity’s interface in real time. Once the tape has finished, simply press the “Stop” button in Audacity to end the recording and save your file.

- Head over to “Files” and choose “Export”. Set the file name, choose the destination folder, and select the audio format—most commonly MP3. You can also adjust other details if needed before finalizing the export.

- When done, hit “OK” to save the recording to your computer.
Method 3: Transfer via Cassette Player linked to your computer and Audacity software
If you’d rather not purchase a USB cassette capture device or converter, you can use a regular cassette player or Walkman, provided it has an AUX output. Simply connect the AUX output of the player to your computer’s audio input using the appropriate cable and record using Audacity. Here’s how to do it:

- Insert the cassette into the audio cassette player or Walkman.


- Get a a 3.5mm to 3.5mm aux cable. Plug one end into the audio cassette player or Walkman and the other end into the line-in or microphone port of the computer.

- Open the Sound Settings on your computer and select “Line-in” as the input device.
- Download and install Audacity on your computer and launch it.


- Within Audacity, go to the “File” menu at the top and then “Save Project”. Give the project any name. Save it.


- Go to “Edit” > “Preferences.” Under the Recording tab, make sure the option “Software Playthrough of input” is enabled. Then click “OK.” This setting allows you to listen to the cassette audio through your computer speakers or headphones while it is being recorded in Audacity.

- Next, set the capture source in Audacity to “Line-in” so the program records from the cassette player. For monitoring, select your speakers (or headphones) as the output device.
- Hit the “Record” button in Audacity and press the “Play” button on the cassette player. Increase the volume on the player or Walkman while recording.

- When done recording, press the “Stop” button in Audacity.


- Go to “File” > “Export.” If you’d like to save the recording as an MP3, select “Export as MP3.” Enter a file name, choose where to save it on your computer, and adjust the settings such as Quality and Channel Mode if needed. Once everything is set, click “OK” to finalize and save your recording.
Method 4: Recording the Cassette Playback with a Quality Microphone
If you don’t have access to any cassette converters or capture devices, you can still preserve your tapes by recording the playback with an external microphone. This method is more of a workaround, but it can deliver surprisingly good results if done carefully.
All you need is a reliable cassette player or Walkman, a quiet room with minimal background noise, and—most importantly—a high-quality microphone. For example, modern options like the Hollyland LARK MAX 2 feature advanced noise cancellation and can capture audio in 32-bit/48kHz quality for clear, professional results.

Hollyland LARK MAX 2 - Premium Wireless Microphone System
A premium wireless microphone for videographers, podcasters, and content creators to capture broadcast-quality sound.
Key Features: Wireless Audio Monitoring | 32-bit Float | Timecode
Here’s how to record your cassette audio using a Hollyland mic:

- Connect the USB-C Bluetooth receiver to your Android phone. (Use Lightning-to-USB-C cable for iPhone 14 and earlier models)

- Press the power button on the receiver for about 3 seconds to enter pairing mode. If the transmitter mic is off, press and hold its power button for 6 seconds to activate pairing. When the indicator lights on both the receiver and transmitter turn solid green or blue, the devices are successfully paired.

- Download and install the LarkSound app to configure the microphone system’s settings.

- Place the mic close to the sound source—the speakers playing your cassette.
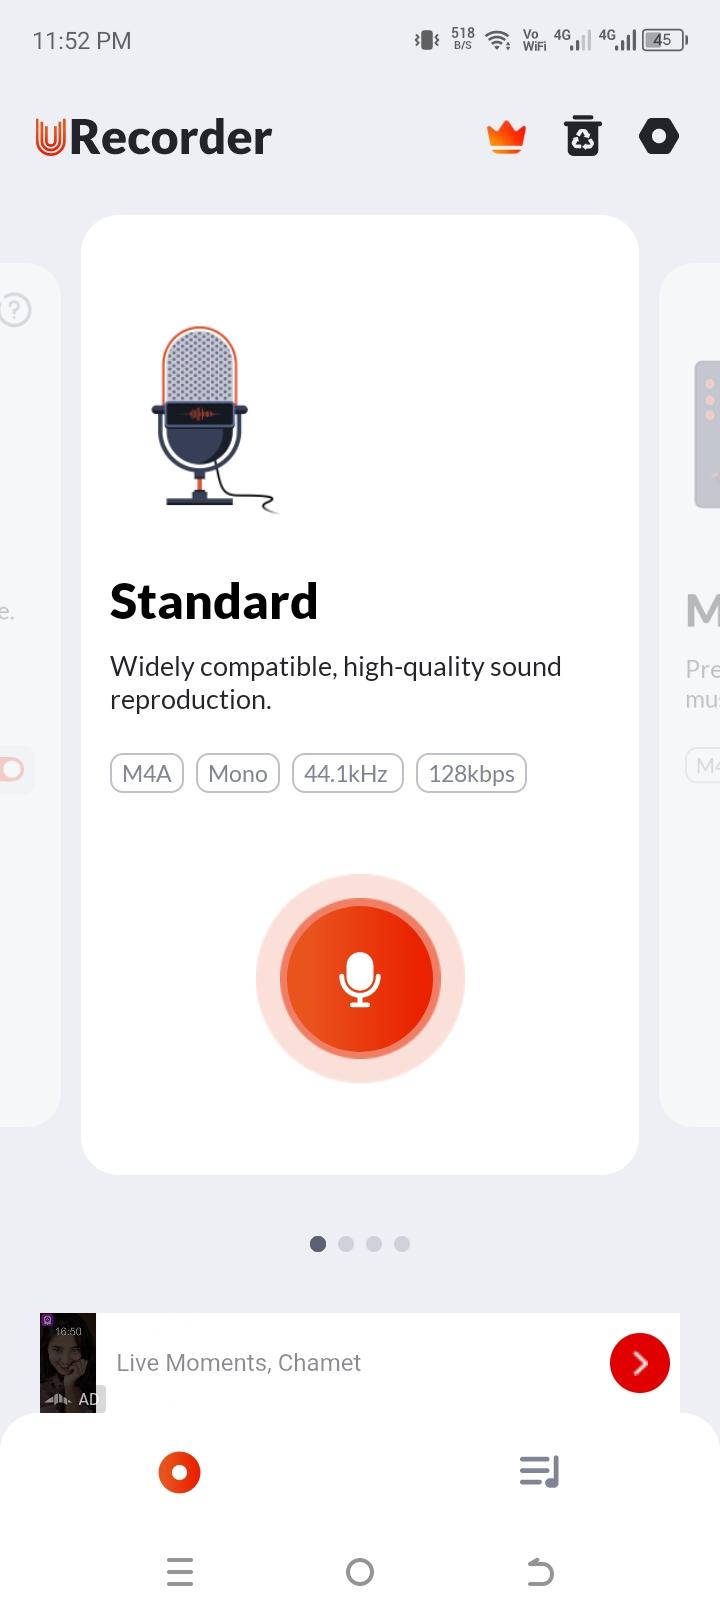
- Open a voice recording app on your phone and press “Record.” Then, start playing the cassette on your player. Adjust the player’s volume to ensure the recording captures a clean and balanced sound level.
- When the tape has finished, tap “Stop” in the recording app and also stop the cassette player.

- Save the recorded file in MP3 or another compatible format, such as WAV.

- Transfer the saved file from your mobile device to your computer using Bluetooth or any other method you prefer.
Conclusion
Transferring your old audio cassettes to a computer is a practical and rewarding way to preserve your cherished recordings. Whether you use a USB cassette converter, a capture device with Audacity, a standard cassette player, or even a professional microphone setup, these methods ensure your memories can live on in digital form for years to come.
FAQ’s
Q: Is a computer necessary to digitize audio cassettes?
A computer isn’t necessary to digitize audio cassettes. Some USB audio cassette converters allow you to record directly to a flash drive. You can also play the cassette on a player and capture the sound with a high-quality microphone. That said, using a computer is often preferable since it allows you to edit the recording and clean up the sound for better quality.
Q: What is the ideal format to save the audio while transferring a cassette to a computer?
If your goal is to preserve the highest possible quality, WAV is the best format. It’s uncompressed and ideal for professional-level digitization. However, for everyday listening or casual use, MP3 is the more convenient choice, as it takes up less storage space—though it does involve some loss of audio quality.