.png)
Microphones are essential for creating content, playing online games, and recording videos. Everything is all fun until the mic starts cutting out intermittently during the recording.
Understanding all the problems associated with microphone cutting in and out can help you find a solution quickly and thus prevent delays throughout your game sessions, live videos, or recordings. This guide explores some common problems and practical troubleshooting steps to resolve such issues.
Why Does My Microphone Keep Cutting Out?
A wireless microphone has a transmitter that receives the sound waves coming from the microphone, converts them into radio waves, and sends them to the receiver. The receiver interprets these signals to produce output.
In addition, Bluetooth acts as a connection between the transmitter and the receiver to ensure smooth input and output. Any interference in either of these components can cause the microphone to cut out.
Here are some common reasons why it happens:
- Wireless Interference: When a large number of mobile phones or other wireless devices are active simultaneously in the same space, they may interfere with the Bluetooth signals of the wireless mic, causing connectivity issues and, eventually, a cutout.
- Battery Management: If either the microphone or the device it is connected to has battery issues, the mic signals may be distorted. For example, the microphone might have a low battery life, causing it to stop working efficiently. In addition, if the device is in power-saving mode, it might disable the Bluetooth automatically, thus stopping the mic from working.
- Outdated Firmware: If you have outdated firmware, the old sound drivers may not be compatible with incompatible, resulting in fluctuations in the output. Corrupt drivers can also cause glitches and interruptions in sound transmission, causing audio dropouts.
- Low Volume: If the volume settings are low, the mic will not pick up enough sound, leading to poor audio quality, inconsistent audio, or disruption in the sound output. Both incorrect microphone placement and incorrect device settings contribute to all these issues.
- Dead Zones: Due to their distance from the towers or other interference, dead zones usually have weak or almost no signals. If you use a wireless microphone in these areas, its performance can frequently be affected.
- CPU Overload: CPU overload can also cause microphone cutouts. Sometimes, the CPU to which you have connected your wireless microphone has too many applications running in the background, which can interfere with the microphone’s functionality.
- App Permissions: Most apps need permission to access your microphone. If the apps do not have permission, the microphone will cut out every time you try to connect it to the device.
8 Tips to Ensure Microphone Clarity
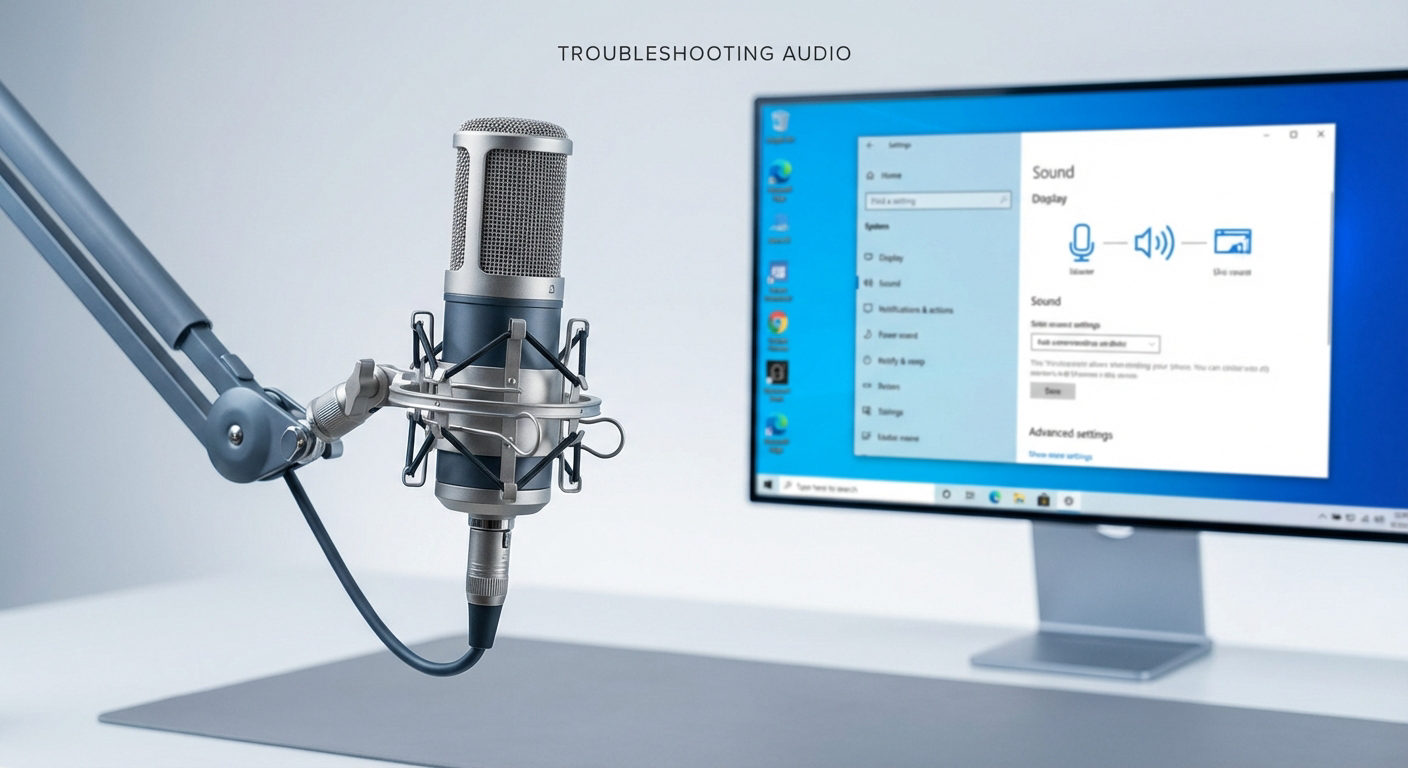
1. Review Sound Settings
To ensure optimal performance of your microphone, start by checking the sound settings. For this, navigate to the “Settings” on Windows. Tap on “Systems” and click “Sound.” Under the input option, choose the microphone you want to pair with your device.
For maximum clarity, keep the volume between 90 and 95. In addition, you can also minimize distortions by disabling “Audio Enhancement” from the dropdown menu.

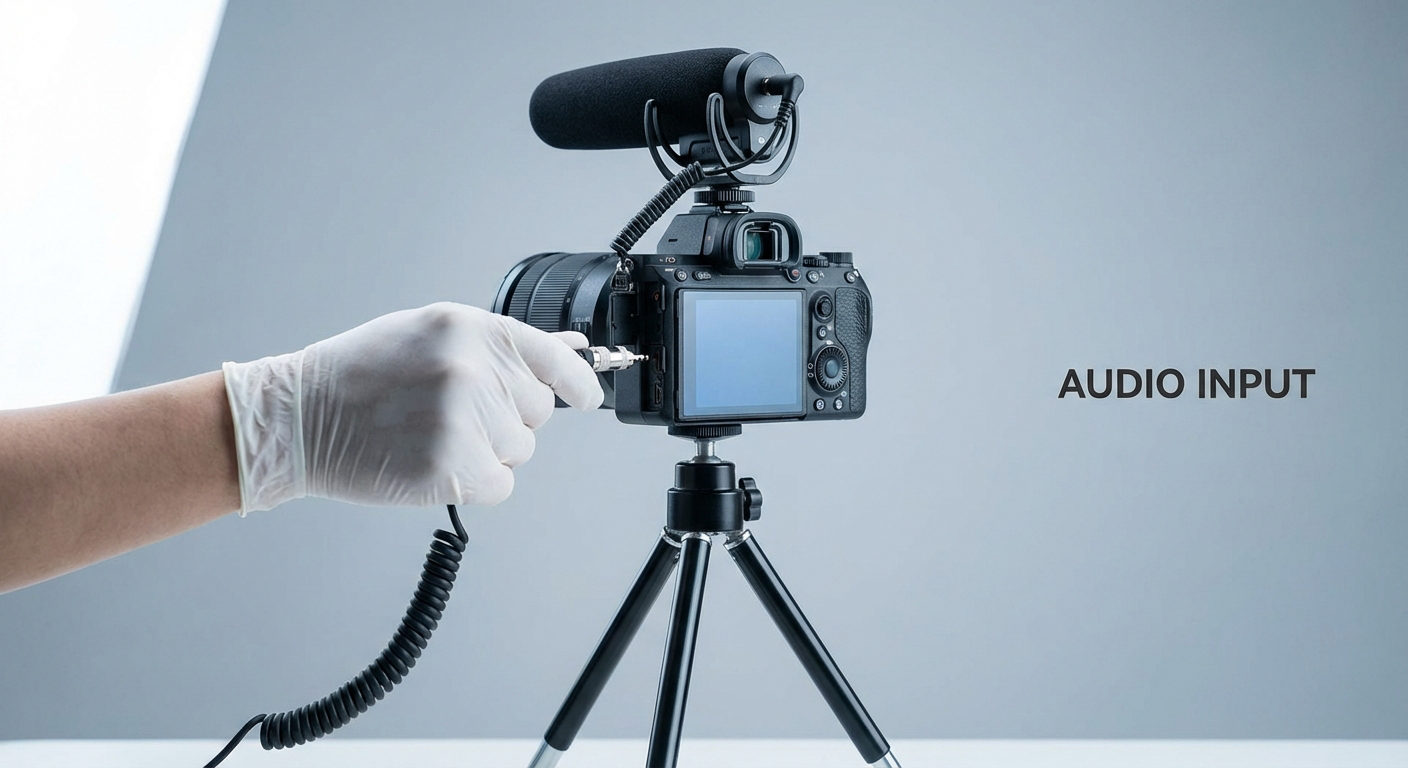
2. Check Microphone Hardware
Inspect your microphone hardware thoroughly for damage or connectivity issues. Ensure that the battery is completely charged and that the transmitter and receiver have a secure connection. After checking the microphone hardware, test it before using it for the final purpose.
In addition, if you are using a USB microphone, make sure that the USB port is not faulty.
3. Connect Mic Straight to Interface
To achieve the best audio quality and minimize the chances of the mic cutting out, connect it straight to an audio interface rather than using any mixer. This reduces the possibility of signal loss and dismiss interference, which eventually leads to fine audio quality.
These direct connections are mainly helpful during live audio transmission where there must be no compromise on sound quality.
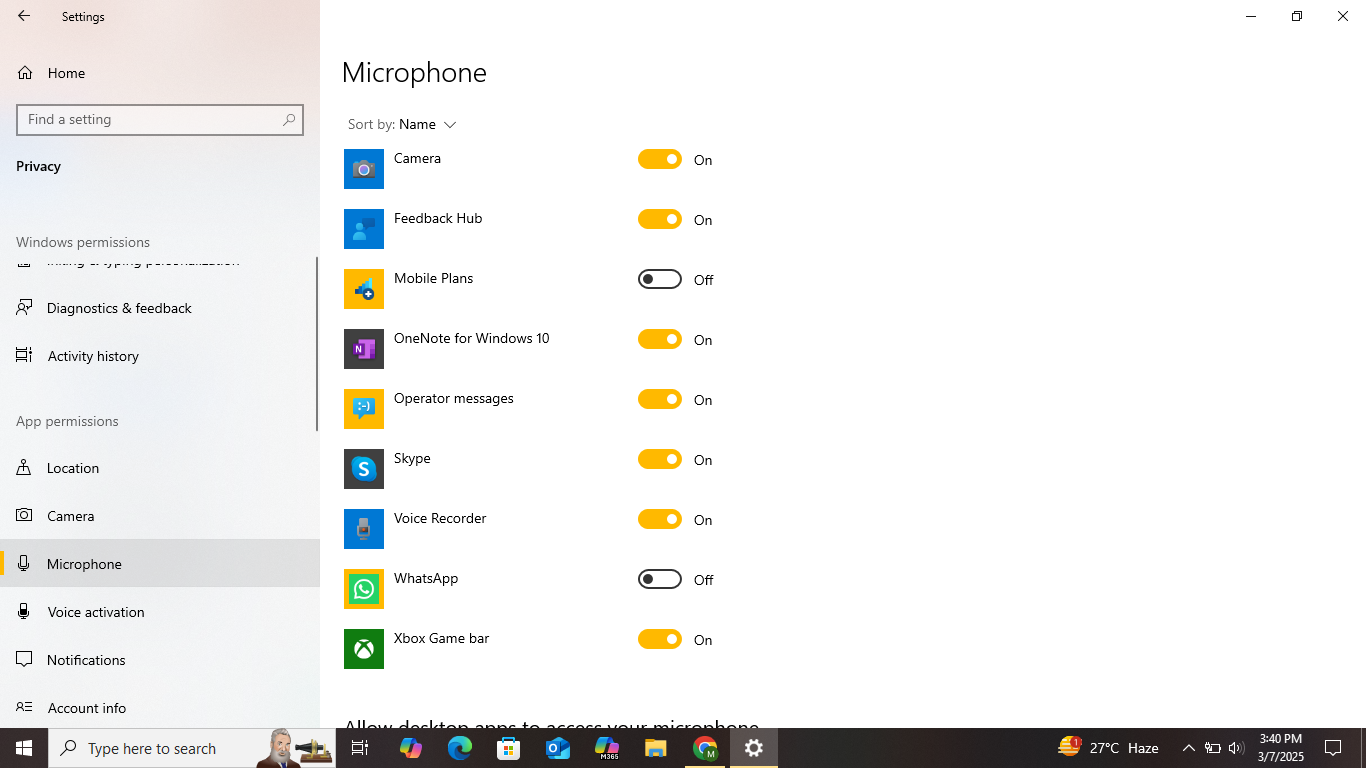
4. Review App Permissions
Most apps on your devices require individual permission to access the microphone. Therefore, if you are experiencing continuous cutouts on a particular app, review its permissions. To do this, go to your Windows “Privacy settings” and tap on “Microphone.” Scroll down a bit to see whether the app you need to use the microphone has access granted.
5. Manage Sound Input Devices
To ensure the optimal performance of your mic, you must manage your input device effectively. For this, open the Control Panel on your Windows and tap on “Sound.” From there, go to “Recordings” and see if the mic you want to use is enabled.
You can also disable other microphones from there to reduce distortions and avoid unnecessary confusion so that only the enabled mic can capture the input effectively.

6. Try Recording Yourself
Recording yourself is the most effective way to assess the clarity of your microphone and the problems associated with it. This will help you determine whether the issue is related to a certain app or game or the mic hardware itself.
For this, you can use Windows 10’s built-in voice recorder or any other third-party recording app. If the voice cuts out after opening the app or game, there must be issues with that game. If the voice breaks down before that, check your hardware and input device settings once more.
7. Troubleshoot App Audio Settings
If you are facing voice disruption issues with a certain app, go to the app’s audio settings to troubleshoot this issue. Most apps have input and output volume adjustment options. Try increasing or decreasing the input and output volume to see if it makes any difference.
In addition, many apps come with noise suppression and echo cancellation options that might cause disturbance. Enable or disable these to see if the sound quality gets better.
8. Invest in a High-Quality Microphone
Before troubleshooting the hardware or software issues, you must ensure that you are using a high-quality microphone. Microphones with average quality tend to have more disruptions and damage easily. Therefore, it is better to invest once in good quality equipment.
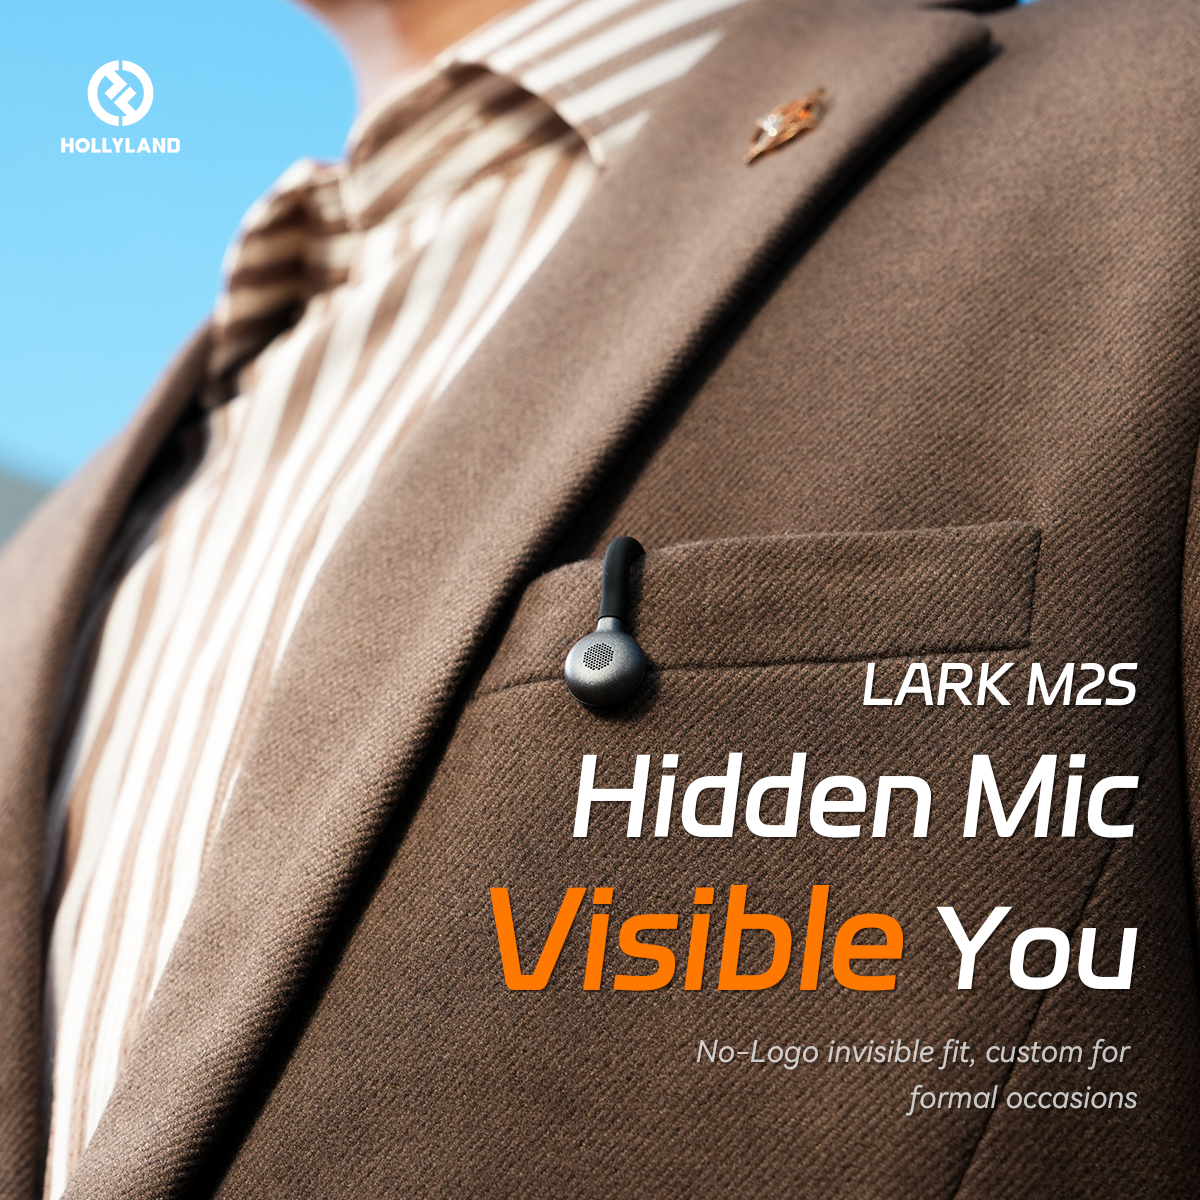
For example, the Hollyland LARK M2S microphone is an excellent choice as it features a logo-free and sleek titanium clip-on design, allowing it to attach discreetly to your collar. The lightweight yet durable clip stays in place even with intense movements.

Conclusion
Several reasons, such as wireless interference, faulty hardware, low battery, or CPU overload, can cause your microphone to keep cutting out between live sessions and recordings.
Resolving these problems requires a systemic approach, including comprehensive hardware inspection, changing system settings, reviewing app permissions, and managing sound input devices.
Moreover, investing in a high-quality microphone can also help in significantly improving the audio experience.
If you’re often facing microphone dropouts, upgrading your microphone setup can be a game-changer. Consider using a reliable wireless lavalier microphone that’s specifically designed to provide stable audio signals and reduce intermittent cut-outs.
Frequently Asked Questions (FAQs)
1. How do I fix my mic cutting in and out?
To fix your mic cutting in and out, first check your connection. Then, adjust the audio settings from Windows and repair any physical damage to the mic. You can also restart the device, update the drivers, and enable app permissions.
2. Why does my mic keep glitching?
It might be physically damaged or low on battery. You might also be in a dead zone or a very crowded place, which causes frequency disruption. Furthermore, CPU overload can also affect the audio quality.
3. What causes a wireless mic to cut in and out?
Signal blockage caused by multiple same-frequency devices in a single location can be one reason for this. Poor signal strength due to increased distance between the transmitter and receiver, low battery, incorrect mic placement, or compatibility with the Bluetooth device can also possibly interfere with sound quality.
4. How do I fix my microphone phasing?
To fix microphone phasing issues, try the 3:1 rule. According to this rule, if you are using two mics, place the second microphone three times the distance from the first mic, as the first mic is from the source. You can also invert the polarity of the mic by 180 degrees to resolve the issue.
5. Why is my mic looping?
It may be because the microphone is placed too close to the speakers or the “Listen to this device” option is enabled in the settings. This causes your voice to repeat in the headphones. High mic gain also contributes to mic looping.
6. How to Fix Echo on Your Mic?
Place the mic at an optimal distance from the speakers or reduce the volume of the speakers to prevent them from repeatedly picking up the same sound. Also, make sure that the “Listen to this device” option is disabled. To reduce the echo to a minimum, invest in a good headset with noise-canceling features.