.png)
Audiobooks are now a popular way to consume content. People listen while driving, walking, or doing chores. It’s convenient, hands-free, and easy to fit into daily routines. You don’t need a studio or expensive gear to make one. With basic tools and a quiet room, you can get started.
Learning how to make an audiobook isn’t complicated if you follow the right steps. This guide breaks everything down clearly—from preparing your script to recording, editing, and sharing. Whether you’re an author or a new creator, you’ll learn how to turn your written work into a high-quality listening experience.
Why Should You Make an Audiobook?
Creating an audiobook helps you reach people who prefer listening over reading. It’s perfect for multitaskers, commuters, and audio learners. As the audiobook market continues to grow, this format opens new ways to share your message.
It also generates additional revenue, extends your content’s lifespan, and fosters stronger engagement with your audience without requiring a major production setup.
Can You Make an Audiobook Yourself?
Yes, you can make an audiobook on your own—no studio required. With a quiet space, a decent mic, and a ready script, you’re good to start. DIY recording gives you full control over tone, pauses, and delivery style.
Free editing tools and self-publishing platforms make it easier to produce and release your audiobook from home. You can also record at your own pace, without any outside pressure or deadlines.
10 Quick Steps to Make an Audiobook
Whether you’re a first-time creator or a solo narrator, these ten steps will help you produce a clean, engaging audiobook from start to finish.
Step 1: Refine Your Script for Audio
Before you record, polish your manuscript to suit audio listeners. Remove anything that depends on visuals—tables, graphs, charts, or footnotes. These elements don’t translate well to voice. Read each section aloud to catch lines that sound awkward or too long. Simplify where needed.
If you’re adding emphasis or tone in certain places, insert short cues or highlight the text for clarity.
Step 2: Decide Who Will Narrate

You have two options: record the book yourself or hire a professional narrator. If it’s a memoir, guide, or personal story, your voice may add authenticity. However, if your book features diverse characters, complex pacing, or a specific accent, a trained voice actor may be a better fit. Think about your comfort level.
If the narration doesn’t match the content’s mood, listeners may lose interest. Make your choice based on tone, clarity, budget, and what will keep your audience engaged.
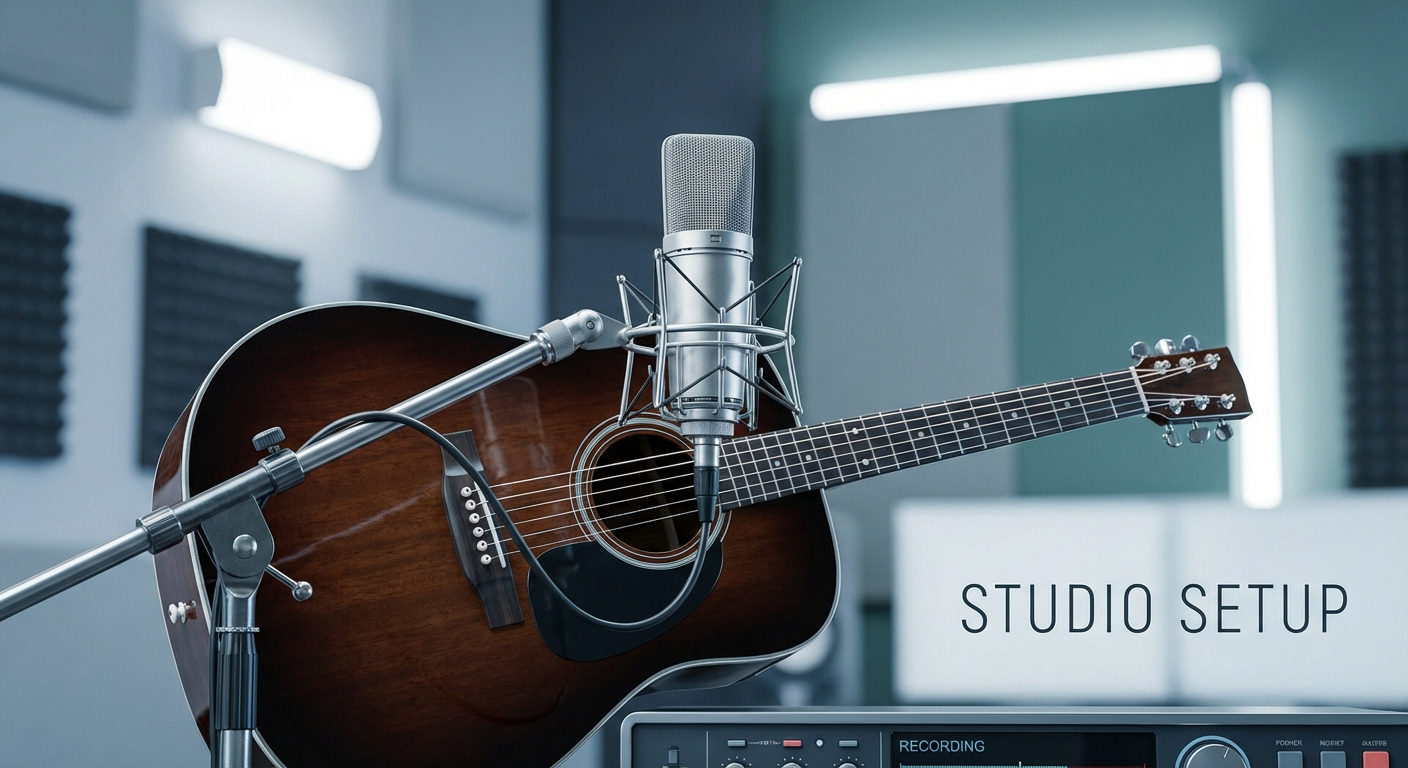
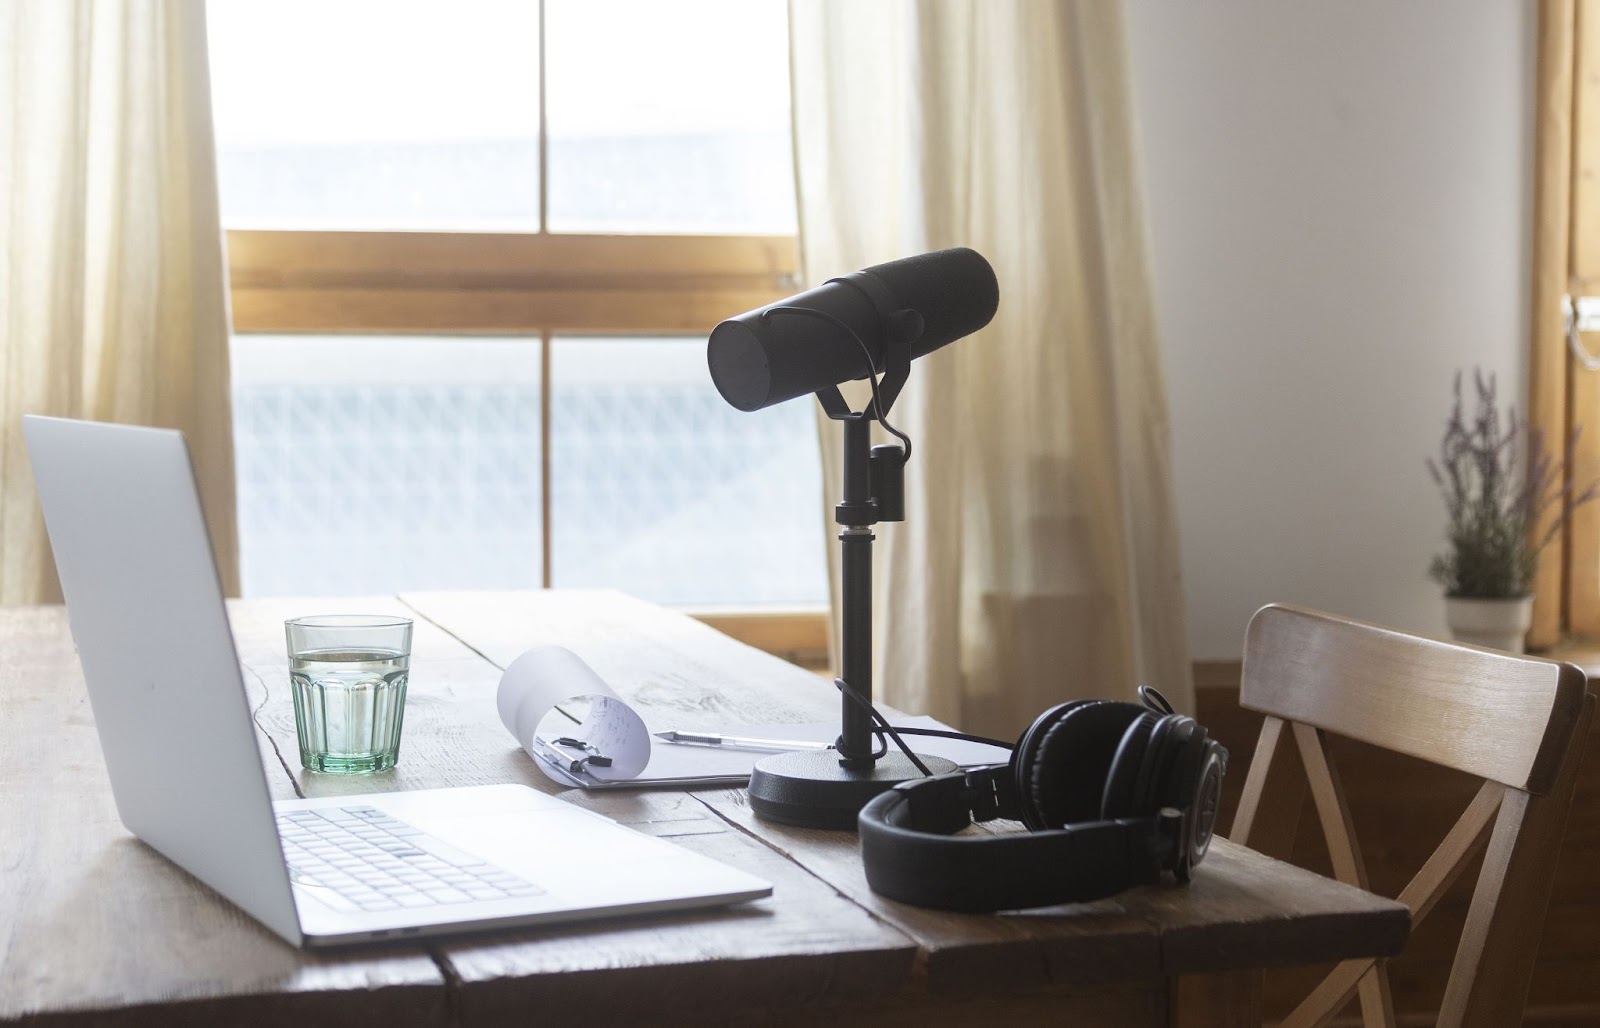
Step 3: Set Up a Recording Space

You don’t need a full studio, but the space you record in affects sound quality more than you think. Choose a small, quiet room with soft surfaces—carpets, curtains, or even pillows—to absorb echo. Avoid rooms with bare walls or tile floors. Turn off electronics like fans, computers, or lights that hum.
Close doors and windows tightly. Record at times when outside noise is lowest. A quiet, stable environment helps your recording sound clean and consistent.
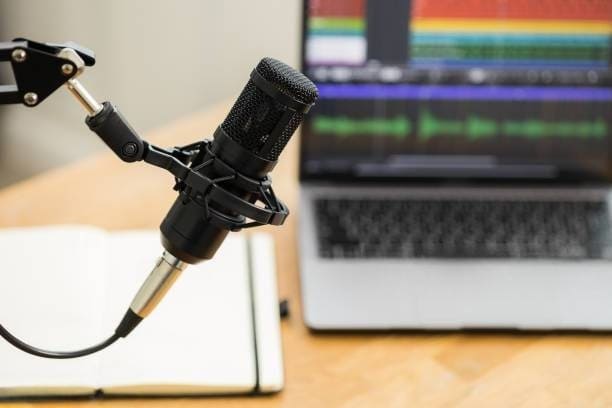
Step 4: Gather Essential Equipment
Start with a reliable USB microphone—it’s the core of your setup. Add a pop filter to soften harsh “P” and “S” sounds, and use closed-back headphones to listen while recording. A mic stand keeps the setup stable and reduces handling noise. You don’t need expensive gear, but you do need clarity.
Before recording long sessions, test everything. Record a short clip, then listen back for background hum, echo, or distortion. Make small adjustments to your positioning and volume levels until the sound feels balanced. A basic but well-tested setup often beats an expensive one done wrong.
Step 5: Choose and Test Your Recording Software
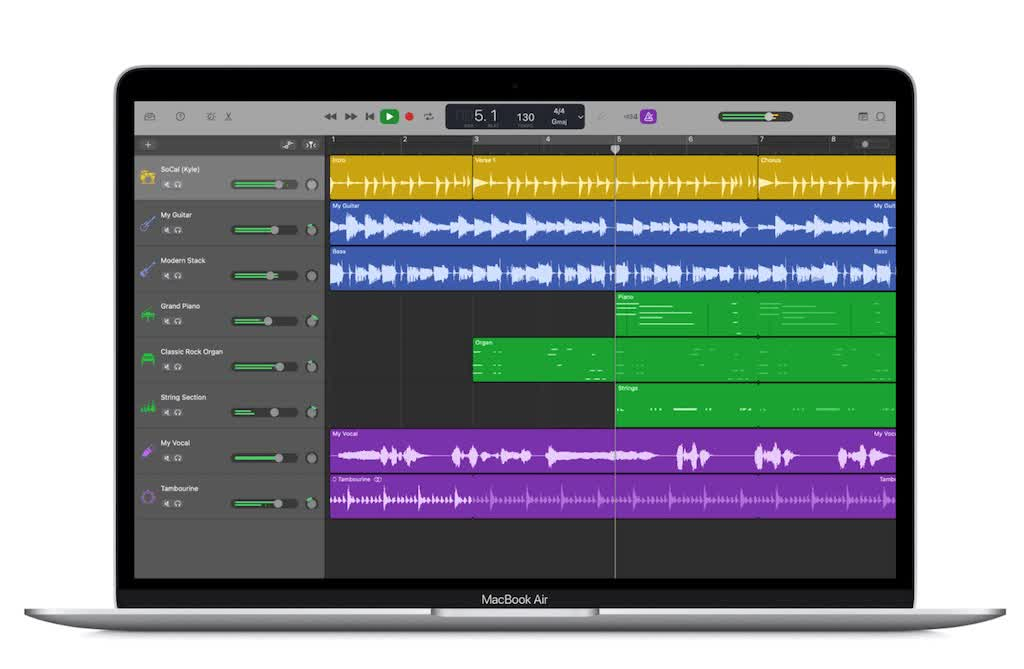
Your software doesn’t have to be fancy—it just needs to be stable and easy to use. Audacity is a popular free option, and GarageBand is great for Mac users. If you’re experienced, you can explore more advanced tools like Adobe Audition or Reaper.
Whatever you choose, ensure it supports mono recording, allows you to trim and export files easily, and works seamlessly with your hardware. Conduct a brief test session before diving into full chapters. Adjust the input volume, check for clipping, and confirm that the file format matches the requirements of the target platforms—typically MP3 at 192 kbps.
Step 6: Record Your Audiobook in Sessions
Avoid recording your entire audiobook in one go. Break it into small sessions—one or two chapters at a time. This helps you stay fresh and consistent. Record in a seated position, stay hydrated, and take breaks when your voice starts to feel strained.
Use folders to keep your files sorted and name them by chapter or section. If you’re recording for the first time, quality matters even more. The Hollyland LARK MAX 2 is built for creators. Its 32-bit float recording prevents clipping, and the OWS Bluetooth monitoring allows real-time feedback—so you can hear and adjust your voice as you go.


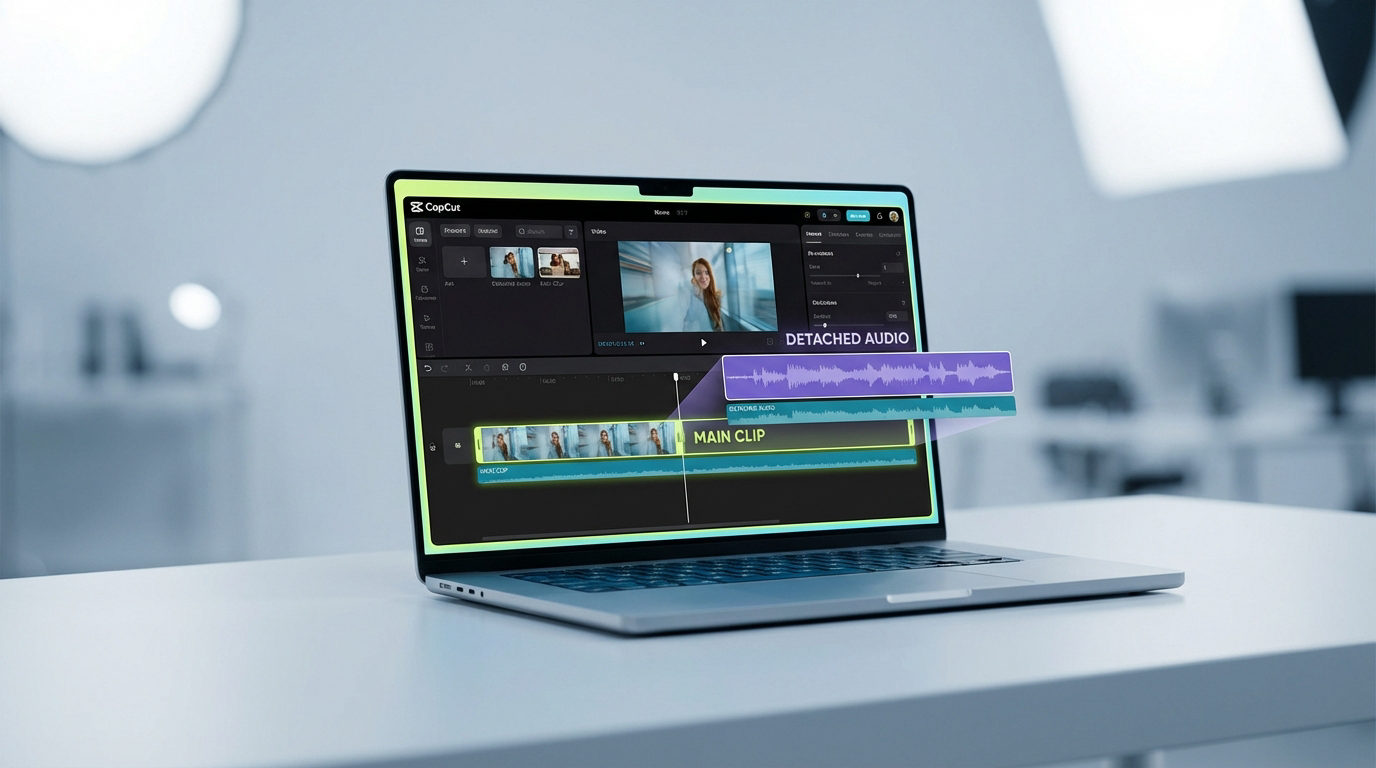
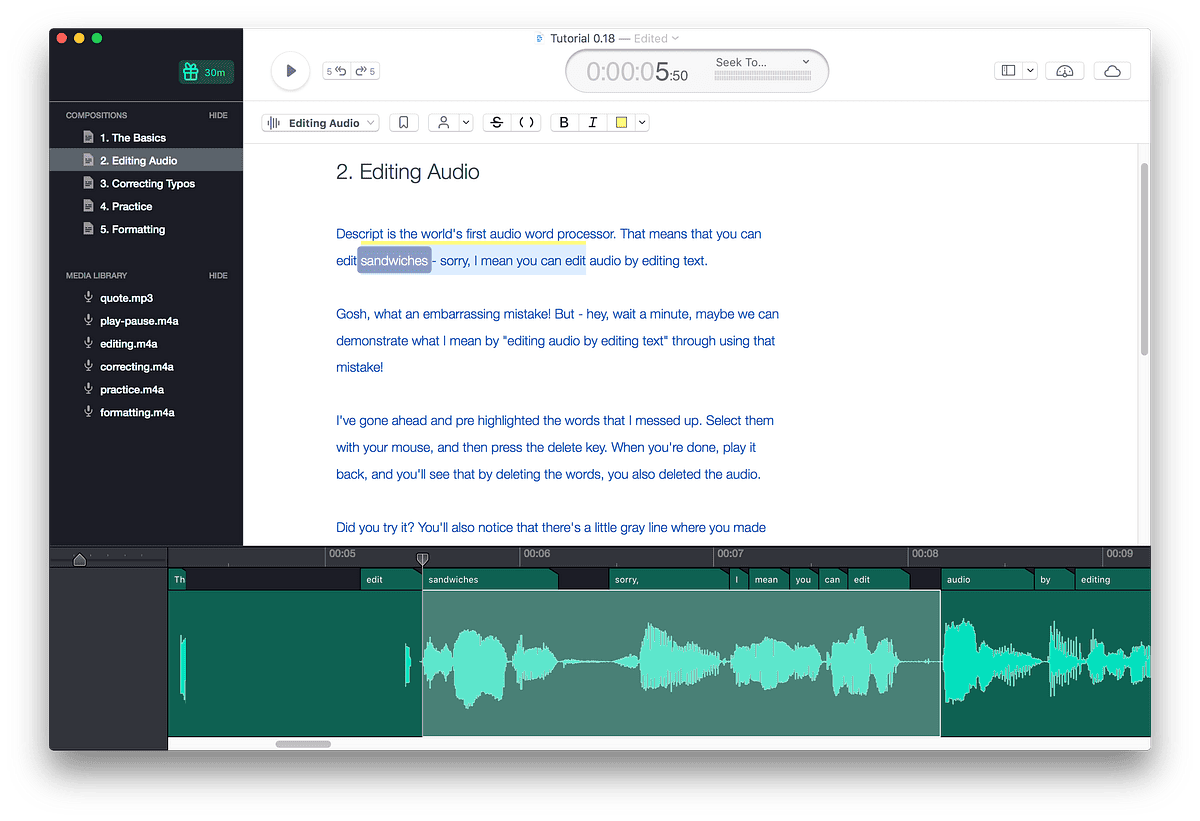
Step 7: Edit and Master the Audio

Once recording is complete, it’s time to polish your audio. Trim out mistakes, long pauses, or repeated lines. Use noise reduction carefully to eliminate background hiss or hum, but don’t overdo it. Apply light compression or EQ to smooth out volume spikes.
Platforms like Audible have specific requirements, such as mono MP3s at 192 kbps and peak loudness levels. Export your files chapter by chapter, naming them clearly. Listen to your final audio on different headphones or speakers to ensure it sounds good. This step defines the final quality of your work.
Step 8: Create Your Cover and Metadata
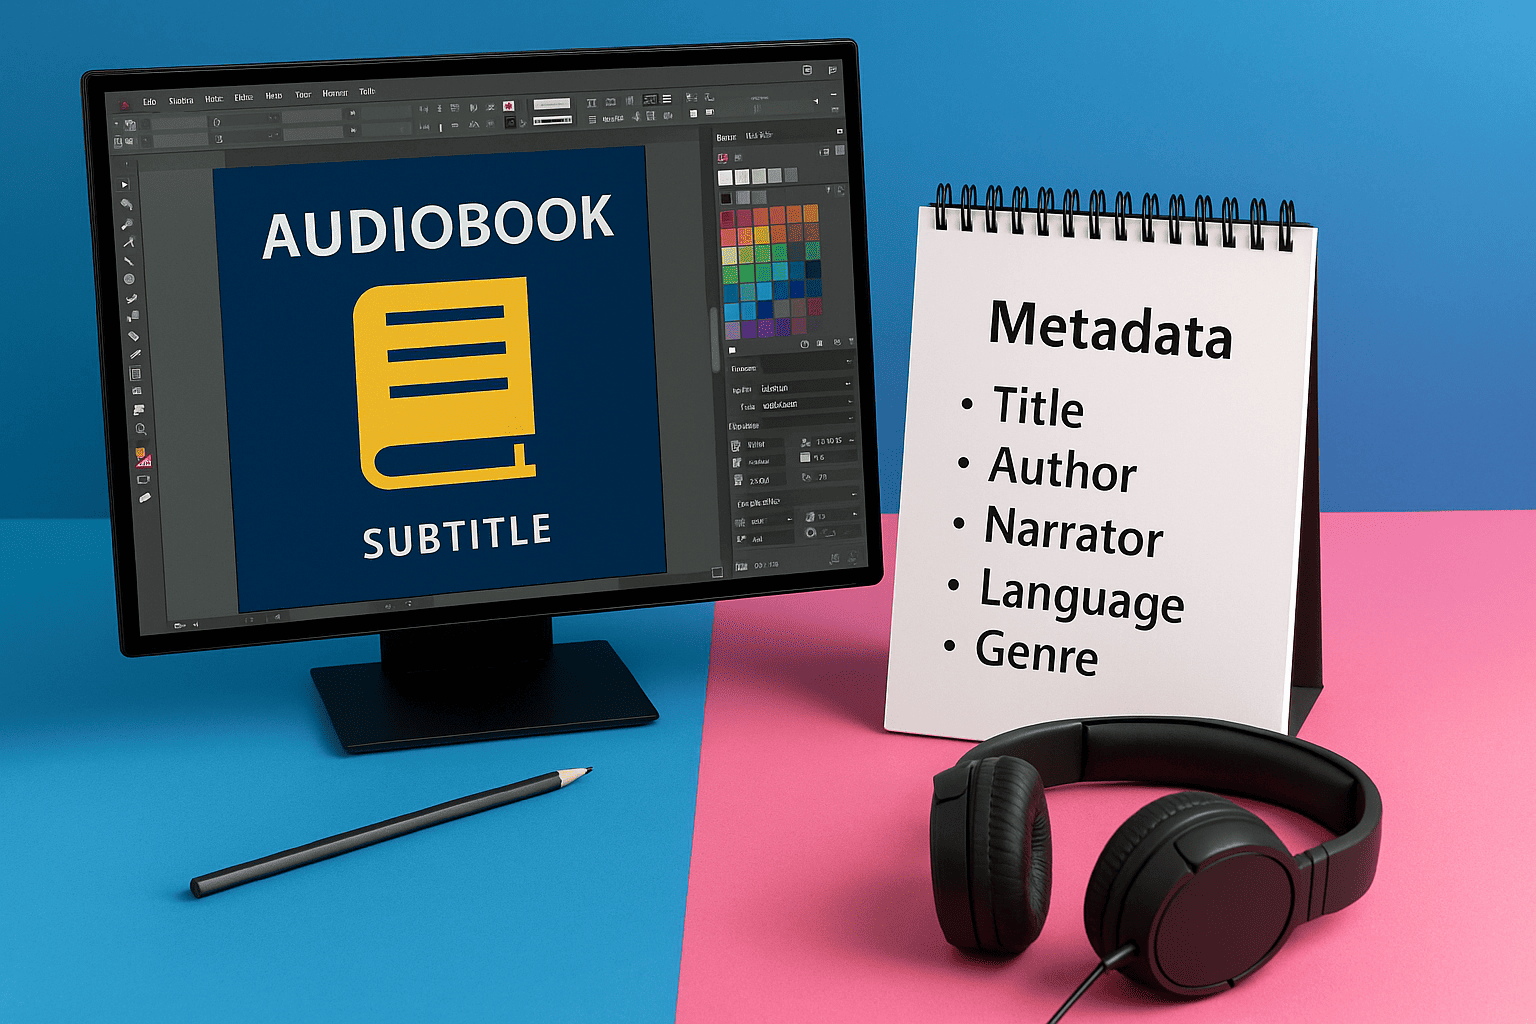
Your audiobook needs a square cover image—2400 x 2400 pixels is the standard. Keep the design simple and the text large enough to read at thumbnail size. Avoid cluttered graphics or small fonts. Alongside your cover, prepare your metadata. This includes your book title, subtitle, author name, narrator name, language, and genre.
Metadata helps platforms correctly display and sort your audiobook. Double-check for typos or mismatched details. A clean, readable cover and complete metadata not only look professional but also increase the chances of your book being found by the right listeners.
Step 9: Publish to Audiobook Platforms
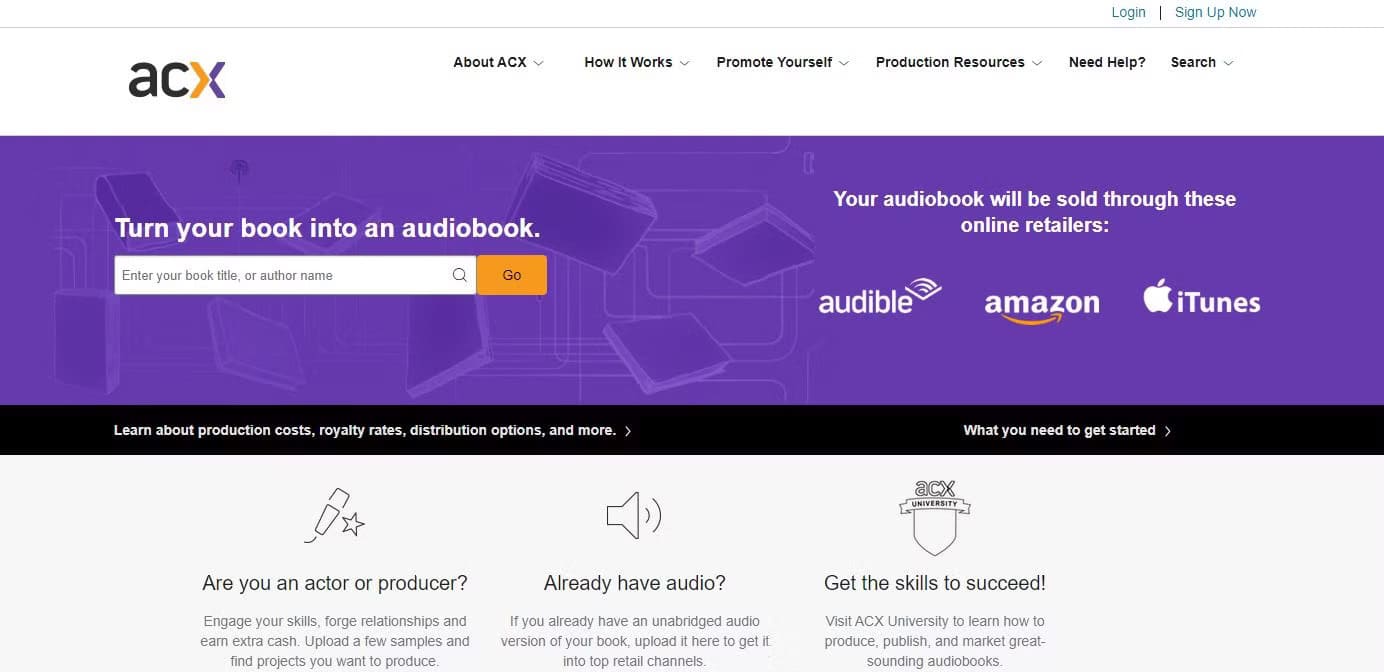
Once everything is ready, upload your files to a distribution platform. ACX is the go-to for Audible and Amazon listings. Other options include Findaway Voices, Apple Books, and Spotify. Each platform has its own file specs and submission process, so follow their instructions carefully.
Upload your chapters in order, check your metadata, and preview your listing before submitting. Some platforms take a few days to review your audiobook before it goes live. Keep an eye on your inbox—if there’s an issue, they’ll notify you of corrections. Publishing is a big step, so take the time to do it right.
Step 10: Promote and Monetize Your Audiobook

Don’t stop at publishing—now it’s time to promote. Share audio snippets on social media to draw attention. Offer a free chapter or limited-time discount to hook early listeners. Send copies to reviewers or influencers in your niche. Submit your audiobook to directories or forums where your target audience spends time.
Monitor your downloads and feedback to learn what’s working. Promotion helps you build visibility and momentum, especially during the first few weeks after launch. Treat your audiobook like any other product—it needs a launch plan and ongoing attention if you want people to listen to it.
Conclusion
Now that you’ve learned how to make an audiobook, you’re ready to bring your words to life. You don’t need a studio or fancy gear—just a clear script, a quiet space, and the right tools. Each step you’ve followed builds real progress. Take your time, stay consistent, and trust the process. With every session, your confidence will grow—and soon, you’ll have an audiobook you’re proud to share with the world.
FAQs
Can I record an audiobook without a studio?
Yes. A quiet room with soft surfaces, a good mic, and free software is enough. Many creators record from home using basic tools. You just need a calm space and a consistent setup to get a clean result.
What software is best for beginners?
Look for software that’s easy to use, supports mono recording, and lets you export MP3 files. Beginners often prefer tools with simple editing features and no learning curve. Audacity and GarageBand are popular because they’re free and beginner-friendly.
How long does it take to produce an audiobook?
Timelines vary by book length and schedule. A six-hour audiobook may take 2–3 weeks, including setup, recording, and editing. Working in short, regular sessions makes the process manageable and helps maintain consistent quality.
Do I need to copyright my audiobook before publishing it?
Yes, it’s a smart move. Your book is already protected by default, but registering the copyright gives you legal proof. It also makes it easier to handle any disputes if someone misuses your work.