.png)
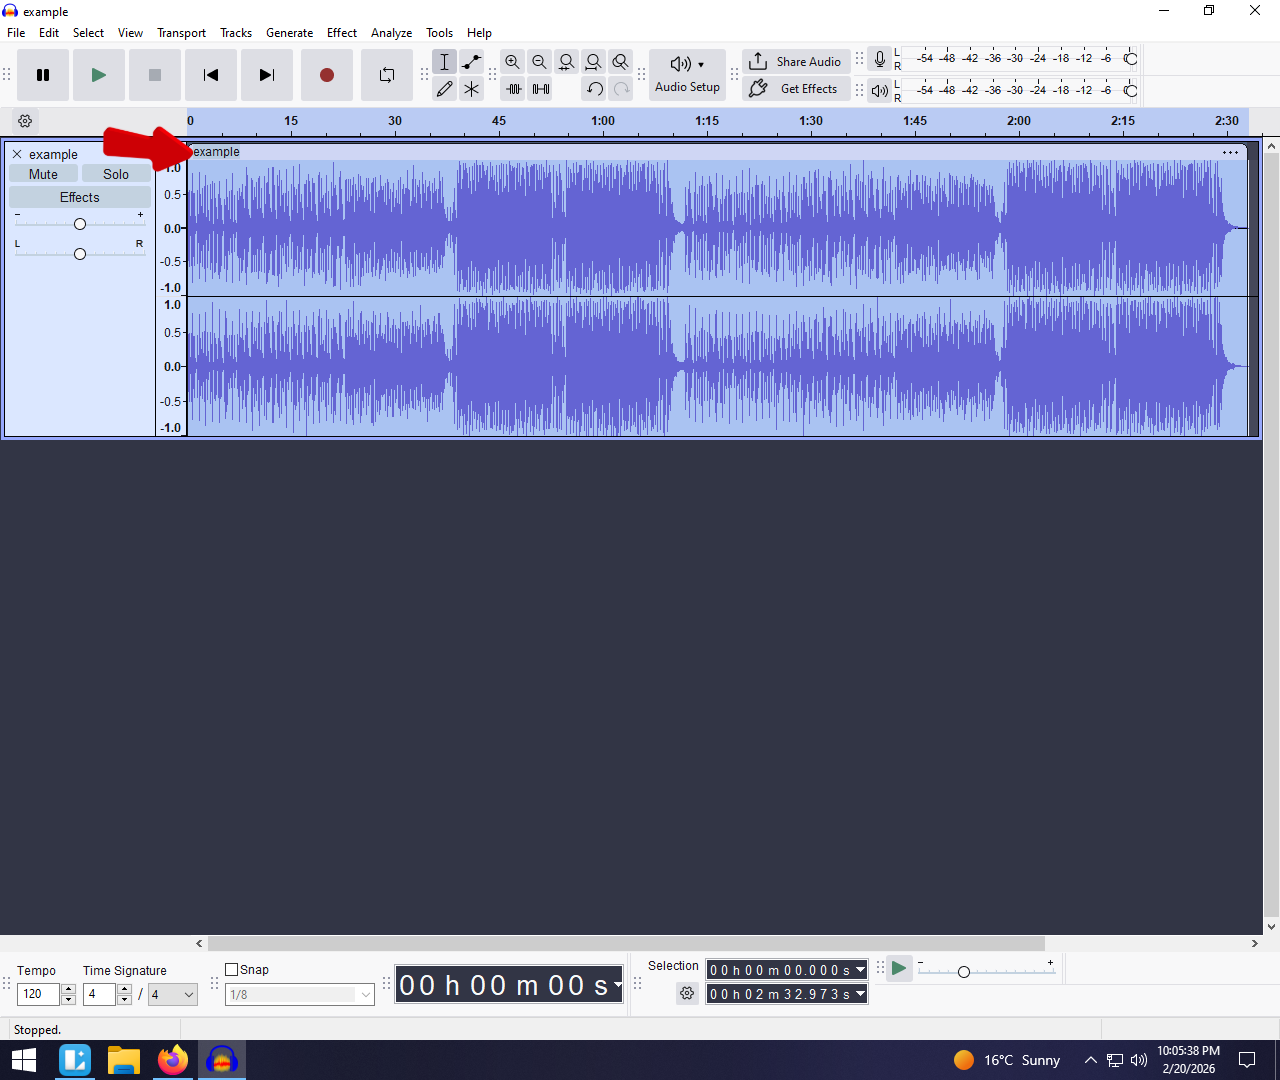
If you don’t know how to zoom in and out in Audacity, editing a podcast feels like trying to thread a needle while wearing boxing gloves. You know the edit you want to make, but you just can’t see the waveform clearly enough to click the right spot.
Zooming isn’t just about making the track look bigger; it’s about precision. If you stick to the default view, you are essentially doing surgery with a sledgehammer.
To get that pro sound, you need to transition from “roughly cutting” to “surgically removing.” Mastering the zoom tools allows you to:
- Isolate Artifacts: Cut out split-second lip smacks, heavy breaths, or awkward “ums” without clipping the actual dialogue.
- Perfect the Pacing: Zoom out to see the “big picture” flow of your episode, making it easier to rearrange segments.
- Spot the Noise: See the static or hum in the “silence” between words that might be invisible at the default zoom level.
Before jumping into the shortcuts, it helps to understand the two ways Audacity looks at your audio:
- Horizontal Zoom (Left-to-Right): This stretches time. It lets you see the exact millisecond where a word begins and ends.
- Vertical Zoom (Up-and-Down): This stretches the height of the wave. It helps you see quiet sounds (like background hiss) without changing the actual volume.
The “Cheat Sheet”: Essential Audacity Zoom Shortcuts (Windows & Mac)
Stop hunting through the “View” menu every time you need to see a waveform clearly. Mastering these four shortcuts is the single fastest way to speed up your workflow.
If you memorize nothing else from this guide, memorize this table. These commands let you manipulate the timeline instantly without your hands leaving the keyboard.
| Action | Windows Shortcut | Mac Shortcut |
|---|---|---|
| Zoom In (See more detail) | Ctrl + 1 | Cmd + 1 |
| Zoom Out (See more timeline) | Ctrl + 3 | Cmd + 3 |
| Zoom Normal (Default view) | Ctrl + 2 | Cmd + 2 |
| Fit Project to Width (See all) | Ctrl + F | Cmd + F |
Why “Fit Project to Width” is Your Best Friend
While Ctrl + 1 is essential for surgical edits—like removing a click—it is easy to get “lost” in the timeline when you are zoomed in that deep. You might fix a mistake at the 2-minute mark and lose track of where the rest of your episode went.
Fit Project to Width (Ctrl + F / Cmd + F) is the ultimate reset button.
Instead of scrolling endlessly to find the end of your track, hitting this shortcut instantly resizes the entire project to fit perfectly within your screen. Use this immediately after finishing a detailed edit to regain your perspective.
Method 1: Using the Mouse Wheel (The Fluid Workflow)
While keyboard shortcuts are great for jumping to specific views, the mouse wheel is the best tool for fluid navigation. This method mimics the feel of an analog editing deck, keeping your hand on the mouse so you’re ready to make a cut immediately.
Here is how to do it:
- Hover your mouse cursor over the specific part of the waveform you want to inspect.

- Hold down the Ctrl key (Windows) or Cmd key (Mac).
- Scroll the mouse wheel UP to zoom in.

- Scroll the mouse wheel DOWN to zoom out.
Stop the Timeline from Jumping (The Anchor Rule)
The most common frustration with mouse zooming is the timeline “jumping” away from the section you wanted to see. This happens because Audacity uses your mouse cursor as the anchor point.
If your cursor is on the far left of the screen and you zoom in, the timeline will expand from the left, pushing your actual audio clip off the screen to the right.
Pro Tip: Always place your mouse cursor exactly on the edit point (the breath, click, or cut) before you start scrolling. Think of your cursor as a thumbtack pinning that specific second of audio to the screen. As long as your cursor hovers over that spot, Audacity will keep it centered while you zoom.
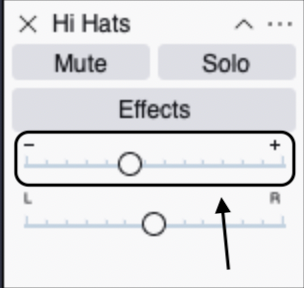
Method 2: Advanced Vertical Zooming (Seeing the Quiet Parts)
Most beginners only ever zoom horizontally (stretching time). However, if you are editing a podcast with uneven volume or trying to identify background noise, horizontal zooming isn’t enough. You need Vertical Zoom.
Vertical zooming expands the height of the waveform. This lets you inspect quiet audio—like whispers or room tone—that usually looks like a flat line.
Why Vertical Zoom Matters
If a guest speaks quietly, their waveform might look flat, making it impossible to see where to cut. If you use the Amplify effect just to see it, you risk blowing out your speakers. Vertical zooming acts like a magnifying glass for volume—it helps you see the wave without changing the actual loudness.
How to Zoom Vertically
There are two easy ways to do this:
1. The Mouse Wheel Method (Fastest)
- Move your mouse cursor over the Vertical Scale (the ruler with numbers like 0.0, 0.5, 1.0 on the far left of the track).

- Scroll Up to zoom in (expand the wave).

- Scroll Down to zoom out (shrink the wave).

2. The Right-Click Method (Precise)
- Right-click anywhere on the Vertical Scale.

- Select Zoom In to stretch the waveform.
- Select Zoom Reset to instantly snap the view back to the default size.
Best Use Case: Cleaning Up the “Noise Floor”
Vertical zooming is essential for noise reduction. When you zoom in vertically on a “silent” section of your audio, you will often see small, jagged lines instead of a flat line. This is your noise floor (hum, air conditioning, or electrical buzz). By expanding the view, you can precisely select just the noise profile to feed into Audacity’s Noise Reduction effect.
How to Get Cleaner Waveforms (So You Don’t Have to Zoom as Much)
Mastering zoom shortcuts is essential, but if you find yourself constantly zooming in to surgically remove background hiss, AC hum, or static, you are stuck in a reactive workflow. You are spending hours fixing problems that shouldn’t exist in the first place.
A proactive workflow is recording cleaner audio at the source. When your raw audio is crisp, the “silent” parts of your waveform appear as a flat line rather than a fuzzy mess. This means you don’t need to zoom in to check if a breath or a background noise is too loud—you can trust the waveform visually.
If you are struggling with “dirty” audio, the issue might be your hardware, not your editing skills.
The Hardware Solution: Hollyland LARK A1
For DIY podcasters and creators who need professional results on a budget, the Hollyland LARK A1 is a smart upgrade. It directly addresses the root cause of messy waveforms:

Hollyland LARK A1 - Affordable Wireless Microphone
A perfect starter mic for creators on a budget. It’s simple to use and features effective noise cancellation.
Key Features: 48kHz/24-bit | 3-Level Noise Cancellation | 54-Hour Battery
- 3-Level Noise Cancellation: Unlike standard USB mics that pick up every fan whir and room echo, the LARK A1 uses active noise cancellation to filter out environmental noise before it hits Audacity.
- Wireless Freedom: By clipping the mic closer to your mouth (and further from noise sources), you naturally get a cleaner signal.
- Budget-Friendly Pro Audio: You don’t need a $500 studio setup to get clear dialogue.
The result? A clean, high-contrast waveform in Audacity. Instead of zooming in to micro-edit background noise every few seconds, you can stay zoomed out and focus on the flow of your story.
Troubleshooting: Why Can’t I Zoom in Audacity?
It is one of the most frustrating moments for new Audacity users: you are pressing Ctrl + 1, scrolling your mouse wheel, and clicking the Zoom tool, but nothing is happening. The interface feels frozen.
This is rarely a bug. In 99% of cases, it is due to the “Stop vs. Pause” rule.
Audacity distinguishes between Pausing playback and Stopping it completely.
- Pause (P): Keeps the playback cursor exactly where you left it, but it locks the timeline. You cannot edit, cut, or change the zoom view while the track is paused.
- Stop (Spacebar): Resets the cursor and unlocks the timeline, allowing full editing and zooming capabilities.
How to Fix It
If your zoom tools are grayed out or unresponsive:
- Look at the Transport Toolbar (the play controls).

- If the Pause button (two vertical blue lines) is depressed, the track is locked.
- Click the Stop button (the yellow square) or press the Spacebar.
- Try your zoom shortcut again—it will work immediately.
Frequently Asked Questions (FAQ)
What is the shortcut to fit the whole track in Audacity?
The shortcut to instantly see your entire project is Ctrl + F on Windows or Cmd + F on Mac. This command is officially called “Fit Project to Width.”
How do I zoom in on a specific selection?
To zoom into a specific area without scrolling, use the Selection Tool to highlight the part of the audio you want to edit. Then, press Ctrl + E (Windows) or Cmd + E (Mac). Audacity will fill your screen with only that highlighted section.
Does zooming change the volume of the audio?
No. Zooming is purely visual. Horizontal zoom stretches time, and vertical zoom stretches the wave height. Neither action changes the actual gain or decibel level of your file. To change the volume, you must use the Amplify or Normalize effects.
Conclusion
Mastering navigation in Audacity is the difference between a quick edit and a frustrating slog. You don’t need to memorize the entire manual, but if you take one thing away from this guide, let it be the power of Keyboard Shortcuts.
Relying on Ctrl + 1 (Zoom In) and Ctrl + 3 (Zoom Out) will immediately make you a faster, more precise editor. For the most fluid workflow, force yourself to use the Ctrl + Mouse Wheel trick on your next project. It might feel awkward for the first five minutes, but once your muscle memory kicks in, you will never go back to clicking the toolbar icons.
Finally, remember that the best way to reduce editing time is to record cleaner audio from the start. If you find yourself constantly zooming in to remove hiss, consider upgrading your input source to something like the Hollyland LARK A1. A cleaner recording means less time fixing the noise floor and more time creating great content.