.png)
Great editing starts with a clean recording, but Audacity is where the polishing happens. If you are looking for how to edit a song in Audacity: the complete process, you have come to the right place. For over two decades, this open-source software has been the go-to choice for millions of musicians, podcasters, and creators.
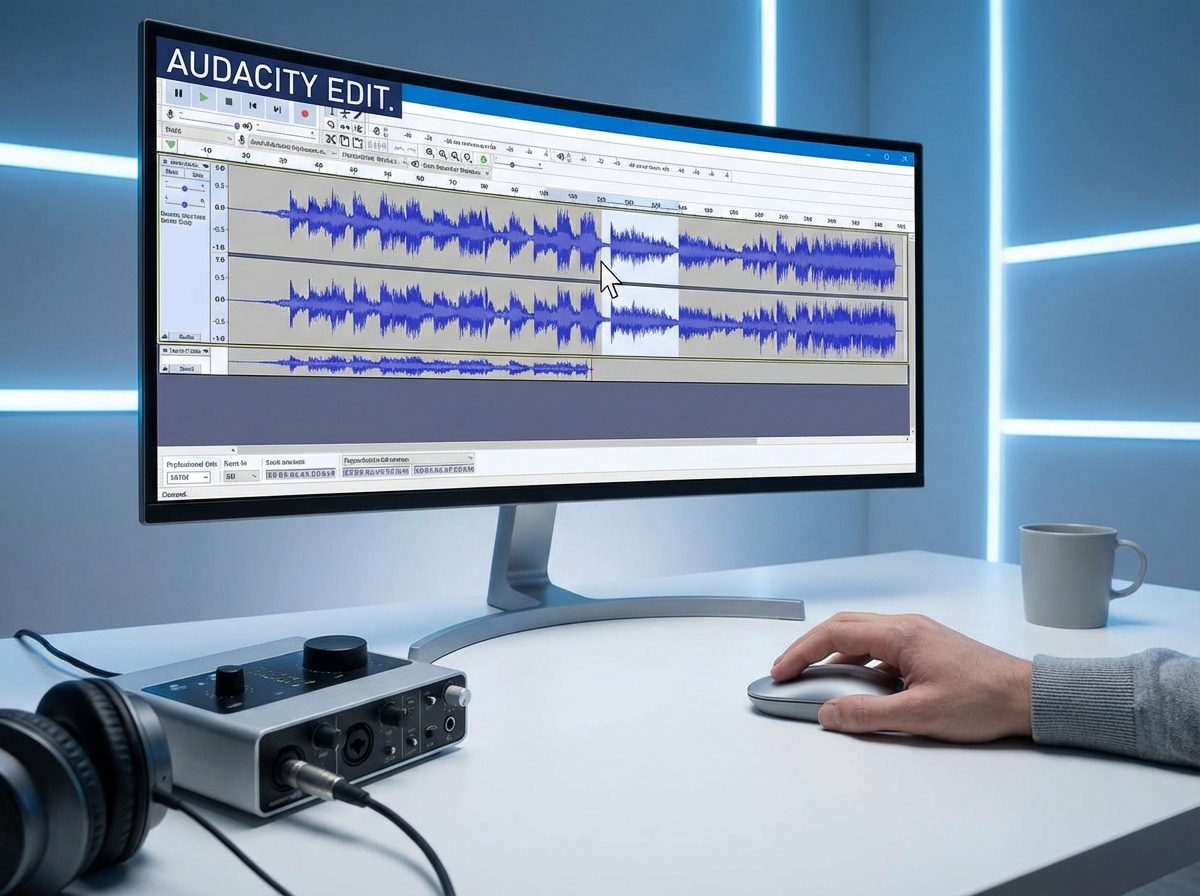
At first glance, Audacity can look a bit old-school. The interface is grey, blocky, and reminds many users of Windows 95. But don’t let the simple buttons fool you. Inside, Audacity is a powerhouse capable of multi-track recording, precise editing, and professional signal processing.
Why do pros still recommend it over flashier, modern apps?
- It’s Truly Free: No subscriptions, no paywalls, and no “pro version” upgrades. You get the full toolset immediately.
- Cross-Platform: It works perfectly on Windows, macOS, and Linux.
- Lightweight: It runs smoothly on older laptops that might crash when running heavy software like Pro Tools.
- Deep Toolset: From Noise Reduction to Spectral Analysis, it offers precision tools that usually cost money in other apps.
Whether you need to mix a demo, fix a podcast, or clean up a voiceover, learning Audacity is a skill that will serve you for your entire creative career. It strips away the complexity, letting you focus on making your audio sound good.
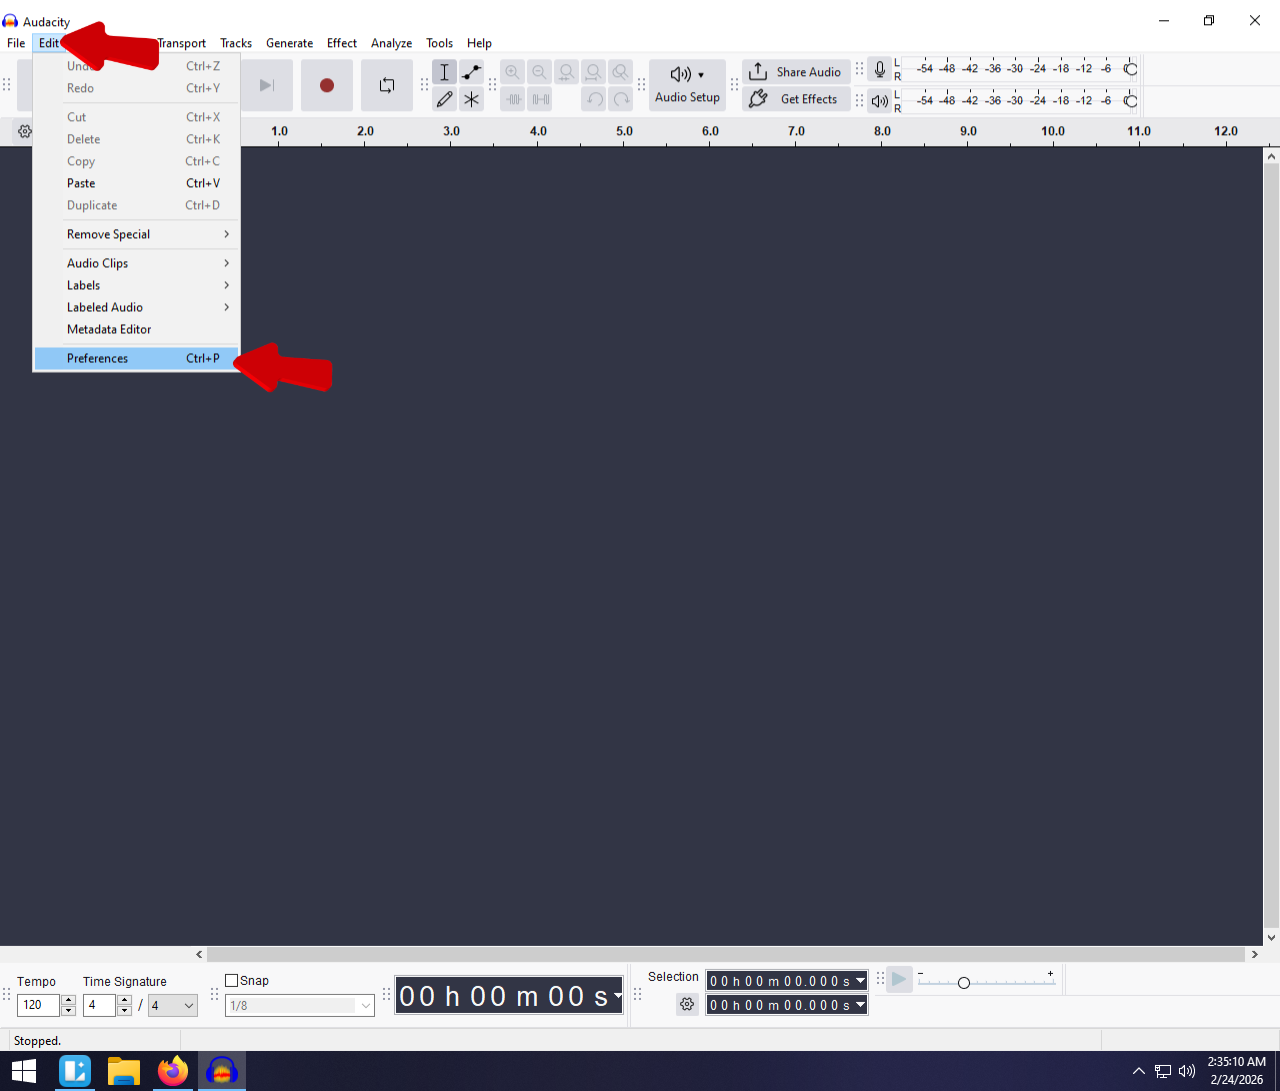
Step 1: Setting Up Your Project and Importing Audio
Before you start mixing, you need to get your files into Audacity correctly. Setting up your project right prevents quality loss and technical headaches later on.
The LAME Encoder: Do You Still Need It?
If you used Audacity years ago, you might remember the hassle of installing a separate “LAME MP3 encoder” just to save your work.
- Modern Audacity (Version 3.0+): Good news—the encoder is now built-in. You don’t need to download anything extra.
- Older Versions: If you are running an old version, update it now. It’s easier than hunting for external files.
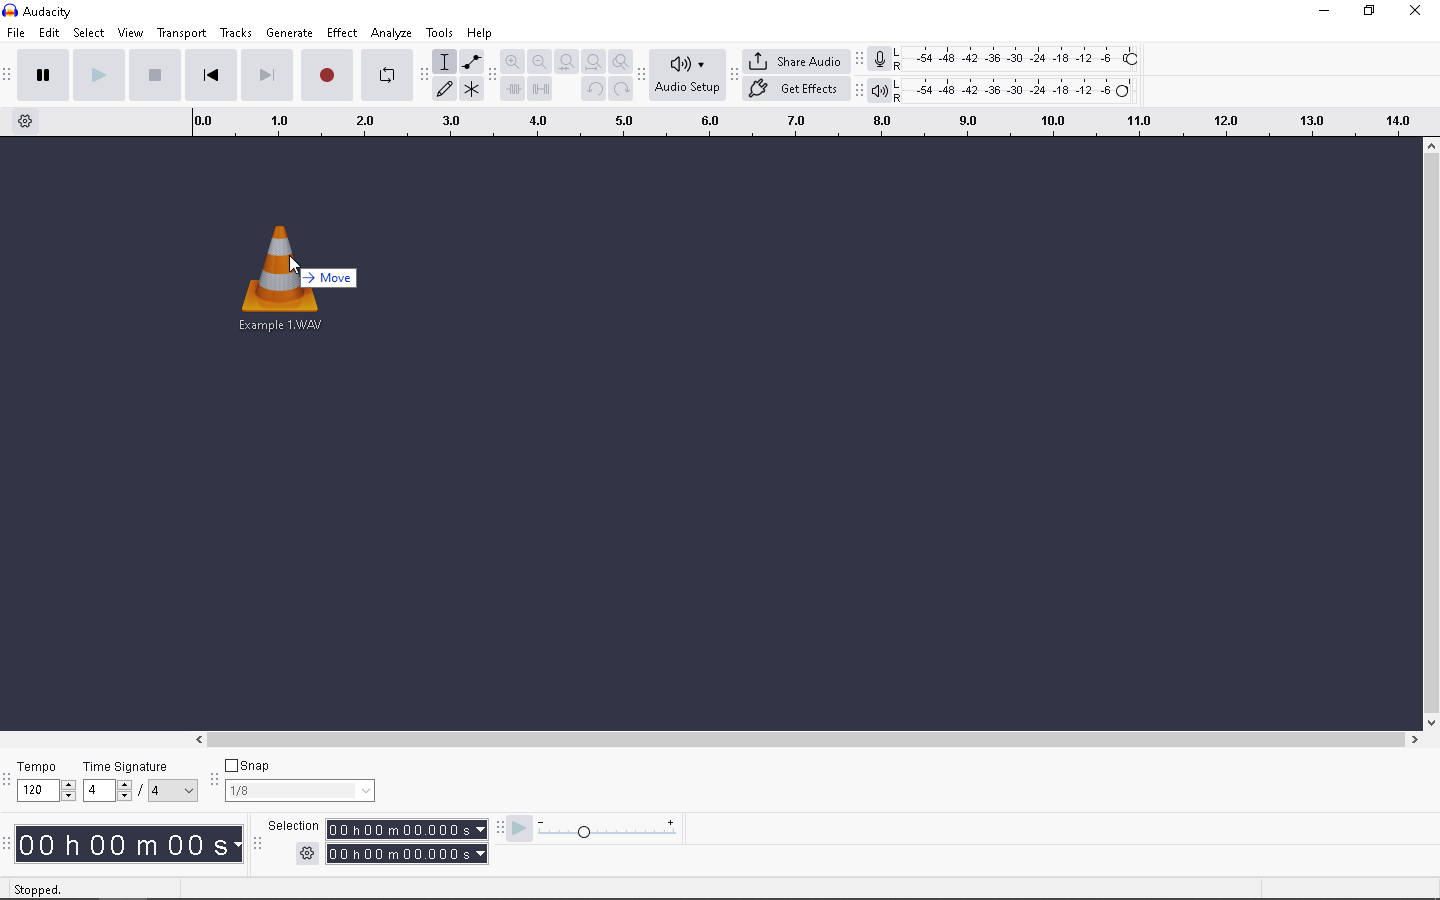
How to Import Tracks
There are two ways to get your song or voiceover into the timeline:
- Drag and Drop (Fastest): Find your audio file on your computer, click it, and drag it directly into the grey workspace in Audacity.
- The Menu Method: Go to File > Import > Audio.

Safety First: When you import a file, Audacity may ask if you want to “Make a copy of the files before editing” or “Read directly from the original.” Always choose “Make a copy.” This ensures that if you accidentally delete the original file from your desktop, your Audacity project is safe.
Pro Tip: The “WAV vs. MP3” Rule
Beginners often edit and re-save MP3 files repeatedly. This ruins audio quality because MP3 is a “lossy” format—every time you save it, the computer deletes data to keep the file size small.
Follow this workflow for the best results:
- Import High-Quality Files: Whenever possible, record and import in WAV (Lossless) formats.
- Edit in Lossless: Do all your cutting and mixing using these high-quality files.
- Export MP3 Last: Only convert your project to MP3 at the very end when you are ready to upload or share it.
Think of it like editing a photo: You want to work with the high-resolution original, not a blurry screenshot.
Step 2: Basic Cleaning & Noise Reduction (Crucial First Step)
Before you make a single cut, you must clean your audio. If you start chopping up the file immediately, you risk losing the “room tone”—the silent sections containing background hiss or hum. Audacity needs this sample to know what to remove.
Here is the standard workflow for removing noise without hurting your voice:
- Capture the “Fingerprint”: Highlight a small section (1–3 seconds) where there are no vocals or instruments—just the background silence.

- Get Noise Profile: Go to Effect > Noise Removal and Repair > Noise Reduction and click “Get Noise Profile.” The window will close; this is normal. Audacity has now analyzed that sample.


- Select the Track: Double-click the track or press Ctrl + A (Cmd + A on Mac) to select the whole song.
- Apply Reduction: Go back to Effect > Noise Reduction. Adjust the settings to this “safe” baseline:
- Noise Reduction (dB): 12
- Sensitivity: 6
- Frequency Smoothing: 3
- Click OK.

The Limits of Software vs. Hardware
While Audacity is powerful, noise reduction is “destructive.” If you push the settings too high, your vocals will sound robotic or “underwater.”
The best way to handle noise is to stop it before it hits the computer. Many creators use microphones with built-in ENC (Environmental Noise Cancellation), like the Hollyland LARK MAX 2. Because the LARK MAX 2 filters out air conditioning hum and traffic noise while you record, you get a clean signal immediately—saving you from hours of editing later.

Hollyland LARK MAX 2 - Premium Wireless Microphone System
A premium wireless microphone for videographers, podcasters, and content creators to capture broadcast-quality sound.
Key Features: Wireless Audio Monitoring | 32-bit Float | Timecode
Step 3: Cutting, Trimming, and Arranging
Once your audio is clean, it’s time to shape the song. This stage involves removing mistakes, tightening timing, and moving sections around.
Mastering the Selection Tool (F1)
The Selection Tool (shaped like an uppercase “I”) is your main tool. If you don’t see the “I-beam” cursor, press F1.

- Zoom In: Use Ctrl + Scroll Wheel or Cmd + Scroll Wheel to zoom in. You need to see the waveform clearly to make precise cuts.
- Highlight: Click and drag to highlight a section.

- Preview: Press Spacebar to play only the highlighted section. This ensures you haven’t accidentally clipped off the start of a word.
The Vital Difference: Delete vs. Silence
Beginners often ruin the timing of their song by using the “Delete” key incorrectly.
- Delete (Backspace key):
- What it does: Removes the audio and shifts everything else to the left to fill the gap.
- When to use it: To shorten the song or remove a bad take.
- Warning: If you have a beat and a vocal track, deleting a section on just the vocal track will knock it out of sync with the beat.
- Silence Audio (Ctrl + L or Cmd + L):

- What it does: Mutes the audio but keeps the space there. It becomes “dead air.”
- When to use it: To remove heavy breaths, coughs, or noise between lyrics without messing up the rhythm.
Splitting and Moving Clips
Sometimes you don’t want to delete audio; you just need to move a verse. To do this, you split the track into separate “clips.”
- Place the Cursor: Click where you want to split.

- Execute Split: Press Ctrl + I (Command + I on Mac). A thick black line will appear.

- Move the Clip: Hover your mouse over the title bar at the top of the clip. Click and drag it left or right.

Pro Tip: Use the “Cut Preview” shortcut (C). This plays the audio before and after your selection, skipping the selected part entirely. It lets you hear how the edit will sound before you actually delete anything.
Step 4: Mixing and Enhancing Audio Quality
Now for the polish. Mixing transforms a flat recording into a professional sound. For the best results in Audacity, perform these three steps in this order: EQ, Compression, then Normalization.
1. Equalization (EQ)
EQ shapes the tone. You want to remove “mud” (low rumble) and boost “presence” (clarity).
- Select your track (Ctrl + A).

- Go to Effect > EQ and Filters > Filter Curve EQ.

- Cut the Mud: On the left side (low frequencies), drag the line down. Rolling off everything below 80Hz-100Hz removes mic rumble without hurting the voice.
- Boost the Presence: On the right side (high frequencies), create a slight bump around 3kHz to 5kHz. This adds crispness.
- Click Apply.

2. Compression
Compression evens out the volume. It lowers the loud peaks and raises the quiet whispers so listeners don’t have to adjust their volume knob.
- Go to Effect > Volume and Compression > Compressor.

- Threshold: Set this to where your audio starts “peaking.” A safe start for vocals is -12dB to -18dB.
- Ratio: Set to 2:1 or 3:1 for a natural sound.
- Make-up gain for 0 dB: Check this box. It boosts the volume back up after compressing.
- Click Apply. The waveform will look “fatter” and more consistent.

3. Normalization
Normalization is the final volume check. It turns the overall volume up until the loudest peak hits a specific ceiling.
- Go to Effect > Volume and Compression > Normalize.

- Set “Normalize peak amplitude to” to -1.0 dB.
- Note: Never set this to 0.0 dB. Leaving that 1 dB of “headroom” prevents distortion when you convert to MP3 later.
- Click Apply.

Pro Tip: How to Handle Distorted (Clipped) Audio
One of the worst feelings in editing is seeing “red lines” in your waveform. This is clipping—when the input volume was too loud during recording, hitting the digital ceiling and distorting.
Can You Fix Clipping in Audacity?
Honestly? Barely.
In standard recording, clipped audio is lost forever. Audacity has a Clip Fix tool, but it usually just softens the crackle rather than fixing the audio.
The “Un-Clippable” Solution: 32-bit Float
If you constantly fight distortion—especially with dynamic vocals that go from whisper to scream—the solution is better hardware.
Professionals use 32-bit Float Recording. Unlike standard audio, 32-bit float captures such a massive dynamic range that it is virtually impossible to clip digitally.
This is where the Hollyland LARK MAX 2 shines. If your recording levels are too hot and the audio looks like a distorted block, the data isn’t lost. Because of the 32-bit float tech, you can simply lower the volume in post-production, and the “flattened” peaks reappear perfectly. It gives you a safety net, ensuring a loud laugh or shout never ruins a take again.
Step 5: Adding Creative Effects (Fades and Reverb)
Now that your audio is clean and balanced, let’s make it sound natural.
Mastering Fades
Nothing sounds more amateur than a song that cuts off mid-breath.
- Fade In: Softens the start. Select the first few seconds, then Effect > Fading > Fade In.
- Fade Out: Essential for the ending. Select the last 5–10 seconds, then Effect > Fading > Fade Out.

- Pro Tip: Try Studio Fade Out for a more musical, “S-curve” ending that sounds smoother than a standard fade.
Adding “Space” with Reverb
Raw recordings can sound “dry” and unnatural. Reverb adds an echo that simulates a room.
- Select the track.
- Go to Effect > Delay and Reverb > Reverb.

- Adjust Settings:
- Room Size: Keep it between 40–60% for vocals.
- Wet/Dry Signal: This blends the effect. Keep the “Wet” signal low (around -15 dB) so it doesn’t overpower your voice.

Warning: Less is more. Too much reverb makes lyrics hard to understand. Always use the Preview button first.
Step 6: Exporting Your Masterpiece
You’re done editing, but you need to get the file out of Audacity correctly.
Save Project vs. Export Audio
- Save Project (Ctrl + S): Saves an .AUP3 file. Only Audacity can open this. Use this to save your work in progress.

- Export Audio: Creates a playable file (MP3/WAV) that you can send to Spotify or friends.
Choosing the Right Format
Go to File > Export Audio.

| Format | Best For | Quality |
|---|---|---|
| WAV (32-bit) | Archiving and editing. | Lossless. Huge file size, perfect quality. |
| MP3 (320kbps) | Spotify and streaming. | Compressed. Small file size, standard quality. |
Recommendation: Export a WAV master copy for yourself first. Then, export an MP3 version for sharing.
Adding Metadata
Audacity will give you the option to add Metadata by clicking on the “Edit Metadata” button at the Export Audio window. Fill this out! If you leave it blank, your song will show up as “Unknown Artist” on people’s phones. Add your Artist Name and Track Title at a minimum.


Frequently Asked Questions (FAQ)
Can I edit multi-track songs in Audacity?
Yes. Audacity handles multiple tracks easily. When you import files, they stack on top of each other. You can use the Mute/Solo buttons on the left of each track to hear specific parts, and use the Time Shift Tool (or just drag the clip handle in newer versions) to align vocals with the beat.
Why does my audio sound metallic after noise reduction?
You likely applied too much reduction. If the settings are too aggressive, the software strips away natural voice frequencies along with the noise. Try undoing it and re-applying with lower settings (6–12 dB instead of 20+ dB).
Conclusion
Mastering Audacity takes a little patience, but the payoff is professional audio without the monthly fees. Remember, editing improves with practice. The more you use tools like Compression and EQ, the more natural they will feel.
However, software is only 50% of the equation. The other half is your hardware. The best way to speed up your editing is to capture cleaner audio at the source. If you start with a crystal-clear recording, you spend less time fixing mistakes and more time mixing.
Ready to upgrade your input quality?
Check out the Hollyland LARK MAX 2. With its studio-grade 32-bit float recording, you can capture audio that is virtually impossible to clip, ensuring your raw tracks are pristine before they even touch the Audacity timeline.