.png)
Google Slides stands as a cornerstone in the realm of presentation software, offering a dynamic platform for individuals and organizations to communicate ideas effectively. With its intuitive interface and collaborative features, Google Slides empowers users to craft visually stunning presentations that resonate with audiences worldwide. While the power of visuals in conveying information cannot be understated, the integration of audio introduces a new dimension of engagement and immersion.
We’ll delve into the intricacies of adding audio to your Google Slides presentations, unraveling the step-by-step process to unlock the full potential of your content. By seamlessly blending visuals with audio elements, you can elevate your presentations from static slideshows to dynamic experiences that leave a lasting impression on your audience. Join us on this journey as we equip you with the knowledge and tools to create captivating presentations that captivate, inspire, and inform.
Why Should You Add Audio to Your Presentation?
Adding audio to presentations offers a multitude of benefits that can significantly enhance the overall experience for your audience.
Enhanced Comprehension
When delivering a presentation, your audience is tasked with absorbing both verbal and visual information simultaneously, demanding considerable mental effort. Integrating audio into your presentation streamlines this process, allowing your audience to focus their attention solely on your message. Moreover, listening typically requires less cognitive effort than reading, facilitating quicker absorption of information and reducing cognitive load.
Increased Engagement
Carefully selecting background music or sound effects can inject energy and captivate your audience, fostering a more immersive and engaging atmosphere. For instance, incorporating festive music into a presentation about holiday promotions can evoke a sense of excitement and resonate with your audience’s emotions, keeping them invested in your content.
Emotional Resonance
Research indicates that music has a profound impact on our emotional state and memory formation. By integrating music, sound effects, or voice recordings into your presentation, you can evoke a range of emotions, enriching the overall experience for your audience. Whether it’s upbeat music to inspire optimism or gentle melodies to encourage introspection, audio elements can heighten emotional resonance and leave a lasting impression on your audience.
Adding Audio to Google Slides
Whether gearing up for a grand conference or a more intimate sales pitch, integrating audio elements such as background music, voiceovers, or sound effects can infuse your presentation with an extra layer of dynamism and appeal.
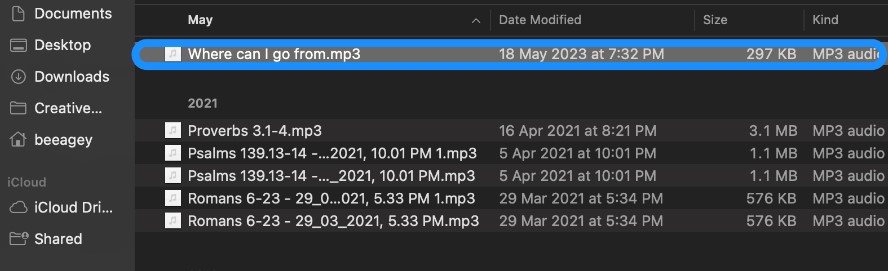
Step 1: Audio File Preparation
To start integrating audio into your Google Slides presentation, ensure your audio files are compatible with Google Drive’s supported formats, such as MP3 or WAV. If your file is in a different format, utilize an audio conversion tool to make it compatible.
Step 2: Uploading Audio to Google Drive
- Access Google Drive and log in.
- Initiate the upload process by selecting the “New” button on the left side
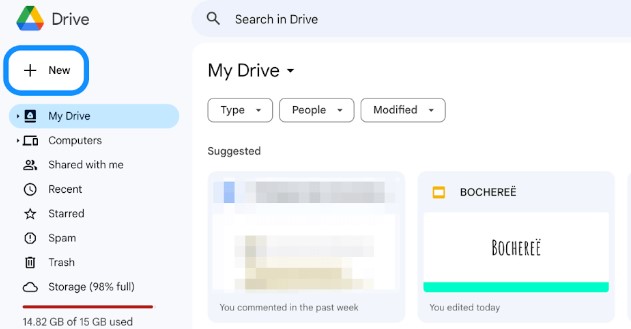
- Next, choose “File upload.”

- Locate the desired audio file on your computer, select it, and commence the upload by clicking “Open.”
- Once uploaded, right-click on the file within Google Drive, opt for “Share,” and adjust the sharing settings to “Anyone with the link can view.” This ensures seamless playback when sharing your presentation.

NOTE: When intending to share your Google Slides template presentation with others while ensuring they have access to your audio, it’s essential to grant them separate access to your audio file outside of Google Drive. This can be achieved through your file settings.
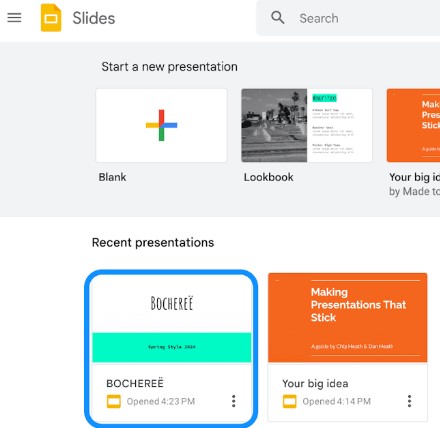
Step 3: Audio Insertion in Google Slides
- Open your Google Slides presentation.
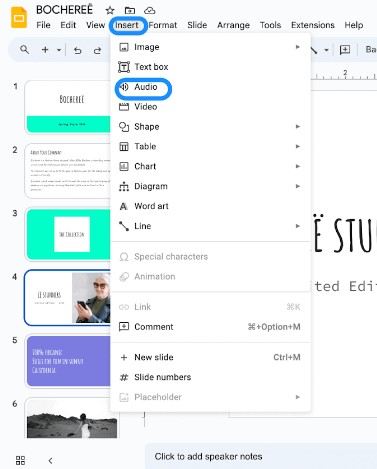
- Navigate to the slide where you intend to incorporate the audio.
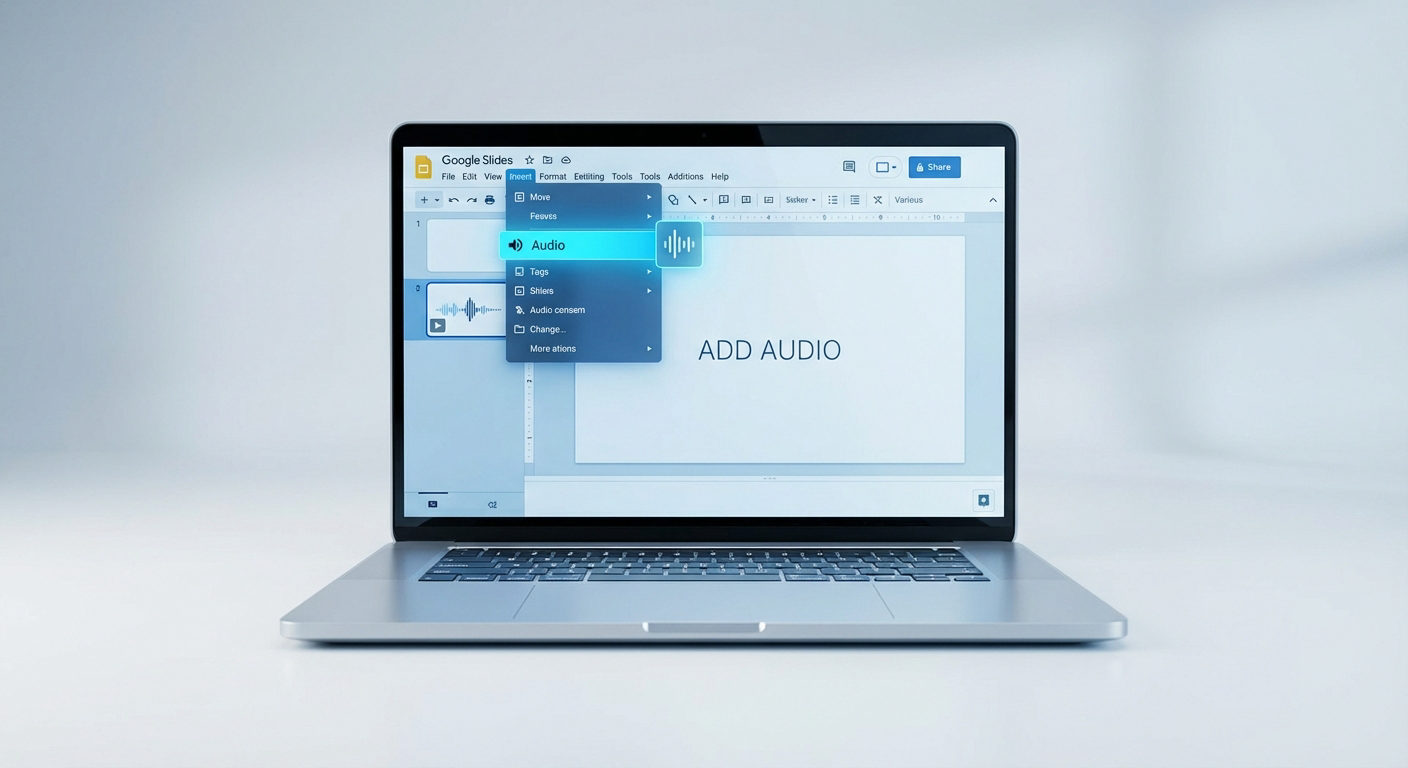
- Access the “Insert” menu at the top, then choose “Audio.”
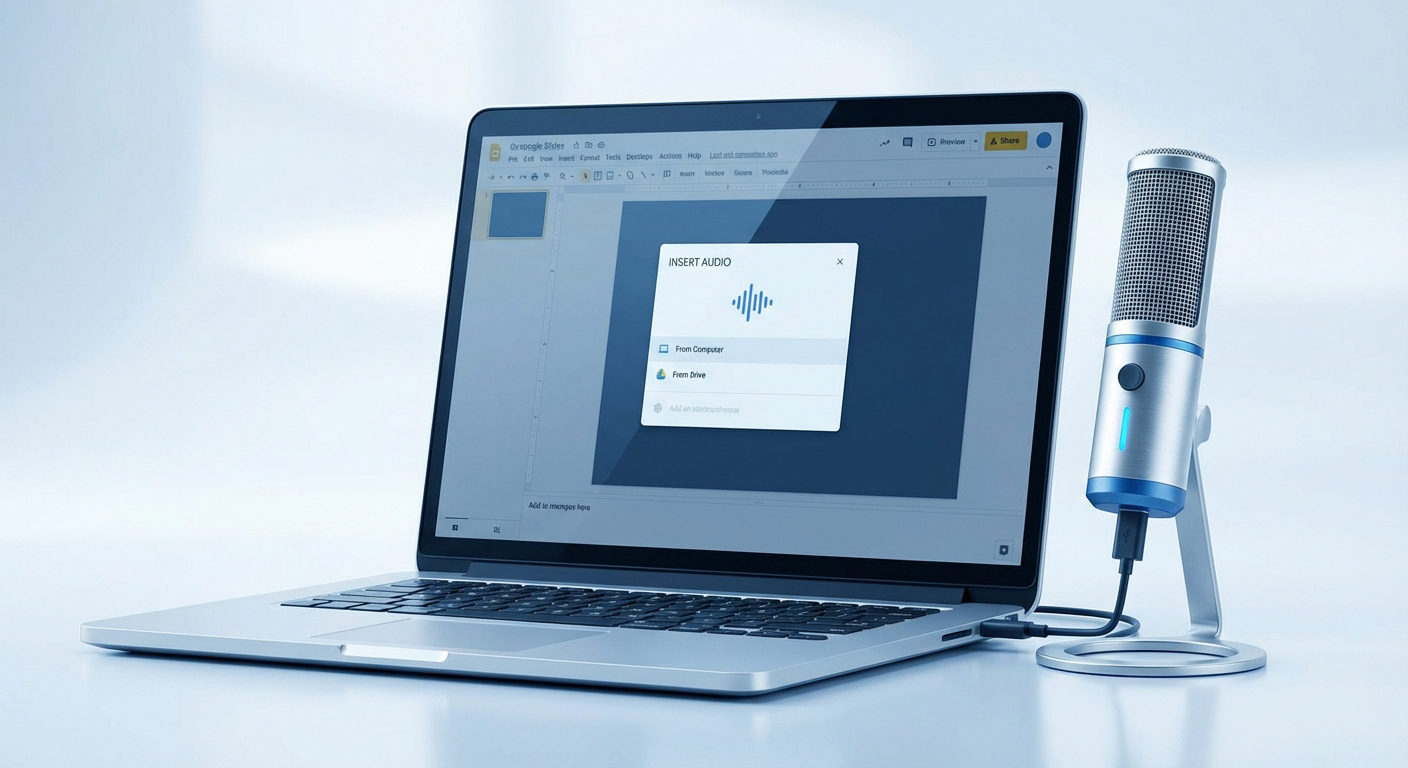
- Locate and select your uploaded audio file from Google Drive, then confirm with “Insert”
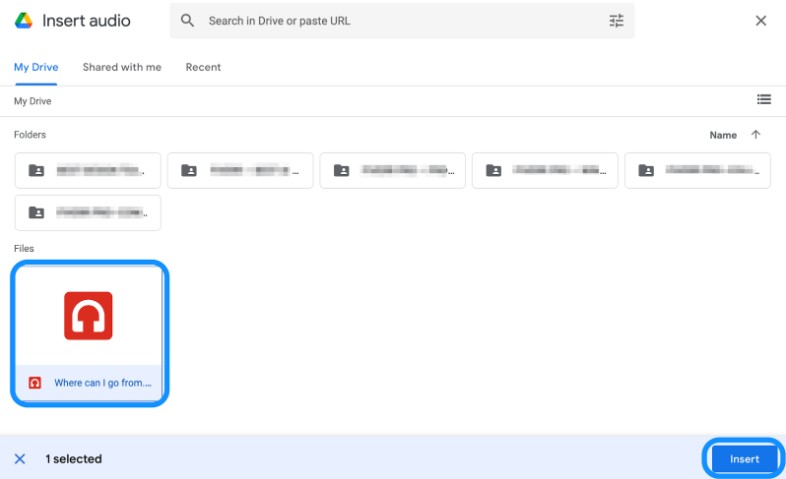
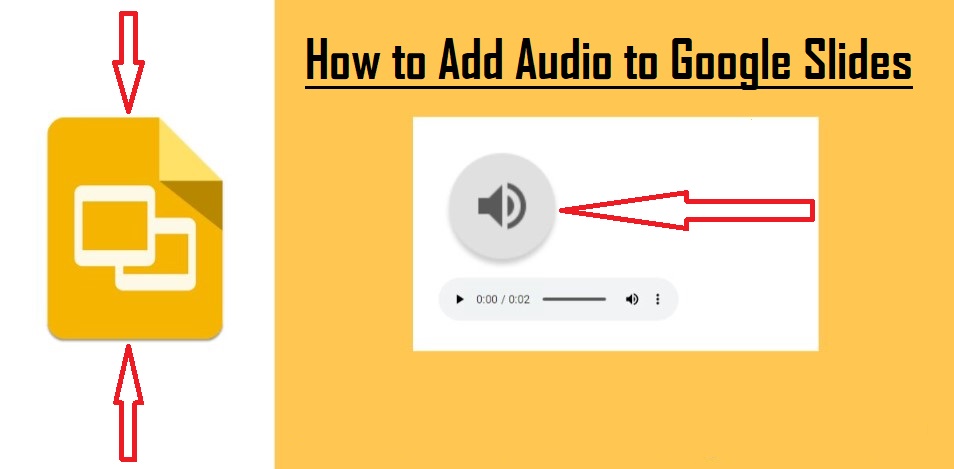
- A visual indicator, such as an audio icon, will signify the successful insertion of the audio file.
Step 4: Audio Formatting
Google Slides offers simple yet effective tools for formatting your audio. You can customize aspects such as reflection, shadow, volume, and more by selecting the audio icon and adjusting the menu options located on the right side of your screen.
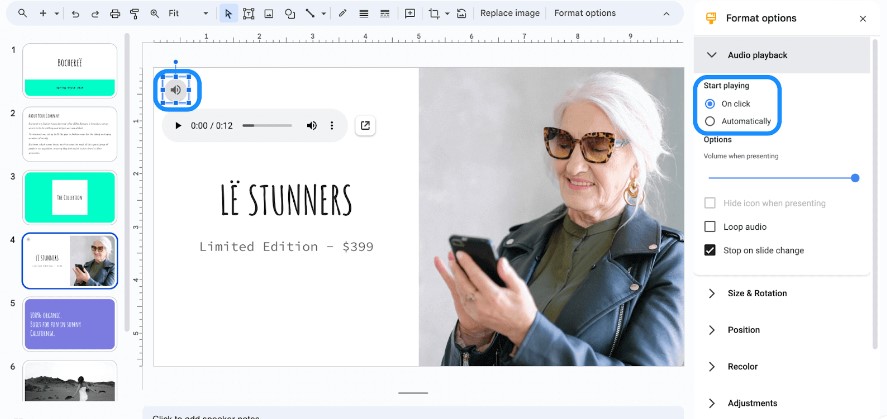
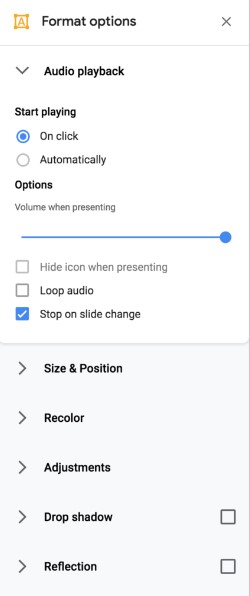
- Select the audio icon on your slide to reveal the format options toolbar.
- Here, tailor playback settings, including “Play” (on click/auto-play/stop on slide change), “Loop audio,” and “Hide audio icon when presenting,” to align with your presentation requirements.
In Google Slides, you have the flexibility to decide how your audio plays during your presentation. You can opt for it to play “on click” or automatically when the slide is presented. If you select automatic playback, you can also choose to hide the icon since it’s unlikely you’ll need it visible during the presentation.
Additionally, you have the ability to adjust the volume of the audio to suit the context of your presentation. For added continuity, you can enable the loop feature, allowing the audio to repeat seamlessly throughout the presentation.
Lastly, by deselecting the “Stop on slide change” option, you ensure that the audio continues to play uninterrupted as you transition between slides.
Step 5: Audio Testing
- After configuring your audio settings, it’s crucial to conduct a thorough test to ensure seamless playback.
- Initiate your presentation by clicking “Present.”
- Navigate to the slide featuring the audio and activate it according to your chosen playback method (e.g., clicking on the icon for “on click” playback).
- Verify that the audio plays correctly and make volume adjustments as necessary.
In editing mode, you can preview and play the audio by hovering over the speaker icon or selecting it and clicking the play button. During presentation mode, simply click on the speaker button to initiate playback, or hover over it and click the play button to start the audio.
Step 6: Presentation Sharing
When sharing your Google Slides presentation, verify that recipients have access to the audio file. Double-check the sharing settings of the audio file in Google Drive to confirm it’s set to “Anyone with the link can view.”
Adding Audio/Music from a URL
You have the option to incorporate music into your Google Slides presentation by linking to a URL or the file’s location on the internet, including platforms like SoundCloud, YouTube Music, Apple Music, or Spotify. However, this method can be somewhat complex.
For the purpose of this guide, we’ll demonstrate how to add audio/music using a link from a SoundCloud file. Ensure you have an internet connection to play the audio during your presentation.
Here’s how to create a slideshow with music:
Step 1: Locate the desired audio/soundtrack
Open SoundCloud in a web browser and navigate to the page containing the soundtrack you wish to use. Before proceeding, verify that the file is not copyrighted, has a Creative Commons license, or is public domain content.
Step 2: Copy the soundtrack’s URL
Select “Copy Link” to copy the URL of the soundtrack from SoundCloud.

Step 3: Insert the URL into your Google Slides presentation
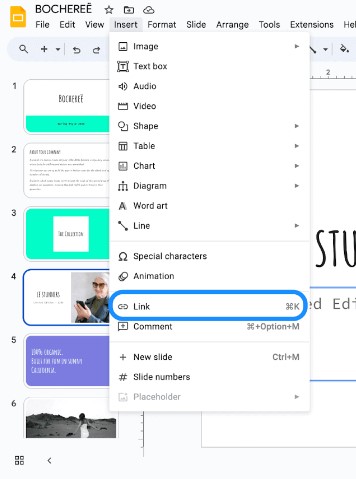
- Choose the slide where you want to insert the URL and access the “Insert” menu from the toolbar. Select “Link”
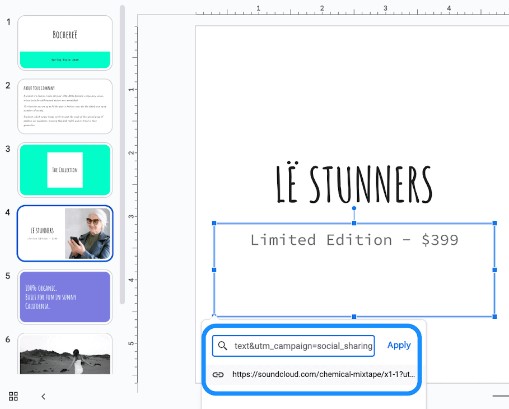
- Paste the copied URL into the provided text box, then click “Apply.”
- Test the audio playback by entering Slideshow mode. Click on the linked area to open the audio page in a new browser tab or window. Press the “Play” button, then minimize the browser to return to your presentation.

- To halt the audio, return to the web page and click on the “Pause” or “Stop” button.

Conclusion
Adding audio to your Google Slides presentations can elevate the overall impact and engagement of your content that captivates and engages your audience. Whether it’s background music to set the mood, voiceovers to enhance narration, or sound effects to add emphasis, audio elements can elevate the impact of your content and leave a lasting impression on your viewers. By following the steps outlined in this guide, you can seamlessly integrate audio into your presentations and create immersive experiences that resonate with your audience.
Experiment with different audio clips and playback settings to find what works best for your content, and don’t hesitate to unleash your creativity to make your presentations stand out. We value your opinion! Share your thoughts on our guide to adding audio to Google Slides presentations. Did you find the steps easy to follow? How did incorporating audio enhance your presentations? We welcome your feedback to help us improve our content and provide even more valuable resources in the future. Leave your comments below!
To ensure high-quality audio recordings for your presentations, consider using a wireless lavalier microphone. It’s the perfect solution for clearly recording voiceovers or narration, making your Google Slides presentations sound professional and engaging.
Frequently Asked Questions
What audio file formats are supported by Google Slides?
Google Slides supports various audio file formats, including MP3, WAV, AAC, and FLAC. Ensure your audio files are in one of these supported formats to seamlessly integrate them into your presentations.
Can I add audio directly from YouTube to Google Slides?
While Google Slides does not offer a direct feature to add audio from YouTube, you can embed YouTube videos into your presentations. However, if you only need the audio from a YouTube video, you can use third-party tools to extract the audio and then upload it to Google Slides.
How do I loop audio in Google Slides?
To loop audio in Google Slides, simply select the audio file on your slide, go to the format options, and check the “Loop audio” box. This will ensure that the audio continuously repeats throughout the slide.
Why can’t I hear the audio I added to my Google Slides presentation?
If you’re experiencing issues with audio playback in your Google Slides presentation, ensure that your device’s sound is not muted and that the volume is turned up. Additionally, check that the audio file format is supported by Google Slides and that the sharing settings for the audio file allow access to viewers.
Can I hide the audio icon while presenting in Google Slides?
Yes, you can hide the audio icon during a presentation in Google Slides. Simply select the audio icon, go to the format options, and check the “Hide audio icon when presenting” box. This will ensure that the audio icon is not visible to your audience during the presentation.
Is it possible to adjust the volume of the audio in Google Slides?
Yes, you can adjust the volume of the audio in Google Slides. Select the audio icon on your slide, go to the format options, and use the volume slider to adjust the volume level according to your preference.
How do I ensure that everyone can hear the audio in my shared Google Slides presentation?
To ensure that everyone can hear the audio in your shared Google Slides presentation, make sure that the audio file is shared with appropriate viewing permissions. Additionally, provide instructions to viewers on how to enable audio playback in their settings and ensure they have access to a device with speakers or headphones.