Whether you’re a professional, a content creator, or just someone looking to make a great video, it’s crucial to combine video with audio smoothly to enhance the overall quality of your content.
This guide will walk you through everything you need to know to combine audio and video, including the steps and tools needed to merge your files effectively.
Video & Audio Formats
When editing videos, it’s crucial to know what types of audio and video you’re using to ensure compatibility with the platform and software you use.
Popular Audio Formats:
- MP3 – widely used compressed audio format with ability to significantly reduce file size while maintaining decent audio quality.
- WAV – uncompressed audio format from Microsoft with high-quality audio and larger file size.
- AAC – digital audio encoding designed for better sound quality than MP3 at similar bit rates and higher compression efficiency.
Popular Video Formats:
- MP4 – flexible video format that can store video, images, audio, and subtitles with good compression and decent quality.
- AVI – multimedia container format that can store audio and video with various codecs for compression and widely supported by many media players.
- MOV – multimedia container format used for Apple devices and primarily associated with QuickTime. It can store video, audio, subtitles, and images.
Tools & Software
Different software can be used for joining audio and video files. Options range from professional-grade software to free online tools.
Adobe Premiere Pro
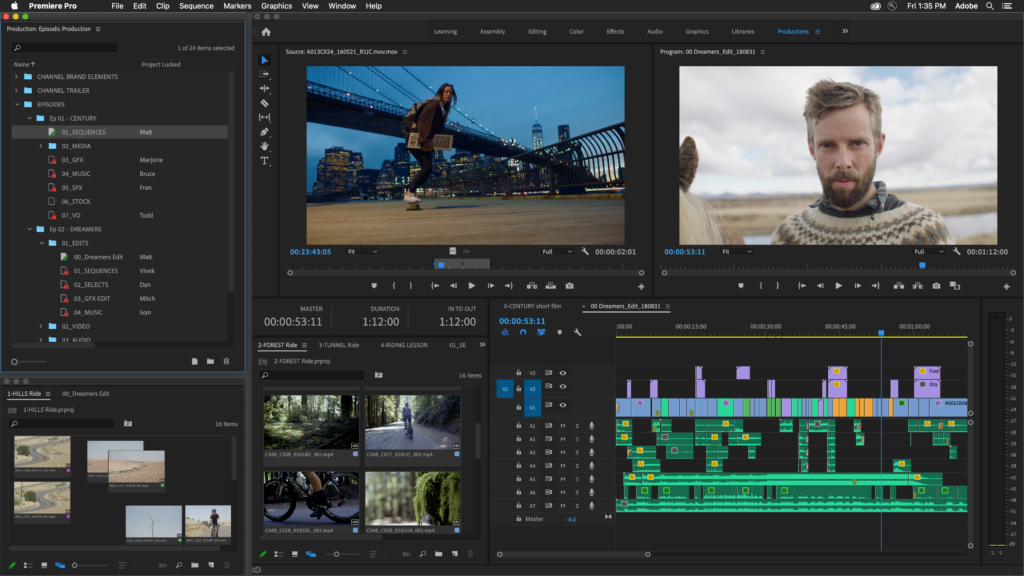
Known for its professional-grade tools and intuitive interface. It offers a wide selection of tools, including color correction, audio processing, visual effects, and more. Premiere Pro also support a wide range of video and audio formats and boasts seamless integration with Adobe Creative Cloud applications.
Final Cut Pro

Popular professional-grade video editing software for Apple devices. It boasts advanced and powerful tools for editing and delivering high-quality video content. It is widely used by many filmmakers and content creators, supporting a wide range of video and audio formats.
DaVinci Resolve
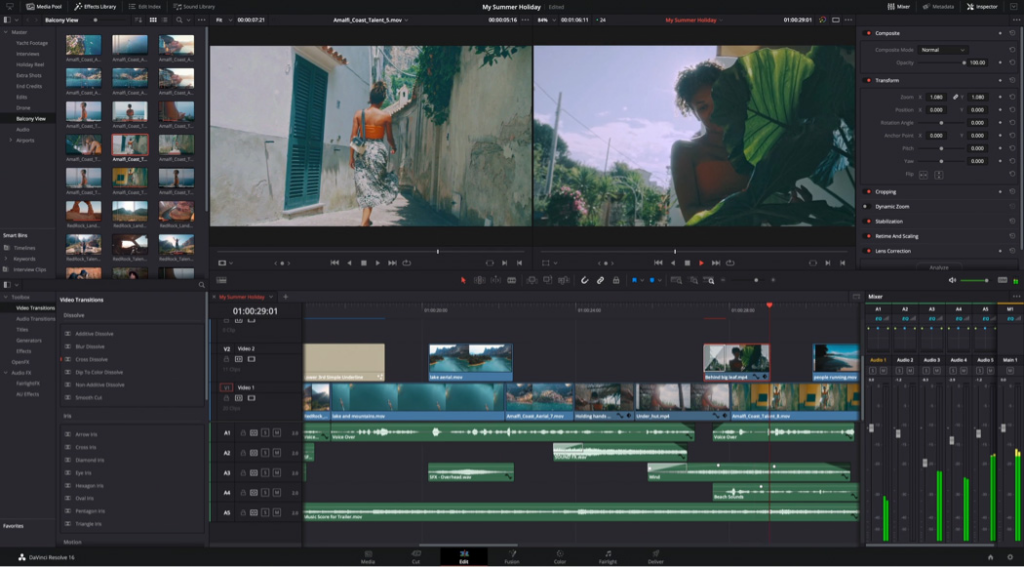
Comprehensive video editing and color correction software from Blackmagic Design. It seamlessly integrates powerful video processing tools, professional color correction, visual effects, and audio processing in a single application. It’s available in both free and paid versions and the go-to choice for professional video production.
Audacity
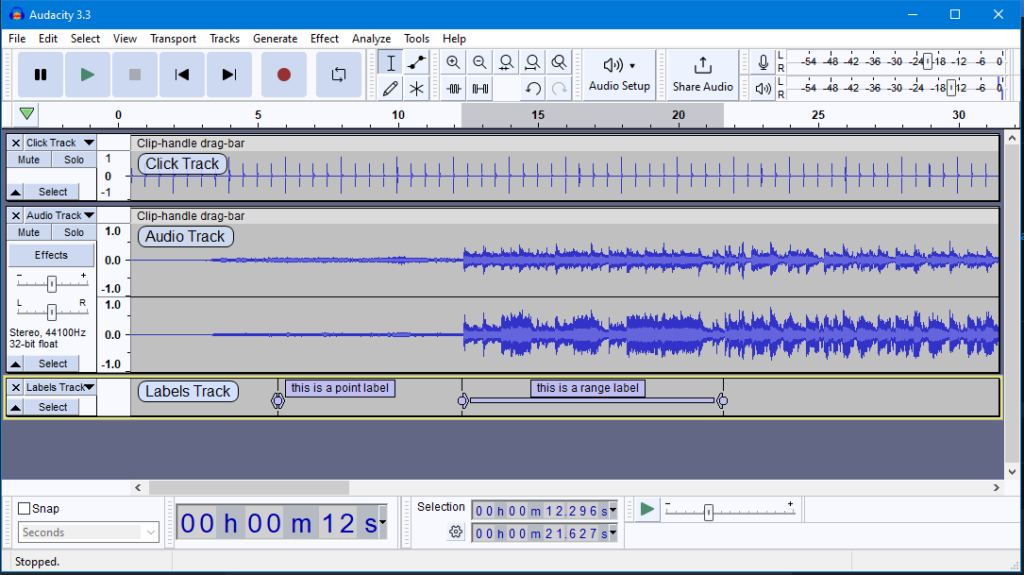
Free and open-source audio editing and recording tool for Windows, macOS, and Linux. It features a wide range of tools for audio processing, including recording, cutting, copying, and pasting audio segments. Noise reduction, pitch shifting, and equalization are also available on Audacity.
Online Tools
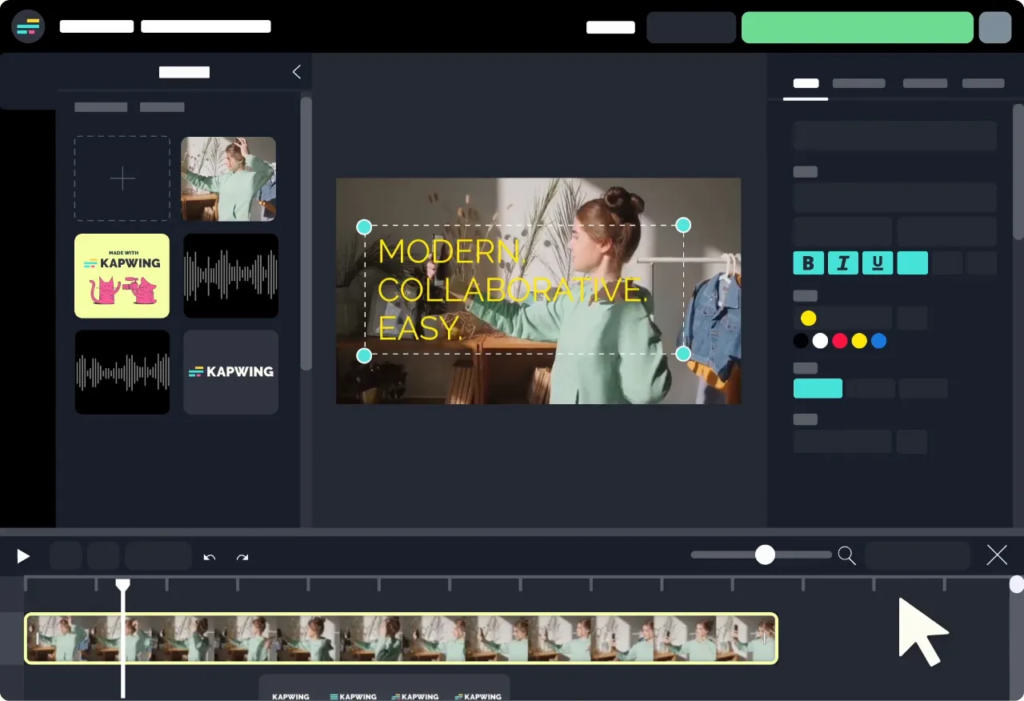
There are also popular and easy to use audio tools online for combining audio and video files such as Kapwing, Clideo, and Audio Joiner. However, these tools often have limitations in features, supported formats, and file size it can handle.
How to Combine Audio & Video Files
1. Preparing Your Files
The key to seamless audio and video editing experience is to ensure compatibility with all your files and structure them in one organized folder.
- Make a new folder on your computer and name it with your preferred project name.
- Inside the folder, three additional folders and name them Audio, Video, and Output.
- Place your project folder where you can easily access it like the desktop.

Once done, transfer all the files you’ll be using for the project to their corresponding folder.
Note:
Refer to the manual of the software of your choice to confirm if your audio and video files are supported.
2. Import Files to Editing Software

- Open the video editing software of your choice.
- Now, start a new project.
- On the navigation menu, find File > Import (or similar).
- Open the project folder you created and import all your files.
3. Sync Audio and Video
Once you’ve imported all the files you need for the project, it’s time to start merging your audio to your video.
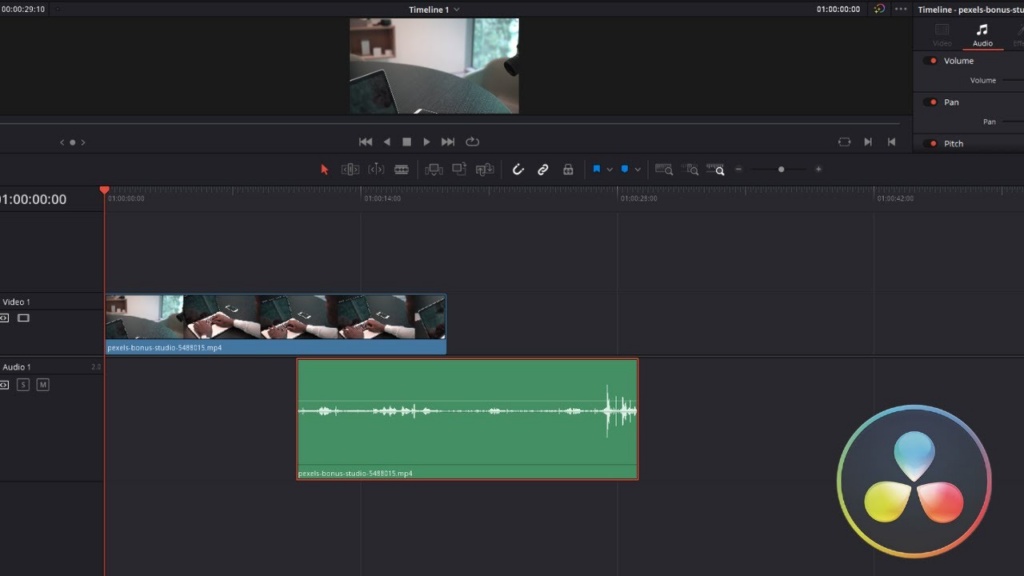
- Start by adding your video to the timeline.
- Next, add the audio track below the video.
- Go to the Preview pane and play the timeline.
- Make the adjustments by moving the audio to the left or right. Moving it to the right will delay the audio and moving it to the left advances it.
- Play the timeline again and make the adjustments when needed.
4. Adjust Audio Levels
Having a balanced sound mix to your video can help enhance its overall quality.
- Start by adjusting the sound levels to a level you’re comfortable with. Make sure it’s not too loud and not too soft.
- Use equalization to enhance clarity and tonal balance. Add an EQ filter to reduce or enhance certain audio frequencies for better vocals, highs, or bass.
- To ensure consistent volume levels, you can also add a compression filter to control dynamic range.
- If you’re working with an interview or vlog, applying a noise reduction filter to your audio can help improve vocal clarity.
5. Export Your File
After applying the necessary adjustments, you can export the project. Make sure to select the correct format and quality settings before saving the combined audio and video to your computer.

Suggested export settings:
- Resolution: 1080P or 4K (if footage is shot on 4K or the project specifically requires it)\
- Codec: H.264(AVC) or H.265(HEVC)
- Bitrate: If 1080P (8 – 15 Mbps) / If 4K (30 – 60 Mbps)
- Frame Rate: 24,30, or 60 FPS
- Audio Codec: AAC
- Audio Bitrate: 128 to 320 kbps
- Container Format: MP4 (popular choice) or MOV/MKV
Additional Tips
Here are some extra tips for a smooth audio and video merging process:
Backup Your Original Files
Accidental deletion or file corruption may happen during editing. Backing up your file ensures that your original footage and audio are safe regardless if something goes wrong.
Moreover, in case you want to repurpose your footage and audio, you can easily access the original files through your backup.
Just make sure to store the backup in a separate storage device for protection in case of hardware failure.
Use Headphones
Using headphones is a great way to produce accurate audio. Headphones can effectively isolate external noise during editing, allowing you to focus on the details of your audio file and ensure it’s in sync with the video.
Headphones can also reveal subtle flaws with the audio recording, which isn’t as noticeable through speakers.
Master Keyboard Shortcuts
Every video editing software offers keyboard shortcuts to access tools and features faster. The key to efficient editing is to learn keyboard shortcuts for the software you’re using. This will reduce the need for manual navigation. Keyboard shortcuts can also speed up the editing process, giving you more time with other projects.
Some video editors also allow custom keyboard shortcuts to adapt with your workflow and preferences. Consider using it for functions you use frequently.
When combining audio and video, clarity and synchronization are key to professional results. A wireless lavalier microphone ensures high-quality audio capture right from the source, making post-production editing simpler and more effective.
FAQs
What is the best format to export combined audio and video files?
MP4 is one of the best and most popular export formats for video editing due to its universal compatibility. Almost all media players support MP4 and it offers a good balance between video quality and compression efficiency.
How do I sync audio and video perfectly?
Adobe Premiere Pro and other video editing software has an auto sync feature, but it can be a hit or miss. The best way to sync audio and video is to do it manually by making micro adjustments to your timeline.
What do I do if the audio quality decreases after combining files?
Check your export settings and ensure you’re not using a lossy compression for audio output. Generally, using AAC codec and a bitrate around 128 to 320 kbps help retain audio quality after combining files.
Can I combine multiple audio tracks with a single video?
Yes. Most video editing software allow users to add multiple audio tracks over a single video in a timeline.
How do I fix audio-video synchronization issues in combined files?
The best way to resolve unsynced video and audio is to manually adjust the audio and video track from the timeline. You can either advance or delay the audio to sync it with the video.
Are there any free tools for combining audio and video files?
Yes, there are many online tools that offer audio and video merging features, such as Flixier, Kapwing, and Clideo. However, these tools have limited features and might not support audio sync adjustments, visual effects, and enhancements.
Can I add background music to my video without losing the original audio?
Yes. All you need to do is not to mute the video and add an audio track on top of it in the timeline of the video editing software you’re using. You can also adjust the volume for the video or the audio track to make either more prominent.
What are common mistakes to avoid when combining audio and video files?
When combining audio and video, make sure that they are synced properly. Don’t simply add the video and audio in the timeline and export it. Make the adjustments to sync audio and video. Another thing to keep in mind is to adjust the volume for the video and audio track you added so that their audio doesn’t cancel each other out.
How do I reduce the file size of the combined audio and video file without losing quality?
The best way to reduce the file size of the output project is to use an efficient compression like AAC for audio and H.264 for video. You can then export it as MP4 for maximum compatibility.


.png)


