.png)
Sometimes, typing just isn’t enough. On an iPhone, recording a quick voice message is faster, more personal, and easier to understand—whether it’s a short update, a friendly hello, or something work-related. In this guide, you’ll learn four simple ways to record and send audio messages on your iPhone—no tech skills needed.
Method 1 – Record an Audio Message in iMessage
Sometimes, words are easier to say than to type. Maybe you’re walking, your hands are full, or you just want your voice to do the talking. That’s where iMessage’s voice note feature comes in handy.
Press and Hold Audio Icon
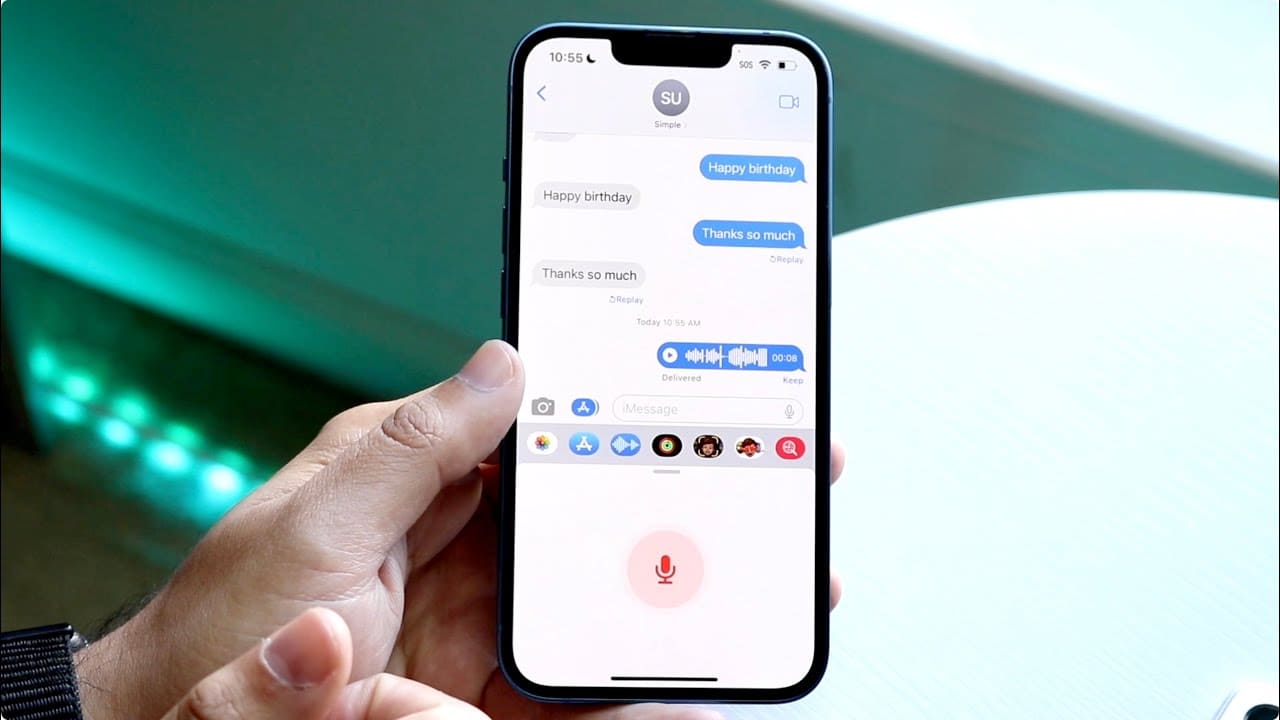
Start by opening the Messages app and tapping on the conversation you want. Right next to the typing field, you’ll see a small wave icon—that’s the audio recorder. Press and hold it to begin recording. While you’re holding, just talk. No need to press anything else.
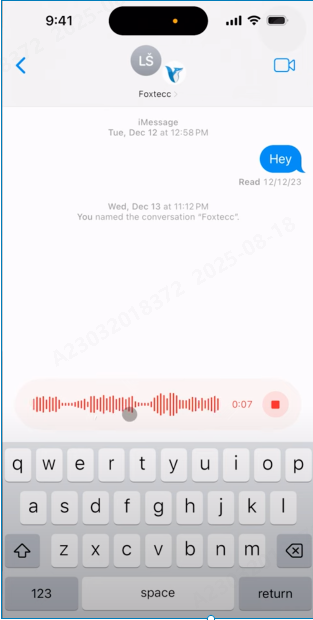
For the best sound, bring your iPhone closer to your mouth—but don’t cover the mic. Try not to speak too fast. If there’s background noise, move to a quieter corner. You don’t need a studio setup. Just be calm and clear.
If you lift your finger too early, don’t worry—you can always redo it.
Review and Send
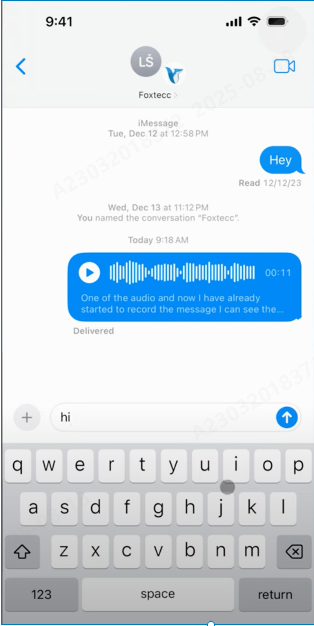
After you release the button, a preview player pops up. You’ll see a play icon—tap it to listen back. If you’re satisfied, hit the blue arrow to send the recording. If not, swipe left over the waveform to cancel it entirely.
This tool is built for quick replies, emotional moments, or when typing feels like too much. No apps, no extras—just your voice.
Method 2 – Record an Audio Message in WhatsApp
Some conversations don’t need typing at all. If you’re in a rush, on the go, or just want your voice to say it better, WhatsApp has you covered. Sending an audio message only takes a second once you know where to tap.
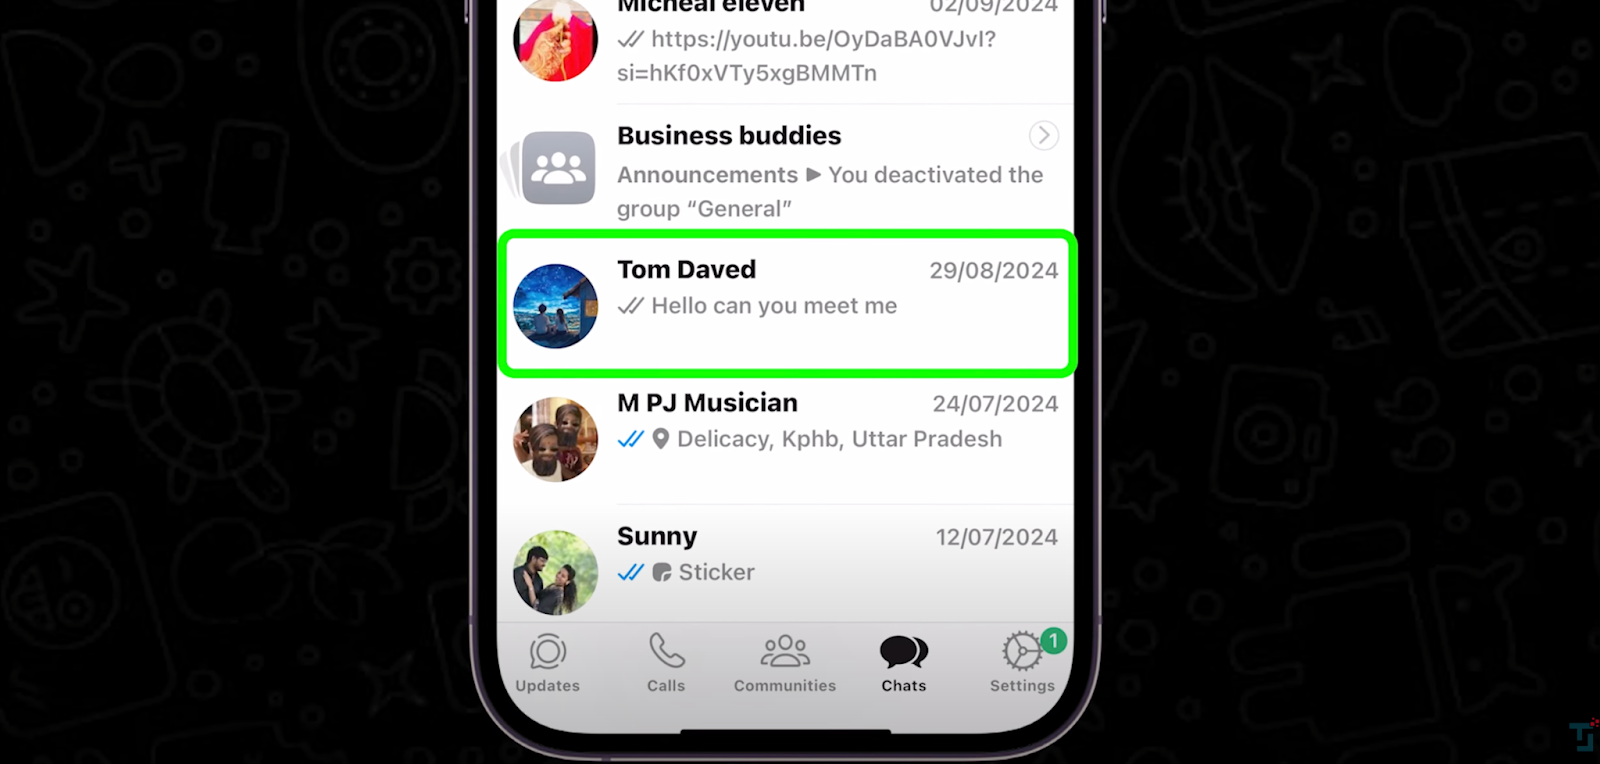
Open Chat
Open WhatsApp and pick a chat or group you want to send a voice message to. That’s where it all starts. Make sure your internet is working—Wi-Fi or data—so the audio uploads properly. This matters, especially if it’s a long voice note.
Tap and Hold Mic Icon
Down in the corner, you’ll see a microphone symbol. Press and hold it while you speak. Keep your phone close to your mouth, and try not to move around too much. This helps your voice sound clear and direct. Don’t worry about perfect wording—just talk naturally, like you’re leaving a voice note for a friend.
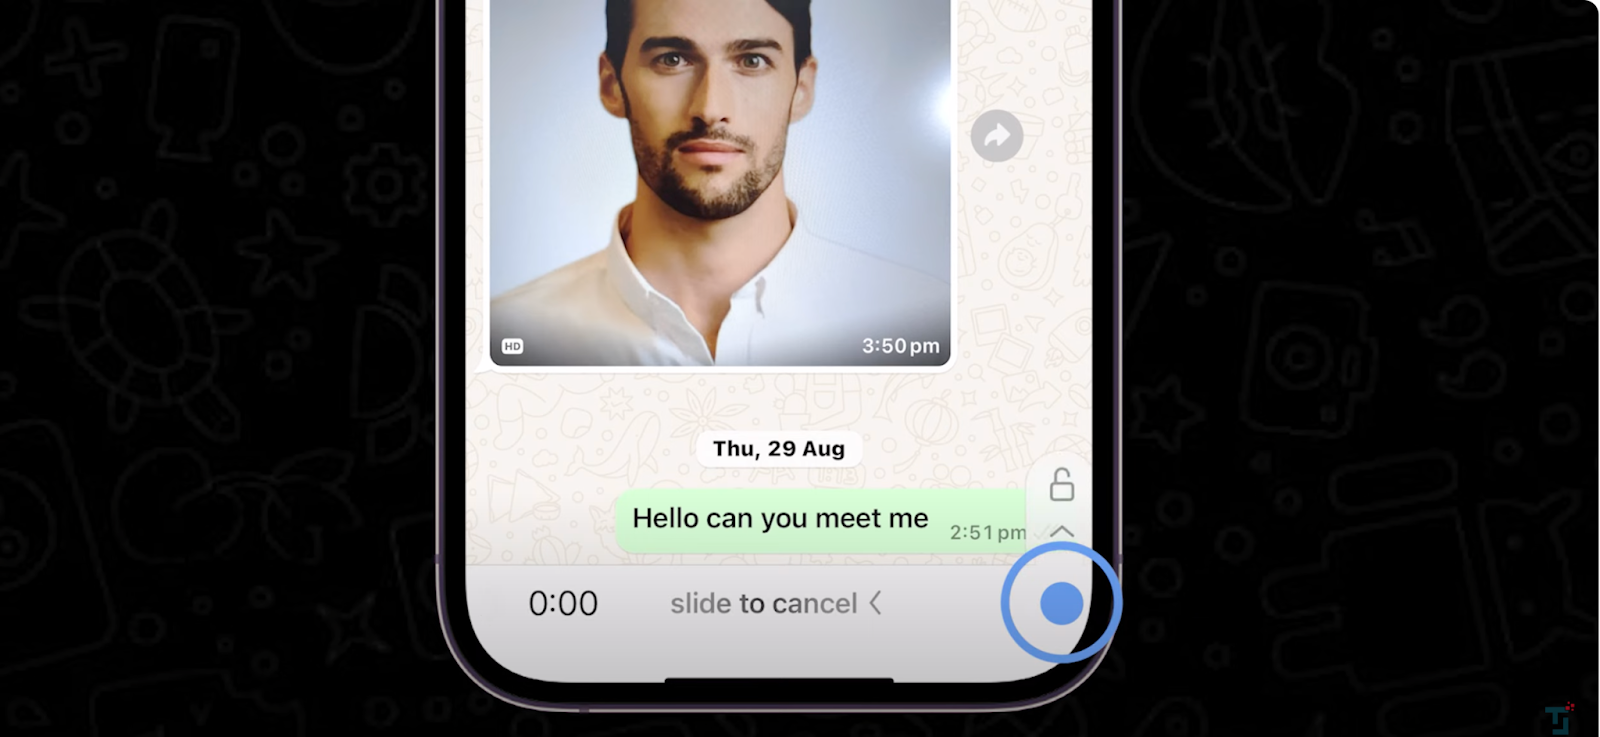
Lock for Long Messages
If your message is going to take a bit longer, swipe up while holding the mic. This locks the recording, so you can keep talking hands-free. It’s a lifesaver when you need to explain something in detail or just want to be more comfortable.
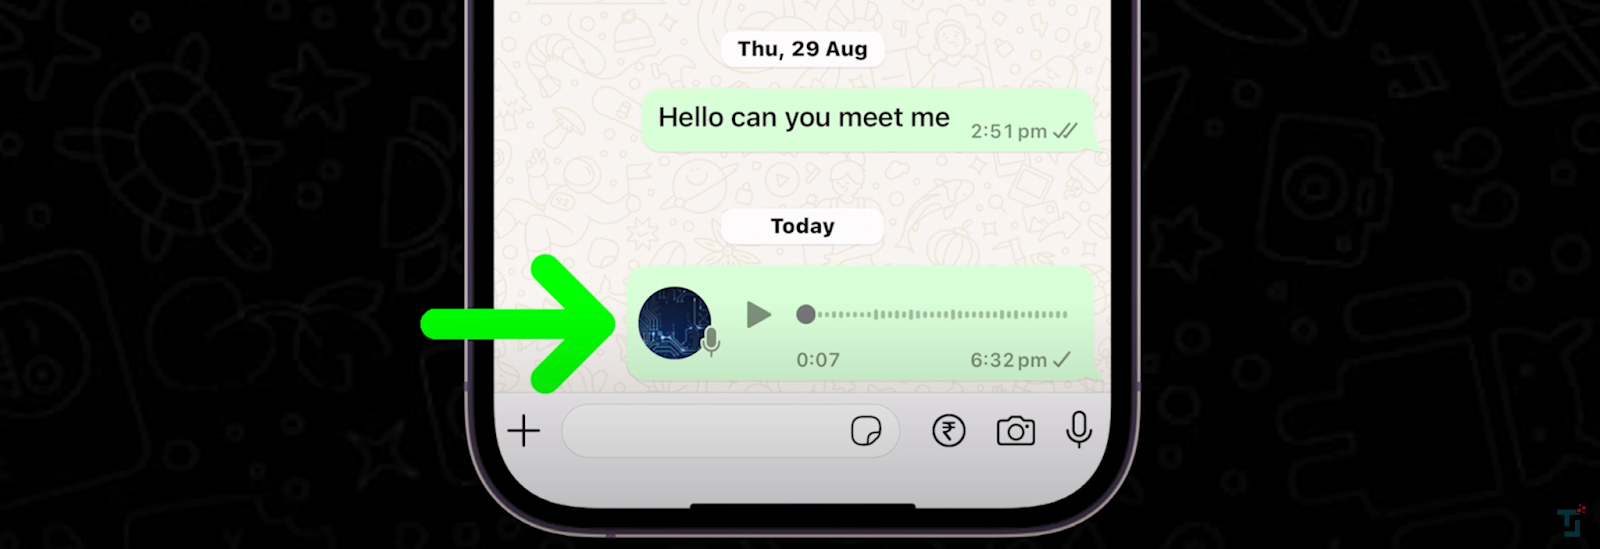
Send or Delete
Done recording? Tap the send arrow to deliver it. If you mess up or change your mind, hit the trash icon before sending, and it’ll disappear. Quick, easy, and way more personal than a long text.
Method 3 – Record Audio Using Voice Memos with an External Mic
There are times when you don’t want to send something right away. Maybe you’re recording a message for later or just saving a thought. The Voice Memos app lets you do that—no fuss, no fancy setup.

Open Voice Memos App
Find the Voice Memos app on your iPhone—it’s usually in the Utilities folder, or just swipe down on your screen and type it in. Open it up, and you’ll land on a simple screen with a red button at the bottom and maybe a list of old recordings.
Attach an External Microphone
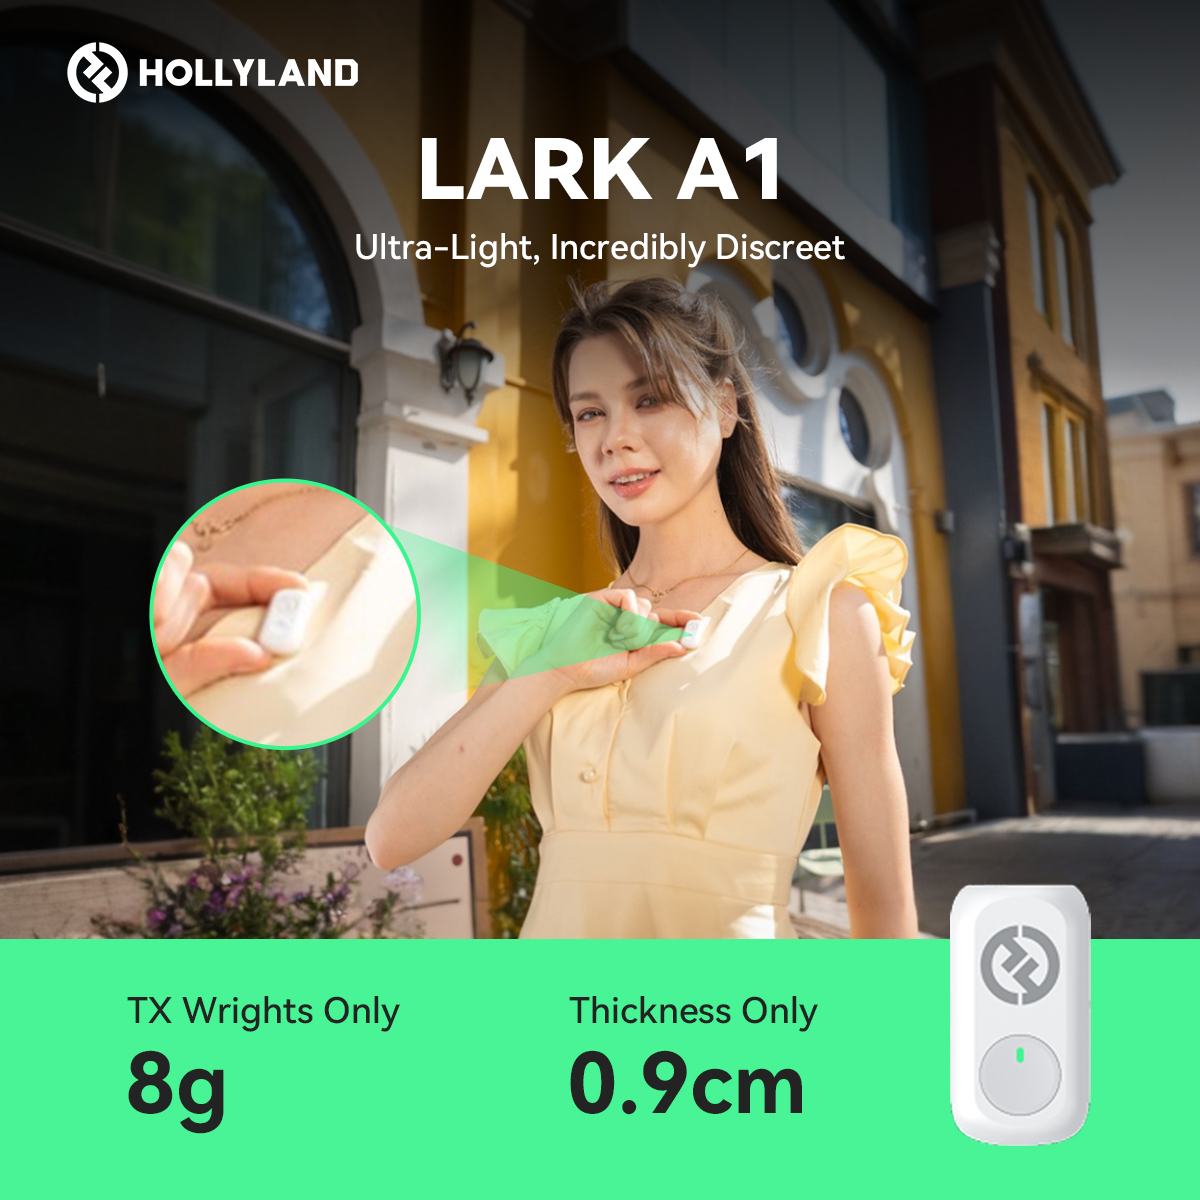
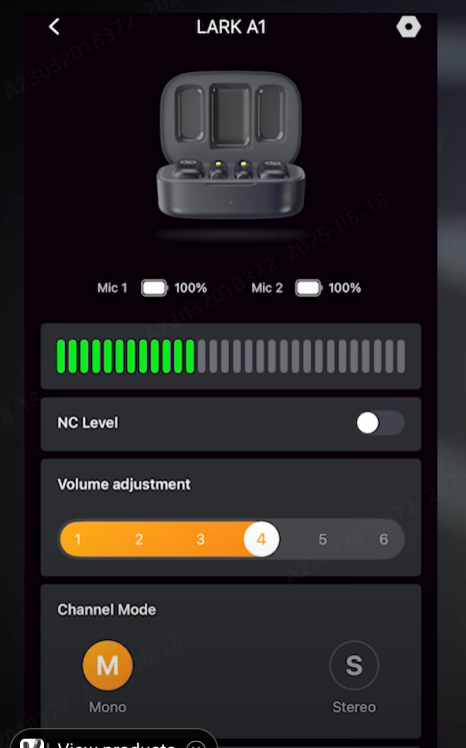
If you want clearer sound, especially in noisy places, you can connect a wireless microphone like the Hollyland LARK A1 before recording. Here’s how:


Step 1 – Plug in the receiver

Insert the LARK A1 Lightning receiver into your iPhone’s charging port until it fits snugly. Once connected, your iPhone should recognize it automatically without any extra setup.
Step 2 – Turn on the transmitter

Press and hold the power button on the transmitter until the indicator light turns on. The transmitter will pair with the receiver within seconds, so you don’t have to adjust any settings.
Step 3 – Clip the mic

Attach the transmitter’s built-in mic to your shirt or collar, ideally 6–8 inches from your mouth. This position helps capture your voice clearly while keeping it comfortable to wear.
Step 4 – Check audio

Open the Voice Memos app and make a short test recording. Play it back to confirm that your voice is clear, with minimal background noise, before you start your main recording.
Tap Record Button
Hit the red circle to start recording. Speak naturally and at your normal volume. You’ll see wave patterns moving as you talk. When you’re done, tap the same button to stop. It saves right away.

Edit and Share
Tap the new file to rename it—use something short so you’ll remember it. If you want to trim the start or end, go to Edit and slide the yellow handles. When ready, click the share symbol and pick how you want to send it—text, email, or AirDrop.

Method 4 – Record Audio in Third-Party Apps
If you’re someone who chats more on apps like Telegram, Signal, or Messenger, you can also send voice messages there. Each app works a little differently, but the steps are easy once you get used to them.
Open Chat Window
Start by opening the app—let’s say Telegram, for example. Go to the conversation where you want to speak instead of typing. It could be a group or one-on-one. Just make sure the person on the other end is using the same app so they can receive voice messages without trouble.

Tap and Hold the Mic Icon
Once you’re in the chat, you’ll spot a mic icon somewhere near the typing field. Usually in the bottom-right. Press and hold that button to start recording. Speak like you’re talking to someone, not like you’re giving a lecture.
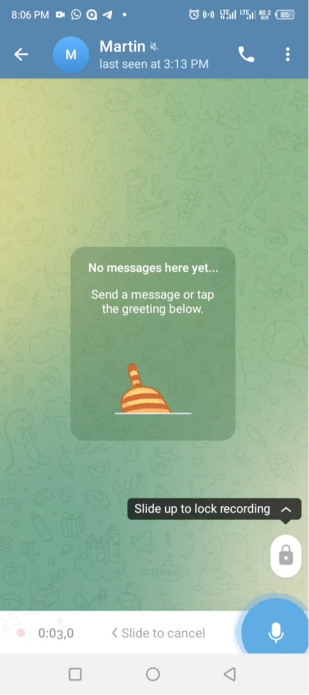
Want to send a longer message? Some apps, like Telegram, let you slide your finger up to lock the recording. That way, you don’t have to keep pressing the screen the whole time.
Send or Delete the Recording
Once you’re done, lift your finger or tap the stop button, depending on the app. If it sounds fine, hit the send arrow. Didn’t like how it came out? Look for a trash can icon and tap it to delete the recording.
The layout and steps may shift slightly from app to app, but the idea stays the same.
Conclusion
So there you have it—four simple ways to speak instead of type. You don’t need fancy tools or advanced settings. Just pick the method that feels easiest for you. And one thing to keep in mind: a steady hand and quiet spot can make a big difference.
FAQs
Can I send audio messages to Android users?
Yes, but only through apps like WhatsApp, Signal, or Messenger. iMessage audio messages won’t go through to Android phones. Stick to third-party messaging apps for sharing voice messages across different devices—it’s the easiest and most reliable option.
Do iMessage audio messages expire?
Yes. By default, they disappear after two minutes of being listened to. However, you can keep a message by tapping “Keep” right after playing it. You can also change the default setting in your Messages settings to save audio messages permanently.
Can I improve audio quality without an external mic?
Try recording in a quiet space, avoid covering your phone’s mic, and hold it steady. Speak clearly and don’t rush. Even small adjustments like turning off background fans or lowering background music can improve how your voice sounds.
Is there a time limit for audio messages on iPhone?
In iMessage, there’s no strict time limit, but longer recordings may take longer to send or load. Apps like WhatsApp may limit recordings to a few minutes. For longer messages, voice memo apps or audio files work better.