.png)
.png) Français
Français .png) 日本語
日本語 Breathing sounds in audio recordings are natural, but when they’re too loud, they can distract your audience. While some light breaths help keep speech natural, heavy or frequent ones can make a recording sound unprofessional.
If you want cleaner takes, prevention starts during recording. A mic like the Hollyland LARK MAX 2 can help by capturing audio with incredible clarity. Its 32-bit float recording ensures you maintain detail without distortion, while OWS Bluetooth monitoring lets you catch unwanted breathing sounds in real time, reducing the need for heavy edits later.


This guide will walk you through five effective methods for how to remove breathing from audio without harming the quality of your voice.
Method 1 – Manually Edit Breathing in Audio Editing Software
Manual editing is the most precise way to clean up breathing noises. It’s best for short recordings, high-stakes projects, or situations where you can’t risk removing parts of speech.

Step-by-step:
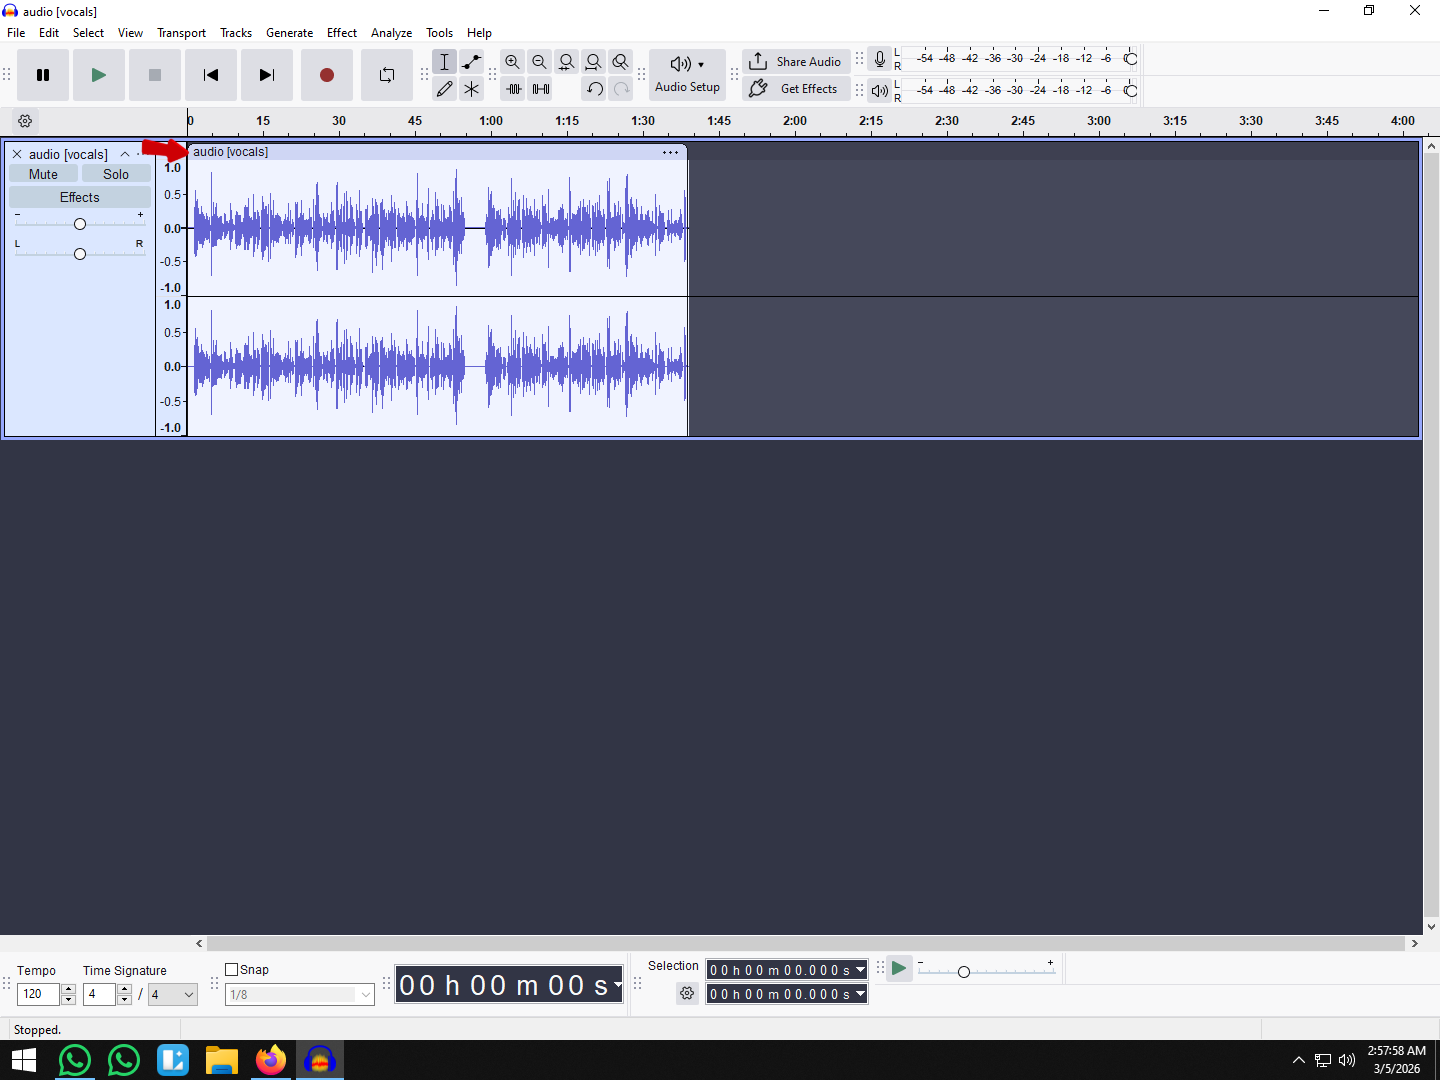
- Open your audio file in a DAW or editor – Free options like Audacity or premium tools like Adobe Audition, Logic Pro, and Reaper give you detailed waveform views so you can spot even faint breathing.
- Zoom in for precision – Increase zoom until breaths are visible as small, low-amplitude peaks between words or sentences.
- Select the breath sound only – Carefully highlight just the breath, avoiding nearby syllables. A sloppy selection can clip your speech.
- Reduce or remove the breath:
- Silence Tool – Completely mutes the section. Works best for non-overlapping breaths.
- Fade In/Fade Out – Keeps the breath but softens its impact for a more natural feel.
- Lower Volume – Useful when the breath overlaps speech.
- Listen and refine – After editing, play back the section to check for smoothness. Small adjustments here can make a big difference.
- Repeat for the full track – Work in short sections to avoid missing breaths or making cuts that disrupt pacing.
Pro Tip: Use keyboard shortcuts in your DAW to speed up the process when editing large files.
Method 2 – Use Noise Reduction or Breath Control Plugins
Breath control plugins can save hours when working on long projects. They automatically detect and reduce breaths while leaving dialogue intact.
Why use them: They’re ideal for podcasts, audiobook narration, and video production where consistency matters across multiple takes.

How to apply:
- Install a dedicated plugin – Popular choices include Waves DeBreath, iZotope RX Breath Control, and Accusonus ERA Breath Control. Many work as both standalone tools and DAW plugins.
- Load your audio and insert the plugin – Add it directly to your track’s effect chain.

- Set detection sensitivity – Start with a moderate setting so it catches breathing but not soft speech sounds like “h” or “f.”
- Adjust reduction level – A 40–70% reduction often keeps voices sounding natural while still cleaning the track.
- Preview and tweak – Test a short section first, adjusting until it sounds right, then apply to the full recording.
- Listen through the final edit – Even with automation, human ears should always approve the result.
Pro Tip: Many plugins have presets for “podcast,” “voiceover,” or “vocal music” that offer a quick starting point.
Method 3 – Apply Equalization (EQ) to Reduce Breath Frequencies
EQ is a subtle way to soften breath sounds without removing them entirely. It’s perfect for light breathing that you just want to push into the background.

Steps:
- Open your audio in an EQ-capable editor – Examples include Adobe Audition, Logic Pro, and Reaper.
- Identify the breath frequency range – Play the section with the breath and use a frequency analyzer to pinpoint it. Breaths often sit between 500 Hz and 2 kHz, but this can vary.
- Apply a narrow notch filter – Reduce this range by 2–4 dB for a gentle change.
- Check vocal tone – Over-cutting can make the voice sound thin or lifeless.
- Compare before and after – Switch the EQ on and off to ensure you’ve reduced the breath without hurting vocal clarity.
Pro Tip: Combine EQ with slight volume automation for the most natural results.
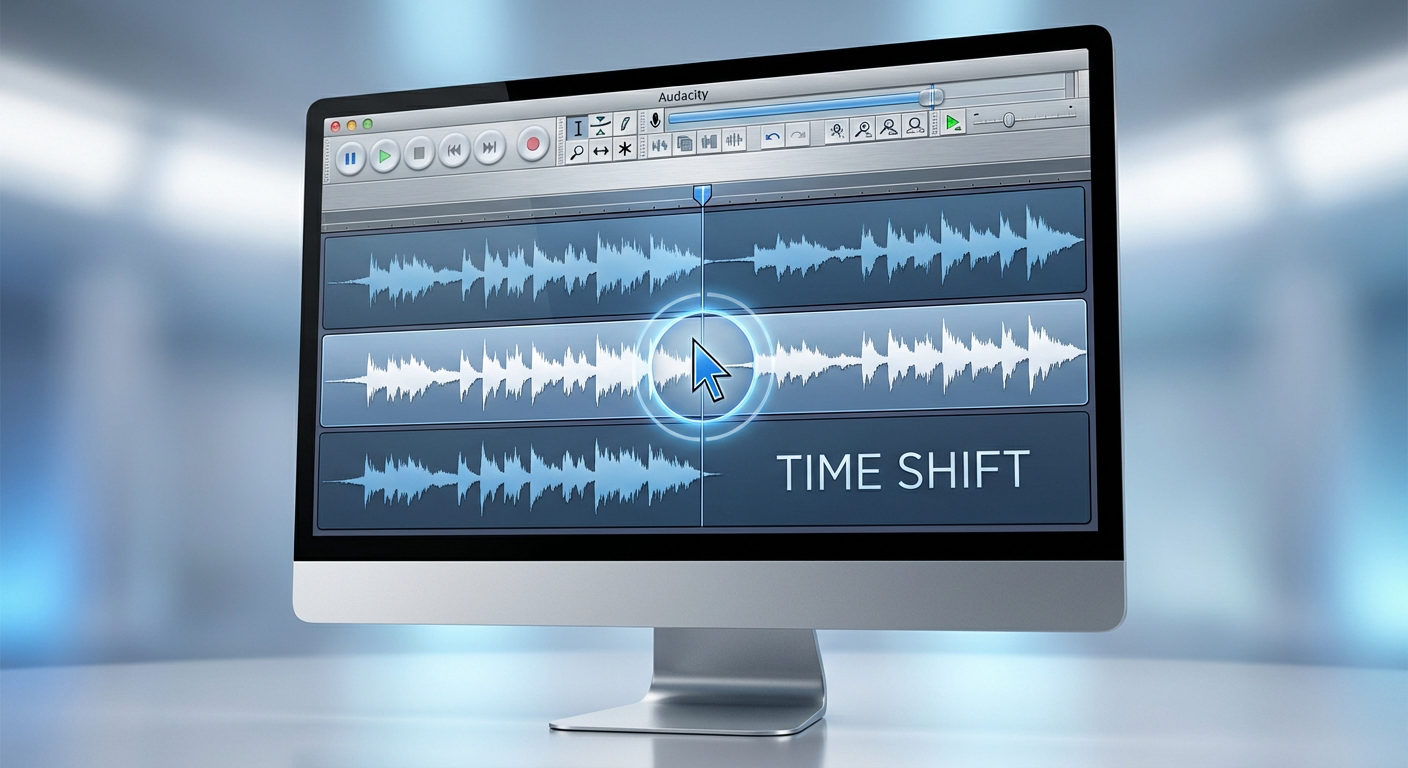
Method 4 – Automate Breath Volume Reduction
Volume automation lowers the loudness of breaths instead of muting them completely, helping keep the recording’s natural flow.

Steps:
- Open your DAW – Use software with detailed automation features like Pro Tools, Logic Pro, or Reaper.
- Enable volume automation mode – This displays a horizontal volume line across your track.
- Find the breaths – Use waveform peaks and playback to locate each one.
- Add automation points – Place two points before and after the breath, then drag the middle down by 5–10 dB.
- Play back and refine – The breath should be audible but unobtrusive, blending seamlessly with the rest of the audio.
Pro Tip: This method is great for interviews or live recordings where breaths are part of the performance but need taming.
Method 5 – Prevent Breathing Noise During Recording
The best fix is prevention. If you capture cleaner audio from the start, you’ll spend far less time editing later.

Tips:
- Adjust mic placement – Keep the microphone slightly off-center and a few inches away from your mouth to reduce direct airflow.
- Use a pop filter or windscreen – These diffuse air bursts before they hit the mic capsule, softening plosives and breaths.
- Control your environment – Record in a quiet, echo-free space to minimize the impact of background noise on your breathing.
- Practice breathing techniques – Take quick, quiet breaths during natural pauses instead of mid-sentence.
- Monitor in real time – Wear headphones while recording so you can adjust instantly if you hear heavy breathing.
Conclusion
Learning how to remove breathing from audio can make your recordings sound cleaner, clearer, and more professional. Whether you use manual editing, breath control plugins, EQ adjustments, or volume automation, each method helps reduce distractions while keeping speech natural.
FAQs
Will removing breathing affect audio quality?
Only if you remove too much. Over-editing can strip away natural pauses and make speech sound robotic. Aim for gentle reductions so the voice remains clear and expressive.
Can I remove breathing without paid software?
Yes. Free editors like Audacity or Ocenaudio can handle manual edits effectively. While it may take more time than using premium plugins, the results can still be professional if you work carefully.
What’s the easiest method for beginners?
Breath control plugins with ready-made presets are the quickest option. They require minimal setup, automatically detect most breathing sounds, and maintain the natural tone of the voice.
How can I avoid capturing breathing in the first place?
Proper mic placement and using a pop filter are key. Combine this with controlled breathing techniques, like pausing before inhaling, to keep breaths quiet and less noticeable in recordings.