.png)
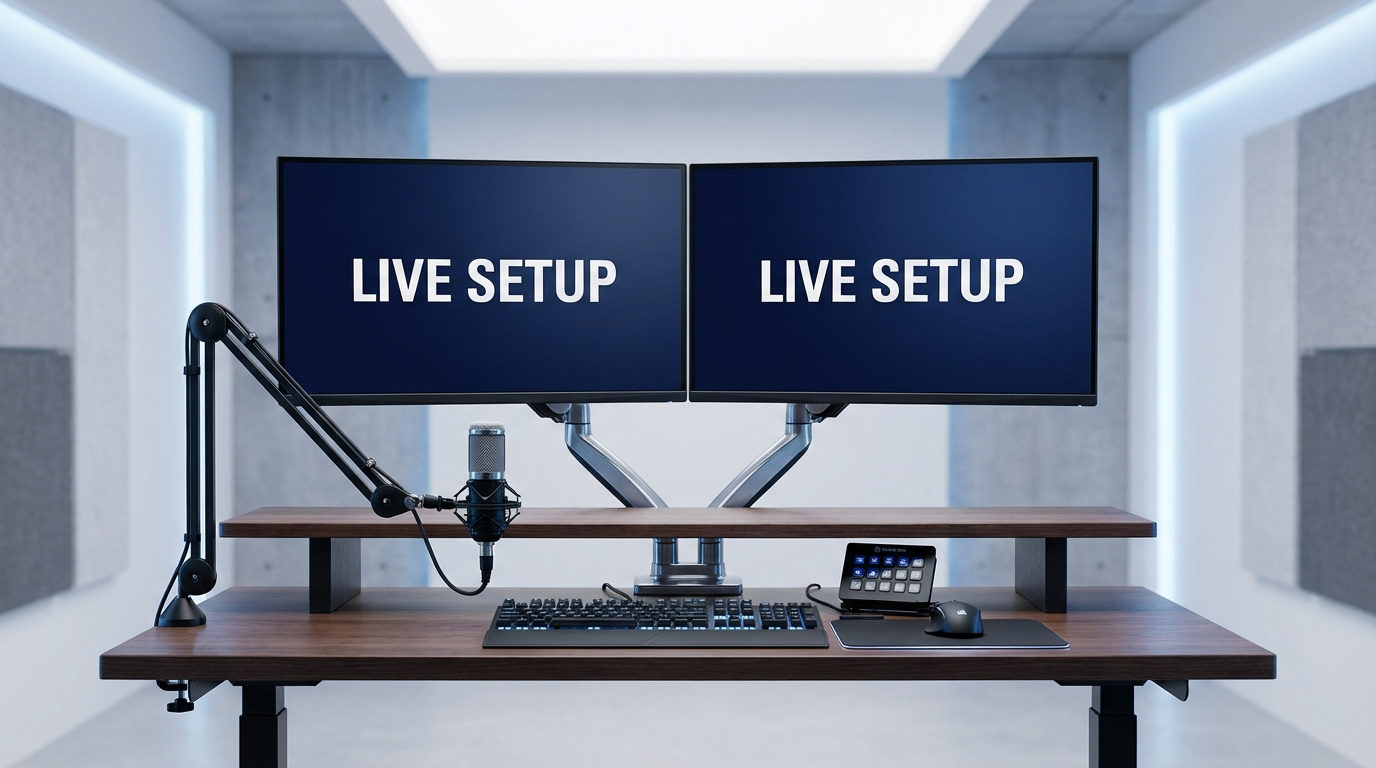
There are several compelling reasons to utilize a dual-PC streaming setup, including separating streaming work from gaming, avoiding CPU bottlenecks, and running heavy recording tools without lag. A second PC provides smoother, more stable streams and allows you to record multiple sources simultaneously. For reliable camera-to-PC feeds during long sessions, devices like the Hollyland VenusLiv Air with its 4K@30fps, 24/7 streaming-ready can simplify the hookup. In this guide, we’ll walk through the easiest, most convenient dual-PC setups.
Understanding Dual-PC Streaming
A dual-PC setup splits your workflow into two machines:
One PC runs the game, and the other handles the stream. This separation removes the pressure on a single system to manage gameplay, encoding, recording, and overlays simultaneously.
Why creators choose dual-PC setups
- Less lag: Your game runs smoother since your GPU/CPU isn’t overloaded.
- Higher stream quality: The streaming PC handles encoding without affecting FPS.
- More stability: Great for long streams or heavy multitasking.
- Flexible upgrades: You can upgrade one PC at a time instead of replacing everything.
When upgrading makes sense
A dual-PC setup is worth it if:
- You play competitive or fast-paced games where FPS drops matter.
- You run resource-intensive tools (VTubing, multiple cameras, heavy overlays).
- You stream for long sessions and want consistent quality.
- Your single PC keeps overheating, lagging, or dropping frames on stream.
If any of these sound familiar, a dual-PC setup can make your workflow smoother.
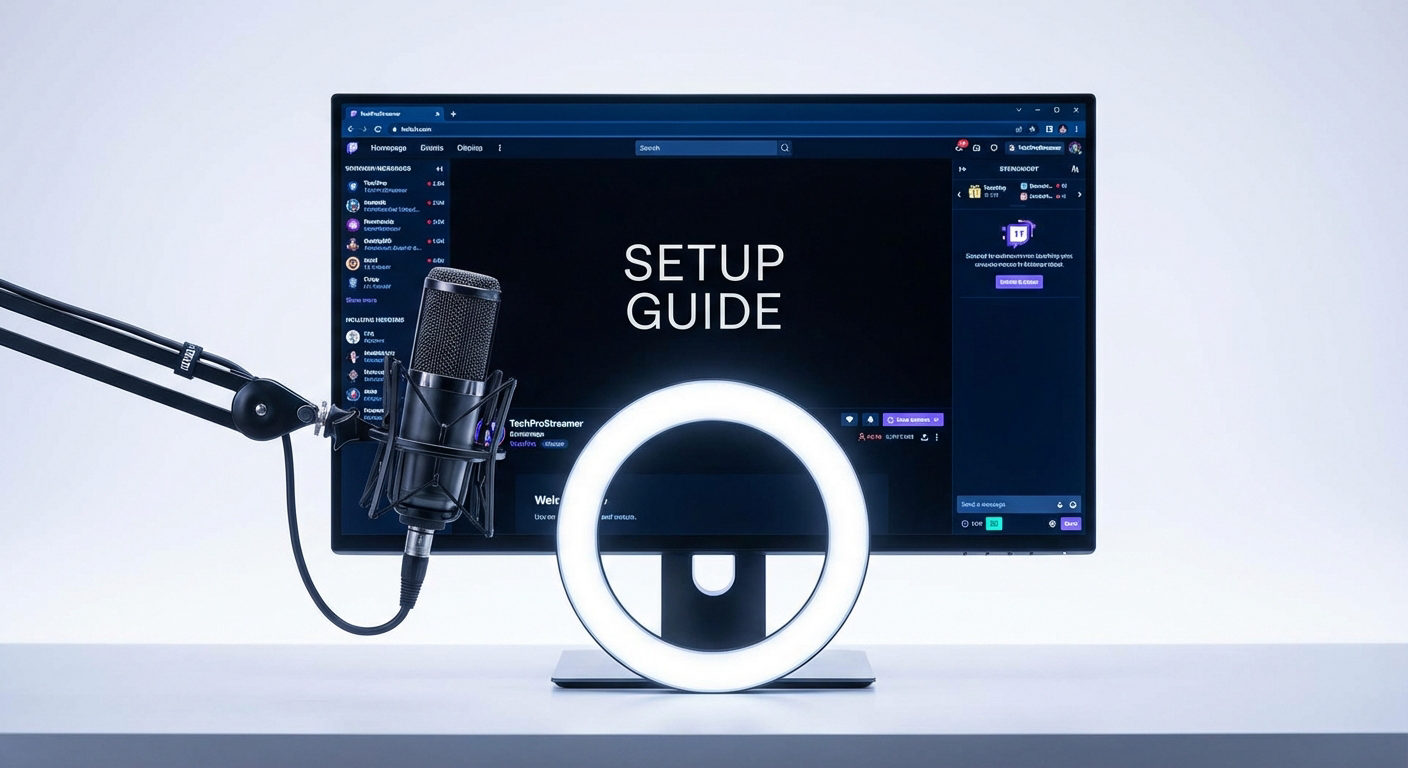
What You’ll Need
To keep this simple, here’s the core equipment required for a dual-PC streaming setup:
- Two Computers
- Gaming PC: Runs your games and anything resource-heavy.
- Streaming PC: Runs OBS (or any streaming software) and handles encoding.


- Capture Card
This is the most common and reliable way to send video from the gaming PC to the streaming PC.
You can use:
- External capture cards (USB-based).


- Internal capture cards (PCIe, lower latency, and more stable).


You’ll connect the gaming PC’s HDMI output to → capture card → streaming PC.
Cables
HDMI cable(s): To send video from the gaming PC to the capture card.

Ethernet cables: To connect both PCs to your router for stable, low-latency streaming.


Optional USB cables: If your mic or webcam needs a direct connection.
- Streaming Software
You’ll mostly need:
- OBS Studio: free, simple, and works on both PCs.

- Streamlabs: optional, heavier but user-friendly.

OBS goes on the streaming PC. The gaming PC can also run OBS if you want to monitor scenes or send sources.
- Microphone / Audio Setup
Your options include:
- A USB or XLR mic connected to the streaming PC.
- An audio mixer is helpful if you want to route audio from both PCs easily.

- Virtual audio cable software if you prefer a software-only solution.

- Optional Network-Based Alternative: NDI
If you don’t want a capture card, you can use NDI, a free plugin for OBS that sends video over your local network.
It’s cable-free and straightforward, but requires a strong network (preferably wired).

- Optional: Software KVM
If you use two monitors, a software KVM lets you control both PCs with one keyboard and mouse. It keeps your desk clean, and switching is seamless.


How to Connect the Two PCs (Step-by-Step)
Now that you have everything ready, it’s time to connect your gaming PC and streaming PC so they work together as a single, seamless setup. Follow these steps one at a time, and you’ll avoid 90% of the confusion people usually face with dual-PC streaming.
Step 1: Connect the Gaming PC to the Streaming PC
- Connect the HDMI from your GPU → HDMI input of the capture card


- Use the capture card’s HDMI pass-through to send the signal back to your gaming monitor
(so you play with zero latency)
Important: Your gaming PC will detect the capture card as a second display.
To make sure OBS sees the same thing you see:
- Go to Settings → System → Display, Set your monitor + capture card to “Duplicate desktop on 1 and 2.”
This ensures whatever appears on your gaming monitor also appears in OBS on the streaming PC.

Suppose the capture card detects a different resolution or displays a black screen. In that case, it’s almost always because the PC is treating it as a separate extended display rather than a duplicated one.
If you’re using a USB capture card, plug it into a USB 3.0 port on its own controller. Sharing ports with other high-bandwidth devices (such as a 4K webcam) can cause freezing or disconnections.
Step 2: Add the Capture Card in OBS (Streaming PC)
Open OBS on the streaming PC:
- Go to Sources → Video Capture Device


- Select your capture card

- Set the resolution and FPS to match your gaming PC’s output
If you see a black screen, try switching USB ports (for USB cards) or check your GPU’s output settings.
Step 3: Set Up Your Audio (Two Simple Options)
Option A: Software Audio Routing (Free – Voicemeeter Banana)
Use Voicemeeter Banana to send your gaming PC’s audio and mic to the streaming PC without extra hardware.
- Install Voicemeeter Banana (Both PCs)
Download from VB-Audio → install → restart → open Voicemeeter Banana.


- Configure the Gaming PC
- Set your headphones/speakers: In Voicemeeter → A1 = your headphones/speakers (WDM preferred)


- Add your microphone
- Hardware Input 1 → Select your mic

- Enable B2 (this sends your mic to the streaming PC)

- Route game/desktop audio: In Voicemeeter VAIO (Virtual Input)
- Turn on A1 (so you hear it)
- Turn on B2 (so it goes to the streaming PC)

- Make Voicemeeter the default device
- Windows Sound Settings →
- Playback: Voicemeeter Input = Default
- Recording: Voicemeeter Output (B2) = Default


- Send Audio to the Streaming PC
Choose one:
Option 1: Capture Card Audio
- Select Voicemeeter Output (B2) as your audio source for the capture card.
Option 2: Network Audio (VBAN)
- Enable VBAN → send from gaming PC → receive on streaming PC.
- Configure the Streaming PC
In OBS → Settings → Audio:


- Set Mic/Aux to Voicemeeter Output (or VBAN Input).
You’ll now receive game audio + mic from the gaming PC.
Optional: Mic Cleanup
Utilize Voicemeeter’s built-in EQ, Gate, Compressor, and Limiter to reduce noise and enhance clarity before the audio reaches OBS.
Option B: Hardware Routing (More Reliable)
If you prefer a stable, plug-and-play audio setup, you can route sound between both PCs using an audio mixer (like the GoXLR Mini) or simple 3.5mm line-in/line-out cables.
- Connect the Mixer to Your Gaming PC
- Plug the USB cable from the GoXLR Mini into your gaming PC.

- Open the GoXLR app to manage your audio sources (game, Discord, music, mic, etc.).
- Route Audio Between Both PCs
Use two 3.5mm AUX cables: - Cable 1:
- GoXLR Line-Out → Streaming PC Line-In
(Sends game, Discord, and music audio to the streaming PC)

- Cable 2:
- Streaming PC Line-Out → GoXLR Line-In
(Sends alerts and mic monitoring back to the gaming PC/mixer)

This lets both PCs “talk” to each other without latency issues.
- Set Up Audio in OBS (Streaming PC)
- In OBS → Audio Input → Select Line-In.
This becomes your main audio source, carrying all sound coming through the mixer.

- Microphone Setup:
Plug your mic directly into the mixer (e.g., GoXLR Mini).
The mixer handles gain, EQ, gate, compressor, and sends clean audio to the streaming PC automatically.

- Headphones: Plug your headset into the Headphone Out on the mixer to hear everything in one place (game + alerts + chat).

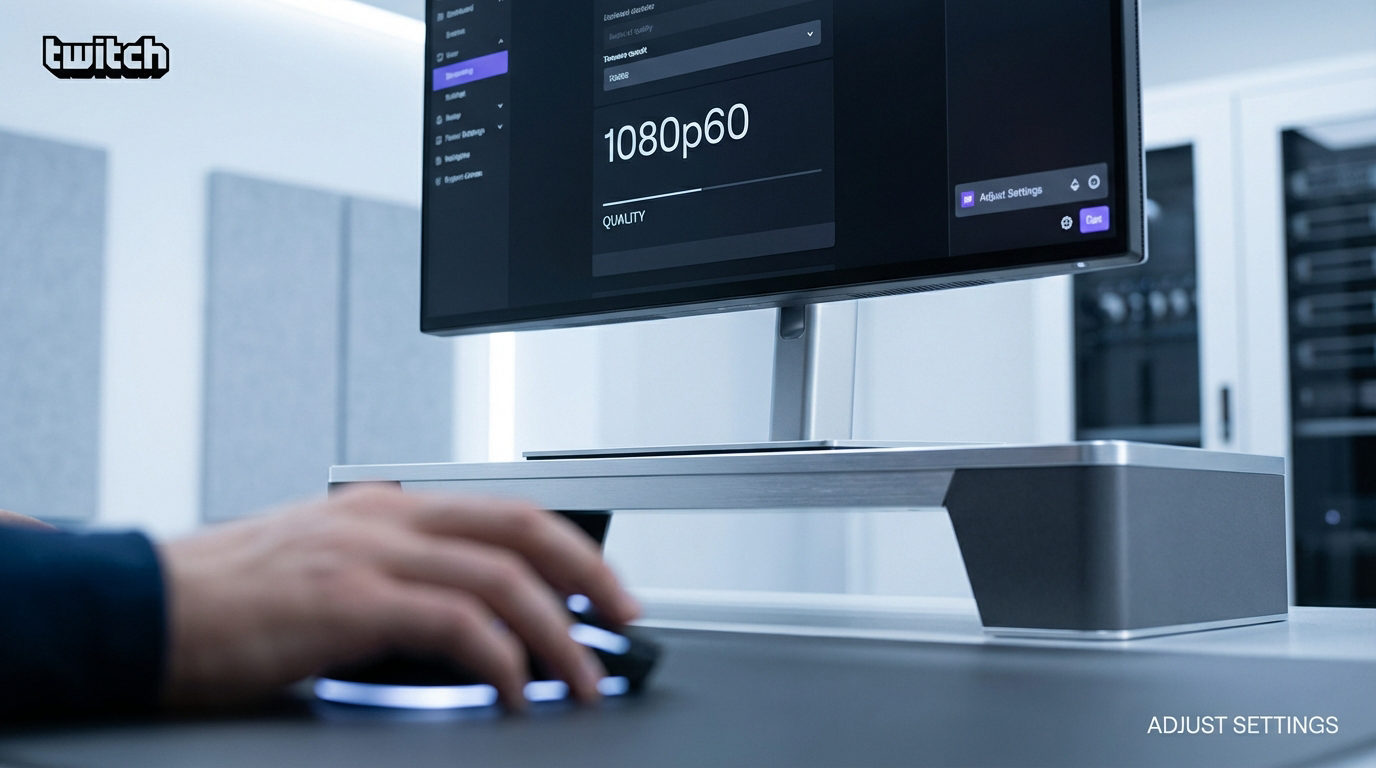
Step 4: Configure Video + Bitrate
Inside OBS:
- Set resolution to match your stream (1080p is standard).

- Set FPS to 60 if your capture card supports it.

- Use a bitrate between 6000 and 9000 kbps for smoother output (platform-dependent).

- Choose a hardware encoder if your streaming PC has a capable GPU (usually NVENC).
This prevents lag, dropped frames, and blurry motion.
Note: Capture cards support higher resolutions (1440p, 4K), but only use them if your gaming PC is actually outputting those resolutions.
Step 5: Run a Quick Test Stream
Before going live, do a private test.
Check:
- Audio sync — mic + gameplay should match
- Latency — the preview shouldn’t lag far behind
- Quality — no tearing, no black screens
- Audio levels — your game shouldn’t drown out your voice
Once everything looks good, your dual-PC setup is ready.
Conclusion
A dual-PC setup gives you smoother gameplay, cleaner streams, and more control over your workflow. With the right gear and a simple capture-card or mixer setup, you can stream longer, at higher quality, and without pushing a single PC to its limit.
FAQs
Do I really need a second PC to stream?
Not always. A dual-PC setup is mainly for creators who play heavy games, stream in high quality, or want smoother performance.
Can I stream without a capture card?
Yes. You can use NDI or other network-based methods, but a capture card usually gives better stability and quality.
How do I avoid audio echo in a dual-PC setup?
Ensure each PC has a dedicated audio input in OBS and avoid duplicating the same audio source across both systems.