.png)
Imagine a movie where the dialogue lags behind the actor’s moving lips. It is highly disorienting, right? That’s because of an inaccurate audio-video sync. The precise alignment of sound and visuals is what we actually refer to as audio and video synchronization. When audio and video are in sync, they create a seamless experience that immerses viewers in the story.
However, misalignment has the capacity to degrade even the most attractive video. As we know, out-of-sync audio creates a jarring disconnect. This pulls viewers out of the moment and diminishes the overall impact of your production.
Let’s discuss the many features that Premiere Pro provides to guarantee that your audio and video blend seamlessly together. Acquiring proficiency in audio-video synchronization is crucial for producing polished videos that effectively engage viewers.
Understanding the Basics of Audio-Video Sync in Premiere
Moving forward, let’s try to understand the basics of Audio-Video Sync in Premiere.
Definition of Audio-Video Sync
You want to hear the characters’ voices in sync with their on-screen personas for a fully immersive entertainment experience. Audio-video sync is essential because of this. It just means making sure that every audio and visual component of your video is precisely timed to each other. When the sound effects perfectly complement the on-screen action, and the speaker’s mouth moves in time with their words. That’s how a polished and flawless finish is accomplished.
Importance of Syncing Audio and Video
Why is syncing so important? Here’s why:
- Professional Look and Feel: When you witness an out-of-sync audio, you know it is an amateurish production. By syncing your audio and video, you instantly make your finished project more professional.
- Maintain Viewer Immersion: A perfectly aligned audio and video hold the capability to pull us as viewers into the story. You can fully invest yourself in the content without distractions.
- Avoid Distractions and Ensure a Clear Message: We agree that a jarring audio-video disconnect pulls viewers out of the experience. It can be confusing and distracting. This particularly makes it difficult for them to grasp the message you’re trying to convey.
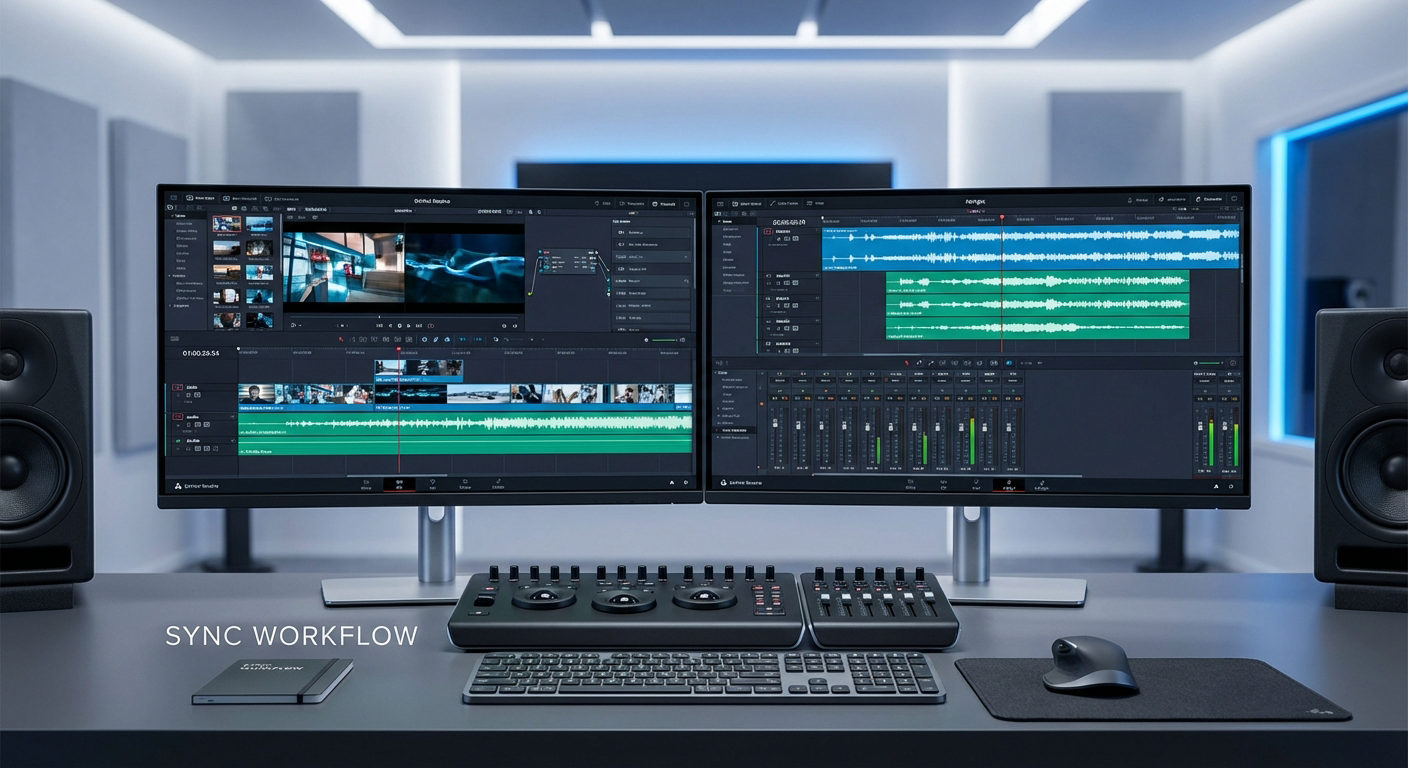
Overview of Tools in Premiere for Syncing
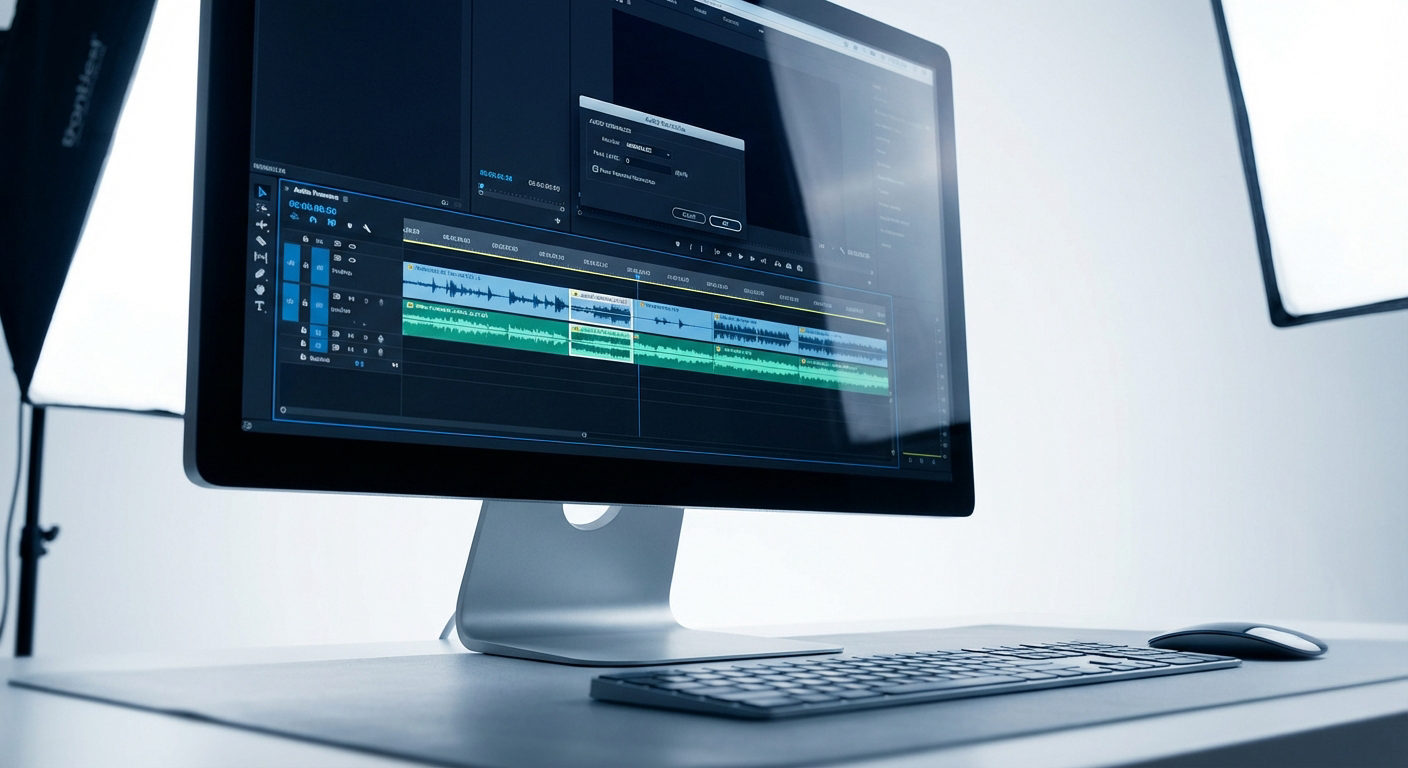
Fortunately, Premiere Pro offers the perfect toolbox to achieve perfect audio-video sync. With its ability to analyze your clips and automatically adjust timing for perfect alignment, the “Synchronize” function is a potent time-saver.
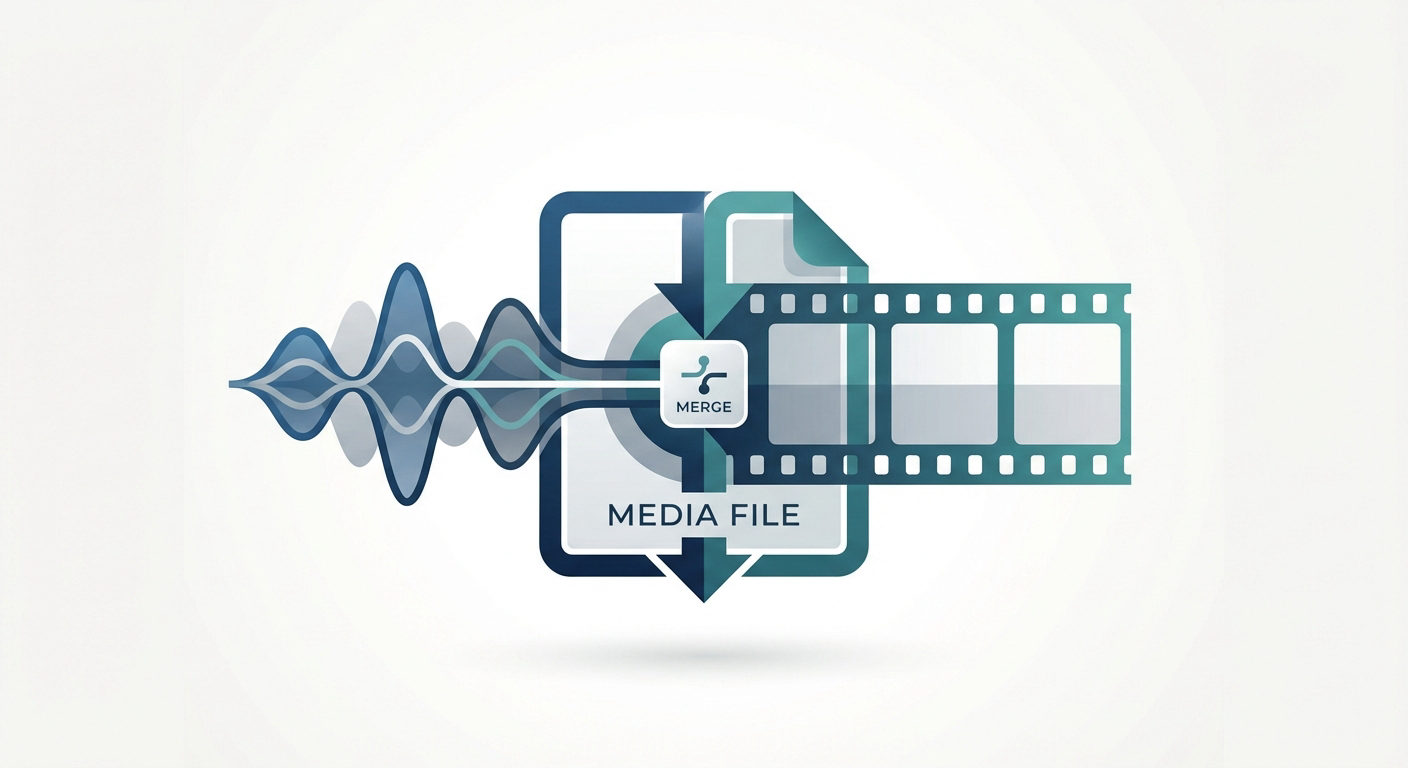
The “Merge Clips” option makes working with separate video and audio recordings easier. It does that by combining them into a single synced clip. Finally, Premiere has manual adjustment tools for the highest level of precision. Markers can be placed at specific audio and video alignment points. After that, timeline manipulation can be used to adjust the clips for frame-by-frame accuracy.
Preparing Your Files Before Syncing

You’ll need to accept that the smooth syncing process starts with well-organized media. Here’s how to prep your files in Premiere Pro:
Organizing Your Media in the Project Panel
- You should utilize bins to categorize your video and audio files. This will keep your project panel tidy and also will help you locate specific clips quickly. It can be rightly advised to you to create separate bins for audio and video. You can also curate subfolders for different camera angles or audio sources.
- Don’t underestimate the power of clear clip names. You should include details like camera angle, scene number, and audio type (e.g., “Camera 1 – Interview Scene” or “Mic 2 – Background Ambience”). This will make it incredibly easy for you to identify the right clips when syncing.
Checking Audio and Video Quality
Before you dive into syncing, you’ll have to make sure your source files are free of defects that might hamper with the process. Listen for any audio glitches, pops, or dropouts that could throw off alignment. For video, check for dropped frames or inconsistencies that might cause syncing issues.
Identifying Sync Points in Both Audio and Video Files
The key to flawless syncing lies in identifying clear reference points within your audio and video. Look for moments that are easily recognizable in both:
- Claps or Sharp Sounds: A common technique is using claps at the beginning of a recording. The sharp audio spike in the waveform makes it a perfect visual cue for aligning the audio with the corresponding hand clap in the video.
- Matching Mouth Movements: When syncing dialogue, look for distinct mouth movements that correspond to specific words or sounds. This visual reference point helps you precisely align the audio with the speaker’s on-screen actions.
Manual Syncing Methods

Though you can automate almost all of it when automatic methods fall short, Premiere Pro offers powerful manual tools.

Using the Timeline to Align Clips
Premiere Pro offers a hands-on approach to syncing through the timeline. You’ll need to start by dragging and dropping your clips onto the timeline, using visual cues for rough alignment. When syncing dialogue, for example, position the video based on the speaker’s mouth movements. Once you have a ballpark placement, zoom in on the timeline to see the audio waveforms in detail.
For even greater control, utilize markers as your synchronization guide:
Setting Sync Points: You can drop markers at specific points in both the audio and video that should be perfectly aligned. This could be a clap at the beginning of the recording, a specific word spoken, or a visual action.
Marker: Once markers are set, you should meticulously align them with the timeline. This will ensure that the corresponding moments in your audio and video are perfectly matched.
Adjusting Audio Levels for Better Sync Visibility

Sometimes, a little visual trickery goes a long way. To improve the visibility of audio waveforms for syncing purposes, you can temporarily boost the audio gain. This makes the waveforms more prominent on the timeline, allowing for easier alignment. However, remember to adjust the gain cautiously to avoid clipping, which can distort the audio during playback.
Automatic Syncing Using Premiere’s Built-In Features
When you want to expedite the process, Premiere Pro offers automatic syncing tools that lets you leverage the power of its analysis capabilities.
Synchronize Function

You get the ability to synchronize your audio and video in Premiere Pro; start by selecting both clips on the timeline. Then, right-click on the selection and choose “Synchronize” from the menu. Premiere will offer several ways to automatically align the clips:
- Audio (Waveform Matching): This is the most common option. We can understand it to be ideal for clear, isolated audio recordings. Premiere analyzes the audio waveforms of both clips. It searches for matching patterns to bring them into sync.
- Markers: You might have pre-placed markers at specific synchronizing points in both the audio and video (like claps or distinct mouth movements). You can choose this option for a more precise alignment based on those markers.
- Timecode: For situations where your camera and audio recorder share a common timecode, Premiere can leverage that information to automatically synchronize the clips.
Using Adobe’s Audio Analysis for Sync
Waveform matching is used by Premiere Pro’s “Synchronize” function to automatically sync. It examines the highs and lows (peaks and valleys) of the audio waveforms in the two clips. It also looks for patterns that are probably indicative of corresponding words or sounds.
Premiere can now automatically align the clips thanks to this. It’s crucial to keep in mind that waveform matching has its limitations. While background noise or overlapping sounds can be confusing to Premiere and make it difficult to find exact matches, they are great for clean, isolated audio. You can use Hollyland’s Lark Max for a better audio experience and to avoid background noise.

Hollyland LARK MAX - Professional Wireless Microphone
A professional wireless microphone system featuring studio-quality audio with advanced noise cancellation.
Key Features: Studio-Quality Audio | Magnetic Attachment | 8GB Internal Recording

Advanced Syncing Techniques
Beyond the basics, Premiere offers powerful tools for complex scenarios
Multi-Camera Syncing
Manage footage from multiple cameras capturing the same event. Create a Multi-Camera Source Sequence and fine-tune sync using In/Out points or pre-recorded timecode.
Syncing with External Audio
Breathe new life into your project by replacing scratch audio with high-quality external recordings. Utilize syncing techniques like waveform matching or claps to achieve a seamless audio swap.
Mastering these techniques empowers you to tackle even the most demanding syncing challenges in Premiere Pro.
Troubleshooting Common Sync Issues
Even with careful preparation, sync issues can arise. Here’s how to handle them:
Drifted Audio
This can be caused by variable frame rate footage, editing mistakes, or even file corruption. Fixes include manual adjustments, frame rate conversion tools (for variable footage), or reimporting corrupt files.
Variable Frame Rates
To avoid headaches, convert your footage to a constant frame rate before syncing.
Re-Syncing After Edits
Edits can disrupt the initial sync. Simply adjust sync points as needed to maintain alignment.
Best Practices for Maintaining Sync Throughout Your Project
Organize with Bins and Labels
A well-organized project with labeled clips makes identifying and syncing elements a breeze.
Regularly Check Sync During Editing
Don’t wait until the end! Regularly check audio and video alignment throughout the editing process to catch and fix minor issues early on.
Export Settings to Preserve Sync
Ensure your export settings maintain the correct frame rate and audio sample rate to avoid sync problems in the final output.
Capturing high-quality audio is crucial in avoiding synchronization headaches during editing. Using a reliable wireless lavalier microphone ensures crystal-clear audio that simplifies syncing with video footage in Premiere.
FAQs
What’s the quickest way to sync audio and video in Premiere?
Premiere’s “Synchronize” function analyzes audio waveforms and attempts automatic alignment – ideal for clean recordings.
How do I fix audio drift in Adobe Premiere Pro?
Manual adjustments are key. Identify the drift and drag the audio clip on the timeline to bring it back in sync.
Can I sync audio and video from different sources in Premiere?
Absolutely! Premiere offers tools to sync audio and video from separate recordings. Use the “Merge Clips” option or manual syncing techniques.
Why won’t my audio and video sync automatically in Premiere?
Noisy audio or variable frame rates can confuse Premiere’s automatic tools. Try manually syncing with waveform matching or markers for more control.