.png)
Whether you are evaluating the performance of your new external microphone or ensuring that your phone’s internal mic functions properly, there are several methods available to test the microphone on your mobile device.
This comprehensive guide aims to walk you through various approaches to effectively test the mic on your phone.
1. Use the Built-In Voice Recorder
Testing your mic using the built-in voice recorder on your phone is the simplest and quickest method. It doesn’t require you to install any apps and provides an unfiltered sound output directly from your mic.
- Find the voice recording app on your phone. It’s usually named Voice Recorder, Voice Memoes, or similar.
- Open the app and start a new recording.
- Speak into the microphone at a normal volume.
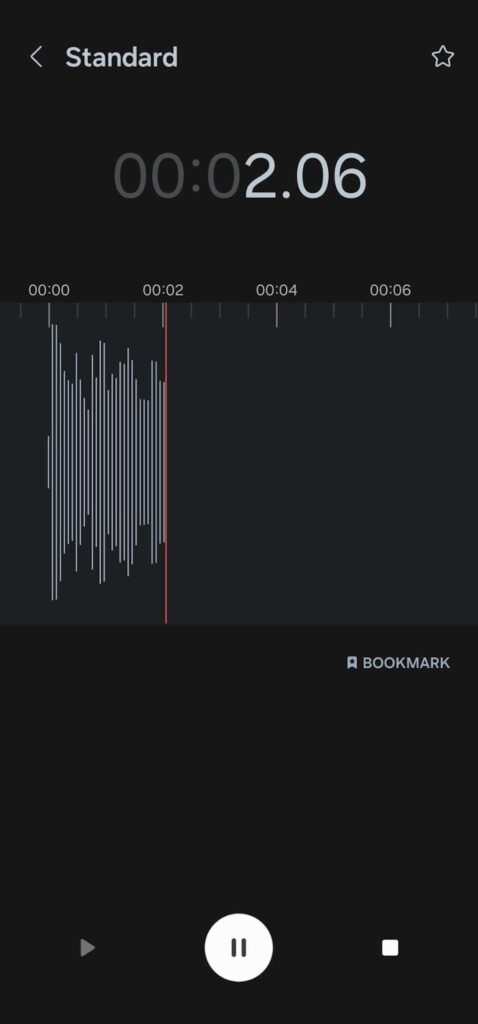
- Save the recording.
Listen to the recording afterward and see if you can hear your voice. If you don’t notice any distortions or muffled sounds, then your microphone works.
2. Make A Phone Call
Another straightforward method to test your mic is through a phone call. While this method requires having another person on the line to assess the quality of your mic, it offers a real-time evaluation of your mic’s performance in a communication scenario.
- Call a friend or family member. It’s best if the other person is near you so you can hear the quality of your mic as well.
- During the call, speak normally and see if the other person on the line can hear you clearly.
If the call goes smoothly, then your microphone is likely in good condition.
3. Use Third-Party Apps
There are many third-party apps available for both Android and iOS that can help you assess your microphone’s quality. These apps can also give detailed reports about your mic’s performance, including volume output, sound quality, latency, and more.
- Download a reliable microphone testing app from the Google Play Store (Android) or App Store (iOS). Check user reviews and ratings before downloading.
- Follow the on-screen instructions in the app to test your microphone.
Analyze the test result to see if your microphone’s performance is optimal.
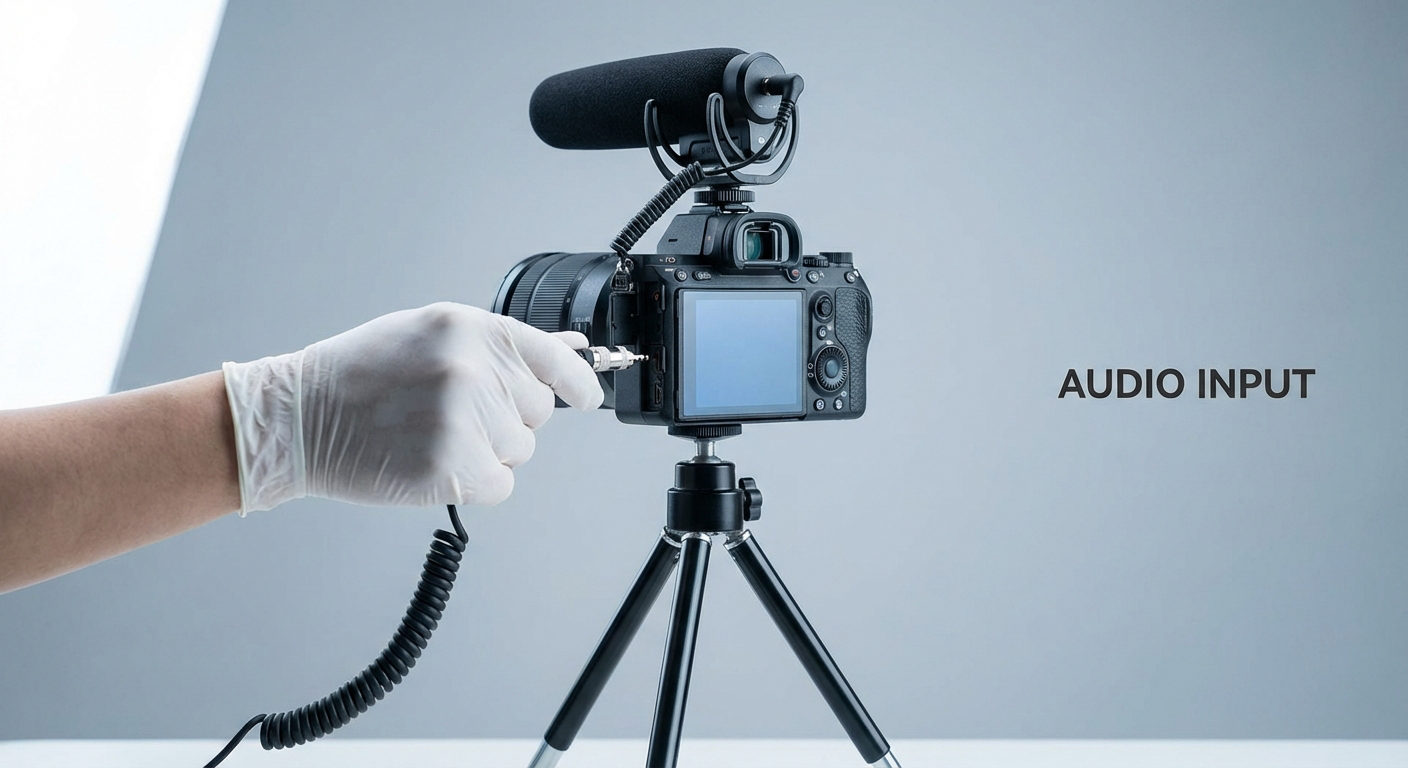
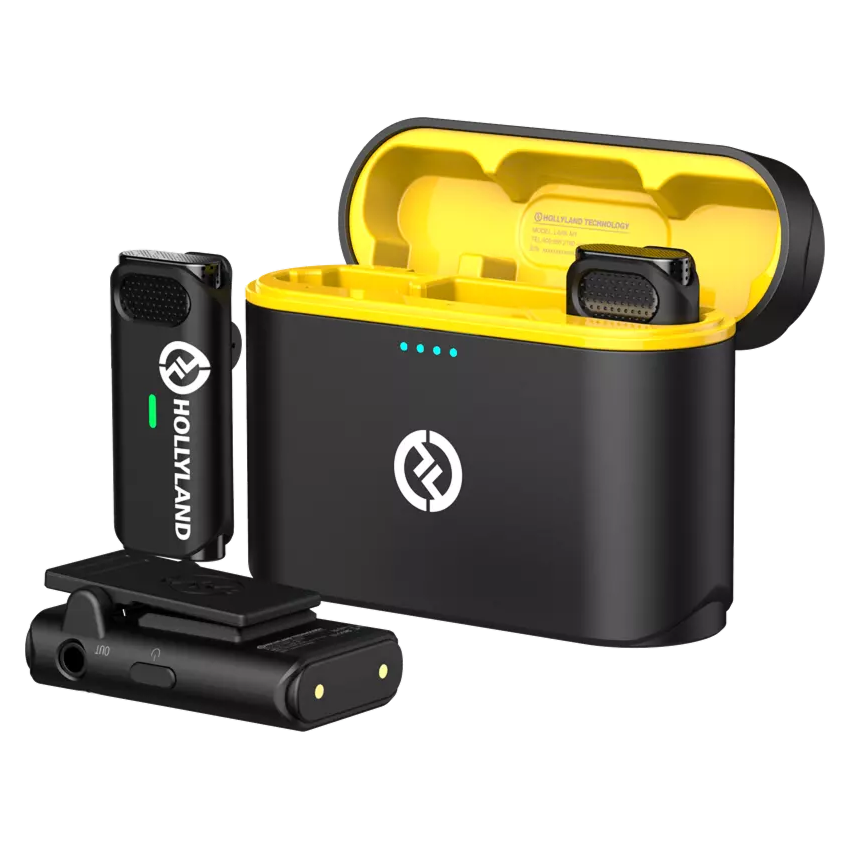
If you’re using an external mic, like Hollyland’s Lark series of wireless microphones, you can adjust sound level and noise reduction strength through the dedicated app to improve sound quality.
4. Check for Physical Damage
Hardware issues can also affect your microphone’s functionality. Accumulation of dirt, water damage, and other physical damage can contribute to issues with your microphone’s performance.
Here’s how you can check your microphone:
- Find your phone’s microphone hole. It’s usually on the sides or at the bottom near the charging port.
- Look for any visible signs of damage or blockage. Check for dents, chips, or foreign material inside the microphone hole.
- If you notice debris or dirt buildup, gently clean the hole with a small, soft brush or compressed air.
5. Test With Voice Assistant
You can also use your phone’s voice assistant (Siri, Bixby, Copilot, or Google Assistant) to test your microphone.
- Activate the voice assistant by holding down the side key or trigger button you assigned for it. You can also call it by saying the wake word like “Hey Siri” or “Hey Google”.
- Ask a question or give a command.
If the assistant responds accurately, it means that your microphone works properly.
Important Note
Voice assistants may interpret commands differently based on many factors like pronunciation, accent, and background noise. The accuracy of responses can also depend on the capabilities of the assistant you’re using. A wrong or inaccurate response doesn’t always mean a faulty microphone.
6. Check Microphone Settings
Improper settings can also impact your microphone’s performance, causing poor audio recording quality. It’s crucial to ensure that your microphone’s parameters are correctly set within the app you’re using or the dedicated app that comes with the mic.
For instance, Hollyland’s Lark M1 comes with a built-in app that allows you to tweak mic volume and noise cancellation effects.

By ensuring your input level, gain, and similar settings are correctly set, you can optimize your microphone’s performance and enhance the quality of recorded audio.
FAQs
Why is my phone microphone not working?
Your phone’s microphone may not be working due to software issues, hardware damage, blocked microphone holes, or improper configurations.
How can I improve my phone microphone’s quality?
Adjusting the microphone’s settings can help improve sound quality. Additionally, using external microphones such as Hollyland Lark M1 or DJI Mic can provide better audio recording quality, particularly in noisy environments.
Can phone cases affect microphone performance?
Yes, some phone cases may cover the microphone hole of your device causing your mic to sound muffled and distorted. Make sure you’re using a case designed for your specific model with precise cutouts for the microphone to avoid this issue.
What should I do if my phone’s microphone is still not working after testing?
If your microphone still doesn’t work after testing, see if there are software updates available for your device or perform a factory reset. If the issue persists, it might be a hardware problem, and you may need to contact your manufacturer for further assistance.
Are there any specific apps recommended for testing phone microphones?
There are many applications available to test your phone’s mic, such as MicTest and Playback Mic. These apps can help diagnose microphone issues by recording audio and analyzing its quality.
How can I clean my phone’s microphone?
To clean your phone’s microphone:
- Grab a small, soft brush to dust off dirt and debris.
- Use compressed air or blow directly on the microphone hole to blow off dust and debris that can’t be reached by the brush.
Is it possible to replace a phone’s microphone if it’s damaged?
Yes, it’s possible to replace a damaged phone microphone. However, this requires professional repair services since most built-in microphones are soldered onto the phone’s motherboard. Having your device serviced by a certified repair center is the best course of action in such cases.