.png)
In audio editing, background voices are the softer, secondary voices captured alongside the main sound — often overlapping speech, side remarks, or distant conversations.

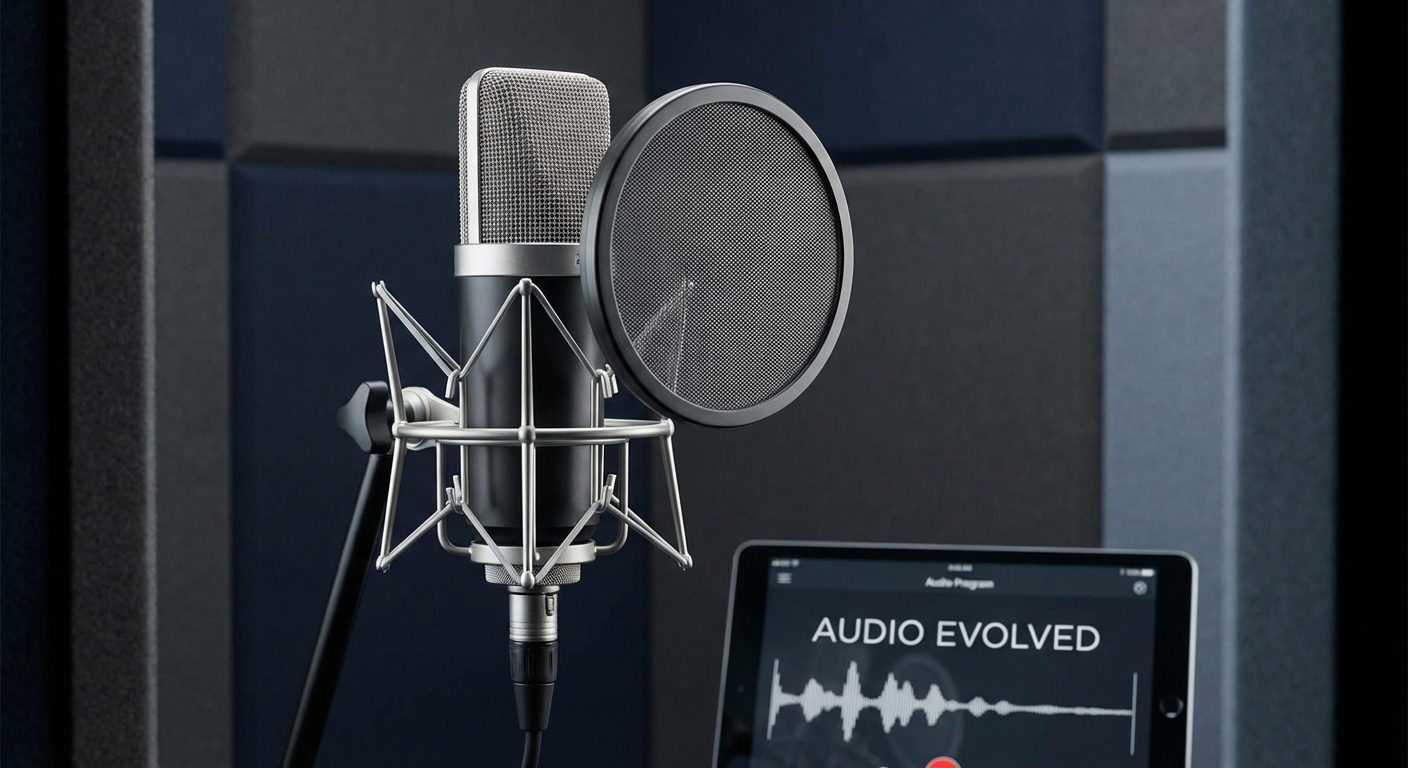
Using high-quality recording gear, such as the Hollyland LARK M2S. LARK M2S ensures capturing high-quality audio. Its logo-free design and titanium clip-on make this wireless microphone eligible for all recording environments. However, even if your recording isn’t perfect, there are proven techniques that can help you bring those hidden voices to the forefront.

Hollyland LARK M2S - Wireless Hidden Microphone
An ultra-discreet wireless microphone featuring a clip-on transmitter for an “invisible” fit.
Key Features: No-Logo Fit | Ti+ Design | 48 kHz/24-bit
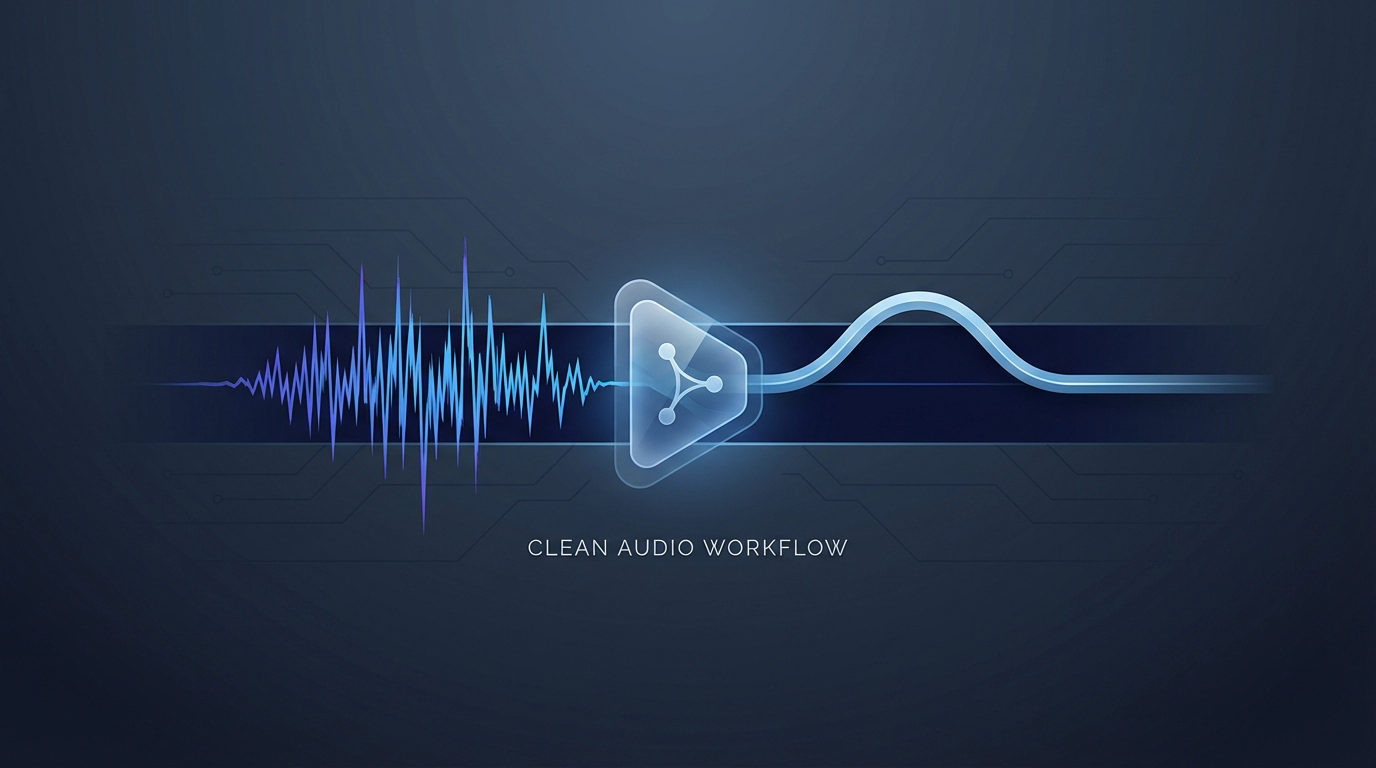
In this guide, “How to Hear the Background Voices in Audio”, we’ll walk through practical, step-by-step methods to enhance these voices so you can hear them in the background.
Step 1 – Choose the Right Audio Editing Software
To enhance background voices effectively, you need audio editing software with precise control over frequency adjustments, noise reduction, and dynamic range. The right tool will allow you to isolate, boost, and clean up voices without harming the rest of the recording.
While free programs are often enough for basic edits, paid tools usually offer advanced options like spectral editing and higher-quality processing. Your choice should match your budget, skill level, and editing requirements.

Options to consider:
- Free:
- Audacity – Open-source, feature-rich, and capable for most basic to intermediate tasks.
- GarageBand – Simple, beginner-friendly editing for macOS users.
- Paid:
- Adobe Audition – Advanced spectral editing with professional noise removal.
- Reaper – Affordable, highly customizable, and packed with pro features.
Key features to look for:
- Equalizer (EQ) for targeting voice frequencies.
- Noise reduction and suppression tools.
- Spectral editing for visual isolation of sound.
- Compression and dynamic range controls.
Step 2 – Import the Audio File
NOTE: The steps are demonstrated on Adobe Audition.
Starting with the highest-quality audio file ensures the best results during editing. Lower-quality files lose detail that can’t be recovered, making enhancement harder. Uncompressed formats like WAV or AIFF are ideal for keeping every bit of sound data intact.

Steps to import your audio:
- Open your chosen software.
- Use File → Import or drag and drop the audio file into the workspace.
- Select the highest quality format available.
Recommended formats:
- WAV / AIFF – Best for editing, uncompressed.
- FLAC – High quality, smaller file size.
- MP3 – Acceptable, but compressed and less detailed.
Step 3 – Identify the Frequency Range of Voices
Understanding where voices sit in the frequency spectrum is key to targeting and boosting them. Background voices usually fall into the same range as regular speech, but may be quieter or less defined. Identifying these areas allows for precise EQ adjustments later.

Typical voice frequency ranges:
- Fundamental tones: 85 Hz – 255 Hz.
- Clarity and presence: 2 kHz – 6 kHz.
How to find them in your software:
- Use the EQ visualizer or spectrum analyzer to locate peaks.
- Switch to spectral display for a clearer view of voice elements.
Step 4 – Reduce Competing Sounds
Removing unwanted noise before boosting voices prevents you from accidentally amplifying distractions. This step is about cleaning up the background so the voices stand out more clearly. By eliminating non-voice elements first, you create a cleaner foundation for later enhancements. Careful noise control also helps preserve the natural tone of the voices you want to highlight.
Noise reduction techniques:
- Apply noise reduction to remove constant hums or hisses.
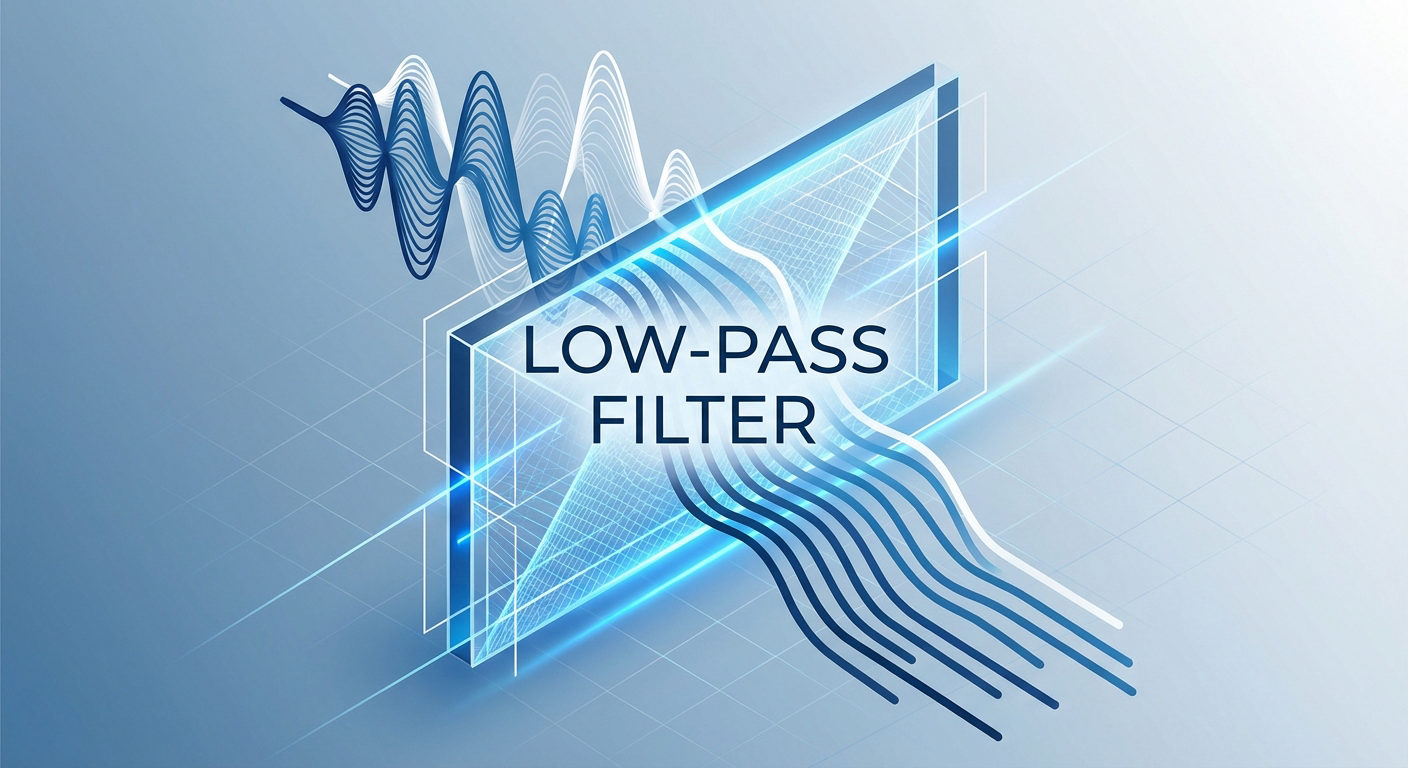
- Use EQ cuts to remove frequencies outside the speech range (below 80 Hz and above 10 kHz).
- If there’s background music, use vocal isolation or music suppression tools.
Tip: Always apply reductions gradually to avoid making the audio sound robotic.
Step 5 – Use Equalization (EQ) to Boost Voices
EQ adjustments can help emphasize the parts of the frequency range where voices are most prominent while reducing unwanted noise. This step is crucial for improving clarity without overprocessing.

Suggested EQ adjustments:
- Boost 2–4 kHz to enhance clarity and intelligibility.
- Cut below 80 Hz to remove rumbles.
- Cut above 10 kHz to reduce hiss.
EQ tools to use:
- Graphic EQ for quick, broad adjustments.
- Parametric EQ for precise, narrow boosts.
Step 6 – Apply Compression for Balance
Compression helps even out volume differences, making softer background voices more audible without making louder parts overpowering. This creates a more consistent listening experience and ensures that every word, whether quiet or loud, remains clear to the listener.

Recommended compression settings for speech:
- Ratio: 3:1 to 4:1.
- Attack: ~10 ms.
- Release: 50–100 ms.
- Threshold: Set so quieter voices are raised without distorting louder ones.
Why compression works:
It reduces the gap between the quietest and loudest sounds, keeping voices balanced throughout the audio.
Step 7 – Fine-Tune with Advanced Tools
If background voices are still faint, advanced editing tools can provide more control and precision. This step is optional but can significantly improve results in challenging recordings. Using these techniques allows for targeted adjustments that standard editing methods might not achieve.
Advanced options:
- Spectral editing – Highlight and amplify only the voice components.
- De-reverb – Reduce echo to make speech clearer.
- Stereo width adjustment – Narrow the stereo image to center background voices.
Step 8 – Save and Export the Enhanced Audio
After all adjustments, saving and exporting your audio properly ensures you maintain quality and compatibility for playback. This final step preserves your hard work and ensures the enhanced voices sound consistent across all listening devices.

Final steps:
- Save a project copy in the software’s native format for future edits.
- Export in WAV for maximum quality or MP3 (320 kbps) for smaller file size.
- Test the file on different devices to confirm clarity.
Common Mistakes to Avoid
Even with the right tools and workflow, it’s easy to make small errors that can undo your hard work or make the final audio sound unnatural.
- Overusing Noise Reduction: Too much noise reduction can make voices sound metallic, hollow, or robotic. Apply it in small amounts and review the results after each pass.
- Boosting the Wrong Frequencies: Boosting the wrong part of the spectrum can make other sounds overpower the voices. Focus on the 2–4 kHz range for clarity.
- Over-Compressing the Audio: Heavy compression can remove natural dynamics, making voices sound flat. Keep ratios moderate and avoid excessive gain reduction.
- Ignoring Volume Automation: Compression isn’t a replacement for manual volume adjustments. Use automation to highlight key phrases without affecting the rest of the track.
- Not Keeping a Backup of the Original File: Always save a copy of the unedited file before starting to ensure you can revert if needed.
Conclusion
Enhancing background voices takes patience and careful adjustments. By following the steps in “How to Hear the Background Voices in Audio”, you can uncover softer details while keeping the main sound natural.
FAQs
Can I hear background voices without professional software?
Yes. Free tools like Audacity and GarageBand provide enough functionality for basic voice enhancement. While they may not offer the precision of paid software, they are often sufficient for casual or beginner-level editing.
Will enhancing background voices make the main audio sound worse?
It can be overdone. Adjustments should be small and gradual to maintain balance. Always preview changes frequently to ensure the audio remains natural and pleasant to listen to.
What’s the easiest method for beginners to isolate voices?
Boosting midrange frequencies (around 2–4 kHz) while applying gentle noise reduction is a quick starting point. This simple combination improves clarity without requiring advanced technical knowledge.
How long does it usually take to enhance background voices?
The time varies depending on audio length, quality, and complexity. A short, clean recording might take 10–15 minutes, while a noisy, long file could require an hour or more for precise adjustments.