.png)
Good audio is the backbone of any professional recording. Whether you’re making a podcast, music, videos, or a presentation, the way it sounds has a big impact on how people see your work.
The key is to keep your dialogue clear and use music or sound effects in the right way. In this guide, we’ll share simple, practical tips to boost your audio quality—both while recording and during pre- and post-production.
1. Setting Up the Perfect Recording Environment
Your first priority is getting rid of anything that could make your audio sound worse.
a. Choose a Quiet Space:
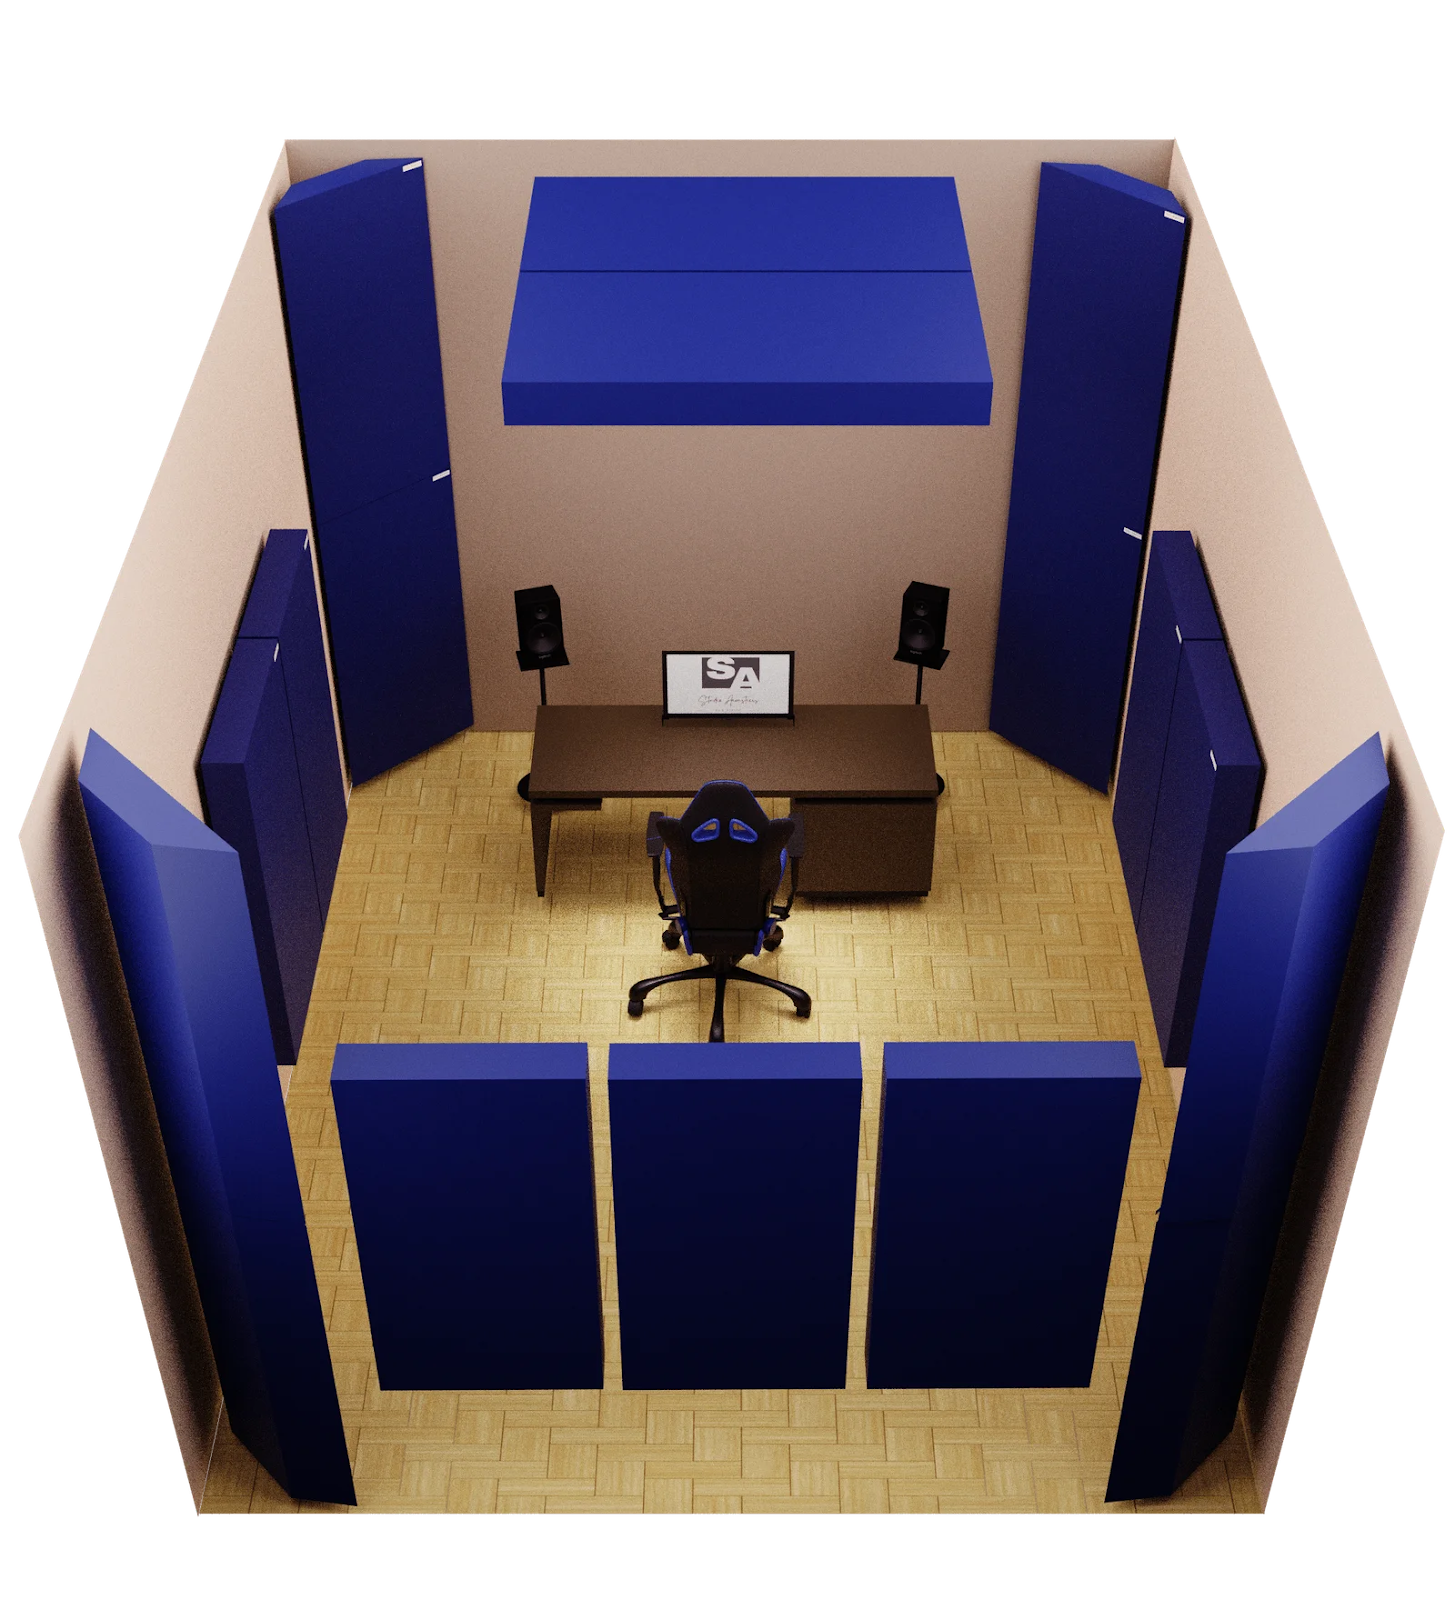
If you don’t have access to a professional studio, focus on minimizing noise and echo in your recording space. Select a small room and utilize carpet, wall decorations, and furniture to absorb sound and minimize echoes.
b. Eliminate Background Noise:
Identify and eliminate common sources of background noise such as electronics, fans, furnaces, open windows, phones, and refrigerators.
c. Soundproof Your Space:
You can enhance sound quality further with soundproofing and treatment materials such as bass traps, acoustic foam tiles, and sound diffusers. Use heavy curtains or blankets to block outside noise.
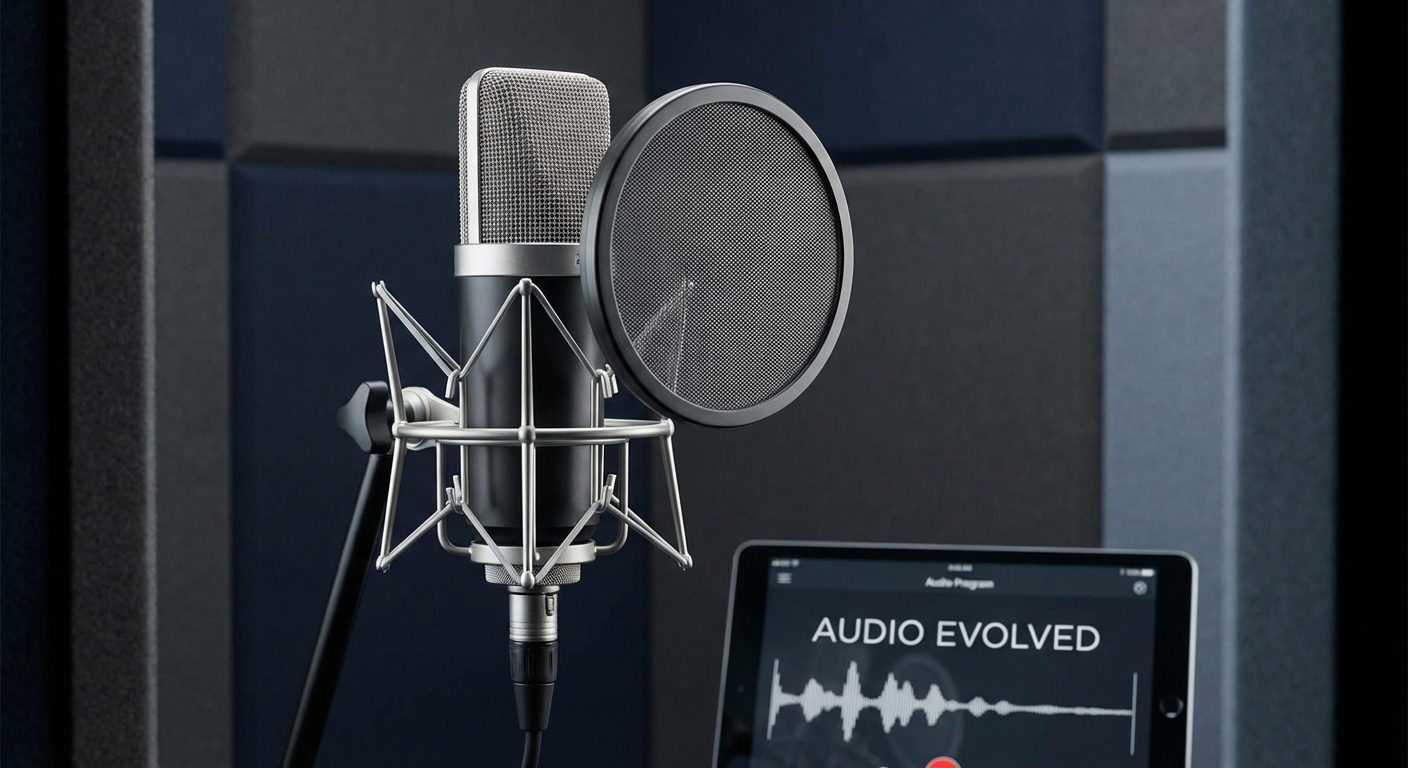
2. Choose the Right Microphone
Built-in mics are fine for casual use, but if you want truly great sound, an external mic is a must. The best choice depends on what you’re recording—podcasts, music, interviews, or live events. Look at how often you’ll use it, how reliable it is, its range, and any extra features you might need.
- Lavalier Mics – Best for interviews, vlogging, and hands-free recording.
- Shotgun Mics – Ideal for directional audio in filmmaking.
- Condenser Mics – Perfect for studio vocals and podcasts.
- Dynamic Mics – Great for live performances and loud environments
For a solid lavalier option, check out the Hollyland LARK MAX 2. It delivers studio-quality. sound with AI Noise Cancellation and 48kHz/32-bit Float resolution for crystal-clear audio. Perfect for YouTubers, podcasters, and filmmakers who need reliable audio with a wireless mic.

Hollyland LARK MAX 2 - Premium Wireless Microphone System
A premium wireless microphone for videographers, podcasters, and content creators to capture broadcast-quality sound.
Key Features: Wireless Audio Monitoring | 32-bit Float | Timecode

3. Optimize Your Recording Setup
A few small tweaks in your setup can make a big difference in clarity, depth, and overall sound quality.
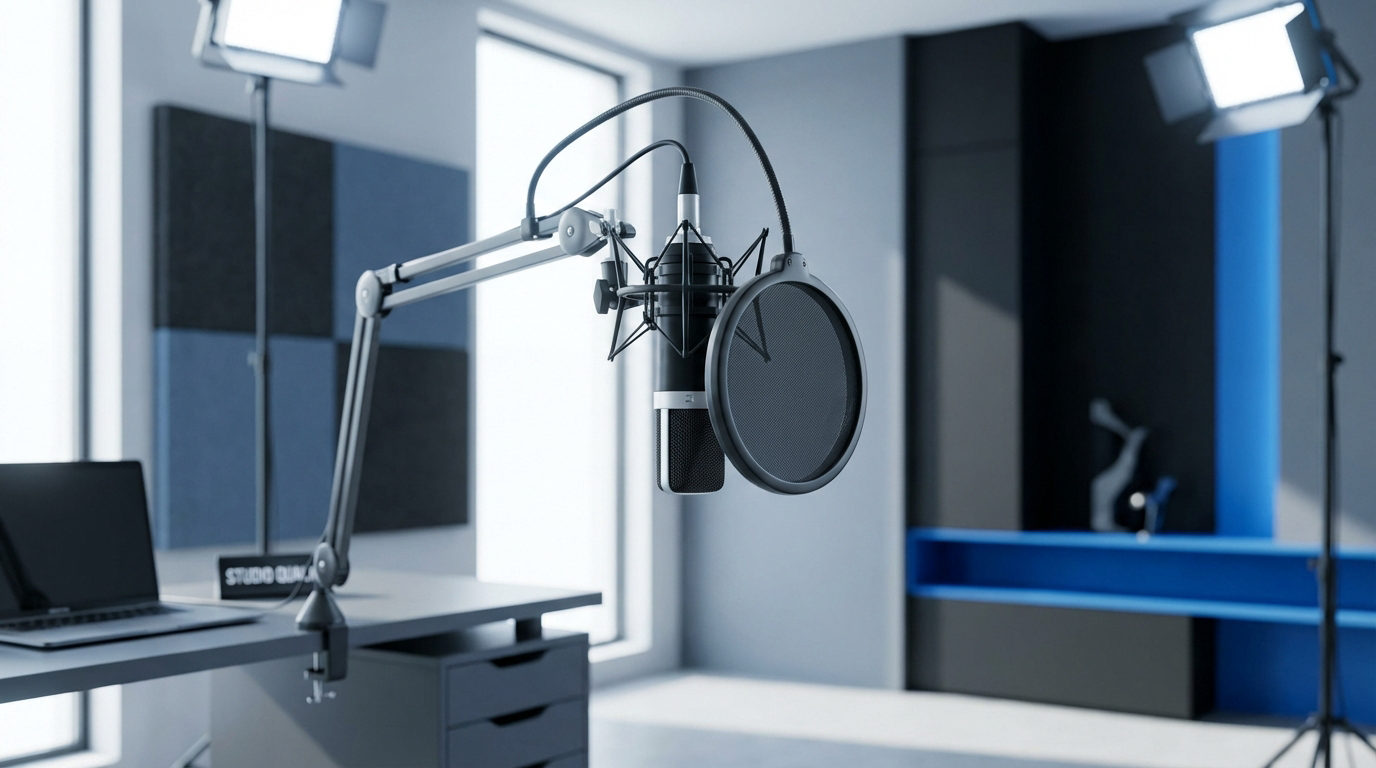
a. Use a Pop Filter:
A pop filter sits in front of your mic and helps cut down on plosives—those bursts of air that create popping sounds when you say letters like “p,” “t,” or “k.” They also help reduce distortion for a cleaner, more professional sound. Some mics come with built-in pop filters, but it’s worth checking how effective they are and adding a separate one if needed.

b. Position Your Mic Correctly:
To achieve optimal sound quality, position the microphone 3-5 inches from the speaker’s mouth. For studio mics, keep a 45-degree angle to reduce plosives. Maintaining a consistent microphone distance and height throughout the recording is crucial to avoid fluctuations in audio levels, which can be distracting for listeners.
c. Set Proper Gain Levels:
Gain is the volume level of your input audio, measured in decibels (dB). Getting it right is key—too high and your sound will be harsh and distorted, too low and it’ll be weak, forcing you to turn it up later (which also boosts unwanted noise).
Here’s how to set it correctly:
- Do a quick test recording at the intended speaking volume and observe the audio input in your recording software.
- Adjust the gain on your audio interface and monitor the levels with a peak meter. Make sure it stays in the green or yellow range. Avoid the red—that’s clipping, which means the audio signal is too strong and is being cut off or distorted. This results in poor audio quality
- For cleaner gain control, you can use an external preamp and fine-tune your interface settings.
- And switch to a mic with a stronger output like the Hollyland LARK MAX 2.

d. Wear Headphones:
Wearing headphones while recording to monitor in real time exactly what the mic is capturing. It lets you:
- Catch audio problems during recording
- Optimize performance, mic placement, and settings immediately
- Minimize editing work and re-recording sessions
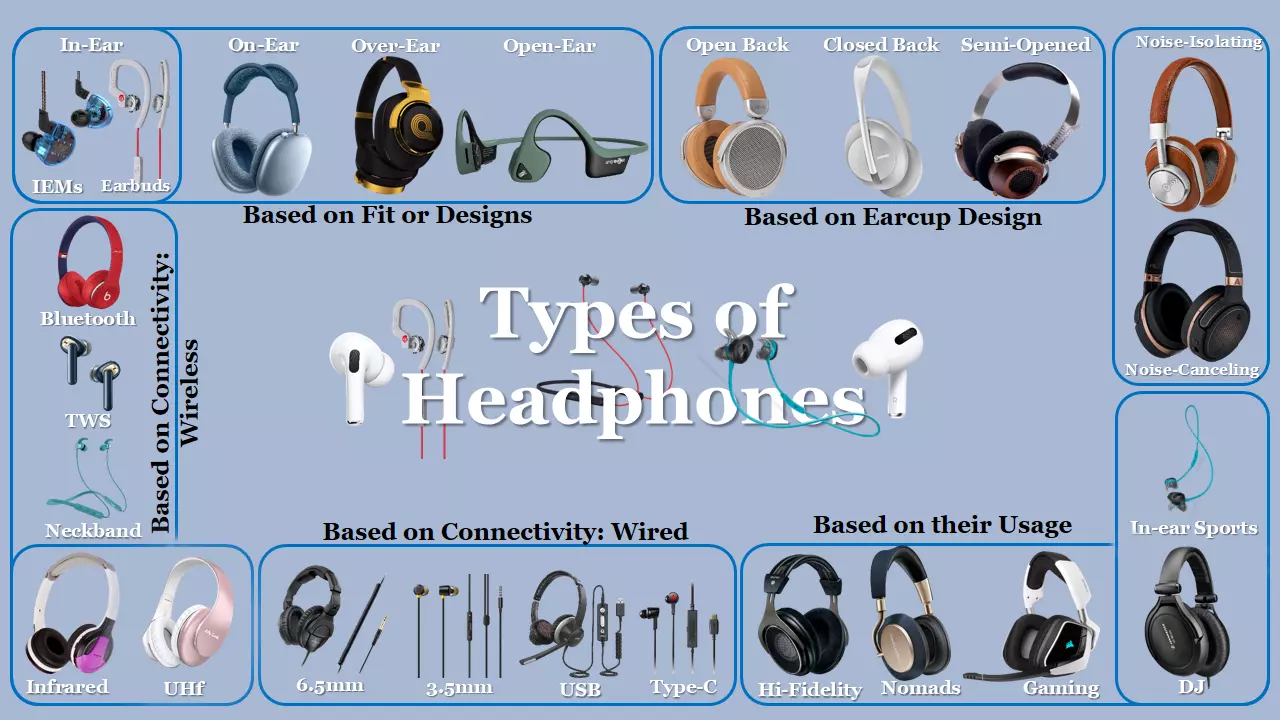
Headphones come in different types and styles, each with its own features and strengths. The best choice depends on your recording setup, comfort preferences, and how you like to monitor your sound.
For professional recording, closed-back headphones are a solid choice. Their sealed earcups provide excellent noise isolation, letting you monitor your audio without outside distractions. They also prevent sound from leaking into the microphone, crucial when recording clean, isolated tracks for vocals or acoustic instruments.
4. Recording Best Practices
a. Speak Consistently and Actively
- Before you start, warm up your voice and practice the tone you want to maintain.
- While recording, avoid side conversations and remind participants that they are being recorded, and encourage them to speak clearly.
Stay away from whispering or speaking too loudly, as both make editing harder. If you’re recording for a long time, drink water regularly to keep your voice in top shape.
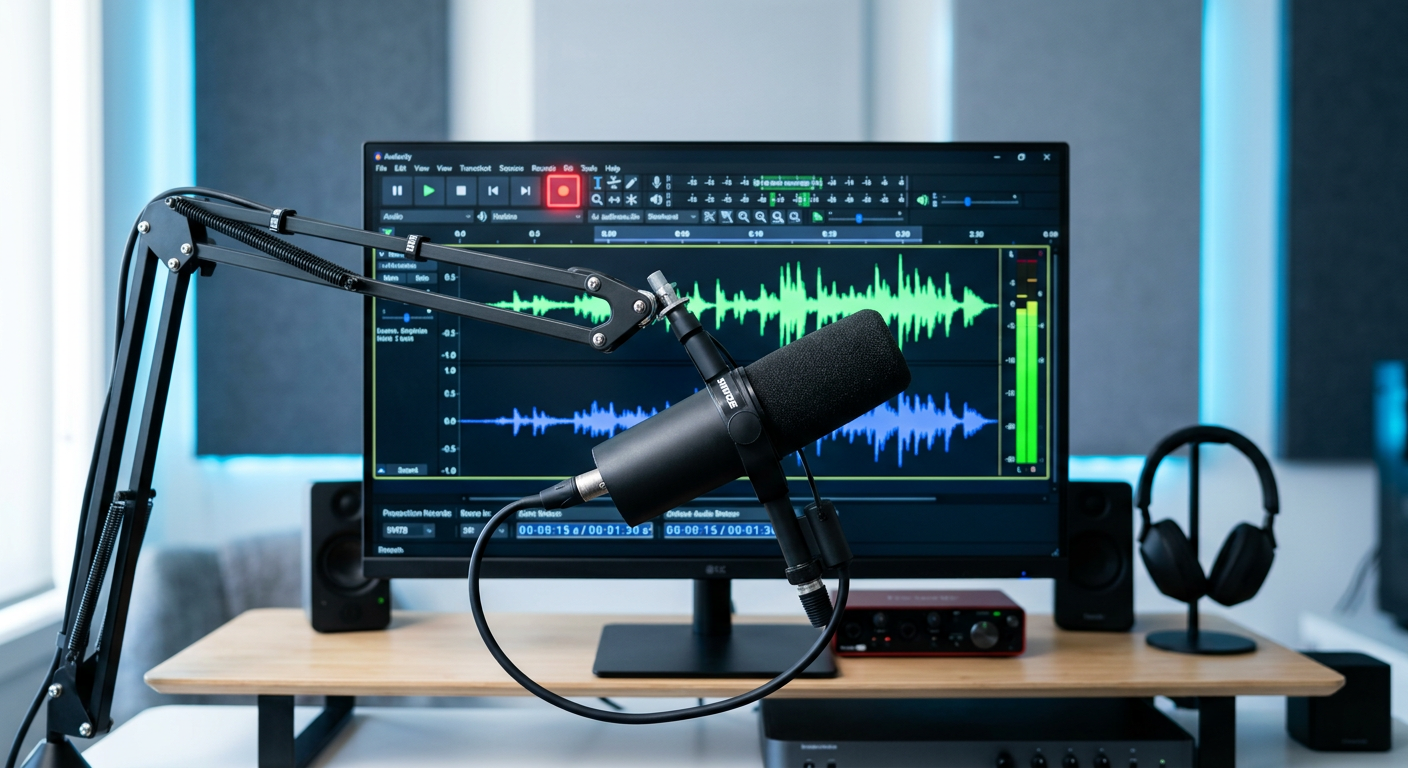
b. Use Quality Recording Software
Good software can make a big difference in the final sound.
- For podcasting, popular choices include Audacity (free and open-source), GarageBand (free, Mac only), and Adobe Audition (paid).
- If you need advanced features like multitrack recording and remote guest support, check out SquadCast, Riverside.fm, or Zencastr. You can also consider Loom, Camtasia, OBS Studio, and Descript for general audio recording.
c. Record Tracks for Individual Speakers Separately
When recording multiple speakers, it’s best to record each speaker on a separate audio track. Software like Audacity and Adobe Audition has the features to keep multiple records. Riverside also offers this for remote sessions.
It’s much easier to make adjustments post-production. For example, if one speaker has a higher or lower volume. Editors can isolate their track and make independent adjustments to create a balanced and clear recording

d. Export in Uncompressed Formats
Audio files come in two main types—compressed and uncompressed.
- Uncompressed formats like WAV, DSD, and AIFF retain all audio data, ensuring maximum quality. For recording and editing, WAV is often the go-to choice, though it does result in larger file sizes.
- Compressed formats, on the other hand, reduce file size by removing some data. They come in two subtypes:
- Lossless (e.g., FLAC, ALAC) — These shrink file size without a major hit to quality, as they can be decompressed back to their original form.
- Lossy (e.g., MP3, AAC) — These achieve much smaller sizes but sacrifice some audio quality in the process.
For professional projects, uncompressed formats are the safest choice to maintain sound integrity from recording to final export.
5. Post-Production Enhancements
Post-production is where you can take your audio from good to great.
- Keep natural pauses in place so the conversation feels real, but trim out overly long or awkward silences that might lose your listener’s attention.
- Use audio normalization to adjust the overall volume of an audio file to maintain consistency.
- Apply equalization to balance the volume of different frequencies, so the sound feels smooth and pleasant to the ear.
Hire a professional if you are not familiar with the editing tools. If you are self-editing, research suitable tools with the necessary features and focus on addressing noise, volume, and unwanted content. Here are a few popular audio editing tools you can try:
a. Audacity
Audacity is a free, open-source, and user-friendly digital audio editor and recording application. It’s available for Windows, macOS, and Linux operating systems. Audacity provides a range of tools for recording, editing, and mastering audio files.

The key features include:
- Recording: Record multiple tracks at once, capture audio from mics, tapes, or vinyl. Schedule recordings or fix mistakes with punch-in editing. High-quality recording (up to 96kHz, 32-bit).
- Editing: Cut, trim, and adjust audio without losing quality. Fine-tune tracks with waveform precision. Mix multiple tracks, adjust volume/panning, and keep them in sync.
- Effects & Enhancements: Remove noise, adjust EQ, add reverb/echo. Change pitch or speed without distortion. Supports plugins for extra effects.
- File Support: Works with WAV, MP3, AIFF, and more. Convert between formats or digitize old recordings.
- Extras: AI tools for audio cleanup, customizable interface & cloud saving
b. Adobbe Premiere Pro
It is a powerful video editing software that also offers robust audio editing capabilities. It allows users to edit, enhance, and mix audio within the same project as their video, making it a convenient all-in-one solution.

The key features include:
- Essential Sound Panel: Fix and improve dialogue, music, and sound effects.
- Dialogue Editing: Auto-adjust loudness, reduce noise, and edit audio by editing transcribed text.
- Music Mixing: Adjust volume, auto-duck (lower music during speech), and remix tracks to fit video length.
- Audio Effects: Apply EQ, reverb, delays, and more for better sound.
- AI Tools: Features like Enhance Speech and Remix use AI to clean up audio and adapt music automatically.
c. Riverside.fm
It is an online platform designed to simplify the recording, editing, and publishing of high-quality audio and video content, particularly for podcasts, interviews, and webinars.

The key features include:
- Local Recording: Records audio/video directly on each participant’s device no internet issues affecting quality. Supports 4K video and studio-quality audio (48kHz WAV).
- Separate Tracks: Each person gets their own audio/video files for easy editing.
- AI Tools: Auto-transcription (100+ languages), AI show notes, and “Magic Clips” for social media highlights.
- Built-in Editing: Text-based editing, noise removal, and layout tools (no extra software needed).
- Live Streaming & Interaction: Stream to YouTube, Facebook, etc., with live call-ins and chat.
- Easy to Use: Simple setup, great for beginners and pros alike.
Conclusion
Achieving optimal audio quality requires attention to detail throughout the recording process, from capturing the sound to the final listening experience. By implementing the above tips, you can significantly improve the audio quality of your recordings and create a more enjoyable listening experience
FAQs
Q. How do I set the right microphone gain?
Start by plugging in your mic and turning the gain knob all the way down. Speak or perform at your normal loudness, then slowly increase the gain until the input meter sits mostly in the green and occasionally touches yellow. Avoid letting it hit red, as that causes distortion. If your recording software has a dB scale, aim for peaks around –12 dB to –6 dB.
Q2. What’s the best file format for high-quality audio?
Use WAV at 24-bit/48 kHz for uncompressed, studio-quality sound. For smaller sizes with no quality loss, choose FLAC. Better keep a WAV master before converting to MP3 or AAC for sharing.