.png)
Facebook Gaming has quickly grown into a major live-streaming platform, joining the ranks of Twitch and YouTube Gaming. Since launching in 2018, it has become popular for its easy access, built-in social features, and ability to connect gamers with large audiences directly on Facebook.
If you want to start streaming your gameplay and engaging with viewers, this step-by-step guide will walk you through exactly how to stream games on Facebook using OBS Studio.
Step 1: Download and Install OBS Studio
To begin, download OBS Studio from its official website (obsproject.com). Choose the version compatible with your operating system Windows/macOS/Linux.
- Open your browser and search for OBS Studio.
- Click the result from obsproject.com.
- Download and install the software.
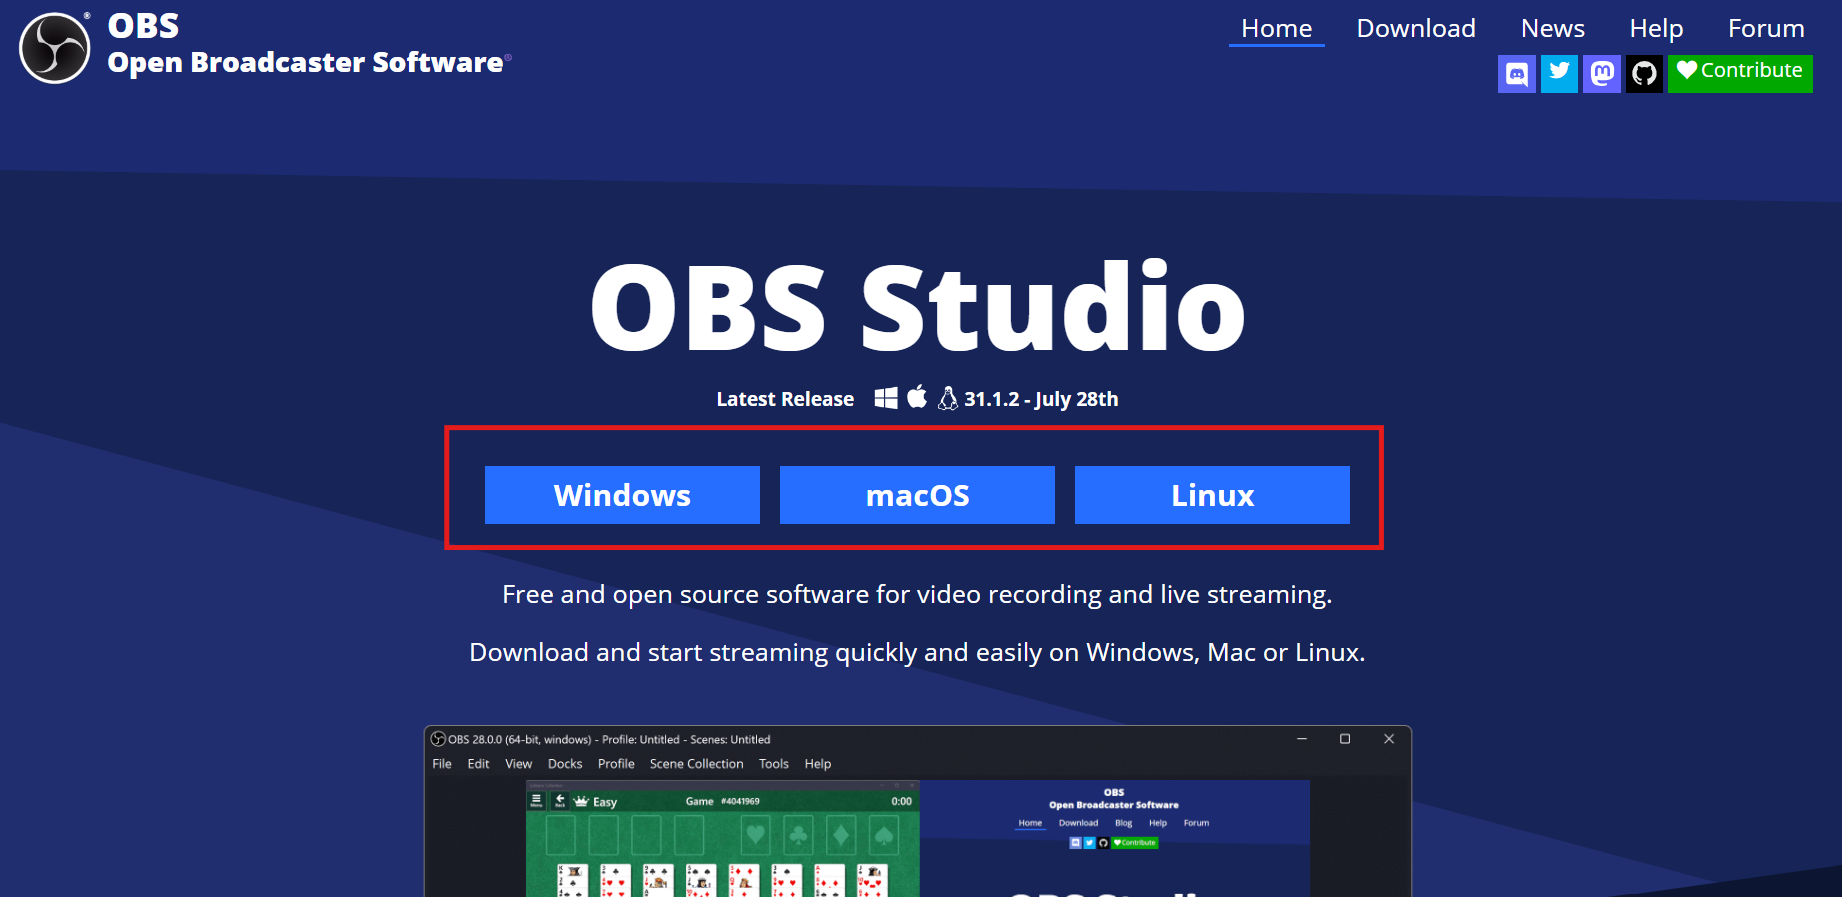
- Once installed, open OBS Studio, and you’ll see a blank canvas ready for setup.
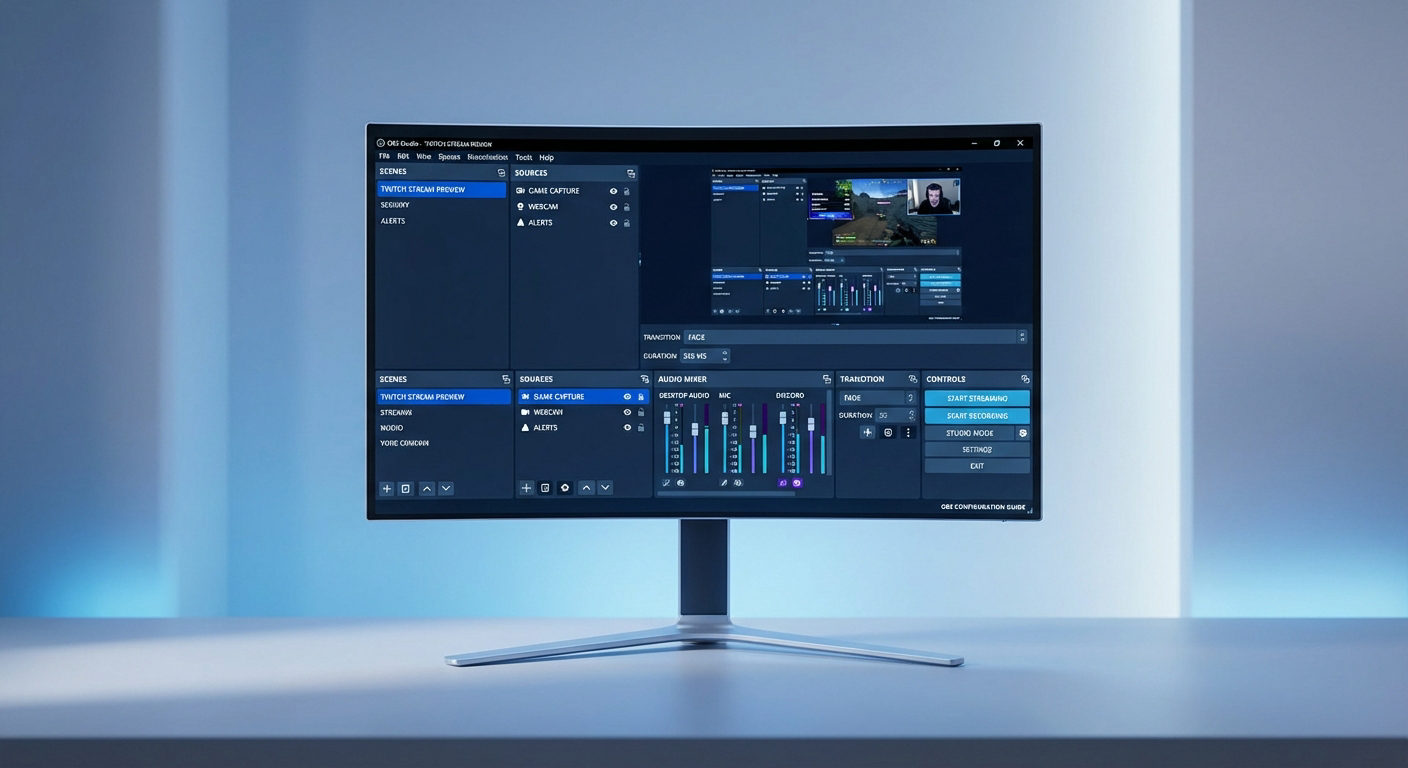
Step 2: Understand the OBS Interface
OBS Studio may look intimidating at first, but its structure is straightforward:

- Scenes: Where you combine different media sources.
- Sources: Graphics, videos, cameras, and audio inputs.
- Audio Mixer: Adjusts microphone, music, and system sounds.
- Controls: Start/stop streaming or recording.
- Studio Mode: Preview changes before they go live.
Step 3: Create a Scene in OBS
Scenes are the foundation of OBS streaming. They allow you to combine different elements, such as video, images, and audio, into one layout.
- In the Scenes box, right-click and select Add.

- Name your scene (e.g., “Gameplay” or “Intro”).

- Click OK to confirm.
You can create multiple scenes (for gameplay, breaks, or overlays) and easily switch between them during your stream.
Step 4: Add Intro Music
Music makes your stream feel more fun and less quiet while people are waiting. You can play a song in the background before you start talking or gaming.
- In the Sources box, click + → Media Source.

- Type a name like “Intro Music.”

- Tick Loop so the song keeps playing.

- Click Browse and pick a royalty-free song (safe music you’re allowed to use).

Step 5: Add Your Camera Feed
Your camera lets viewers see you while you play, which makes your stream more engaging and personal. Here’s how to set this up in OBS:
- In the Sources box, click + → Video Capture Device.

- Choose your connected camera. If you’re using a webcam, it will appear here automatically.

- For dedicated streaming cameras like the Hollyland VenusLiv Air, simply connect it via USB 3.0 cable, and OBS will detect it. This device supports 24/7 live streaming and has AI tuning, which keeps your video looking natural without extra setup.
- After setting up your camera, look for the resolution settings and set it to 1280×720 for a stable, sharp image.

- Pick 30 fps for casual streams, or 60 fps if you’re streaming fast-paced games.

Step 6: Add Your Game to the Scene
To stream a game, OBS needs to know what part of your screen to show. You do this by adding a game source. OBS gives you three main options:
- Game Capture: Best for games running in full-screen. OBS will lock onto that game only.
- Window Capture: Best for games in windowed mode (not full screen). You can also use this for other apps, like browsers.
- Display Capture: Shows your entire monitor, including your desktop, apps, and the game.
Here’s how to add a game source:
- Select your main gameplay scene.
- In the Sources box, click + → Choose Source Type.
- Pick Game Capture, Window Capture, or Display Capture depending on how you run your game.

- Name it something like “Game Feed” and hit OK.

- If you don’t see your game right away, make sure the game is open and hit Refresh in OBS.
Start with Game Capture if your game supports; it’s the most reliable option. If your game doesn’t appear, try Window Capture or Display Capture as a backup.
Step 7: Set Up Your Microphone
Audio is just as important as video. If people can’t hear you well, they may leave your stream, even if your gameplay looks great. Here’s how to set this up:
- In the Sources box, click + → Audio Input Capture.

- Give it a name like “Main Mic.”

- From the device list, pick your microphone. If you’re using a USB mic, it will show up here automatically. If you only have a webcam, its built-in microphone will also appear.

- Once added, look at the Audio Mixer in OBS. When you speak, you’ll see the green bar move. This means your mic is working.

Step 8: Add Background Music
To keep your stream lively, you can play subtle background music while talking.
- Add another Media Source.

- Name it “Background Music.”

- Look at the Audio Mixer panel in OBS. You’ll see a slider for your background music.

- Drag the slider down so the volume stays very low; around -45 dB is a good starting point. This way, viewers can hear you clearly while still enjoying the music softly in the background.
Step 9: Configure OBS Video and Output Settings
Before you can go live, OBS needs to know what quality to use for your video and stream.

Apply these video settings:
- In OBS, go to Settings → Video.
- Base Canvas Resolution: This is your monitor size. Leave it at your screen’s default.
- Output (Scaled) Resolution: Set this to 1920×1080 (Full HD) so your viewers see a sharp picture.
- FPS (Frames Per Second): 30 fps works for most streams. 60 fps is better for fast-paced games if your computer and internet can handle it.

Apply these output (Streaming) settings:
- Go to Settings → Output.
- Encoder: Choose NVENC (if you have an NVIDIA graphics card) or x264 (if not).
- Rate Control: Select CBR (constant bitrate).
- Bitrate: Set it to 6000 kbps for smooth 1080p streaming.
- Keyframe Interval: Change this to 2 (Facebook requires this).

If your stream looks choppy, try lowering the Output Resolution to 1280×720 or reducing the Bitrate to 4500 kbps. This makes it easier for slower computers or a weaker internet.
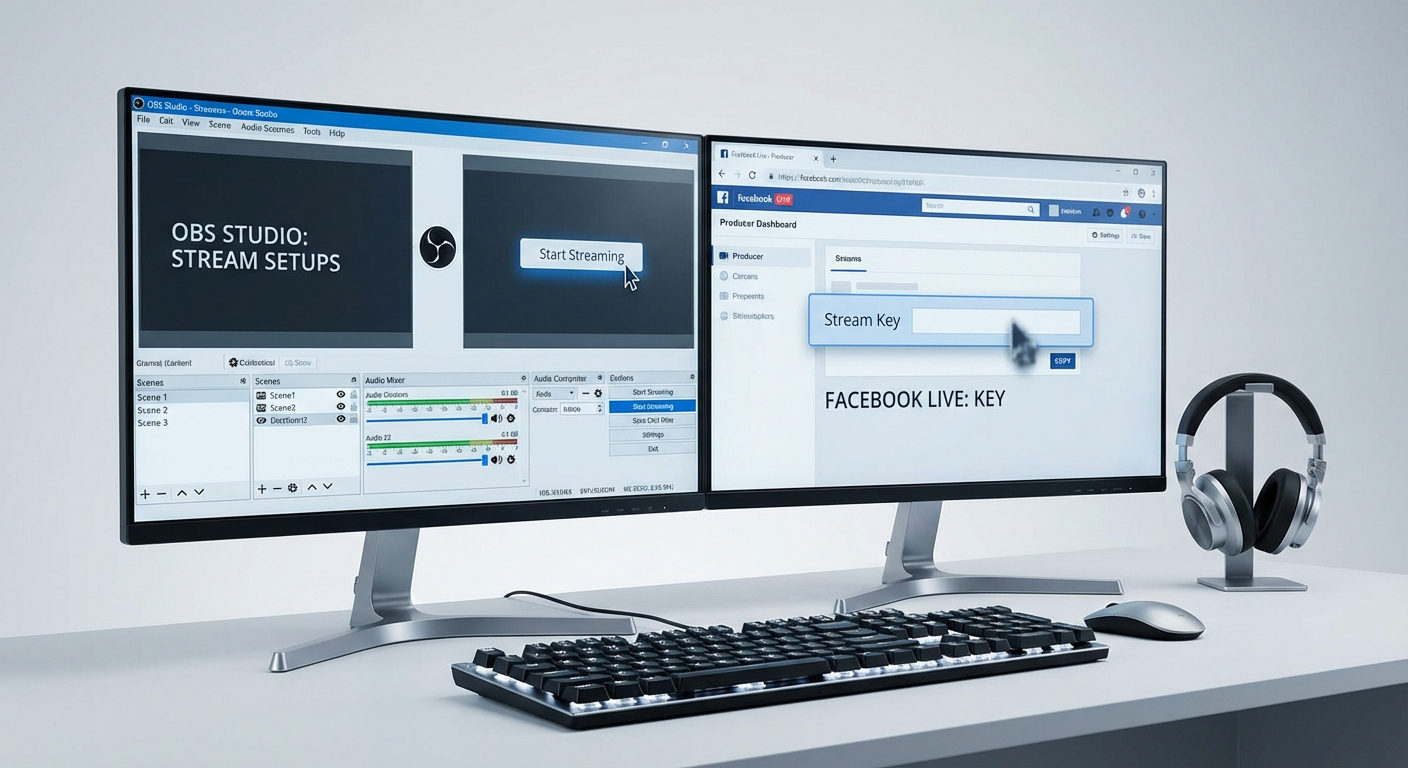
Step 10: Connect OBS to Facebook Live
Now that OBS is ready, you need to “link” it to Facebook so the platform knows where to pull your video from. Here’s how to connect OBS to Facebook:
- Open Facebook in your browser.
- Go to your Profile or Page and click Live Video.

- When asked how you want to go live, choose Streaming Software. This tells Facebook you’re using OBS.

- Facebook will show you two important things:
- Server URL: This is the “address” Facebook uses to find your stream.
- Stream Key: This is your private password for streaming. Never share it, or someone else could stream to your account.

- Copy both.
- In OBS, click Settings → Stream.
- For Service, pick Custom.
- Paste the Server URL and Stream Key into the boxes.

- Click Apply, then OK.
Always double-check that you pasted the correct Stream Key before starting. If it’s wrong, your stream won’t connect.
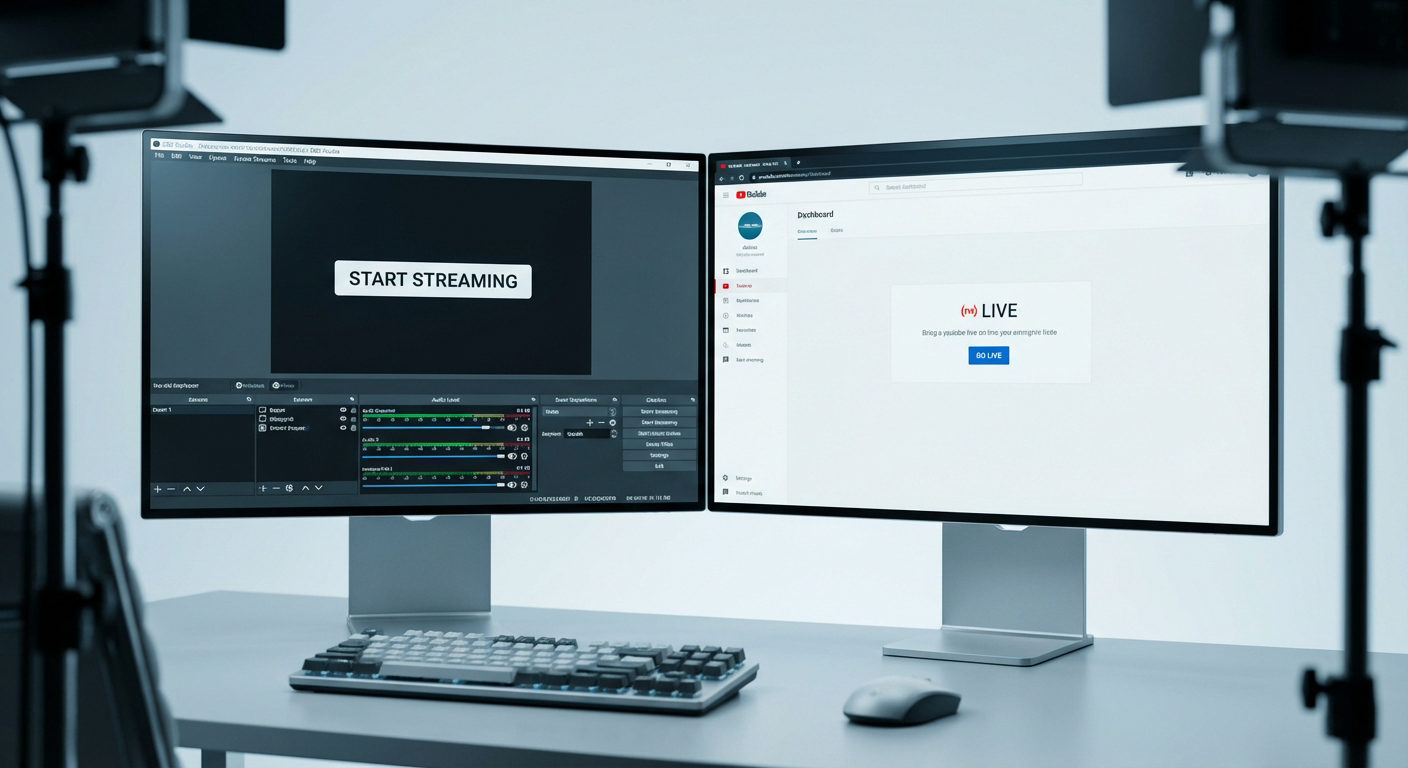
Step 11: Start Your Stream
Now that everything is set up, it’s time to go live on Facebook! Here’s how to start streaming:
- In OBS, make sure to click the scene you want to display first
- Click Start Streaming in the Controls panel.

- Go back to Facebook, you’ll see a live preview of your stream.

- Add a title and description for your stream.

When you’re ready, click Go Live on Facebook.

Conclusion
Learning how to stream games on Facebook with OBS is just the first step. To grow as a streamer, always test your scenes and audio before going live, interact with your viewers to make the stream feel more personal, and stick to a regular schedule so people know when to tune in.
Saving and rewatching your past streams can also help you notice small improvements to make each new broadcast better.
FAQs
Q: What internet speed do I need to stream on Facebook Live?
For smooth 1080p streaming, you’ll need at least 6 Mbps upload speed. To avoid issues, aim for 12 Mbps or more. Always use a wired Ethernet connection instead of Wi-Fi for stability.
Q: Can I stream in 4K on Facebook?
No. Facebook Live currently supports up to 1080p at 60 fps. If you record locally in OBS, you can capture 4K, but viewers on Facebook will see 1080p.
Q3. Do I have to use OBS to stream games on Facebook?
Not at all. OBS is free and popular, but other software like Streamlabs or XSplit also works. OBS is a great place to start because it’s powerful and open-source.