.png)
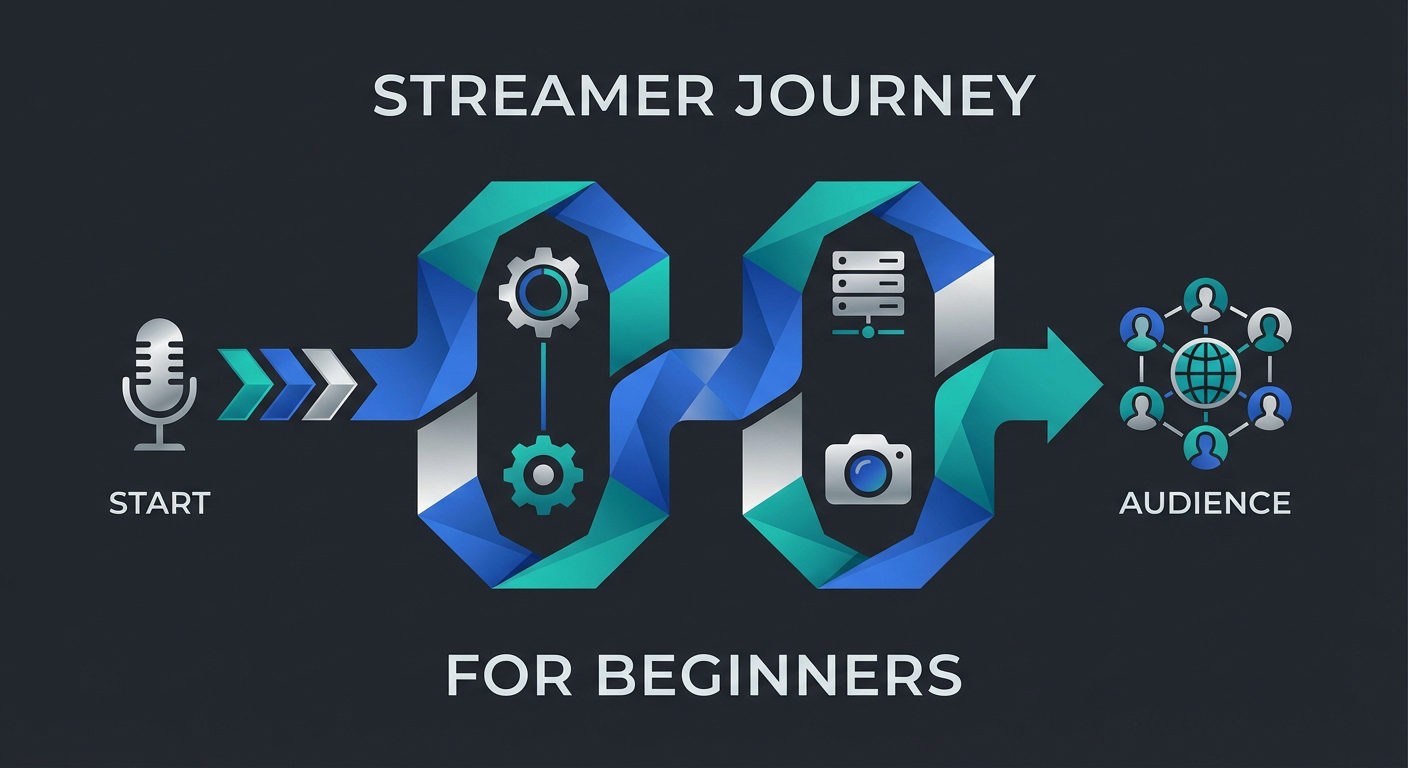
Streaming on a PC has become popular for a wide range of applications, including teaching, music, live events, tutorials, and casual chats. To flow smoothly, the right setup matters just as much as the platform you choose. Devices like the Hollyland VenusLiv Air, with 24/7 streaming ability and AI tuning, help simplify the process for beginners. In this guide, we’ll cover the essentials of setting up your account, preparing your PC, choosing software, customizing layouts, and tips to go live with confidence.
Step 1: Setting Up Your Streaming Account
Before you can go live, you’ll need an account on a streaming platform. The most popular options are YouTube Live, Twitch, Facebook Live, or Zoom (for more private sessions). Select the option that best aligns with your goals.
- Pick your platform:
Decide where you want to stream, for example, YouTube for a wider reach, or Zoom for a class or meeting.

- Create and verify your account:
Sign up with your email, then follow the platform’s verification process (usually confirming via email or phone).
Note: Each platform has its own requirements before you can actually go live. For example:
- YouTube requires a verified channel and 24 hours before going live.
- Twitch requires phone/email verification and enabling 2FA.
- Facebook Live typically works immediately once your account is verified.


- Set up your profile:
Add a friendly bio, a profile photo, and any relevant links (such as your website or social media profiles). This makes your stream feel more personal and approachable.

- Enable account security:
Turn on two-factor authentication (2FA) if available. This adds an extra layer of safety for your account.


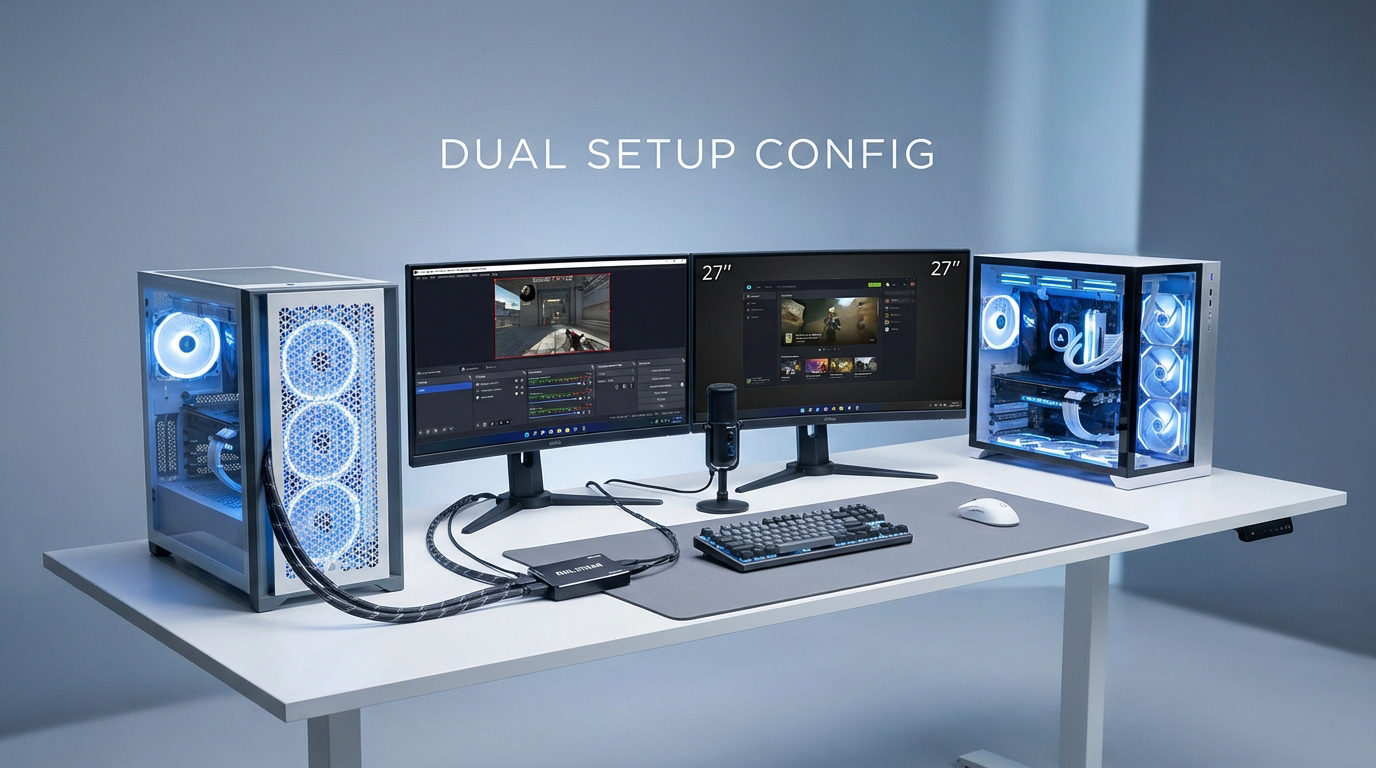
Step 2: Preparing Your PC and Workspace
It’s essential to ensure your PC and environment are prepared for seamless streaming.
- Check your PC specs:
A decent processor (Intel i5/Ryzen 5 or above), 8GB RAM, and a dedicated graphics card are usually enough to get started. Higher specifications will give you with more stability.


- Test your internet speed.
Go to Speedtest.net and run a quick test. Aim for at least 5 Mbps upload speed for 720p, and 8–10 Mbps for 1080p streaming.

- Set up good lighting and background:
Make sure your face or main subject is well-lit (a simple desk lamp or natural light works fine). Avoid cluttered or distracting backgrounds.

- Arrange an ergonomic workspace:
Use a comfortable chair, adjust your desk height, and keep cables tidy. Small details like this make long sessions easier.

Step 3: Choosing and Configuring Streaming Software
Before you begin streaming from your PC, you’ll also need software that sends your video and audio to your chosen platform.
- Pick your software:
Popular options include OBS Studio (free, full control), Streamlabs (beginner-friendly), or XSplit (paid with extra features).


- Install and set up:
Download he app from the official website, run the installer, and open it. Most software will guide you through a quick setup wizard.

- Understand scenes:
A scene is simply a layout for your stream. For example, one scene could show your full screen, another could include your webcam and overlays.


- Add sources:
Sources are the building blocks inside a scene. Common ones include:- Display Capture (to share your screen)
- Window Capture (to share one app only)
- Video Capture Device (for your webcam)


- Audio Input/Output (microphone and system audio): In Settings → Audio, ensure that your microphone and desktop sound are enabled. Adjust levels so your voice is clear over any background music or system sounds.


- Adjust video settings:
Go to Settings → Video and set:

- Resolution: 720p or 1080p (depending on PC strength).
- Frame rate: 30fps or 60fps.
- Bitrate: 2500–6000 kbps, depending on internet speed


Step 4: Customizing Your Stream
Customizing helps your stream look more professional and engaging for viewers.
- Add overlays, lower-thirds, and banners:
Overlays are graphics that sit on top of your stream, such as borders, name tags, or stream schedules. Keep them minimal so they don’t block important content. You can explore free, ready-to-use designs on sites like OWN3D.pro.
Integrate a chat box:
Adding a live chat box lets viewers see interactions directly on-screen, even if they’re watching later in recordings.


- Use alerts and widgets.
Set up alerts for new followers, donations, or subscribers. Widgets like “recent followers” or “goal trackers” make streams feel interactive.

- Keep it clean and simple:
Don’t overload your screen with graphics. A tidy design makes it easier for people to focus on you and your content.


Note: You don’t need to pay for everything when starting. Sites like StreamElements, Nerd or Die, and OWN3D offer free overlays, widgets, and chat templates to help you get started quickly.
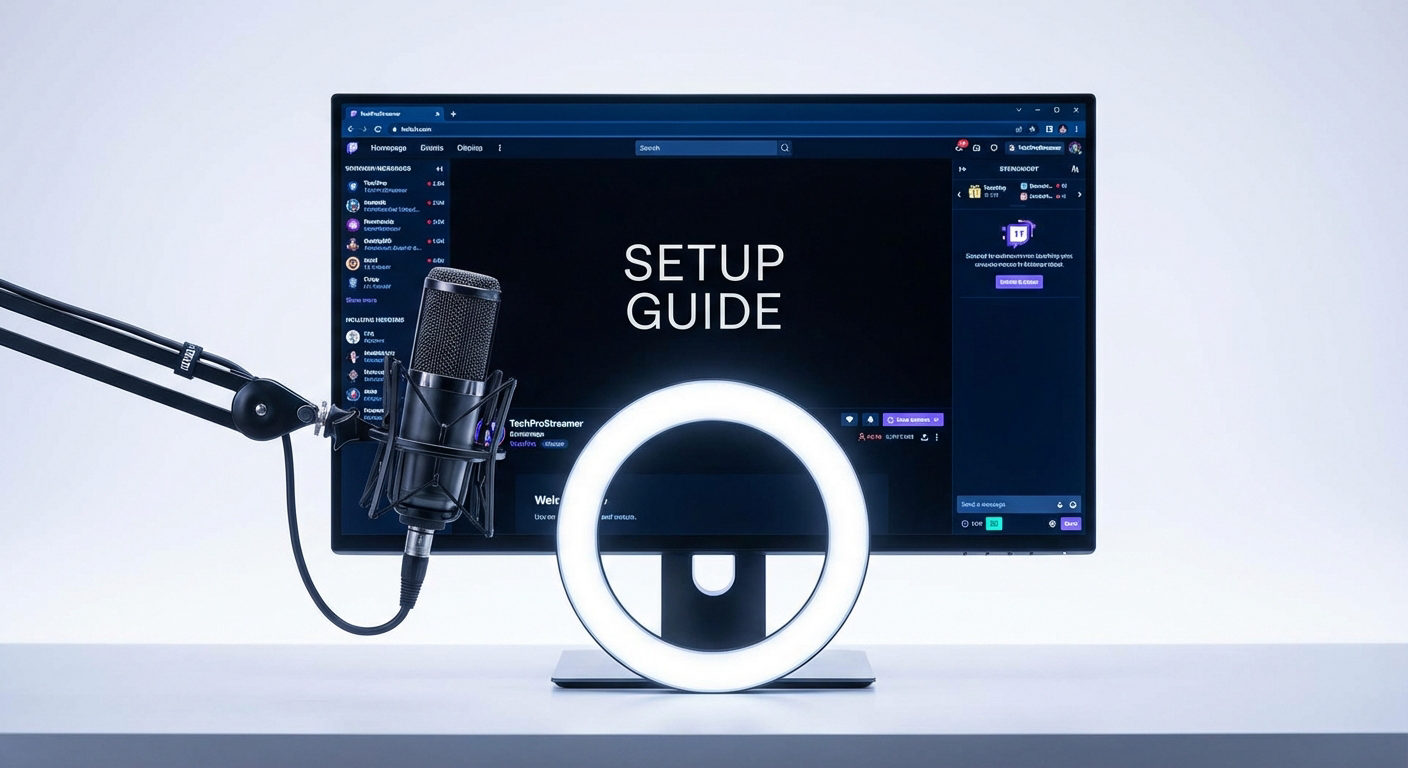
Step 5: Testing Before Going Live
Before launching your first stream, it’s best to run a few tests so you can spot issues early and avoid awkward surprises in front of viewers.
- Run a local recording or test stream:
Record a short session or use your platform’s “test mode” to check performance. If you’re using YouTube, you can also set your stream to Private. This way, you can preview exactly how your stream looks and sounds without anyone else being able to see it.


Check audio and video balance:
Make sure your voice is clear and not drowned out by background music or system sounds. Adjust mic gain if needed.


- Tweak bitrate and resolution if issues arise:
If the video lags or frames drop, try lowering your bitrate or switching to 720p. It’s better to stream smoothly at lower quality than to stutter at higher settings.

Troubleshooting Basics
Even with the right setup, small hiccups can happen:
- Dropped frames: usually caused by weak internet or too high a bitrate. Lower bitrate or use a wired connection.
- Audio echo or sync issues: check your mic input, disable duplicates, or adjust sync offset in your software.
- Stream crashes or lag: close heavy background apps and lower resolution or frame rate.
Conclusion
Streaming on PC doesn’t need to be overwhelming. With the right setup, simple customization, and a quick test before going live, you’re ready to share your content confidently. Keep practicing, improve gradually, and focus on connecting with your audience, and the rest will fall into place.
FAQs
Do I need an expensive PC to stream?
No. A mid-range PC with at least 8GB RAM and a decent processor can handle most beginner streams. You only need higher specs if you’re gaming and streaming at the same time.
Can I stream without a webcam?
Yes. Many streamers start with just screen capture and audio. A webcam adds a personal touch, but it’s not required. Focus on clear audio first, since viewers value good sound more than video.
What internet speed do I need?
Aim for at least 5 Mbps upload speed for 720p streaming. Likewise, for 1080p or higher, 10 Mbps upload is better. A wired Ethernet connection is more stable than Wi-Fi, helping to reduce dropped frames.What’s the easiest software for beginners?
OBS Studio is free and widely used, but Streamlabs offers an easier setup with built-in themes and widgets. Start with OBS if you like flexibility, or Streamlabs if you prefer a simpler, beginner-friendly interface.