.png)
.png) Deutsch
Deutsch .png) Français
Français .png) Italiano
Italiano  Español
 .png) 日本語
日本語 .png) Português (Brasil)
Português (Brasil) Twitter has over 400+ active users, and audio is becoming one of the most effective ways to connect. Voice tweets and Twitter Spaces are growing fast, helping people share ideas, tell stories, and hold real-time conversations. Audio posts feel more personal than text, allowing you to express tone and emotion clearly. They also help you stand out in a feed crowded with text and images.
More users are turning to audio because it feels authentic and encourages engagement. If you’re unsure how to post audio on Twitter, this guide will help. We’ll cover step-by-step methods for sharing audio from your phone or computer.
Method 1: Post Audio on Twitter Using a Mobile Device
Posting audio from your phone is quick and convenient. Mobile tools make it easy to record, prepare, and share audio without extra equipment. Whether it’s a voice tweet or a short clip, you can do it all directly from your device in minutes. Follow these steps to get started.
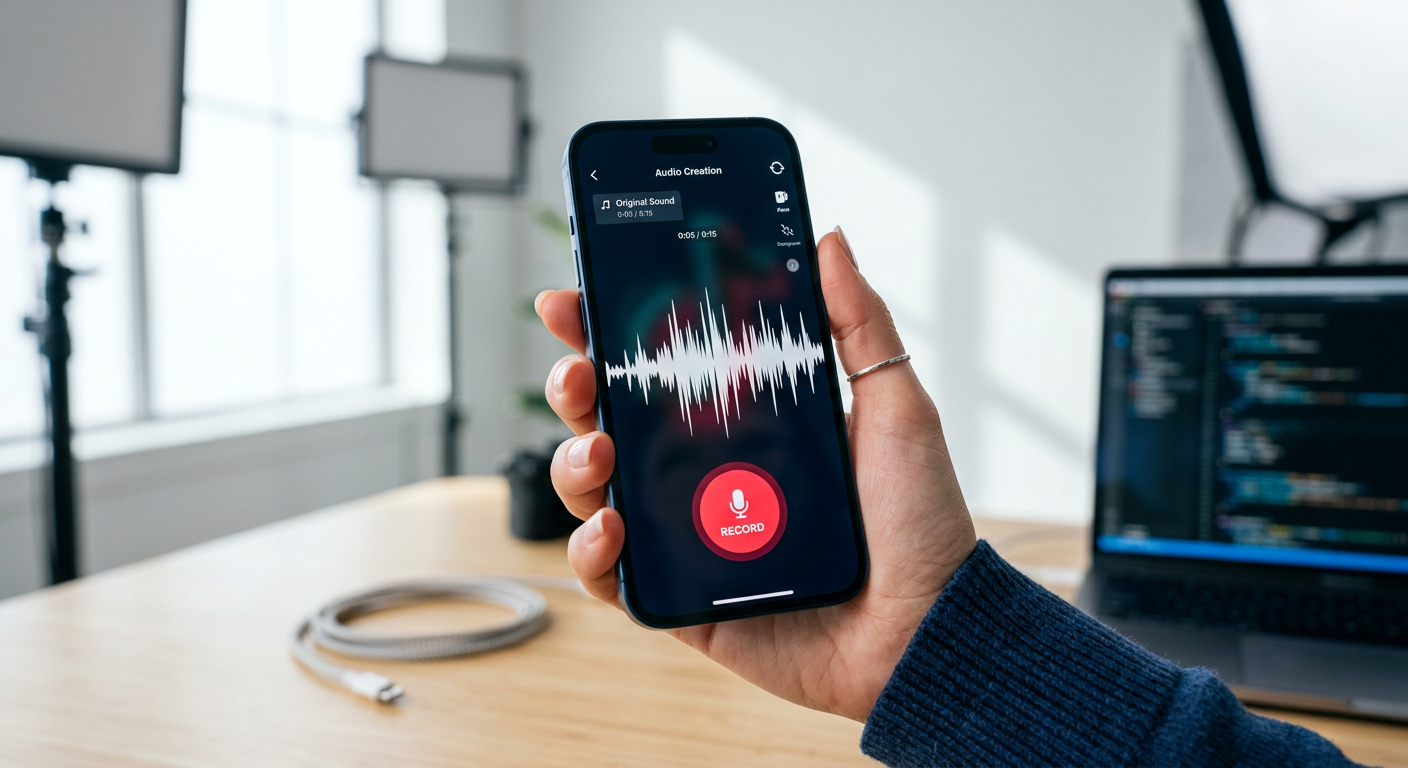
Step 1 – Record Your Audio
To share clear voice tweets, start by recording clean audio. Using a good mic makes a big difference. The Hollyland LARK MAX 2 is ideal for this. It supports both solo and 2-person recordings with its single and dual-transmitter options. Its 32‑bit float recording captures sound in detail without clipping, and OWS Bluetooth monitoring helps you hear live feedback.

Hollyland LARK MAX 2 - Premium Wireless Microphone System
A premium wireless microphone for videographers, podcasters, and content creators to capture broadcast-quality sound.
Key Features: Wireless Audio Monitoring | 32-bit Float | Timecode
Step 2 – Export Audio in a Twitter-Compatible Format
Once recorded, save your file as MP3, WAV, or AAC. These formats are widely accepted and preserve audio quality. Rename the file clearly (e.g., “VoiceTweet1”) for quick access. If your app allows, export using a 44.1 kHz sample rate and 128 kbps bitrate to ensure clean playback on Twitter.
Step 3 – Convert Audio to Video (If Needed)
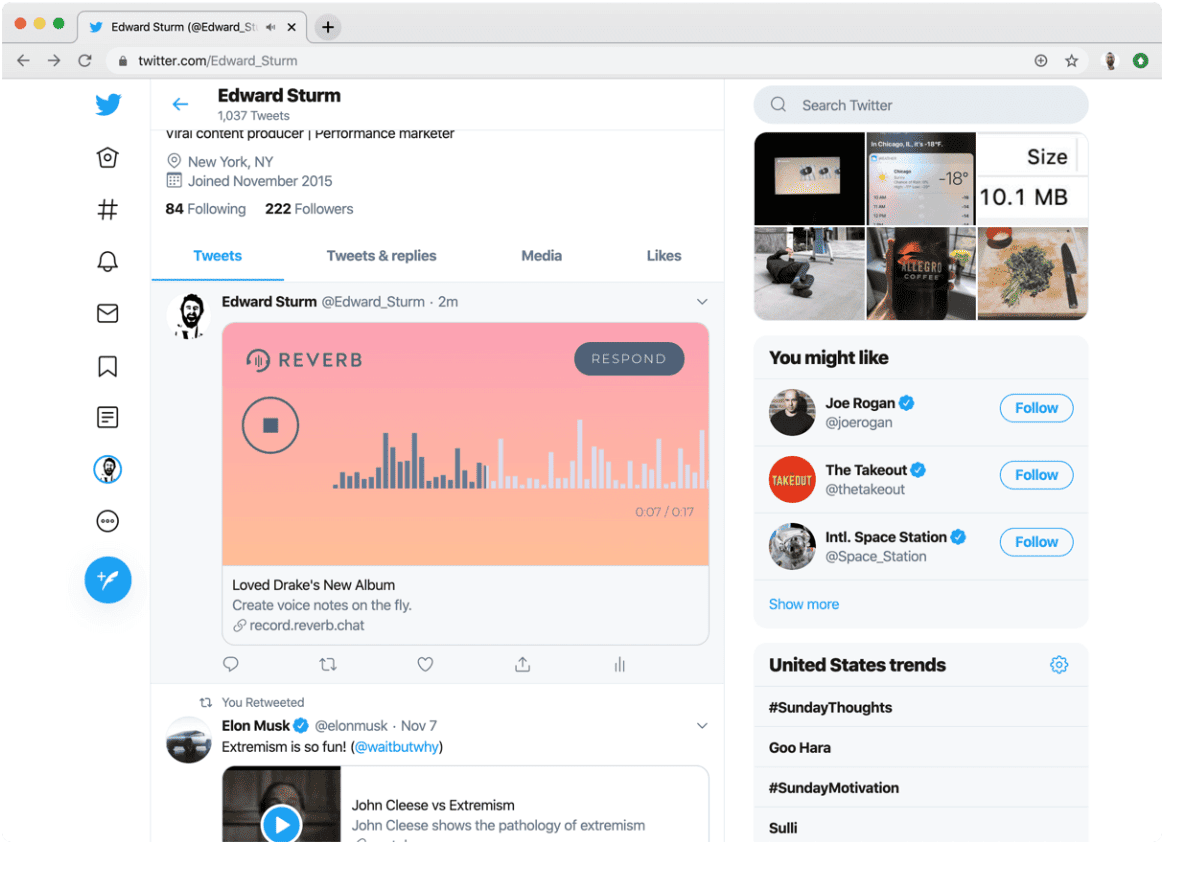
Twitter doesn’t support audio-only uploads, so pair your sound with visuals. Use free apps like Canva, InShot, or Kapwing to add a static image, album cover, or waveform animation. Keep visuals simple and on-brand. Export the final file as MP4, under Twitter’s size limit of 512MB, in either 1:1 or 16:9 format.
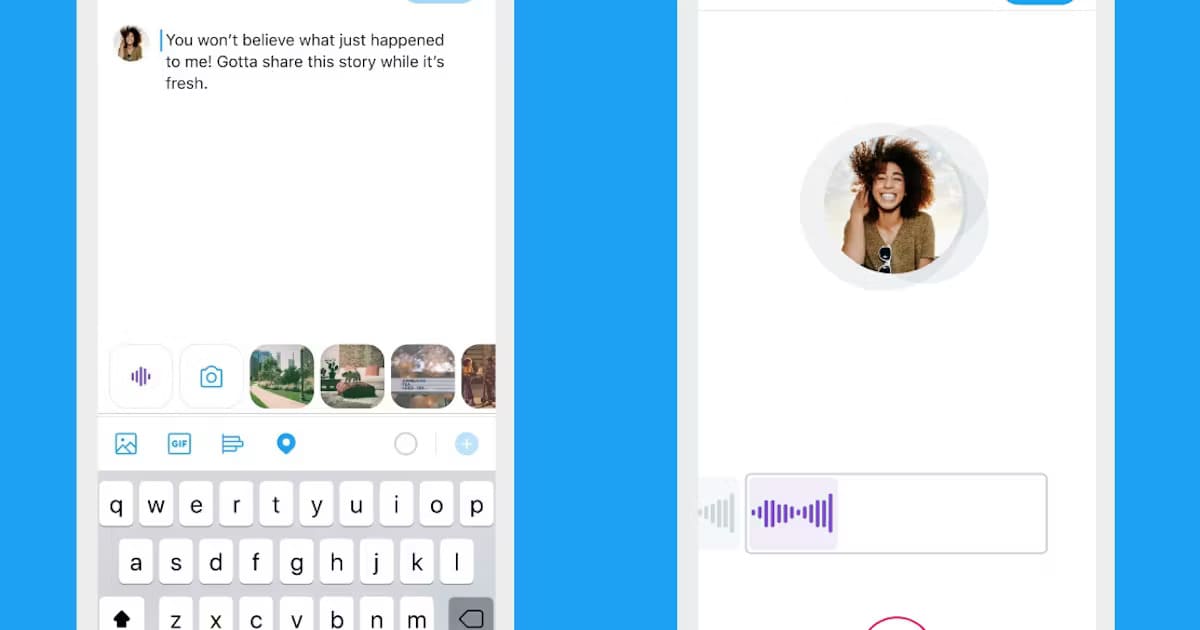
Step 4 – Upload via Twitter Mobile App
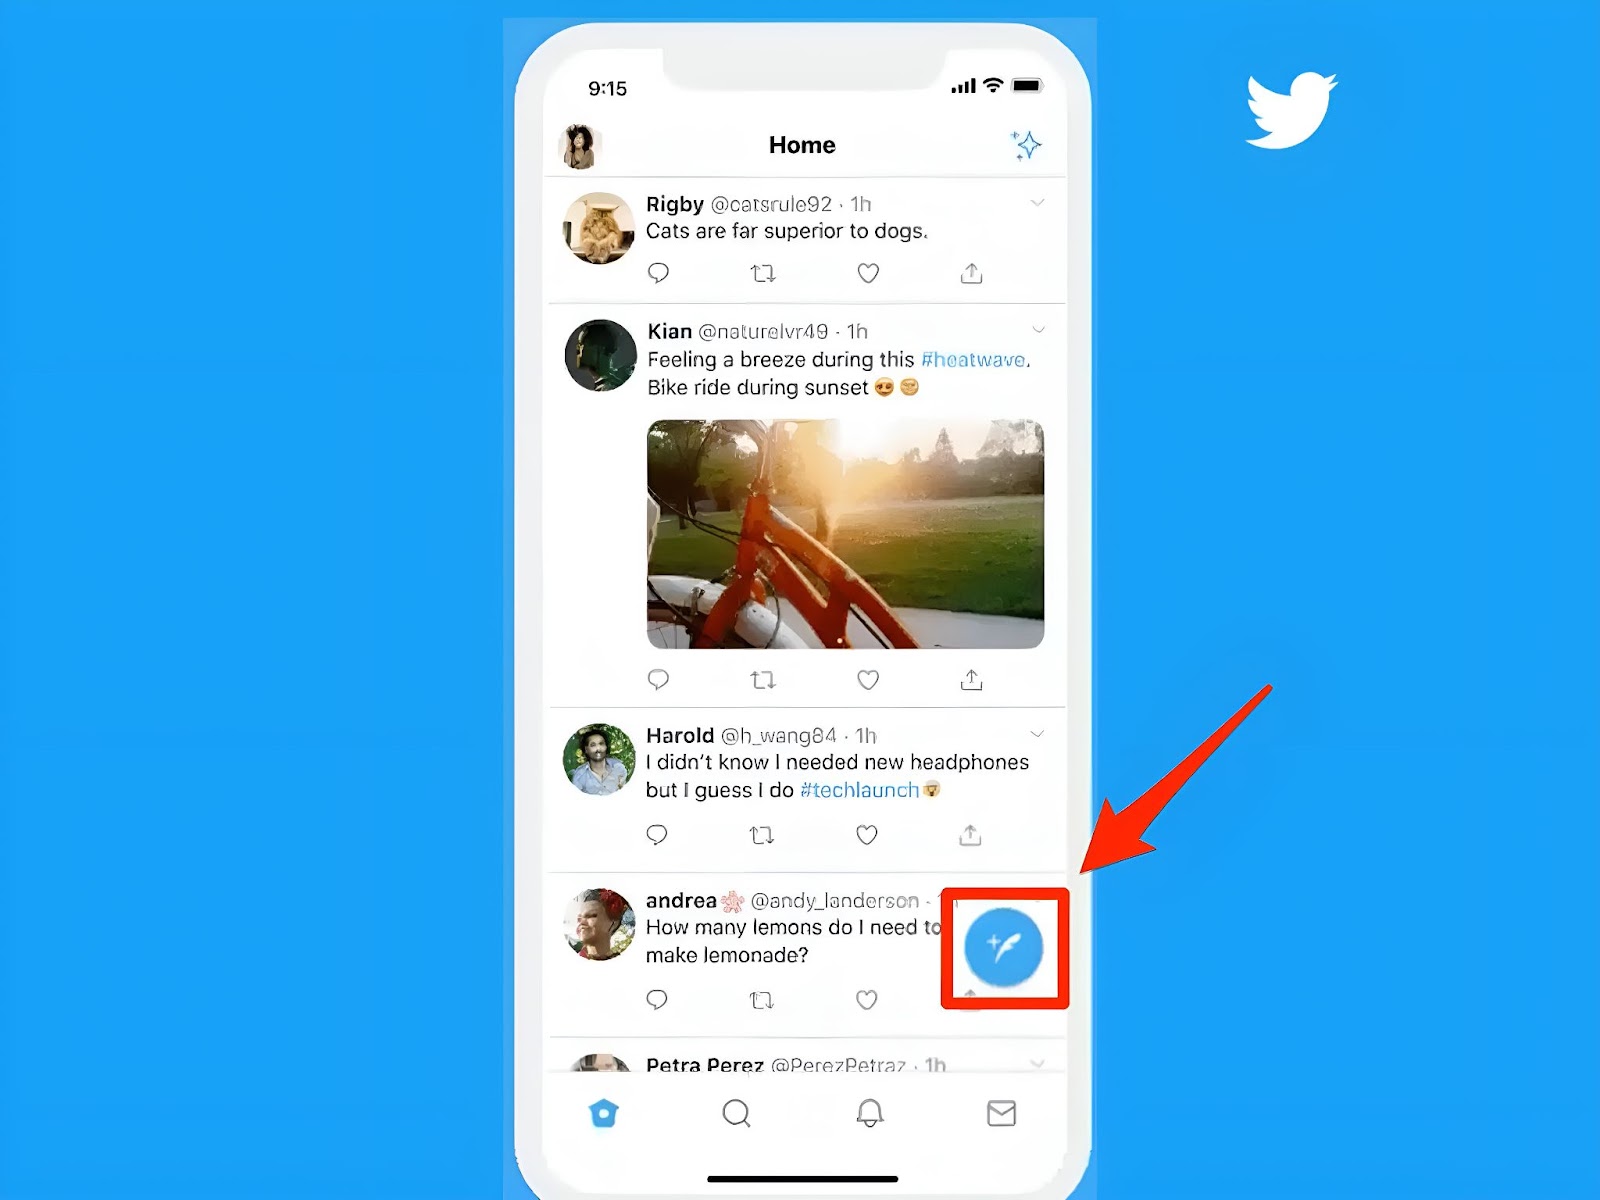
Open Twitter and tap the “+” icon to compose a tweet. Attach your MP4 file, add a brief caption, and use hashtags like #VoiceTweet or #AudioPost. Keep posts under 2:20 minutes for better reach. Review the preview to ensure audio and visuals align before publishing.
Method 2: Post Audio on Twitter from a PC
If you prefer working on a computer, posting audio is just as simple. Using a PC gives you more control over editing and preparing your files. Here’s how to record, convert, and upload audio from your desktop with just a few quick steps.
Step 1 – Record or Prepare Audio

Start by recording your voice on your computer. A simple mic and free apps like Audacity work fine. Speak close to the mic and keep the room quiet. If you already have a clip, play it once to make sure it’s clear and smooth.
Save it as MP3 or WAV—these formats keep the sound clean and ready for editing later. A quick test recording before the final take can also save you time.
Step 2 – Convert to Video with Visuals
Since Twitter doesn’t take audio alone, you’ll need to add an image. Use Canva or Kapwing to drop your audio over a static picture or even a simple waveform. Keep it clean—too much design can distract. Export it as MP4 when done.
Adding a short title or label in the video can also help listeners know what to expect. Test your file by playing it once to be sure both sound and visuals are synced.
Step 3 – Upload via Twitter Web
Log into Twitter.com and click the “Post” button. Drag your MP4 into the box, type a short caption, and add hashtags like #VoiceTweet. Play the preview to double-check sound and timing.
Once it looks right, hit Tweet. You can also pin the tweet if you want people to see it first. After posting, monitor engagement and reply to comments to keep the conversation going.
Method 3: Use Twitter Spaces to Share Audio
Twitter Spaces is perfect for live audio conversations. It allows you to talk directly with listeners and create interactive sessions. Here’s how to host a Space, engage with your audience, and share the recording for those who missed it.
Host a Live Audio Session on Mobile
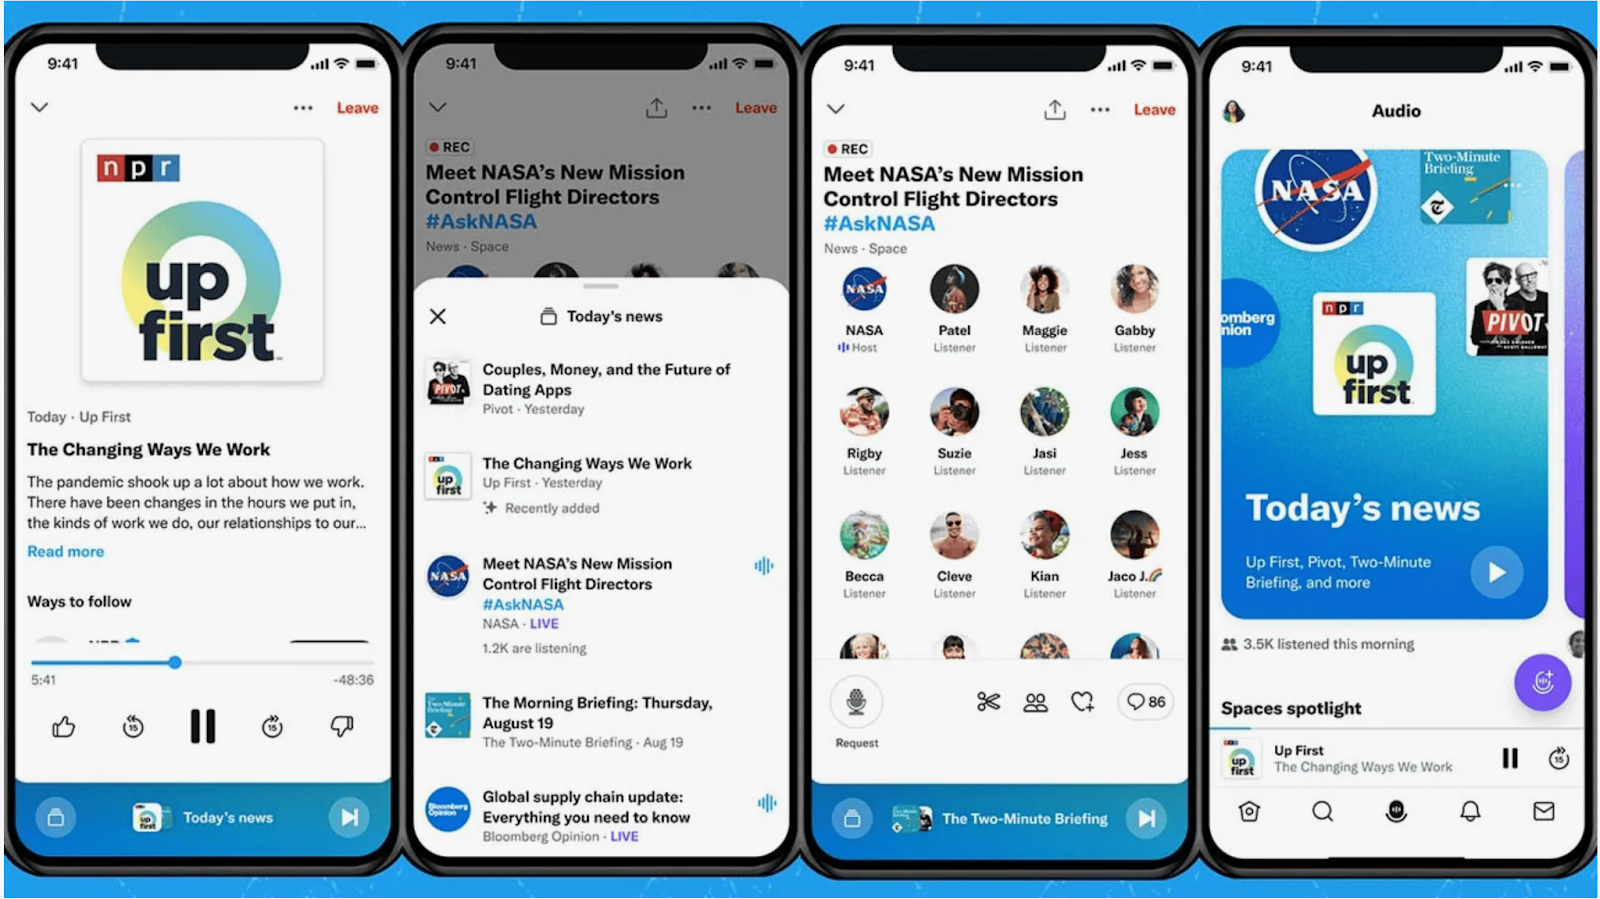
Open the Twitter app and tap the mic icon to start a Space. Give it a clear title so listeners know the topic. Before going live, test your mic and choose a quiet spot to avoid distractions. You can invite co-hosts or let listeners request to speak during the session.
Tweet about your Space a few minutes beforehand so more people see it and join in real time. Engaging directly with listeners makes the session feel more natural.
Save and Share the Space Recording
Turn on the record option in your Space settings before you begin. Once the session ends, save the recording and share it with a single tap. Post the replay link in a tweet and add a short caption explaining what was discussed.
Pin the tweet so it’s easy for new followers to find. Sharing the replay later in the week can also reach people who weren’t online during the live session. This helps your audio stay relevant beyond the live event.
Bonus Tips for Better Audio Engagement
- Add subtitles or captions: Many users watch tweets without sound. Adding captions helps them follow along and keeps them engaged. Tools like Kapwing or Canva make it easy to create simple, accurate captions that make your audio posts more accessible.
- Use relevant hashtags: Hashtags increase visibility and help reach the right audience. Use tags like #VoiceTweet or #AudioPost to connect with people who enjoy audio content. Limit yourself to two or three hashtags so your post stays clean and avoids looking cluttered.
- Pair your audio with visuals: A blank screen is easy to skip. Adding a waveform animation or branded image makes your post stand out in busy feeds. Clean, minimal visuals grab attention while keeping the focus on your audio message.
Conclusion
Posting audio on Twitter is simple once you know the steps. You can share short clips, post clear audio messages, or host live Spaces to connect better with your audience. Pairing sound with captions, visuals, and focused hashtags helps your posts stand out. Using reliable tools makes recording easier and keeps your audio sharp. This approach encourages more people to listen, engage, and interact with your content.
Frequently Asked Questions
Can I upload audio files directly without converting?
No. Twitter does not support standalone audio uploads. You need to convert your audio into an MP4 video file with visuals, such as a static image or waveform, before posting it.
How can I make my audio tweets more engaging?
Use captions, add visuals like waveforms, and include relevant hashtags. Keep your clip short, clear, and easy to listen to. Pairing strong audio with clean visuals helps grab attention and encourages people to engage.
Which tool is best to convert audio to video?
Free tools like Canva, Kapwing, or InShot work well. They let you add an image or waveform to your audio and export it as an MP4 file that’s ready for Twitter.
Can I post audio-only content via Twitter Web?
No. Twitter Web requires video uploads. To share audio, create a short MP4 video by pairing your audio with a simple background or waveform before posting.