.png)
Making a guitar tab video in CapCut is one of the most practical skills a guitar content creator can pick up. Whether you want to post a lesson riff on TikTok or upload a full song tutorial to YouTube, CapCut gives you everything you need without expensive software. This guide covers the two most reliable methods, walks you through audio sync, and ends with export settings so your finished video looks sharp on any platform.

How to Make Guitar Tab Videos in CapCut (Step-by-Step Guide)
What You’ll Need Before You Start
Gathering your materials before you open CapCut saves a lot of frustration. Here is everything you should have ready:

What You’ll Need Before You Start
- Tab source file or app: Songsterr, Guitar Pro, TuxGuitar, or a screenshot from Ultimate Guitar
- Guitar audio: A clean recording exported from a DAW, recorded direct-in, or captured from your phone
- CapCut installed: Mobile (iOS or Android) or desktop — both support the features used in this guide
- High-resolution tab image (if using Method 2): At least 1920px wide so it stays sharp after export
There are three ways to bring tab content into CapCut. Method 1 uses screen recording software to capture a scrolling tab playback. Method 2 imports a static tab image and animates the scroll manually with keyframes. A third option — typing tab notation directly using CapCut’s text tool — works for short riffs but becomes impractical for anything longer than a few bars. This guide focuses on Methods 1 and 2.
Method 1 — Screen Record Your Tab (Recommended for Full Songs)
Screen recording captures the tab scrolling in real time inside a dedicated app, giving you smooth, natural motion without any manual animation. This method works best for full songs because the scrolling is already timed to the music.
- Choose what kind of video you’re aiming for, then configure the canvas and resolution to match. The platform decides your aspect ratio — for TikTok, Reels, or Shorts, use 9:16; for YouTube, use 16:9.
- Record the scrolling tab from your tab app. Play the tab through and capture it with your screen recorder so you have a clean video of the scroll to work with. Songsterr is recommended if you don’t want to adjust the BPM.
- Import both clips into CapCut. Bring in the scrolling tab recording along with your own performance video.

- In the player, adjust the position of the scrolling tab. Crop it so only the bar shows on screen (or cut the whole tab altogether; it’s a matter of preference).

- Add your video next. Crop and position it on the canvas the same way so it sits where you want it.

- Sync both clips so the scrolling tab follows what you’re doing on screen. Line them up so the tab matches your performance.
- Do final checks. Make sure your export configuration is good based on the platform you’re uploading it to.

Screen recording produces the most natural-looking scroll and requires no animation work inside CapCut.
How to Import the Screen Recording into CapCut
- Open CapCut and tap New Project.
- Select the screen recording from your camera roll or file browser.
- Once on the timeline, check the aspect ratio. For YouTube, set the canvas to 16:9. For TikTok, Reels, or YouTube Shorts, switch to 9:16.
- If the tab was recorded horizontally but you need a vertical video, use CapCut’s crop and zoom tools to reframe the content before exporting.
Method 2 — Use a Tab Image with CapCut Keyframe Animation
This is the most CapCut-native approach. Instead of recording the tab in motion, you import a static image and tell CapCut where the tab should start and where it should end. CapCut animates the movement between those two points automatically.
- Export or screenshot the tab as a high-res image. In Guitar Pro or TuxGuitar, use the “Export as Image” function. For Ultimate Guitar, take a full-page screenshot or use a browser extension that captures the entire page. Aim for an image at least 1920px wide.
- Create a New Project in CapCut and add the tab image to the timeline.
- Extend the image clip duration to match the full length of your guitar audio. Drag the right edge of the clip along the timeline until the durations match.
- Scale the image so it extends beyond the canvas bounds. Pinch to zoom out so you can see the full image width, then use the transform handles to make the image wider than the frame. This gives you room to scroll.
- Set the start keyframe. Move the playhead to the very beginning of the clip. Tap the diamond icon (keyframe) to lock the tab’s starting position — typically with the first note visible on the left side of the frame.
- Set the end keyframe. Move the playhead to the end of the clip. Reposition the image so the final notes appear on screen, then tap the keyframe diamond again to lock that position.
- Preview the animation. CapCut will interpolate a smooth scroll between the two keyframes. Watch the preview to check for jumpy movement.
- Get a high-res version of your tab and import it onto the timeline.
- Crop the image in the preview so it only shows the part that you want to scroll. Below, we only want the intro to scroll, so we’re cropping the others.

- Bring your tab image in the right size and right place. Crop the tab image until only the portion you want to scroll is left. Move and scale the tab image as needed to improve what the viewer can see.

- Set the start key frame. Click on the tab clip on the timeline. On the right side of the screen, click on the Video tab. Under “Rotate”, select “Align Left”. This will move the tab image so it shows the first notes. Then click the Diamond icon (◇) next to the “Position,” which will create your start key frame.

- Set the end keyframe. Click the tab image again and move the playhead to the end of the clip. Select “Align Right” to bring the edge of the image into view, then click the diamond icon once more to lock the second keyframe.

- When done properly, the tab image would scroll slowly in sync with the video.

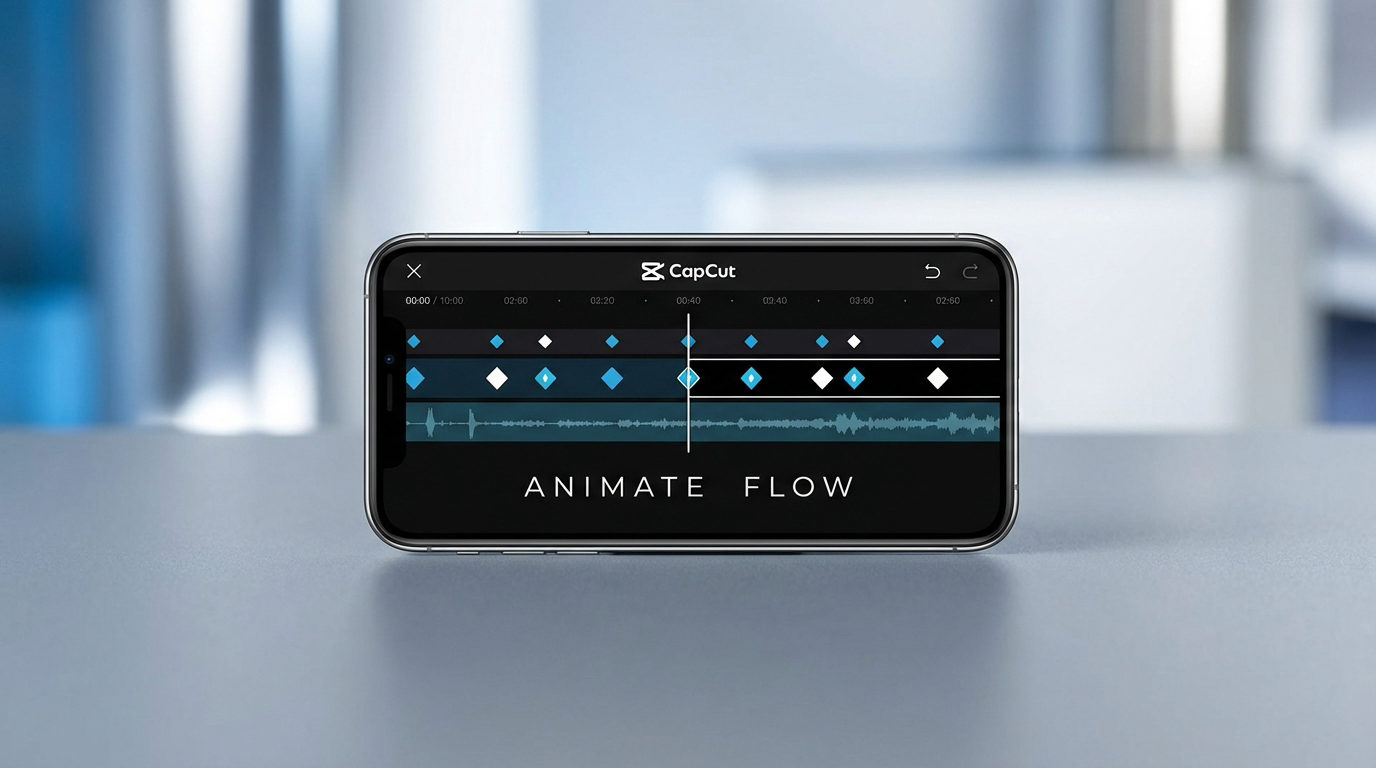
Controlling Scroll Speed and Timing
Most beginners set the keyframes and find the scroll either rushes through complex sections or stalls during simple ones. Here’s how to fix that.
The overall scroll speed is controlled by the distance between your start and end positions divided by the clip duration. To slow the scroll through a difficult passage, add an extra keyframe at that point in the timeline and reduce the positional change between it and the surrounding keyframes.
To fine-tune timing:
- Identify the problem section by watching the preview alongside the audio.
- Place the playhead at the bar where the scroll is too fast or too slow.
- Add a new keyframe at that position without moving the image. This anchors the scroll speed up to that point.
- Adjust the image position slightly later in the timeline to slow the scroll through the difficult section.
- Use CapCut’s speed curve tool (available under the keyframe options on desktop) to apply ease-in or ease-out smoothing for a more natural feel.
Syncing the Tab Scroll to Your Guitar Audio
Good timing is what separates a watchable tab video from a frustrating one. Follow these steps to lock your audio and tab animation together.

Syncing the Tab Scroll to Your Guitar Audio
- Import your guitar audio. Tap the Audio panel in CapCut, then select Sounds or Extracted Audio to add your guitar recording.
- Align the audio start with the tab start frame. Drag the audio clip so its beginning lines up with frame one of the tab animation.
- Use the waveform display to verify sync. CapCut shows the audio waveform on the timeline. Match visible peaks (loud note attacks) against the position of those notes on the scrolling tab.
- Add a silent count-in if needed. Record two or four beats of silence at the start of both your audio file and your tab animation. This gives you a consistent anchor point to align from, especially for complex songs.
- Play back the full video and watch for drift. If the tab starts pulling ahead or falling behind, adjust the end keyframe position to compensate.
If you plan to record spoken commentary over the tab video — explaining fingering, chord shapes, or theory points — a compact wireless microphone makes the process much easier. The Hollyland LARK M2 weighs just 9g and clips to your shirt, capturing clean audio directly to your smartphone without cables interfering while you play.

Hollyland LARK M2 - Mini Lavalier Microphone
An incredibly lightweight and compact wireless button microphone that captures high-fidelity audio.
Key Features: 9g Button Size | 48 kHz/24-bit | 40 Hours Battery
Enhancing Your Guitar Tab Video in CapCut
A few small visual additions can significantly increase how professional your video looks without turning this into a second full project:

Enhancing Your Guitar Tab Video in CapCut
- Add the song title and artist as a text overlay in the lower third using CapCut’s text tool. Choose a clean sans-serif font that doesn’t compete with the tab.
- Use CapCut stickers or text callouts to label chord names at key transitions, giving viewers extra context.
- Change the background color behind the tab image. A dark grey or black background improves contrast against the white tab paper and reduces eye strain during long videos.
- Add a progress bar using CapCut’s shape layer or a built-in sticker. Place it at the bottom of the frame so viewers can track how far through the song they are.
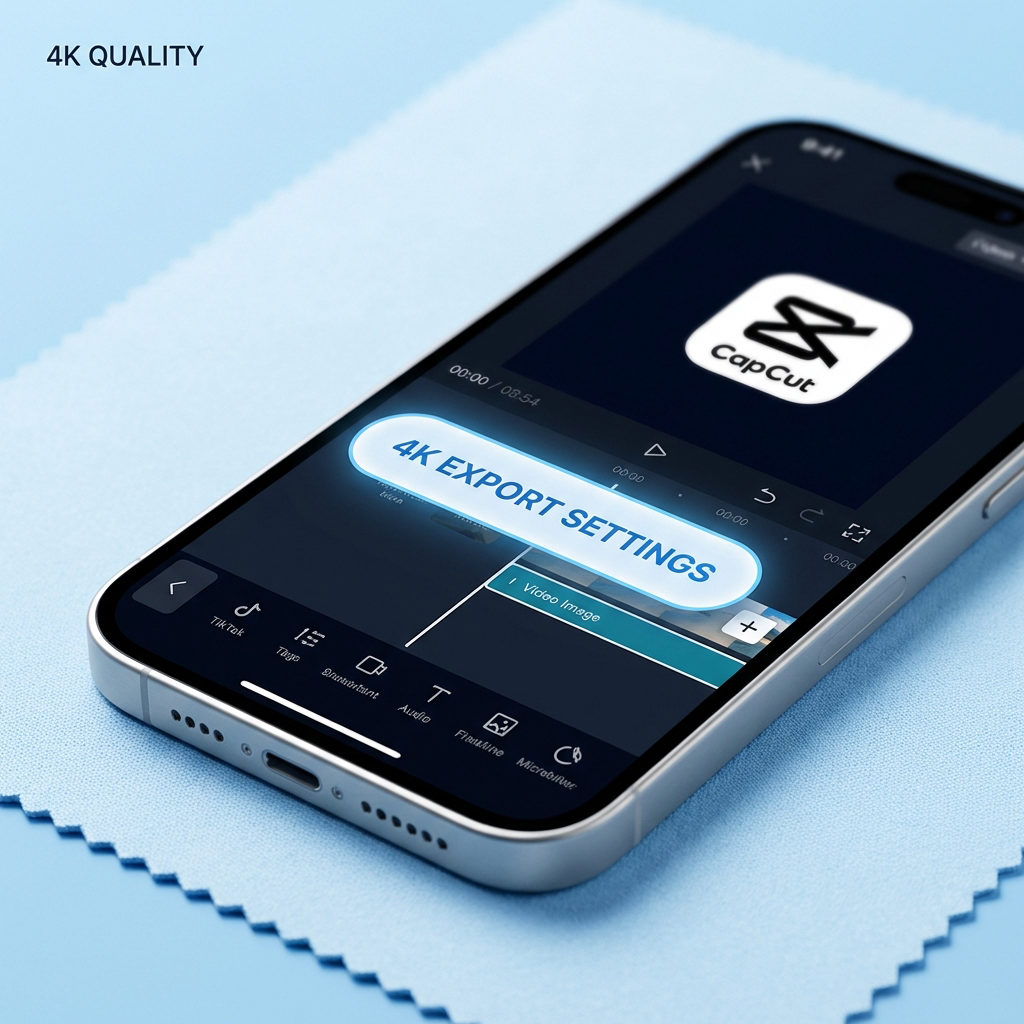
Export Settings for YouTube, TikTok, and Instagram Reels
| Platform | Resolution | Aspect Ratio | Frame Rate |
|---|---|---|---|
| YouTube | 1080p or 4K | 16:9 | 30fps |
| TikTok / Reels | 1080p | 9:16 | 30fps |
| YouTube Shorts | 1080p | 9:16 | 30fps |
Tab notation contains fine lines and small text, which compress poorly at low bitrates. In CapCut’s export settings, set the bitrate to “Recommended” at minimum, or bump it to the highest available option. This keeps thin tab lines crisp instead of blocky. Always export from the highest-resolution source image you have — scaling up a low-DPI screenshot will look blurry no matter how high the bitrate.
FAQ
Can I make a guitar tab video in CapCut on mobile or only on desktop?
Both work well. CapCut’s mobile app fully supports keyframe animation and audio import, so every step in this guide applies. The desktop version gives you more timeline precision and a larger workspace, which is helpful for long songs — but mobile is perfectly capable for short clips and riff videos.
What’s the best app to create or find guitar tabs before importing into CapCut?
Songsterr is the top choice for screen recording because it auto-scrolls during playback. Guitar Pro and TuxGuitar are best when you need a clean image export. For popular songs, Ultimate Guitar tab pages can be screenshot and imported into CapCut as static images for the keyframe method.
Why does my scrolling tab look blurry after export?
The most common cause is a low-resolution source image being stretched across the canvas. Start with a tab image at least 1920px wide. Also check that CapCut’s export bitrate is set to the highest available option, since thin lines in tab notation are the first detail to degrade at compressed bitrates.
What to Do Next
The screen recording method and the keyframe image scroll are the two most reliable ways to build a guitar tab video in CapCut. Of the two, audio sync is the skill that matters most — a perfectly animated tab means nothing if the scroll is half a beat behind the recording. Before tackling a full song, practice the entire workflow with a 30-second riff. Once the process feels natural at short length, scaling up to a full tutorial is straightforward. For your next step, check out the related guides on audio editing and text animation in CapCut.