.png)
You don’t need expensive software to sound like a chipmunk, a demon, or an anonymous hacker. Learning how to use Audacity as a voice changer (pitch & speed) is one of the most useful skills a content creator can have. Whether you are producing a podcast, a YouTube skit, or a video essay, Audacity offers powerful tools to completely transform your vocals—for free.
However, many beginners get frustrated when their “demon” voice sounds like a robot in a tin can. This usually happens because they confuse Pitch with Speed, or they start with low-quality audio.
In this guide, we will walk through the exact settings you need to create specific character voices and how to avoid the common “metallic” distortion that ruins edits.
Can You Use Audacity as a Voice Changer? (Real-Time vs. Post-Production)
Before you start tweaking knobs, it is crucial to understand exactly what Audacity can and cannot do. If you are looking for a tool to change your voice in real-time while gaming on Discord, streaming on Twitch, or during a Zoom call, Audacity is not the right tool.
Audacity is a post-production audio editor. This means it works on audio that has already been recorded. It cannot intercept your microphone signal, process it instantly, and send it to another application live.
- For Live Use (Discord/OBS): You need dedicated “virtual audio driver” software like Voicemod or Clownfish.
- For Content Creation (Podcasts/YouTube): Audacity is perfect. You record your voice first, then apply effects to alter the character, pitch, or speed before exporting the final file.
Destructive vs. Non-Destructive Editing
To get the most out of Audacity, remember that it is primarily a destructive editor.
- Destructive Editing (Audacity): When you apply an effect like “Change Pitch,” Audacity physically alters the waveform of your audio file. Once you save and close the project, those changes are permanent. You cannot easily “turn off” the effect later without using the “Undo” function immediately.
- Non-Destructive Editing (DAWs like Reaper): These programs apply effects as “layers” over the original audio. You can toggle them on or off at any time.
Why use Audacity? Despite being “destructive,” Audacity remains the industry standard for beginners because it is free, lightweight, and fast. For creators who simply want to record a skit or deepen a voiceover, it offers the quickest workflow to get a permanent, usable audio file without the steep learning curve of complex music software.
Preparation: Recording Clean Audio for Effects
Before you touch a single slider, you have to respect the “Garbage In, Garbage Out” rule.
Voice changing effects—especially pitch shifting—are aggressive. They manipulate the audio waveform heavily. If your original recording has even a slight background hiss, room echo, or distortion, applying an effect will amplify these flaws.
A -20 semitone pitch shift doesn’t just lower your voice; it lowers the frequency of the background noise, turning a subtle room hum into a distracting, metallic rumble.
To get a Hollywood-level character voice, you need a pristine source file.
Why Hardware Matters: The 32-bit Float Advantage
For content creators doing skits, voice acting, or dynamic podcasts, we recommend the Hollyland LARK MAX 2. It solves the two biggest problems creators face when recording for voice modulation: clipping and resolution.

Hollyland LARK MAX 2 - Premium Wireless Microphone System
A premium wireless microphone for videographers, podcasters, and content creators to capture broadcast-quality sound.
Key Features: Wireless Audio Monitoring | 32-bit Float | Timecode
- 32-bit Float Recording: Voice acting is dynamic. You might whisper one second and scream the next to sell a “monster” or “angry gamer” character. On standard microphones, that scream would peak and distort (clip), ruining the take. The LARK MAX 2 features 32-bit Float recording, which captures a massive dynamic range. This acts as a safety net, allowing you to lower the volume of a scream in post-production without any distortion.
- Studio Quality (48kHz/24-bit): Audacity effects work best with high-resolution data. The LARK MAX 2 records at 48kHz, providing enough sample data for Audacity to stretch and shift the pitch without the audio sounding “thin” or robotic.
Monitor Before You Modulate
You can’t fix a bad performance with effects. The LARK MAX 2 also supports Wireless Audio Monitoring. By connecting OWS (Open Wearable Stereo) earphones or standard headphones to the receiver, you can hear your voice in real-time as you record.
This ensures you are projecting clearly and staying on mic before you start editing, saving you hours of trying to fix bad audio later.
Method 1: Changing Pitch Without Changing Speed (Deep or High Voice)
The most common mistake beginners make is using “Change Speed” to alter a voice. While that works for a comedic effect, it ruins the synchronization of your audio if you are editing a podcast or video voiceover.
To change the gender or depth of a voice without making the clip shorter or longer, you must use the Change Pitch effect. This separates the pitch frequency from the time duration.
Step-by-Step Tutorial
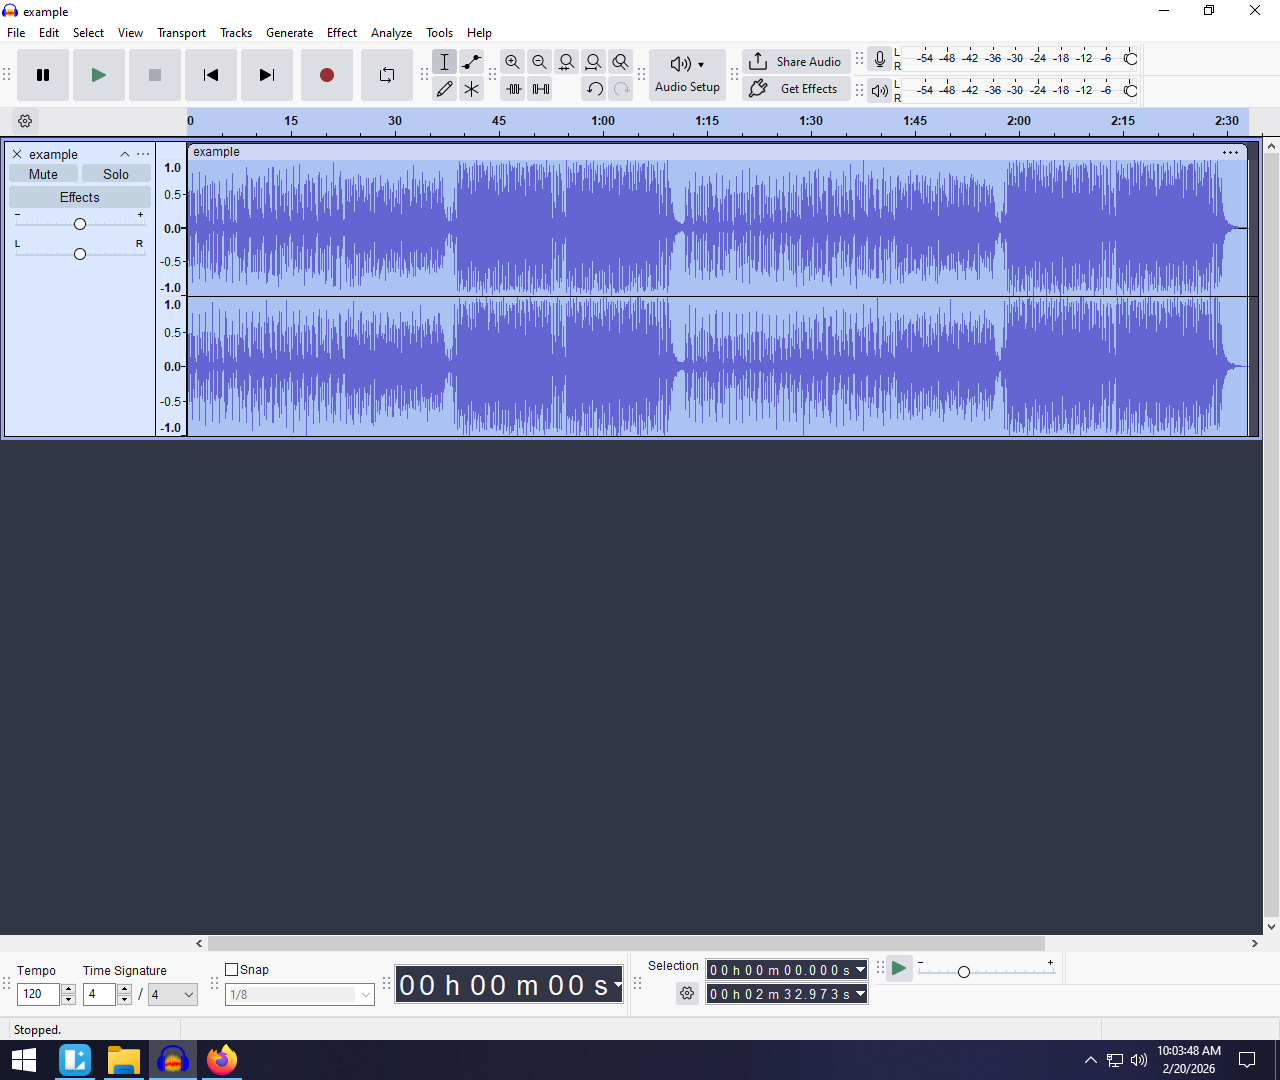
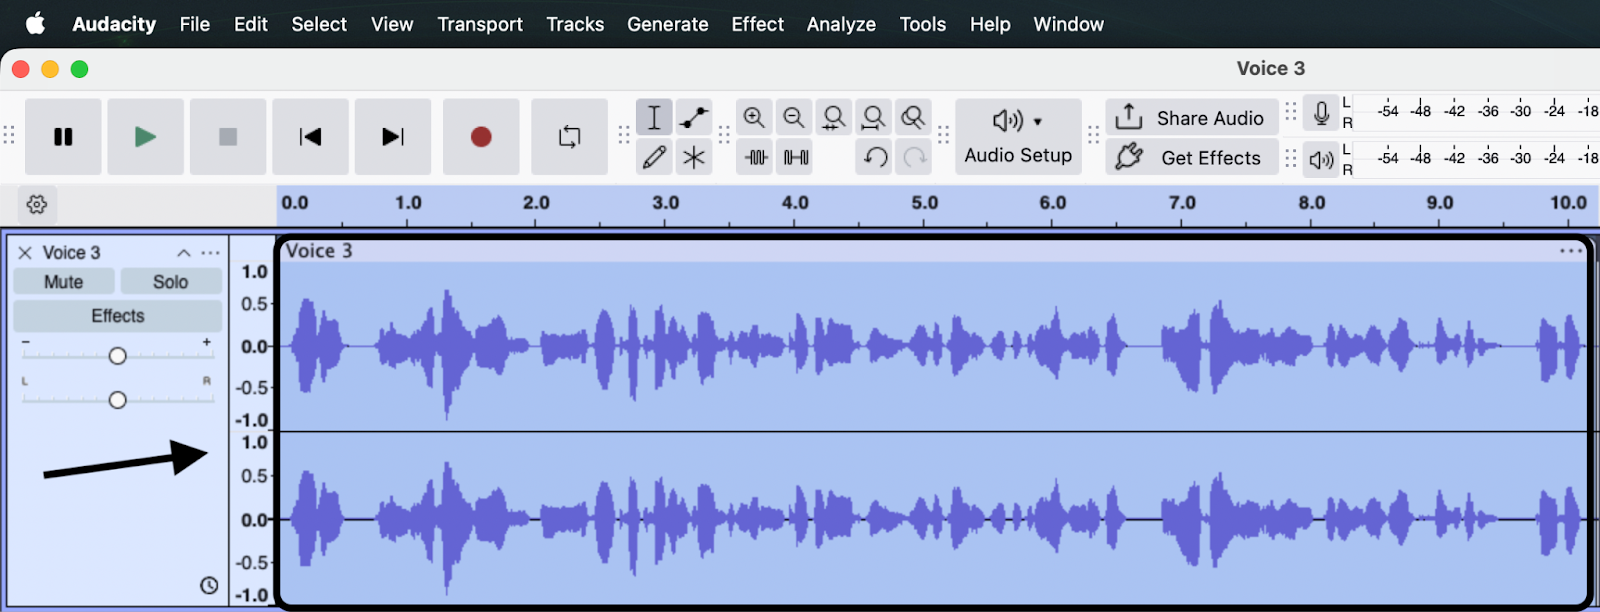
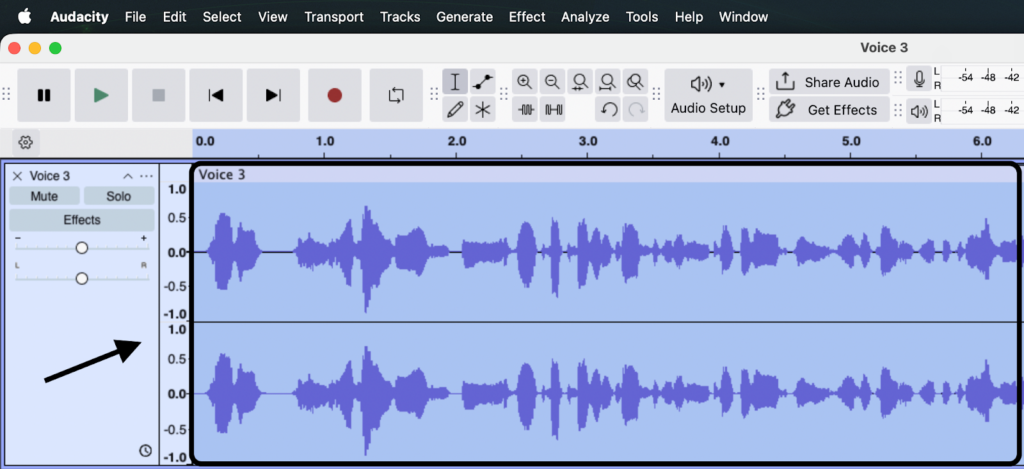
- Select Your Audio: Click the track header or drag your mouse to highlight the specific section of audio you want to alter.
- Open the Effect: Go to the top menu and select Effect > Pitch and Tempo > Change Pitch.

- Adjust Semitones: Ignore the “Frequency” and “Percent Change” boxes. The most natural-sounding adjustments happen in the Semitones (half-steps) box.
- Negative numbers (-): Lower the voice (Deep/Masculine).
- Positive numbers (+): Raise the voice (High/Feminine/Cartoon).
- Enable High-Quality Stretching: Ensure the checkbox for “Use high quality stretching (slow)” is checked. This drastically reduces the metallic, robotic artifacts often caused by pitch shifting.
- Preview and Apply: Click Preview to hear a short snippet. If satisfied, click Apply.

Cheat Sheet: Exact Settings for Common Voice Types
Audacity doesn’t have presets named “Demon” or “Elf,” so you need to dial in the numbers manually. Use these Semitone settings as a starting point:
- The “Anonymous Hacker” Voice: Set Semitones to -3 to -5.
- Why: This drops the voice just enough to disguise the speaker’s identity without making them sound like a movie monster. It remains intelligible and human.
- The “Demon / Monster” Voice: Set Semitones to -12 to -20.
- Why: This drops the voice by a full octave or more. For best results, slow down your speaking pace slightly during the actual recording.
- The “High Fantasy / Elf” Voice: Set Semitones to +5 to +8.
- Why: This lightens the voice without entering “chipmunk” territory.
- The “Chipmunk” Voice (Pitch Only): Set Semitones to +15 to +25.
- Why: This mimics the high-frequency squeak. Note that without changing the speed, this can sound slightly digital/processed, which is usually acceptable for this character type.
Method 2: Changing Speed (The “Tape” or “Chipmunk” Effect)
While “Change Pitch” alters how high or low a voice sounds without affecting the timing, Change Speed links the two together. This effect mimics the physics of speeding up a vinyl record or a cassette tape: as the audio gets faster, the pitch gets higher.
This is the specific tool you need for the classic “Alvin and the Chipmunks” effect or a slow-motion cinematic “dying robot” sound.
The Difference: Pitch vs. Speed
It is crucial to understand the trade-off before applying this effect:
- Change Pitch: Keeps the audio length the same. The voice changes, but the speaking pace remains natural.
- Change Speed: Alters the audio length.
Faster: Higher pitch, shorter duration (The “Chipmunk”).
Slower: Lower pitch, longer duration (The “Slow-Motion”).
Step-by-Step: How to Apply the Chipmunk Effect
Follow this workflow to drastically alter the character of your voice recording:
- Select Your Audio: Click the track header or drag your cursor to highlight the section you want to edit.

- Open the Effect: Navigate to the top menu and select Effect > Pitch and Tempo > Change Speed and Pitch.

- Adjust the Parameters: You will see a “Speed Multiplier” and “Percent Change.”
- For a Chipmunk Voice: Set the Speed Multiplier between 1.5 and 2.0 (or +50% to +100%). This will make the audio play twice as fast and an octave higher.
- For a Slow-Motion/Demon Voice: Set the Speed Multiplier between 0.5 and 0.7 (or -50% to -30%).
- For “Fast Legal Disclaimers”: If you are trying to create a comedic “terms and conditions apply” voice, try a modest increase of 1.2 to 1.3.
- Preview and Apply: Click Preview to hear the result. If the timing works, click Apply.

Pro Tip: Syncing with Video
Because this method changes the physical length of your file, it will break synchronization if you are editing audio for a video (like a YouTube skit). If you need the voice to sound like a chipmunk but still match the lip movements of the original video, use Method 1 (Change Pitch) combined with a manual Change Tempo effect instead.
Method 3: Creating Specific Character Voices (Recipes)
Changing pitch alone often sounds like a cheap toy. To get cinematic or realistic results, you need to stack multiple effects—a process audio engineers call a “signal chain.” By combining Pitch, EQ, and Modulation, you can build distinct character profiles.
Here are the exact recipes for the most common voice types.
Recipe A: The “Anonymous Witness” Voice
This is the classic “true crime documentary” interview voice. The goal is to disguise the speaker’s identity completely while ensuring the words remain intelligible.
- Pitch Shift: Go to Effect > Pitch and Tempo > Change Pitch. Lower the pitch by -4 Semitones. Going lower than -5 usually makes the voice sound comedic rather than serious.


- EQ Manipulation: Go to Effect > EQ and Filters > Filter Curve EQ.

- Boost Bass: Slightly raise the line on the left side (100Hz–200Hz) to add “weight.”

- Cut Treble: Drag the line down on the far right side (above 4000Hz). This removes the “air” and unique identifiers from the voice, making it sound muffled and generic.

Recipe B: The “Robot / Sci-Fi” Voice
Robots don’t breathe, and their voices have mechanical modulation. We simulate this by adding rapid repetition and volume fluctuation rather than just changing the pitch.
- Metallic Ring (Echo): Go to Effect > Delay and Reverb > Echo.

- Delay Time: Set to 0.05 (very short).
- Decay Factor: Set to 0.5. This creates a tight, metallic ringing sound typical of 80s sci-fi droids.

- Mechanical Buzz (Tremolo): Go to Effect > Modulation > Tremolo.

- Frequency: Set to roughly 40 Hz. This rapidly fluctuates the volume, creating a buzzing, synthesized texture.

Quick Reference: Character Voice Settings
Use this table to quickly dial in settings for various archetypes.
| Character Type | Effect Chain Order | Recommended Settings |
|---|---|---|
| Anonymous Witness | 1. Change Pitch 2. Filter Curve EQ | Pitch: -4 Semitones EQ: Boost Bass (+6dB), Cut Treble (-12dB) |
| Sci-Fi Robot | 1. Echo 2. Tremolo | Echo: 0.05 delay / 0.5 decay Tremolo: 40Hz Frequency |
| Demon / Monster | 1. Change Pitch 2. Reverb | Pitch: -12 to -15 Semitones Reverb: Room Size 75% (Large Hall) |
| Telephone / Radio | 1. Filter Curve EQ 2. Distortion (Optional) | EQ: “Telephone” Preset (cuts everything below 400Hz and above 3000Hz) |
| Chipmunk | 1. Change Speed | Speed Multiplier: 1.50 (Increases tempo and pitch simultaneously) |
Advanced Method: Using VST Plugins in Audacity
While Audacity’s native “Change Pitch” effect is useful, it is basic. It simply stretches or compresses the wave, which often results in the dreaded “Chipmunk” or “Slow-motion Demon” sound rather than a realistic character voice.
To achieve professional results—specifically changing gender (Male-to-Female or vice versa) without sounding robotic—you need to use third-party VST (Virtual Studio Technology) plugins. These plugins allow you to manipulate Formants.
Why You Need “Formant Shifting”
Pitch and Formants are different.
- Pitch is the note your vocal cords produce (High or Low).
- Formant is the resonance created by the size of your throat and mouth.
If you only raise the pitch, you sound like a small creature (Chipmunk). To sound like a human female, you must raise the pitch and adjust the formants to simulate a smaller vocal tract, but not to a cartoonish degree. Native Audacity tools cannot do this effectively, but VSTs can.
Quick Settings Guide
Once the RoVee interface opens, use these baseline settings to get started:
| Target Voice | Pitch Knob | Formant Knob | Result |
|---|---|---|---|
| Male to Female | +12 (One Octave) | +4 to +6 | Higher pitch with natural throat resonance. |
| Female to Male | -12 (One Octave) | -2 to -4 | Deeper voice without the “slow motion” drag. |
| Robot/Synth | 0 | 0 | Turn the “Mix” knob to 50% to blend your dry voice with a robotic layer. |
Note: VSTs are heavy on processing. Apply them to short sections of audio (10-15 seconds) first to ensure your computer doesn’t freeze.
Common Pitfalls & Pro Tips for Better Audio
Applying heavy effects puts a massive strain on the audio file. If you push the software too far, or start with a low-quality recording, the result will sound “metallic,” garbled, or filled with digital artifacts.
Here is how to troubleshoot common issues and ensure your character voices sound professional.
Why Does My Voice Sound “Metallic”?
If your pitch-shifted voice sounds robotic or like it is vibrating inside a tin can, you have likely shifted the pitch too far. Audacity has to invent new audio data to fill the gaps when stretching or shrinking wavelengths.
- The Limit: Try to stay within +/- 5 to 10 semitones. Going beyond 12 semitones (a full octave) almost always degrades quality.
- The Fix: If you need an extreme voice change, do it in two passes. Apply a -5 semitone shift, export the file as a WAV, re-import it, and apply another -5 shift. This sometimes yields cleaner results than one aggressive jump.
Pro Tip 1: Use 32-bit Float to Save Your Takes
Voice acting for effects often involves dynamic extremes—whispering for a creepy effect or screaming for a monster voice. Standard 16-bit or 24-bit recordings will often clip (distort) when you scream, or be too noisy when you boost a whisper.
This is where 32-bit Float Recording becomes essential. We recommend using a system like the Hollyland LARK MAX 2 for your source audio. Because it records in 32-bit float, it captures an immense dynamic range that is virtually impossible to clip.
If you record a loud scream that looks distorted in the waveform, a normal file is ruined. With the LARK MAX 2’s 32-bit float file, you can simply lower the gain in Audacity, and the clean audio detail is still there. This provides the cleanest possible foundation for your pitch-shifting chain.
Pro Tip 2: Check Your Project Sample Rate
A common beginner mistake is recording in one sample rate and editing in another, which can cause subtle timing drifts or quality loss.
- The Standard: Ensure your Project Rate (Hz) located in the bottom-left corner of Audacity matches your microphone’s input.
- Recommendation: Set this to 48000Hz (48kHz). This is the standard for video and modern digital media. 44100Hz is acceptable for music, but 48kHz provides slightly better resolution for the complex math involved in pitch shifting.
Frequently Asked Questions (FAQ)
Is there a real-time voice changer for Audacity?
No. This is the most common misconception among new users. Audacity is a post-production audio editor, meaning it processes audio files after they have been recorded. It cannot modify your voice live while you are speaking on Discord, Zoom, or Twitch.
If you need a real-time voice changer for live streaming, look into software like Voicemod or Clownfish. Use Audacity when you want to permanently edit a recording for a podcast or video with higher precision.
How do I sound like a professional narrator in Audacity?
Simply lowering the pitch often makes a voice sound muddy, not professional. To achieve that “Radio DJ” or “Movie Trailer” sound, focus on EQ and Compression rather than just Pitch Shift.
- Filter Curve EQ: Go to Effect > EQ and Filters > Filter Curve EQ. Use the “Bass Boost” preset to add warmth and the “Treble Boost” preset to add clarity.

- Compressor: Go to Effect > Volume and Compression > Compressor. This evens out your volume, making whispers audible and shouting controlled, giving your voice that polished broadcast consistency.

Why does my voice sound robotic after changing pitch?
This usually happens because the software is struggling to stretch or compress the audio waveform without altering the tempo. When you shift pitch significantly (more than 10-15%), digital artifacts appear, creating a metallic or “warbling” sound.
To fix this, ensure you have the “Use high quality stretching (SBSMS)” box checked inside the Change Pitch effect window. This algorithm takes longer to process but results in a much smoother, more natural sound.
Conclusion
Audacity is a powerhouse for free audio editing, offering the tools you need to transform your voice for any creative project. By now, you should understand that the secret to convincing vocal effects lies in knowing when to manipulate Pitch (frequency) versus Speed (duration), and how to layer EQ to “sell” the character.
However, remember the golden rule of audio engineering: “Garbage In, Garbage Out.”
Heavy processing stretches digital files to their limit. If your original recording has background hiss or clipping, adding effects will only magnify those flaws.
To ensure your creative effects sound professional rather than amateur, prioritize the quality of your source audio. We recommend the Hollyland LARK MAX 2 for creators serious about sound design. Its 32-bit Float recording technology captures such a wide dynamic range that you can whisper or scream without distortion, giving Audacity the clean, high-fidelity data it needs to process effects smoothly.
Great audio starts at the microphone. Capture it cleanly, edit it creatively, and your audience won’t just hear your voice—they’ll believe the character.