.png)
Buzzing in audio is one of the most frustrating issues creators face. Whatever the cause, the result is the same: your recording sounds unprofessional and distracting.
The good news is that buzzing is almost always fixable. In this guide, you’ll learn step-by-step methods to identify and remove buzzing from your audio, whether you’re recording or editing. For creators who want to avoid these issues altogether, professional tools like the Hollyland LARK MAX 2 come equipped with features such as 32-bit float recording and OWS Bluetooth monitoring, designed to minimize interference and deliver clean, reliable sound.


Method 1: Check Physical Connections
The majority of buzzing begins with poor connections. Check your equipment before installing applications or changing settings.
- Examine your jacks and cords. Check for loose connectors, bent pins, or frayed wires. Gently move the cable where it plugs in; if the buzzing stops, it is probably the cable.

- Replace the parts. Swap out the microphone cable for one that is known to function. You have located the defective part if the buzz stops.
- When feasible, use balanced cables. Compared to unbalanced TS or RCA cables, XLR or TRS cables are far more effective in rejecting interference. This upgrade could be a long-term solution.
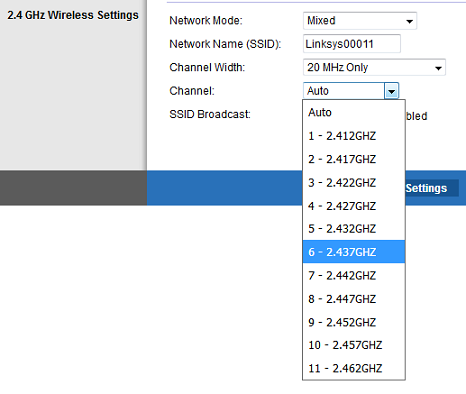
- Move your cables around. Audio wires should not be near electrical cords or adapters. To reduce interference, if they must cross, do it at a 90° angle.
Method 2: Adjust Audio Settings
Even with high-quality cables, incorrect settings can amplify noise. Your input levels will need to be optimized.
On Windows:
Navigate to Device Properties → Levels under Sound Settings → Input.

Adjust the input volume between 70 and 80%.

Turn off microphone boost, which is frequently the cause of undesired hum or hiss.
On a Mac:
Go to Sound → Input under System Preferences.

After choosing your microphone, choose the input volume.
Your voice should peak around two-thirds of the way up the input meter.
In the Zoom, OBS, and Teams recording apps:
Turn on noise reduction to lessen background noise.


Suppression might make your voice sound robotic, so do not set it too high.

Method 3: Use Noise Reduction Software
If the buzzing is already in your recording, free software like Audacity can clear it up.
Free Audacity:
Choose a quiet moment where the buzz is the only sound present.

Click Get Noise Profile after selecting Effect → Noise Reduction.

Use Noise Reduction throughout the entire track/Recording.

Before completing, preview the audio because excessive reduction can make it sound boring.
Paid Adobe Audition:
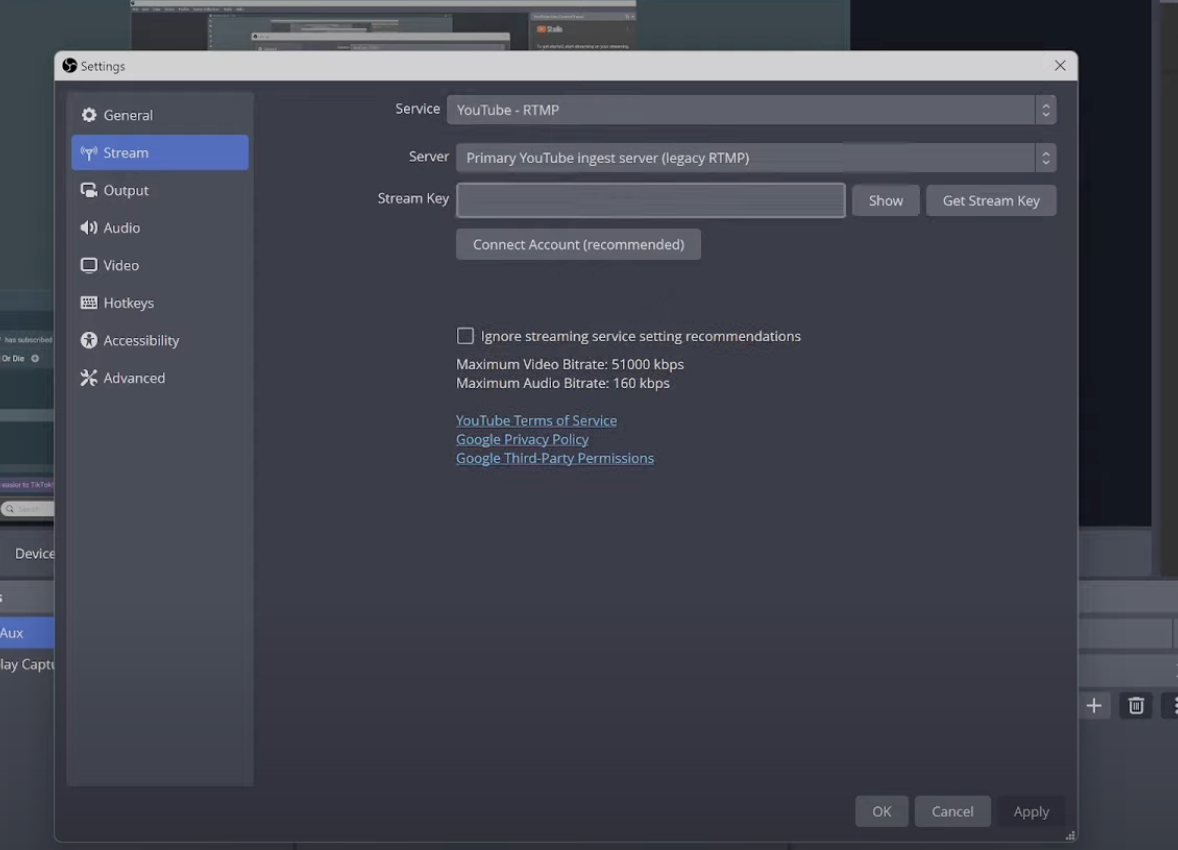
To cut down on hum in real time, apply the DeNoise effect.


Open the Spectral Frequency Display for fine-grained changes. You may eliminate the buzz, which usually manifests as a horizontal line, without compromising the rest of your voice.

Method 4: Manage Power and Ground Loop Issues
If buzzing remains after cable and setting checks, it’s likely electrical interference. One of the most common culprits is a ground loop.
A ground loop occurs when two or more pieces of audio equipment are connected to different power outlets, creating multiple paths to the electrical ground. This voltage difference produces a low-frequency hum, usually around 50Hz or 60Hz, depending on your region. It’s the deep, constant buzzing you often hear in speakers or headphones when gear is plugged into separate sockets.
Here’s how to deal with it:
Eliminate ground loops. Plug all your audio gear (computer, audio interface, speakers) into the same grounded power strip. This ensures a single, clean ground path.
Use a ground loop isolator. This inexpensive device sits between your audio source and interface, breaking the loop while allowing audio to pass through.

Check your USB power. Some laptops have “noisy” USB ports that introduce interference. Try another port, or use a powered USB hub for more stable, cleaner power.
Keep everything properly grounded. Avoid running sensitive gear from ungrounded adapters or cheap extension cords, as they often worsen the hum.
Conclusion
Buzzing in audio typically results from poor connections, incorrect settings, or interference from power sources. By carefully checking your cables, setting the necessaryproper input levels, applying noise reduction when needed, and managing ground loops, you can eliminate most buzzing problems. Prevention, however, is always better than fixing after the fact.
FAQs
What causes a buzzing sound in audio recordings?
Buzzing is usually caused by loose or damaged cables, electrical interference, improper gain settings, or ground loops between devices.
Can software completely remove buzzing noise?
Yes. Tools like Audacity or Adobe Audition can significantly reduce buzzing. But prevention is better — aggressive noise reduction can slightly degrade audio quality.
How do I fix buzzing when using an external mic?
Check all physical connections, replace faulty cables, lower input gain, and keep mic cables away from power cords.
Does the Hollyland LARK MAX 2 help reduce buzzing?
Yes. With advanced shielding, wireless stability, and 32-bit float recording, it prevents common causes of buzzing and delivers clean results.