.png)
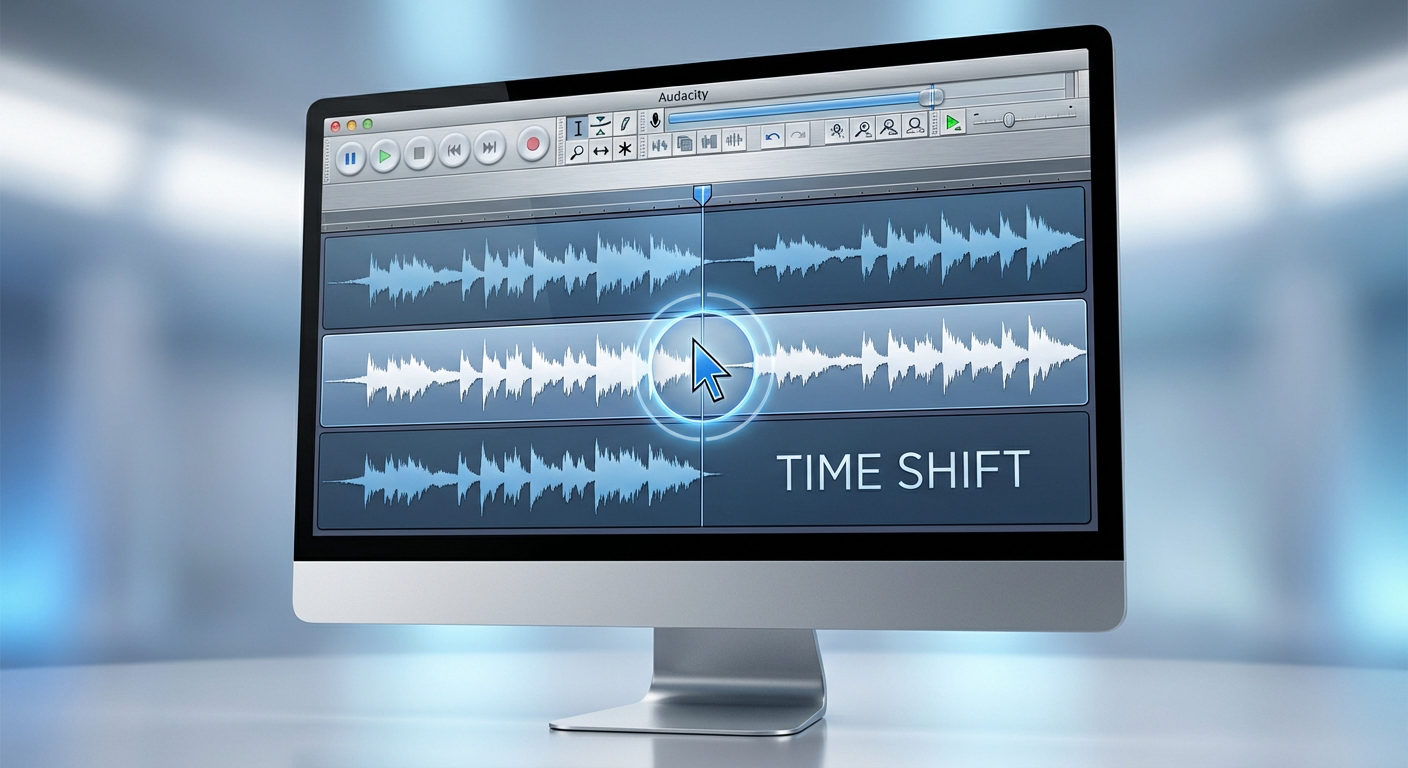
Learning how to move a track in Audacity used to be simple: you clicked the Time Shift Tool (the double-arrow icon) and dragged your audio. But if you recently updated the software and are frantically looking for that button, stop. It’s gone.
Starting with Audacity 3.1, the developers overhauled the interface to function more like a modern DAW (Digital Audio Workstation). The dedicated tool for moving clips was removed to streamline the workflow.
Now, moving tracks—whether sliding them horizontally to change timing or reordering them vertically to organize your workspace—is done entirely through the Selection Tool and “Clip Handles.”
While this change is meant to be faster, it often confuses returning users. This guide cuts through the noise and shows you exactly how to align your audio using the current workflow.
Quick Answer: Where Did the Time Shift Tool Go?
If you are returning to Audacity after a break, you likely noticed the Time Shift Tool (F5) is missing from the top toolbar. Don’t panic—the feature hasn’t been removed; it has been integrated.
In Audacity 3.1 and later, the developers introduced “Smart Clips.” This update merged the Time Shift functionality directly into the standard Selection Tool, so you no longer need to constantly switch buttons.
⚠️ Note for Returning Users:
You do not need to press F5 to move audio anymore.
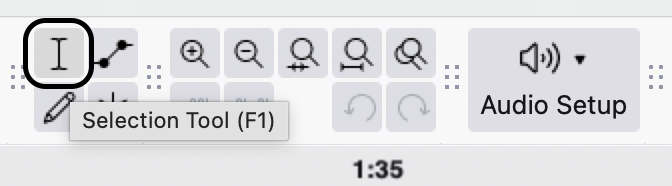
Simply ensure the Selection Tool (I-Beam) is active, then hover your mouse over the Clip Handle (the lighter bar with the track name at the top of the waveform). Your cursor will automatically change into a Hand Icon, allowing you to drag the clip immediately.
This change speeds up editing. Previously, you had to toggle between the “I-beam” to select audio and the “Double Arrow” to move it. Now, you perform both actions with a single tool just by adjusting where you hover your mouse.
Method 1: Moving Audio Clips Horizontally (Time Shifting)
This is the bread and butter of editing: sliding a clip left or right to change when it plays in your timeline. Since you no longer need a specific tool for this, you just need to know where to click.
Follow these steps to move your audio:
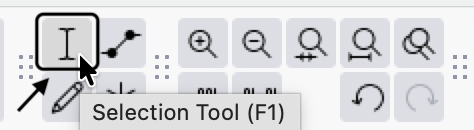
- Activate the Selection Tool: Click the I-Beam icon in the top toolbar or press F1 on your keyboard.
- Locate the Clip Handle: Look at the lighter-colored bar sitting directly above your audio waveform. This area displays the clip name.
- Wait for the Hand: Move your mouse cursor over this Clip Handle. Your cursor will automatically change from the “I-Beam” selector to an open Hand Icon.
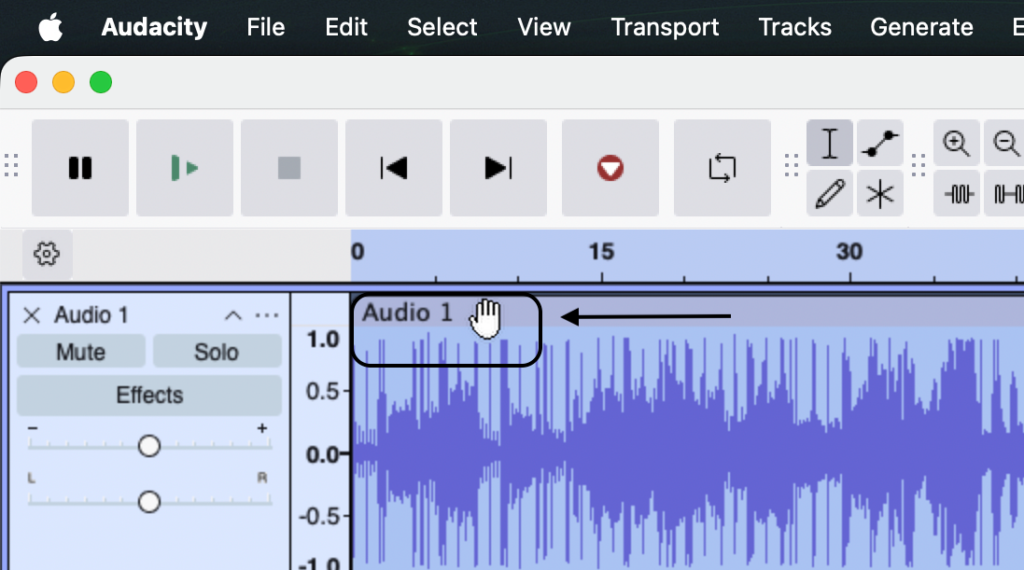
- Click and Drag: While the Hand Icon is visible, click and hold the handle. Drag the clip left (earlier) or right (later) to your desired position.
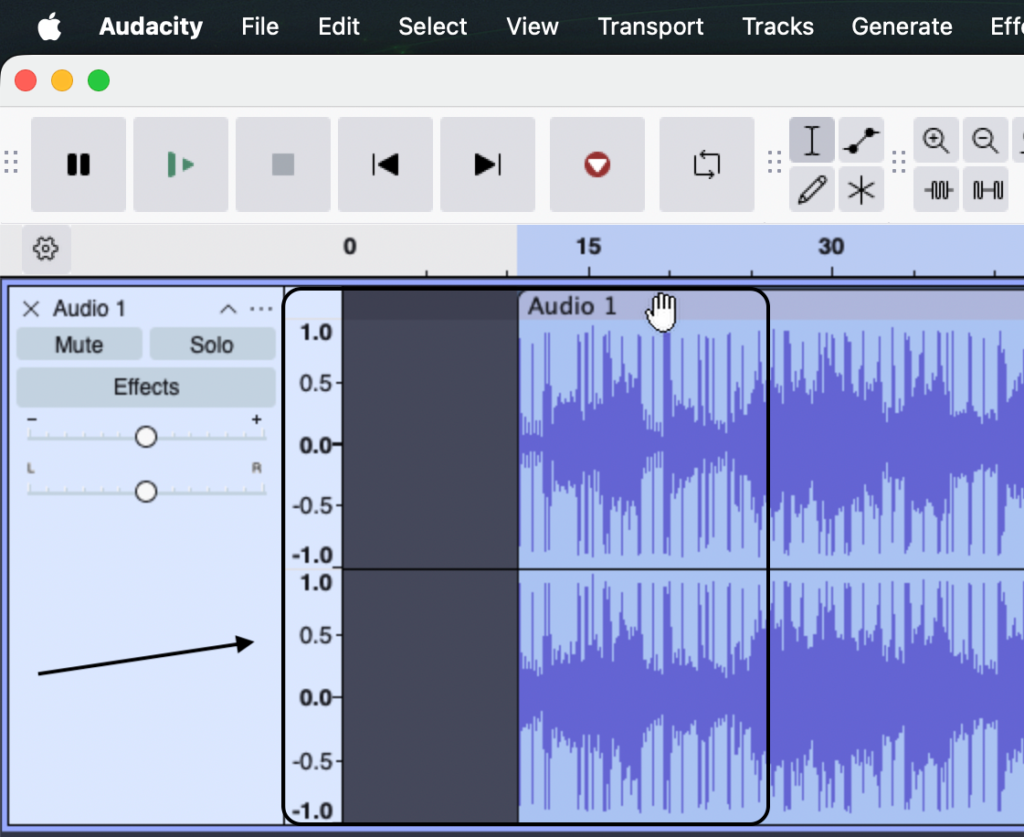
Important: If you click and drag on the waveform itself (the blue waves), you will only highlight the audio. You must grab the Clip Handle bar at the top to physically move the track.
As you drag, you may see yellow vertical lines appear. These are “Snap Guides” that help you line up the start or end of your clip with other tracks in your project.
Method 2: Moving Tracks Vertically (Reordering)
While moving a clip horizontally changes timing, moving a track vertically changes organization. This doesn’t affect the final sound of your mix, but it keeps your project manageable. For example, you might want your primary voiceover track at the top and background music at the bottom.
There are two ways to reorder your tracks.
Option A: The Drag-and-Drop Method (Fastest)
This is the most intuitive method, but it requires a steady hand.
- Locate the Track Control Panel on the far left of the track (the gray box with the Mute/Solo buttons).
- Click and hold on an empty gray space within that panel. Do not click the sliders or knobs.

- Drag the track up or down.
- Release the mouse button to drop the track into place.

Option B: The Menu Method (Most Precise)
If you keep accidentally changing the volume while trying to drag the track, use the menu instead.
- Click the three dots (…) next to the track name in the Track Control Panel.

- Select Move Track Up or Move Track Down.

- Repeat until the track sits where you want it.
Tip: If you have multiple tracks selected, dragging one will move all of them together, keeping their order intact.
Method 3: Precision Alignment (Syncing Audio)
Dragging clips with your mouse is fine for rough cuts, but it’s terrible for precision. If you try to “eyeball” a sound effect to match a specific video frame, you will often end up slightly out of sync.
Instead of dragging, use Audacity’s Align Tracks menu to snap audio to an exact timestamp.
Scenario A: Syncing to a Specific Moment (Start to Cursor)
Use this when you know exactly where a clip needs to begin (e.g., placing a laugh track right after a punchline).
- Set Your Target: Click on the timeline (in any track) at the exact spot where you want the audio to begin. A black vertical line (the cursor) will appear.

- Select the Clip: Click on the Clip Handle of the file you want to move.
- Execute the Move: Go to the top menu bar and select Tracks > Align Tracks > Start to Cursor/Selection Start.

Audacity will instantly snap the beginning of your clip to the exact position of your cursor line.
Scenario B: Stitching Clips Together (Align End to End)
If you are building a podcast intro, you often need one clip to start the millisecond the previous one ends. Doing this manually usually leaves awkward gaps.
- Select Your Clips: Hold the Shift key and click the Clip Handles of the tracks you want to sequence.

- Align Them: Go to Tracks > Align Tracks > Align End to End.

The software will automatically shuffle the clips so they play sequentially, creating a seamless flow.
Pro Tip: Splitting Clips for Easier Arrangement
Sometimes, moving an entire track is clumsy. You might only want to shift a single sentence to create a dramatic pause, or move the second half of an interview to make room for a musical interlude.
If you try to move the track using the standard method, everything shifts together. To move just one section, you must split the clip first.
Splitting cuts the waveform into two separate events. Crucially, this creates a new Clip Handle for the second section, allowing you to drag it independently.
How to Split and Move Audio:
- Select the Selection Tool (F1).

- Click on the waveform exactly where you want to make the cut.

- Press Ctrl + I (Windows) or Cmd + I (Mac).
- A thick black line will appear, indicating the track is now two separate clips.

- Hover over the Clip Handle of the new segment until the hand icon appears.
- Drag the new segment to the right to create a gap.

This is the fastest way to fix pacing issues in voiceovers. Instead of re-recording, simply split the audio between sentences and drag them apart to let the conversation breathe.
Smarter Workflows: Improving Your Source Audio
Arranging tracks in Audacity is satisfying, but the workflow grinds to a halt when you realize the source audio is damaged. If your waveform is “bricked” (clipped) or distorted, simply moving the clip won’t save the recording. You end up wasting hours applying repair tools instead of editing the story.
The best way to speed up your post-production is to capture cleaner audio at the source.
For creators who want to stop worrying about levels, we recommend the Hollyland LARK MAX 2.

Hollyland LARK MAX 2 - Premium Wireless Microphone System
A premium wireless microphone for videographers, podcasters, and content creators to capture broadcast-quality sound.
Key Features: Wireless Audio Monitoring | 32-bit Float | Timecode
It solves the two biggest headaches in audio recording:
- 32-bit Float Recording: This feature ensures your audio never distorts digitally. Even if a speaker screams or laughs loudly, the 32-bit float format retains the data needed to lower the volume in post-production without losing quality. You can essentially stop worrying about setting perfect gain levels.
- Real-Time Monitoring: The system supports Wireless Audio Monitoring via OWS earphones. This lets you hear exactly what the mic is capturing as it happens, so you can catch background noise before it ruins the take.
By upgrading your input, you spend less time fixing levels in Audacity and more time arranging your tracks.
Frequently Asked Questions (FAQ)
Why can’t I move my track in Audacity?
If your track is stuck and won’t drag, it is usually due to one of two errors:
- The Audio is Paused: You cannot edit while Audacity is paused. Look at the playback controls. If the Pause button (||) is down, click the Stop button (square icon) to release the track.

- Sync-Lock is On: If you see a clock icon on your tracks, Sync-Lock is enabled. This feature locks tracks together to keep them synchronized. Go to Tracks > Sync-Lock Tracks to toggle this off.

How do I move multiple tracks at once?
To move several clips without losing their relative timing:
- Hold down the Shift key.
- Click the Clip Handle for every clip you want to select. They will turn a darker color.
- Click and drag one of the selected handles. All highlighted clips will move together.

Can I overlap two clips on the same track?
No, not directly. Unlike video editors, Audacity does not allow two audio clips to occupy the same space on a single track. If you drag one clip over another, Audacity will usually push the existing clip out of the way. To create an overlap (like a crossfade), you must move the second clip to a new, separate track directly below the first one.
Conclusion
The removal of the Time Shift Tool might feel like a step backward for long-time users, but the new “Smart Clip” workflow is actually faster once you build the muscle memory.
Remember: you no longer need to switch buttons. Simply hover over the Clip Handle until you see the Hand Icon, and drag your audio exactly where it needs to go.
To truly speed up your editing, don’t just move whole tracks—start practicing the Split command (Ctrl+I). Breaking your audio into smaller, independent clips gives you total control over your arrangement, allowing you to fix pacing without affecting the rest of your project.