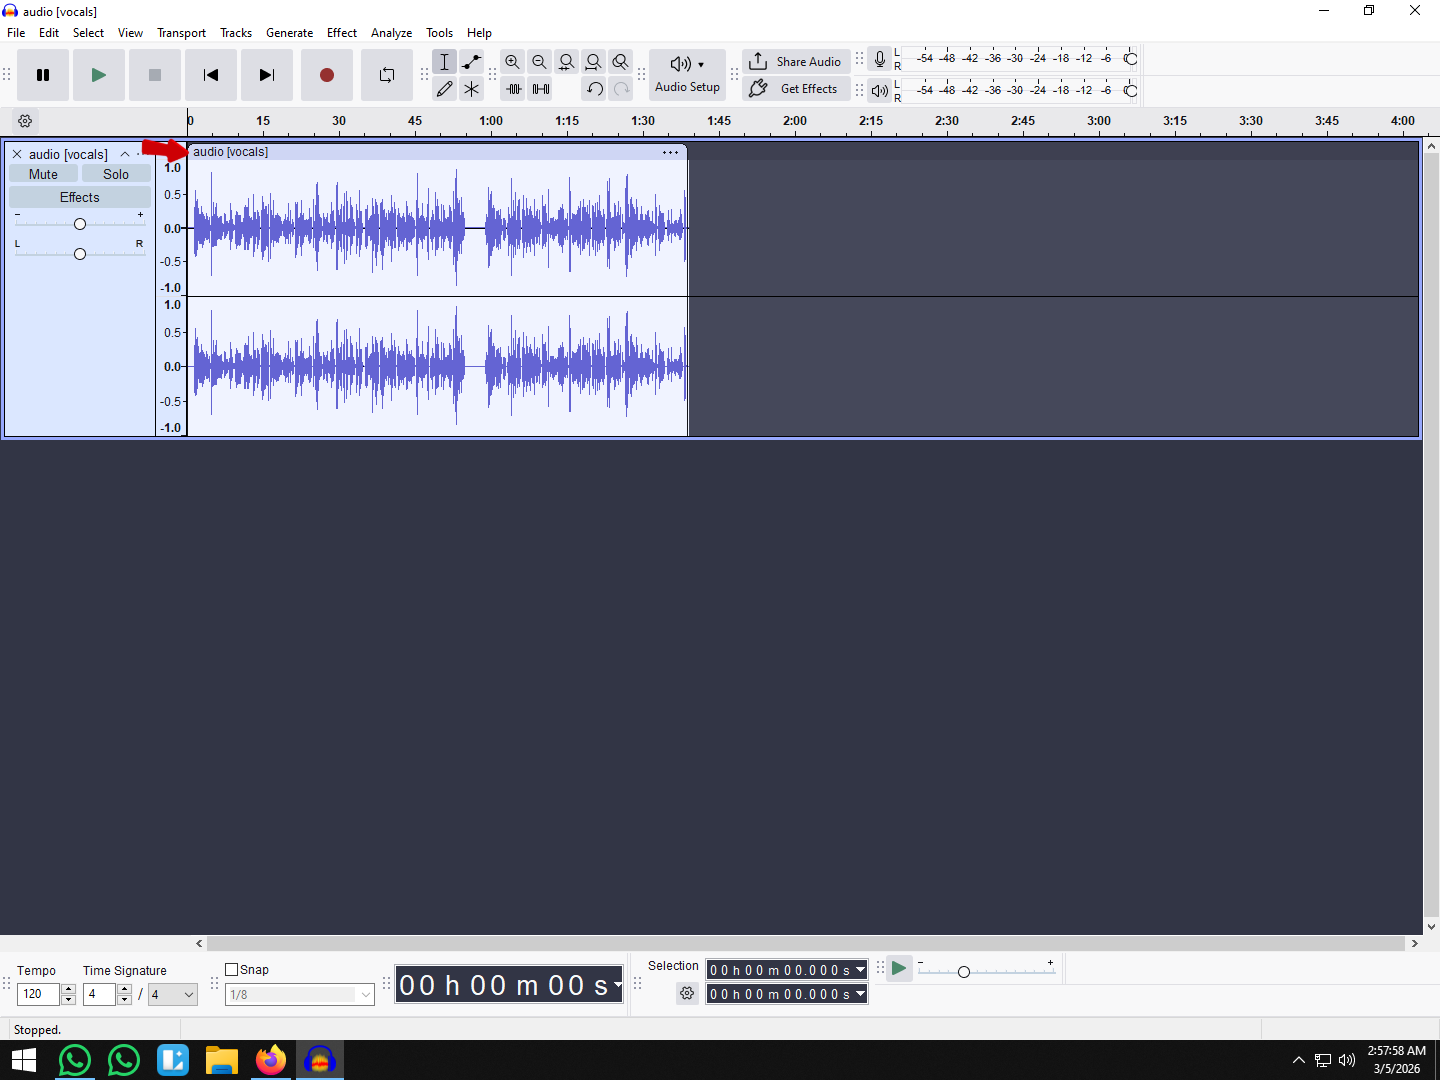
.png)
High-quality audio isn’t just about clear vocals; it is equally about what you don’t hear. While breathing is a biological necessity, capturing loud, sharp gasps between sentences creates a subconscious barrier between you and your listener.
If you are wondering how to remove breath sounds in Audacity automatically, you are likely tired of manually silencing every gasp in a 30-minute recording. Heavy breathing signals a lack of polish and causes listener fatigue. When an audience starts anticipating the next loud inhale, they stop focusing on your message.
Why Breath Sounds Ruin Professional Audio
In professional broadcasting and voice-over work, managing these sounds is the difference between an amateur recording and a studio-grade production. However, you need to know that not all breaths should be removed. Completely sanitizing a track can make the speaker sound robotic or “suffocated,” as if they are speaking one long, impossible sentence.
Your goal in Audacity is reduction, not total removal. You need to distinguish between two types of breath sounds:
- The “Keep” List: Soft, low-volume inhales that occur naturally before a long sentence. These provide rhythm and pacing, reminding the listener that a human is speaking.
- The “Kill” List: Sharp, high-frequency gasps, “wet” mouth sounds, or breaths that spike significantly above your noise floor. These are distractions that must be dampened.
The Danger of “Dead Air”
A common mistake beginners make is using the Silence Audio function to completely delete breath sounds. This creates “dead air”—absolute digital silence that sounds unnatural compared to the rest of the track.
When you silence a breath, you also cut out the room tone (the subtle background ambience of your recording space). This results in a jarring, choppy effect where the background noise cuts in and out. The correct approach is to lower the volume of the breath so it blends into the room tone, rather than deleting it entirely.
Method 1: The “Noise Gate” Technique (Best Automatic Solution)
The most efficient way to automate breath removal in Audacity is by using the Noise Gate. Think of a Noise Gate like a security guard for your audio: it only lets sound pass through if it is louder than a specific volume level. Since breaths are usually quieter than your speaking voice, the gate “closes” (mutes the track) when you stop speaking, effectively silencing the breaths between sentences.
However, this tool requires precision. If you set the gate too high, it will cut off parts of your words. If you set it too low, the breaths will remain.
Step-by-Step: Applying the Noise Gate
Follow this workflow to automatically silence breaths without ruining your vocal track:
- Analyze Your Breath Volume: Zoom in on your waveform and select a section that contains only a breath sound. Look at the playback meter (or the scale on the left) to see its decibel (dB) level. Let’s assume your breath peaks at -45dB and your voice averages -12dB.

- Open the Effect: Select your entire track (Ctrl+A / Cmd+A), then go to Effects > Noise Removal and Repair > Noise Gate.

- Set the Gate Threshold: Set this number slightly above your breath volume but well below your speaking volume. Using the example above, a Gate Threshold of -40dB is ideal. Anything quieter than -40dB (the breath) will be silenced; anything louder (your voice) will pass through.
- Adjust Attack and Decay: Set both the Attack and Decay to 250ms. This is critical. A fast decay (e.g., 10ms) cuts the sound abruptly, making the track sound choppy. A slower decay (250ms) allows the sound to fade out naturally, preserving the “air” at the end of your words.
- Preview and Apply: Click “Preview” to ensure your words aren’t being cut off. If it sounds natural, click Apply.

Pro Tip: Watch Out for “Soft Starts”
Be careful with words that start with soft consonants like “H” (Hello), “S” (So), or “F” (First). These sounds are often quieter than the rest of your speech. If your Gate Threshold is too aggressive (too close to your speaking volume), the Noise Gate will mistake the start of these words for a breath and chop them off. Always preview a section with soft consonants before applying the effect to the whole track.
Method 2: Using the “Noise Reduction” Profile
If the Noise Gate feels too aggressive or makes your voice sound choppy (cutting off the ends of soft words), the Noise Reduction tool is your best alternative.
While this tool is typically used for removing background hiss or hum, you can “trick” Audacity into treating your breathing pattern as noise. This method is less likely to create dead silence and instead dampens the breaths to a natural, non-distracting level.
Step 1: Capture the “Breath Print”
To make this work, you must teach Audacity exactly what your breathing sounds like.
- Zoom in on your waveform and find a clear, isolated breath sound.
- Select only the breath. Ensure you do not select any part of a spoken word, or the software will try to remove your voice as well.

- Go to Effect > Noise Removal and Repair > Noise Reduction.

- Click the Get Noise Profile button. The window will close automatically—Audacity has now analyzed the frequencies of that specific breath.

Step 2: Apply Reduction to the Track
Now that Audacity recognizes the “noise,” you can apply the reduction to the rest of your audio.
- Select your entire track (or the specific section you want to clean) by pressing Ctrl + A (Cmd + A on Mac).

- Go back to Effect > Noise Removal and Repair > Noise Reduction.

- Adjust the settings to ensure a natural sound:
- Noise Reduction (dB): Set this between 6 and 12 dB. Going higher than 12 dB often results in “tinkly” or “underwater” robotic artifacts.
- Sensitivity: Leave this at roughly 6.00.
- Frequency Smoothing (bands): Set to 3.

- Click OK to apply.
The Trade-Off
This method is subtle. It likely won’t remove every breath, especially if your breathing pitch varies significantly throughout the recording (e.g., a deep sigh vs. a sharp inhale). However, it effectively lowers the noise floor of the breaths, pushing them into the background so listeners barely notice them.
Method 3: Creating an Audacity Macro for Batch Processing
If you are editing a multi-episode podcast or a series of voice-over clips, applying the Noise Gate manually to every single file is inefficient. Audacity’s Macro feature allows you to automate this workflow, letting you clean up dozens of files with a single click.
This method transforms your “Noise Gate” settings into a reusable script that runs in the background.
Setting Up Your Breath Removal Macro
Before creating the macro, ensure you have determined your ideal Threshold and Attack/Decay settings (as discussed in Method 1), as the macro will apply these exact numbers blindly to every file.
- Open the Macro Manager: Go to Tools > Macro Manager (or File > Chains > Edit Chains in older versions).

- Create a New Macro: Click New, name it “Breath Remover,” and click OK.

- Add the Noise Gate:
- Click Insert.

- Scroll down and select Noise Gate.
- Click Edit Parameters to input your preferred settings (e.g., Gate Threshold: -40dB, Attack/Decay: 250ms).
- Click Apply to save the parameters, then OK again to add the effect to the list.

- Add an Export Step:
- Click Insert again.
- Select Export as MP3 (or WAV).
- Click OK. Note: Without this step, Audacity will process the files but won’t save the changes.

- Save the Macro: Click Close to exit the manager.

How to Run the Batch Process
Once your macro is saved, you can apply it to a folder full of raw audio files.
- Go to Tools > Apply Macro > Palette.

- Click “Files…” and select all the audio files you want to clean.
- Click Open.
Audacity will automatically open each file, apply the Noise Gate, export the cleaned version to a new folder (usually named “macro-output”), and close the file.
Pro Tip: Macros are powerful but “blind.” They apply the exact same settings to every file. This works best when your recording levels are consistent across all episodes. If one recording is significantly quieter than the others, the macro might accidentally cut off words instead of just breaths. Always spot-check one file from the batch before trusting the whole output.
When “Automatic” Fails: The Envelope Tool (Fine-Tuning)
Even the most perfectly tuned Noise Gate has a flaw: it relies entirely on volume. If you take a sharp, loud breath that is as loud as your speaking voice, the Noise Gate will let it through. Conversely, if you set the gate aggressively enough to catch that loud breath, you risk chopping off the soft ends of words.
For the final 10% of stubborn breaths, you need manual control. However, do not delete the breath or use the “Silence” effect.
Deleting a section changes the timing of your track, destroying the natural rhythm of the conversation. Using the “Silence” effect creates a “black hole” of dead air where the background hiss (room tone) suddenly vanishes.
The professional solution is using the Envelope Tool to lower the volume of the breath without removing the room tone entirely.
How to Use the Envelope Tool for Breaths
The Envelope Tool allows you to draw volume changes directly onto the waveform. Here is the workflow for fixing loud gasps:
- Activate the Tool: Click the Envelope Tool icon in the toolbar (it looks like a line with two dots) or press F2 on your keyboard. Your track will turn a different shade, and blue lines will appear at the top and bottom of the waveform.

- Zoom In: Locate the loud breath and zoom in (Ctrl + Scroll Wheel) so you can see the gap clearly.
- Create Anchor Points: Click on the blue line just before and just after the breath. These “Anchor Points” ensure the volume of the surrounding words stays normal.
- Create Active Points: Click two more points inside the breath area (one at the start of the breath, one at the end).

- Duck the Audio: Drag the inner “Active Points” toward the center of the track to lower the volume.

The “Reduction” Rule
Do not drag the volume all the way to zero. The goal is to make the breath inaudible but present.
- Wrong: Flatlining the audio creates unnatural silence.
- Right: Reducing the breath visually by about 70-80%. This keeps the “air” in the recording so the transition between words feels organic, but the distraction of the gasp is gone.
Once you have smoothed out the loud breaths, press F1 to switch back to the standard Selection Tool to continue editing.
Prevention is Better Than Cure: Recording Clean Audio
While Audacity’s Noise Gate is a powerful tool, relying on it to fix poor source audio is a recipe for frustration. The most efficient editing workflow is one where you don’t have to edit much at all.
If you find yourself spending hours manually silencing gasps and wheezes, the issue might not be your software—it might be your hardware. Upgrading your recording chain can eliminate the need for aggressive post-production.
To minimize post-production headaches and save hours of editing time, we recommend the Hollyland LARK MAX 2. Here is how its specific features solve the “breath noise” problem before it even reaches your timeline.

Hollyland LARK MAX 2 - Premium Wireless Microphone System
A premium wireless microphone for videographers, podcasters, and content creators to capture broadcast-quality sound.
Key Features: Wireless Audio Monitoring | 32-bit Float | Timecode
32-Bit Float Recording for Safer Levels
One of the main reasons breath sounds become intrusive is that creators often crank their gain too high to avoid a “noisy” signal. This compresses the distance between your voice and your breathing, making quiet breaths sound incredibly loud.
The LARK MAX 2 features 32-bit float recording. This provides a massive dynamic range, allowing you to record at a comfortable, lower level where breaths aren’t peaking. Because 32-bit float captures so much data, you can normalize the volume in Audacity later without introducing the hiss or distortion associated with standard 16-bit files.
Real-Time Correction with OWS Monitoring
You can’t fix what you can’t hear. Many creators don’t realize how loud they are breathing until they listen to the playback, at which point it is too late.
The LARK MAX 2 solves this with its Open-Ear (OWS) monitoring earphones. This allows you to hear your own voice and breathing clearly during the recording session. If you hear a sharp intake of breath or a plosive pop, you can instantly adjust your mic position or breathing technique. Catching these issues in the moment is infinitely faster than trying to remove them with an Envelope Tool later.
Studio-Grade Signal for Better Automation
Automated tools like Noise Gates rely on a clear distinction between the “signal” (your voice) and the “noise” (breaths/room tone). If your audio is muddy or low-quality, the software gets confused and cuts off the start of your words.
With a 48kHz/24-bit sampling rate, the LARK MAX 2 delivers a pristine, studio-quality signal. This clarity ensures that when you do run a Noise Gate in Audacity, the software can easily distinguish your speech from background breaths, resulting in a smoother, more natural edit.
Common Mistakes When Removing Breaths
While automated tools in Audacity save time, using them aggressively can ruin the listening experience faster than the breath sounds themselves. Avoid these three common pitfalls to keep your audio sounding professional.
1. Over-Processing (The “Robotic” Effect)
The goal of editing is clarity, not sterility. If you set your Noise Gate threshold too high or your “Attack/Decay” times too fast, you risk chopping off the beginning or end of words. This usually happens with soft consonants like “S,” “F,” or “H.”
- The Symptom: The speaker sounds unnatural, choppy, or like they are speaking in a vacuum.
- The Fix: Always listen to the transition between the silence and the spoken word. If it sounds abrupt, increase your Decay/Release time (try 250ms to 500ms) to allow the gate to close gently.
2. Leaving “Dead Air” (Digital Silence)
As mentioned earlier, new editors often highlight a breath and select Generate > Silence. When the background noise (room tone) suddenly cuts to zero and then snaps back, listeners subconsciously think their headphones have disconnected.

- The Symptom: A jarring “vacuum” effect between sentences.
- The Fix: Never use “Silence.” Instead, copy a small section of “Room Tone” (clean audio where you aren’t speaking) and paste it over the breath. This maintains a consistent noise floor throughout the episode.
3. Ignoring Mic Position (The Root Cause)
Software can only do so much. If your microphone is placed directly in front of your mouth, you are blasting air directly into the capsule every time you exhale or speak plosives (P’s and B’s). No amount of Noise Gating can fix a distorted capsule hit.
- The Symptom: Heavy, bass-heavy “puffs” of air that distort the audio signal.
- The Fix: Use the Off-Axis Technique. Position your microphone at a 45-degree angle to the side of your mouth rather than dead center. You should speak past the mic, not into it. This allows the diaphragm to pick up your voice clearly while the heavy bursts of air bypass the capsule entirely.
Frequently Asked Questions (FAQ)
Can I use AI plugins in Audacity to remove breaths?
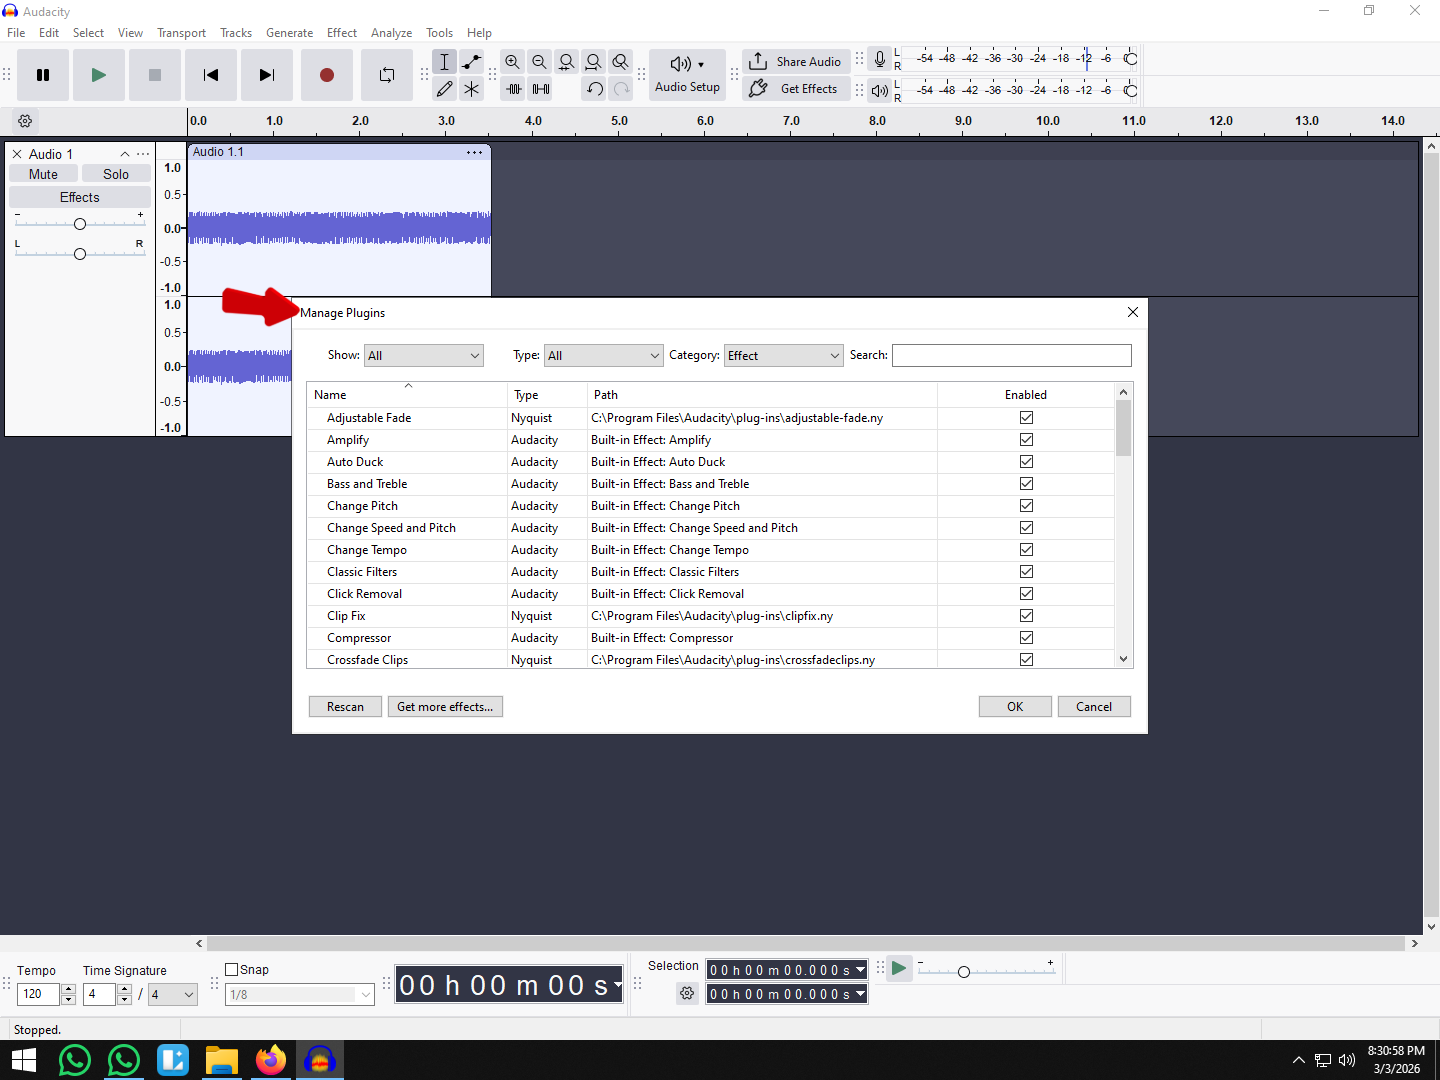
Yes, Audacity now supports AI-driven tools that significantly outperform standard effects. The most notable is the Intel OpenVINO plugin pack, which is free and open-source. Unlike a simple frequency filter, OpenVINO uses AI models to separate “speech” from “noise.” While primarily designed for background noise suppression and music separation, its speech isolation models can often dampen breath sounds more naturally than a standard Noise Gate. Additionally, because Audacity supports VST3, you can load third-party AI plugins like Goyo (now Supertone Clear) or Waves Clarity Vx to handle cleaning duties automatically.
What is the ideal dB level for a Noise Gate?
There is no “one size fits all” number, but for most spoken word podcasts recorded in a home studio, the sweet spot is usually between -30dB and -45dB.
To find your exact number:
- Highlight a section of audio that contains only a breath.

- Check the playback meter (or use Analyze > Measure RMS) to see its volume (e.g., -42dB).

- Set your Noise Gate Threshold slightly above that number (e.g., -38dB).
If you set the threshold too high (e.g., -20dB), you will cut off quiet words; set it too low (e.g., -60dB), and the gate won’t close, leaving the breaths audible.
Why does my voice sound choppy after using Noise Gate?
If your audio sounds robotic or stutters at the beginning and end of sentences, your Attack and Decay (Release) times are too fast.
- Attack: How fast the gate opens when you speak. If this is instant (0ms), it can “click.” Set this to 10ms–25ms.
- Decay: How long the gate stays open after you stop speaking. If this is too short, the gate slams shut before the natural “tail” of your word finishes. Increase this to 200ms–300ms to ensure the end of your words fade out naturally before the silence kicks in.
Is there a dedicated “De-Breath” plugin for Audacity?
Audacity does not have a native effect labeled “De-Breath,” but it supports VST plugins that do.
- Paid Options: The industry standard is Waves DeBreath or iZotope RX Breath Control. These can be loaded into Audacity as VSTs and are specifically trained to detect the unique waveform of a human breath.
- Free Options: While there isn’t a dedicated free “De-Breath” VST, you can use a Dynamic EQ plugin like TDR Nova. By setting a dynamic threshold on high frequencies (where breath “hiss” lives), you can compress the breath sounds only when they occur, rather than silencing the entire track.
Conclusion
Removing breath sounds doesn’t have to be a manual nightmare that drains hours from your production schedule. By strictly following the workflow of applying an automated Noise Gate for the heavy lifting and then using the Envelope Tool for the final 10% of fine-tuning, you can achieve broadcast-quality dialogue without sounding robotic.
Remember, the goal isn’t total silence—it’s natural reduction. A podcast with zero breaths sounds unnatural, but a podcast with gasping distractions sounds amateur.
Upgrade Your Source Audio
While these Audacity techniques are powerful, the most efficient way to reduce editing time is to capture cleaner audio at the source. If you find yourself constantly battling noise floor issues or aggressive breathing in post-production, it may be time to upgrade your hardware.
We recommend the Hollyland LARK MAX 2 for creators looking to streamline their workflow. Its 32-bit float recording technology provides massive dynamic range, allowing you to record at safer, lower gain levels (minimizing breath pickup) and normalize later without quality loss. Combined with the new OWS (Open Ear) monitoring earphones, you can hear your breathing in real-time and correct your mic technique before you even hit “Stop,” saving you hours of cleanup later.