.png)
Working with video and audio in DaVinci Resolve can feel overwhelming at first. Especially when audio is locked to a video clip and you just want to move or delete it separately. Whether you’re fixing sync issues, replacing noisy audio, or mixing in cleaner sound from a mic, unlinking audio is often the first step.
That’s where the Hollyland LARK M2S helps. It’s a small wireless mic that gives you clean, clear sound with low noise. Perfect for voiceovers or interviews. Just plug it in while recording. Later, you can unlink the camera audio and sync it in DaVinci Resolve.
What Does “Unlinking Audio” Mean in DaVinci Resolve?
In DaVinci Resolve, audio and video clips are often grouped together by default. This helps with quick edits. Move one, and the other follows.
But sometimes, you need to:
- Mute or delete audio while keeping the video
- Replace original audio with cleaner recordings
- Fix sync problems between audio and video
- Create separate effects or timing for audio
To do all of that, you first need to unlink or “unpair” them. Let’s walk through all the methods you can use in Resolve to do this.
How to Unlink Audio from Video in DaVinci Resolve
Here are the simplest ways to unlink audio from video, depending on your version and workflow:
Method 1: Use the “Link Clips” Button
This is the most beginner-friendly way to unlink audio.
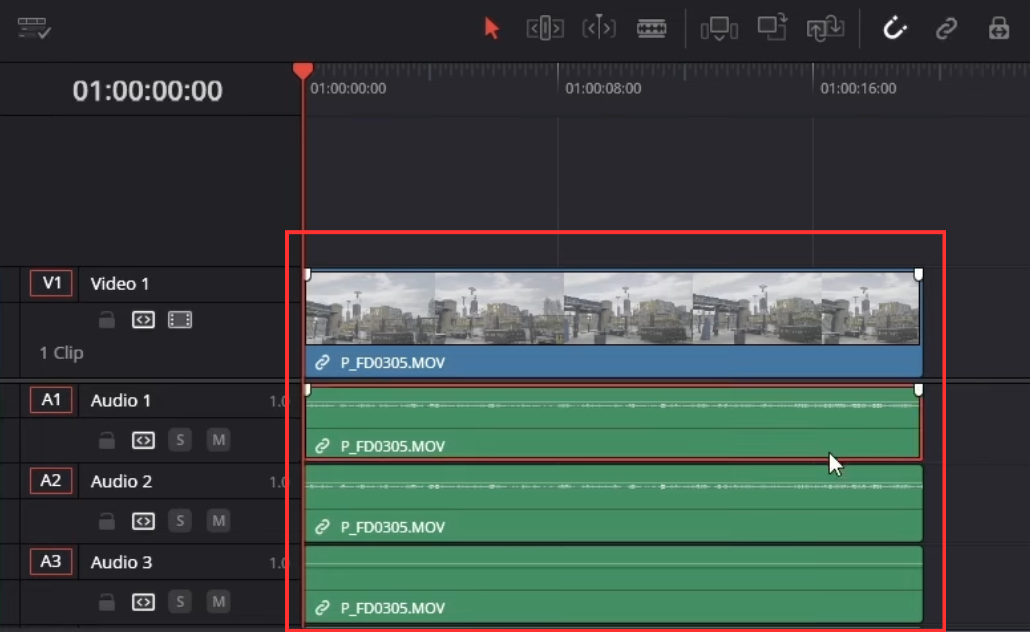
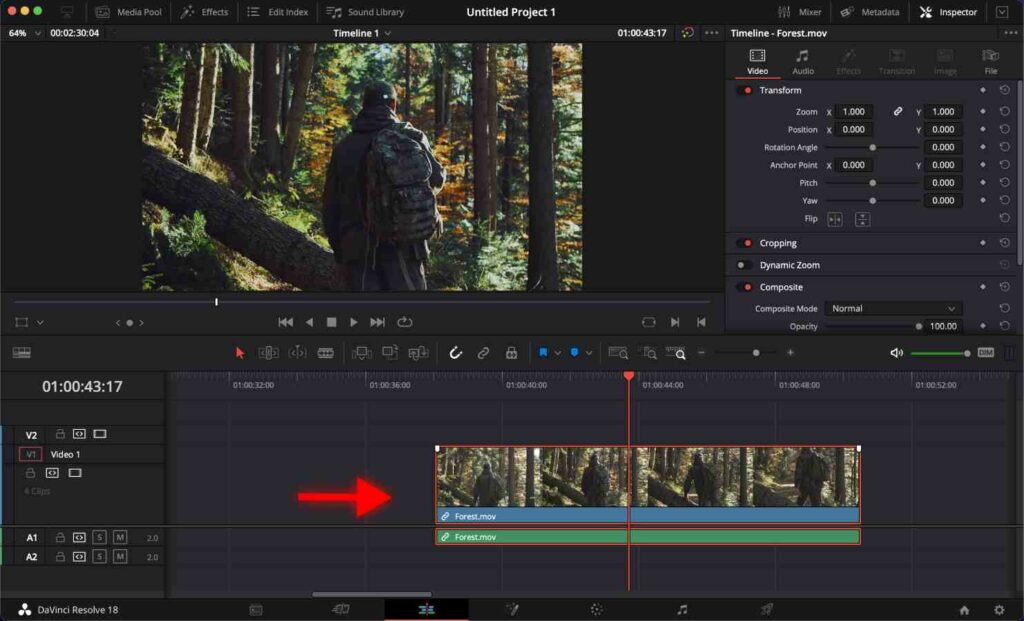
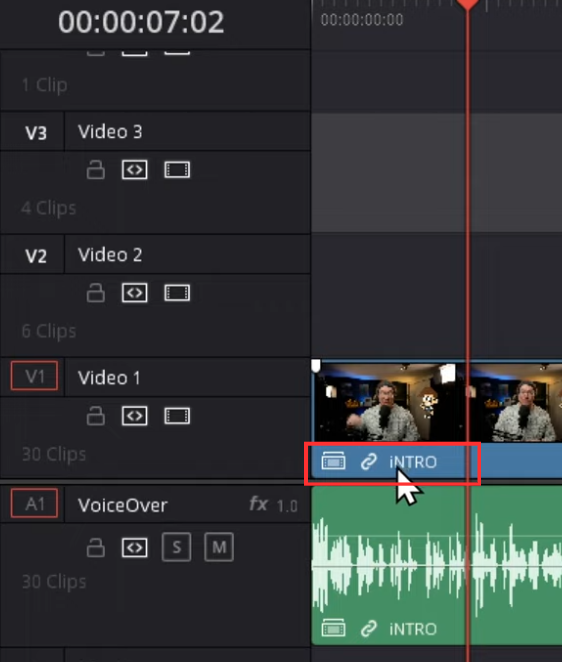
- Import your video into the timeline and click the clip once to select it

- At the top of the timeline window, click the “Link” button (a small chain icon)

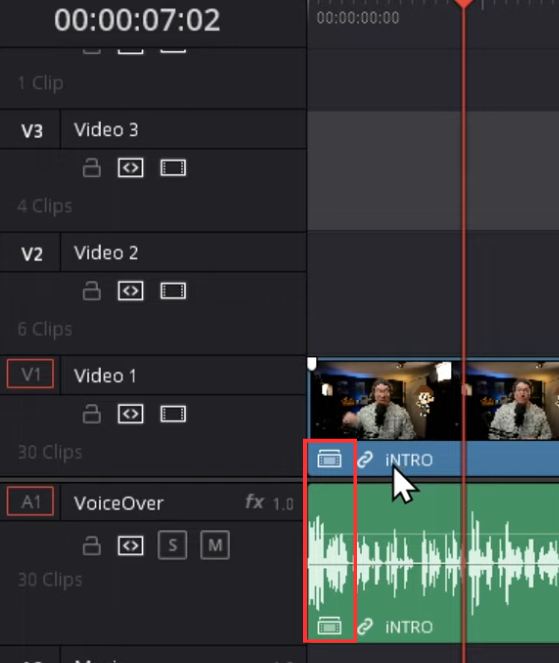
- Now, try clicking either the video or audio separately; they move independently
To relink, just select all again and click the same chain icon.
Tip: You can also use the shortcut Ctrl+Shift+L (Windows) or Cmd+Shift+L (Mac) to toggle linking.
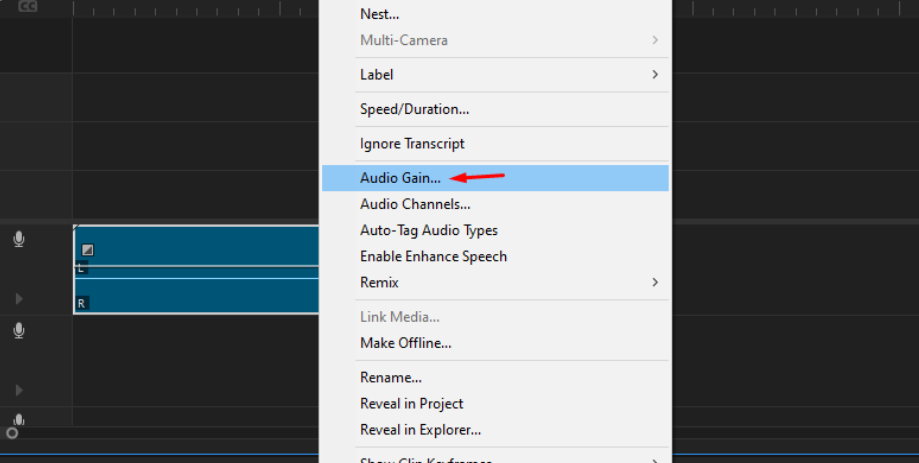
Method 2: Right-Click and Choose “Link Clips”
If the toolbar isn’t visible or you prefer using right-clicks:
- Drag your footage into the timeline
- Right-click on the video/audio clip in the timeline and choose “Link Clips” from the dropdown
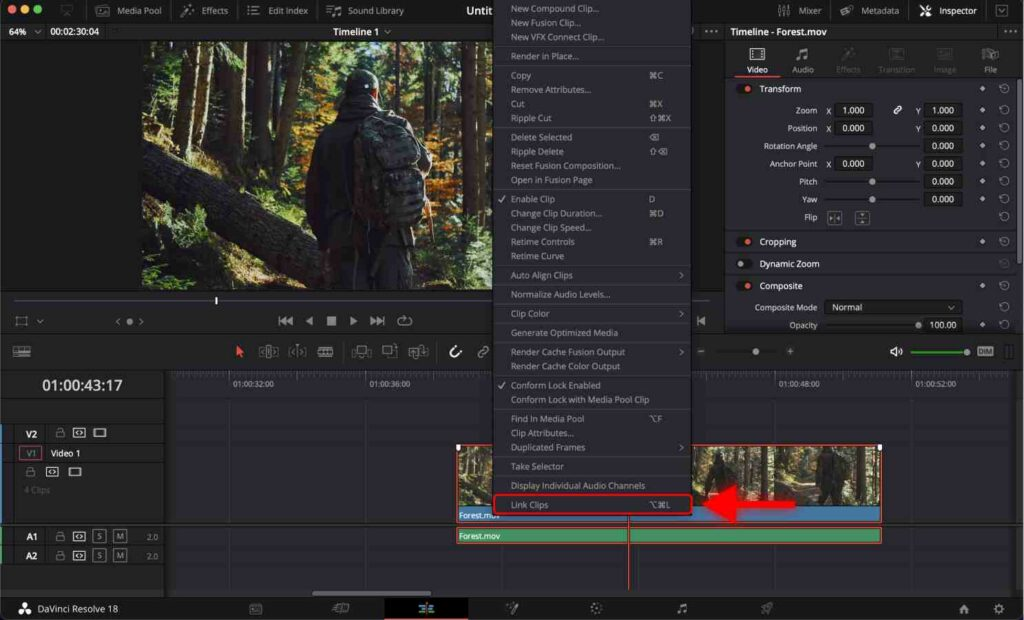
- If they’re currently linked, this will unlink them
You can repeat the same steps to relink them later.
Alternatively, you can use the shortcut “Option + Command + L” on macOS or ”Alt + Ctrl + L” on Windows.
What Happens After You Unlink Audio and Video in DaVinci Resolve
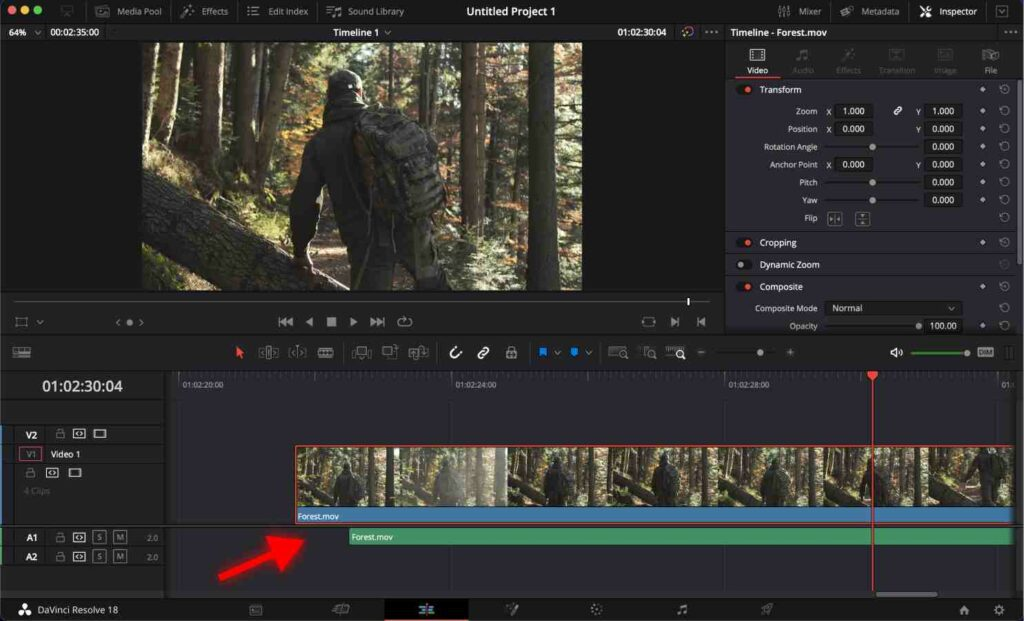
Once you unlink:
- You can delete the audio or video track alone
- You can adjust the timing between audio and video
- You can apply different effects or transitions to only one track
- You can replace the audio with external mic recordings
Remember to relink if you want the tracks to move together again.
How to Re-Link or Group Audio and Video Using Compound Clips
After unlinking and replacing audio, you may want to re-group everything to keep your timeline clean.
Here’s how:
- Select your video and new audio

- Right-click and choose “New Compound Clip”
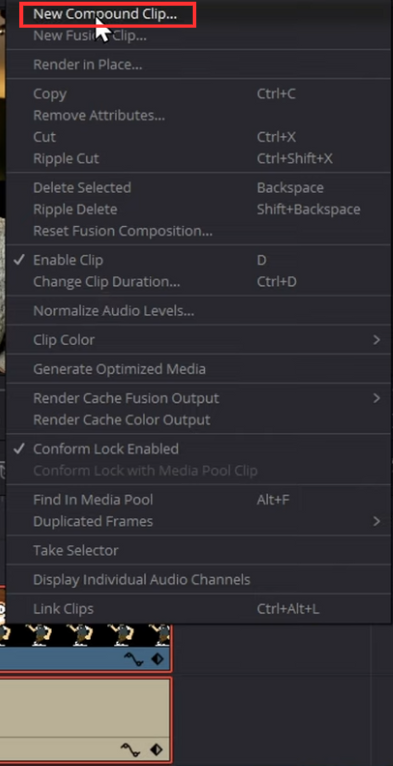
- Give it a name like “Intro”
- Now they behave as one clip, even if they’re from different sources
This is especially helpful when using external audio mics to polish your recordings.
How to Fix Audio Unlinking Issues in DaVinci Resolve
If your unlinking isn’t working, check the following:
- Are you on the Cut page or the Edit page?
- You can only unlink clips on the Edit page
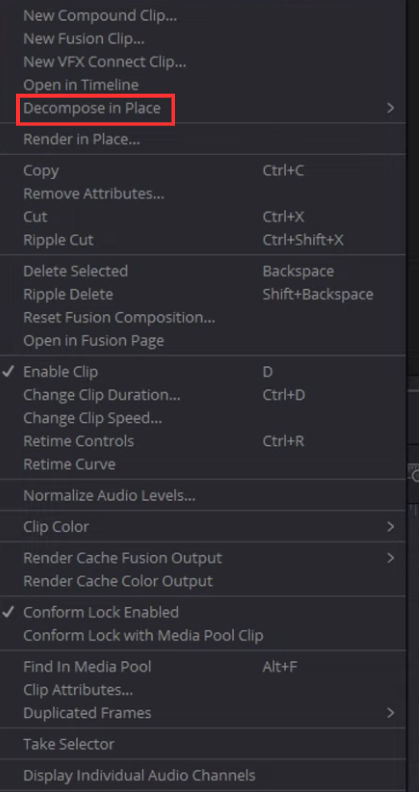
- Is the clip part of a Compound Clip or Multicam?
- Right-click and choose “Decompose in Place” before unlinking
- Is the audio waveform missing?
- Reimport the file or regenerate optimized media
Conclusion
Unlinking audio and video in DaVinci Resolve is simple once you know where to look. Whether you’re removing bad audio, syncing with external sound, or adjusting volume and timing, unlinking gives you total control.
If you’re capturing audio with a wireless system, you’ll find it easy to replace and sync thanks to its clean signal and zero-lag connection.
Try unlinking a few clips and experiment with different audio combinations. Your future edits will thank you.
FAQs
1. Can I unlink audio from multiple clips at once?
Yes. Just select multiple clips in the timeline using Shift+Click, then press Ctrl+Shift+L (Windows) or Cmd+Shift+L (Mac). All selected clips will be unlinked at the same time.
2. Can I unlink audio in the Cut page?
No, the Cut page doesn’t allow unlinking. It’s meant for quick edits. Switch to the Edit page to access full audio and video controls, including unlinking, trimming, and replacements.
3. Why would I want to replace the original audio?
Original audio from a camera may include wind, echo, or unwanted background noise. Replacing it with audio from an external mic (like a wireless lav mic) gives you better clarity and focus. Especially for dialogue-heavy scenes or interviews.