.png)
.png) Français
Français .png) Deutsch
Deutsch .png) Italiano
Italiano .png) 日本語
日本語 .png) Português
Português  Español
 Let’s say you find an old favorite song – but only on video. Or you want to rip off the audio from one video and use it for another. It’s a piece of cake, and we’ll show how in this quick guide.
Using the Voice Memos App
This is the lowest hanging fruit among your possible options. To do this:
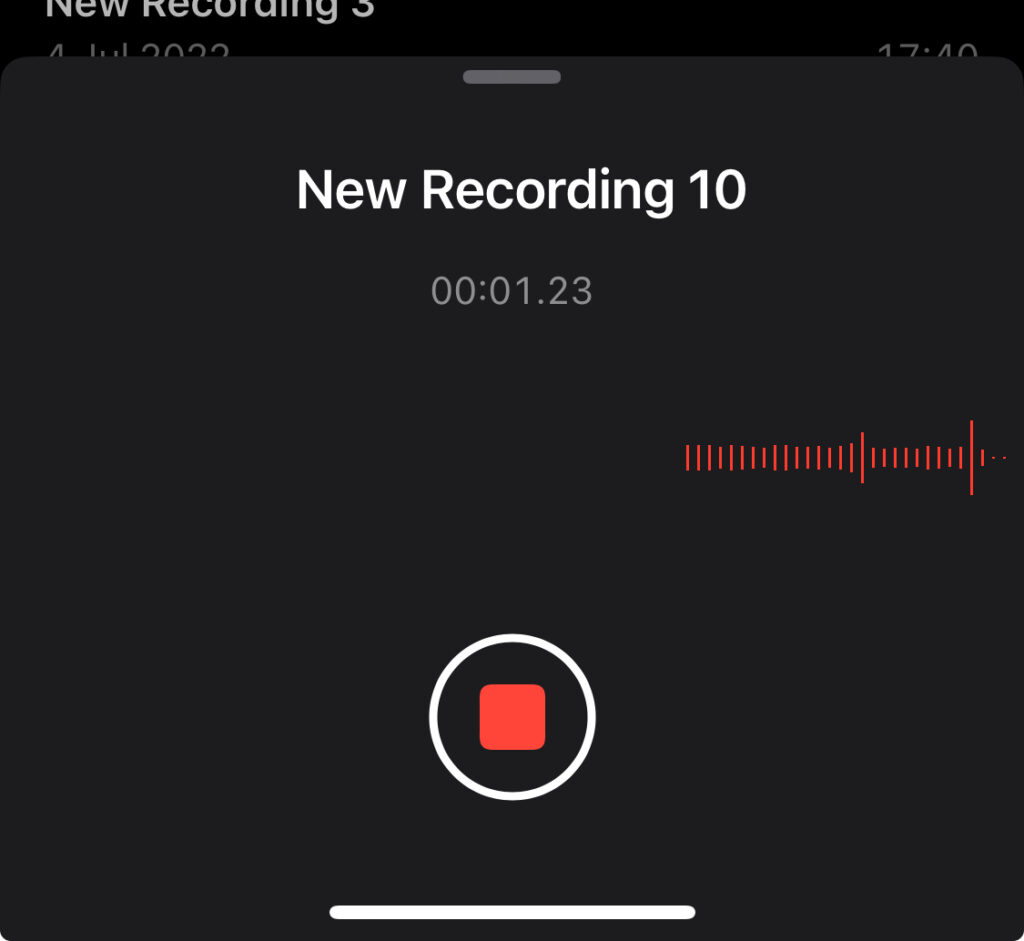
- Find the Voice Memos app on your iPhone. It usually comes pre-installed, but if you can’t find it, you can always download it from the App Store.
- Tap the red record button to start recording. While recording, play the video on your iPhone. This way, the app will capture the audio from the video.
- Once you’ve captured the audio you need, tap the stop button to end the recording.
- Give your recording a name and tap “Save” to store it in the Voice Memos app.
- You can now access your audio recording from the Voice Memos app whenever you need it.
However, it’s important to note a few limitations:
- Loss of Quality: You might get a slight drop of audio quality compared to the original video.
- Length Limitations: The app may have limitations on the length of recordings you can make, so if your video is very long, you might need to split it into multiple recordings.
- Background Noise: Any background noise or interruptions while recording the video’s audio may end up in the final audio file.
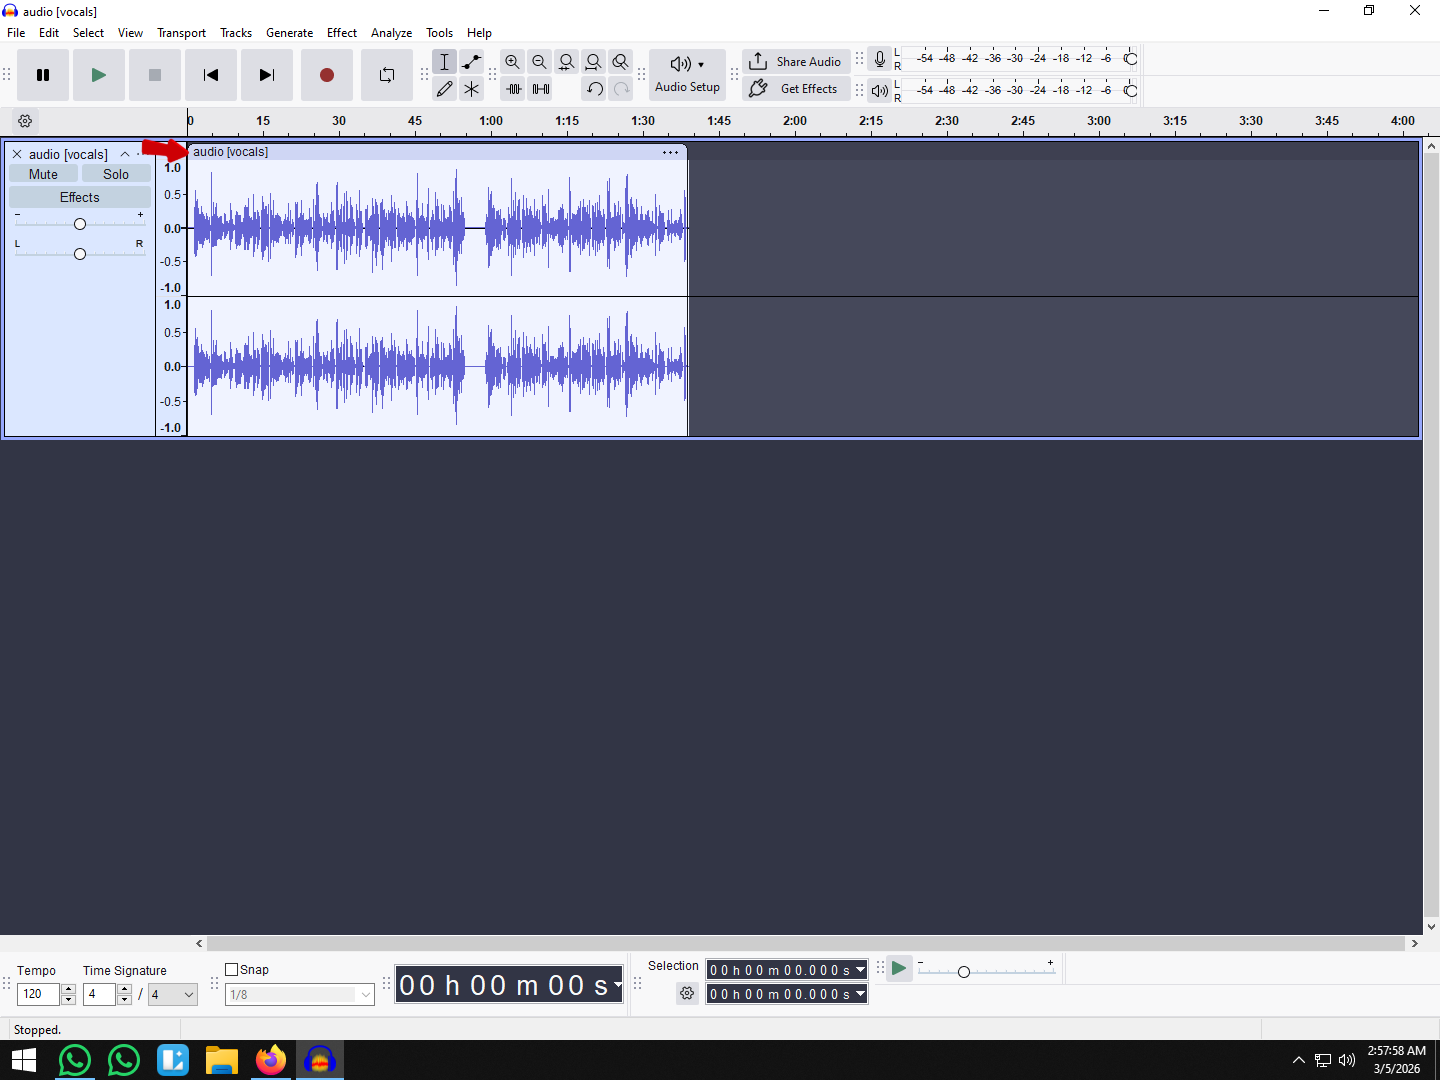
Using the iMovie App
Another easy way to convert video to audio on your iPhone is through the iMovie app. Here’s how:
- Open iMovie: Launch the iMovie app on your iPhone. If you don’t have it installed, you can download it from the App Store.
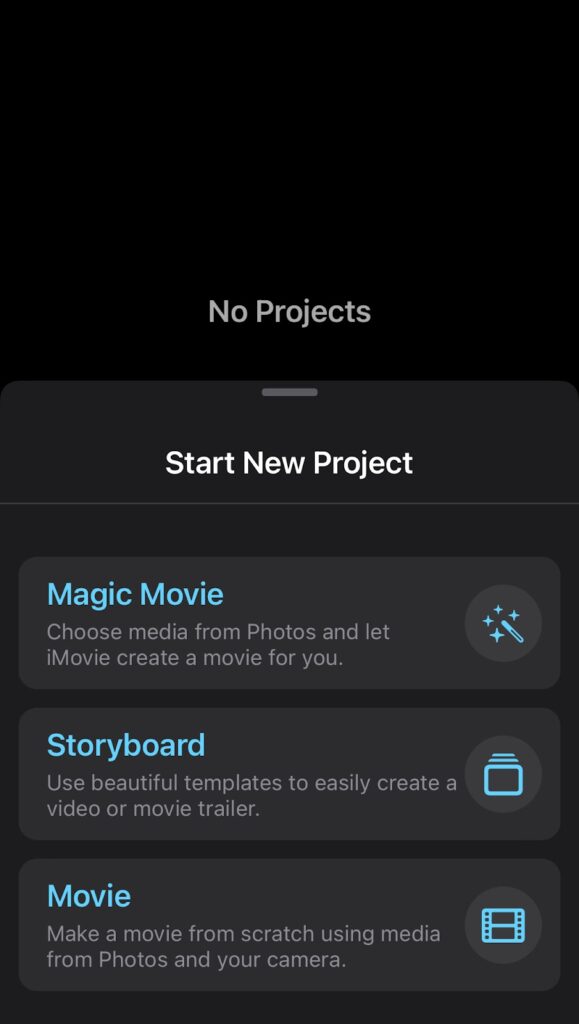
- Import Your Video: Tap on the “+” icon to create a new project, then select “Movie.” Choose the video you want to convert to audio from your iPhone’s library and import it into iMovie.
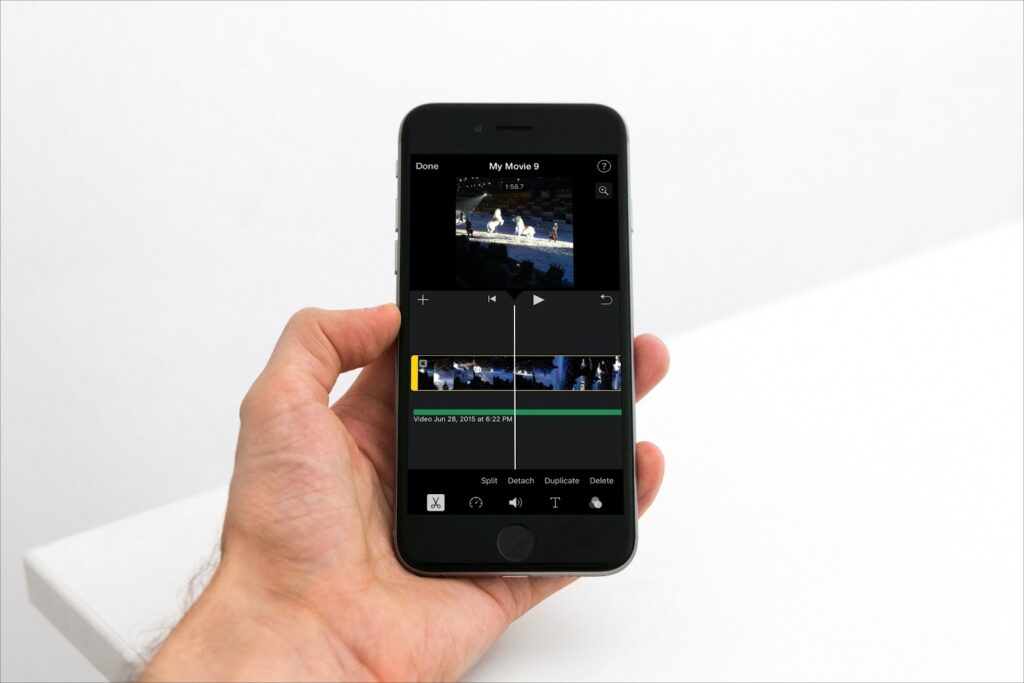
- Detach the video portion: Select the portion of the video you want to remove (which should be everything except the part you want to extract audio from) and press the “Detach” button. This separates the audio section from the video section.
- Background: You’ll then see the audio from that clip appear in blue below. However, video and audio are still linked, so deleting the video deletes the audio. You’ll need to move the audio clip to the background. This delinks them and turns the audio clip green.
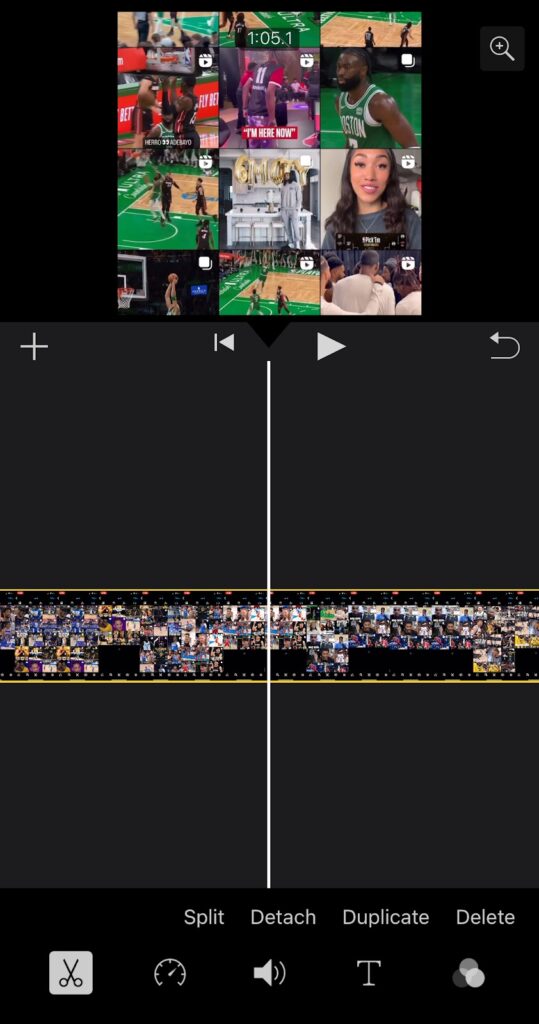
- Delete the video portion: Delete the unwanted video portion. You will be left with just the audio highlighted in green.

- Export the audio: Go to the “File” menu and select “Share” > “File”. Choose the audio format you want (such as MP3 or WAV) and click “Next”. Then, name your file and choose where you want to save it, and click “Save”.
- Save Your Audio: After extracting the audio, tap on “Done” and then “Next” to proceed. You’ll then have the option to save the audio file to your iPhone’s library.
Advantages:
- Editing: iMovie allows you to trim and adjust the audio before saving it, giving you more control over the final result.
- Quality: iMovie generally preserves the quality of the audio during the extraction process.
Limitations:
- File Size: iMovie projects can take up significant storage space on your device, especially if you’re working with large video files.
- Time: Extracting audio through iMovie might take more time compared to other methods, especially if you’re not familiar with the app’s interface.
Using Third-Party Apps
Third Party apps are trickier than the above methods, but can be useful if you find the others unsatisfactory.
- Download the App: Search for a third-party app designed for converting video to audio in the App Store. Choose one with positive reviews and ratings like Media Converter or Audio Extractor. Be careful to avoid malicious agents.
- Import Your Video: Launch the app and look for an option to import or open a video file. Typically, you’ll be able to select a video from your iPhone’s camera roll or file system.
- Select Audio Extraction: Once your video is imported, look for an option to extract the audio. This might be labeled as “Extract Audio,” “Convert to Audio,” or something similar.
- Adjust Settings (If Necessary): Some apps offer settings to adjust the quality or format of the audio file. You can adjust these settings according to your preferences.
- Convert and Save: After selecting the desired options, initiate the conversion process. Once the conversion is complete, you should be able to save the audio file to your iPhone’s library or share it via various methods.
Benefits:
- Diverse Features: Many third-party apps offer additional features beyond simple audio extraction, such as editing tools, batch processing, and support for various audio formats.
- Customization: These apps often provide more customization options for adjusting audio quality, format, and other parameters.
- Potential Cost Savings: Many quality apps for basic audio extraction are available for free.
Limitations:
- Learning Curve: Third-party apps may have a learning curve, especially if they offer advanced features beyond basic audio extraction.
- In-App Advertisements: Free apps may include advertisements, which can be intrusive and disrupt the user experience.
- Privacy Concerns: Be cautious when using third-party apps, especially those that require access to your device’s storage or other permissions. Always review the app’s privacy policy and permissions before installing.
Using Online Services
Online services are another cool way to convert your video to audio. Here’s how:
- Find a Reliable Online Converter: Search for an online service that specializes in converting video files to audio. There are many options available, so choose one with a good reputation and user reviews.
- Upload Your Video: Once you’ve found a suitable online converter, navigate to its website and look for the option to upload your video file. You’ll be able to select the video from your device or provide a URL if the video is hosted online.
- Select Output Format: After uploading your video, you’ll usually have the option to select the output audio format. Common audio formats include MP3, WAV, and AAC. Choose the format that best suits your needs.
- Start Conversion: Once you’ve selected the output format, initiate the conversion process. Depending on the size of your video file and the speed of your internet connection, the conversion may take a few moments to complete.
- Download the Audio File: Once the conversion is finished, the online converter will provide a download link for the audio file. Click on the link to download the audio to your device.
Limitations:
- Security and Privacy: Be careful with online converters. Ensure that the website is reputable and trustworthy to avoid potential security risks or privacy breaches.
- Quality Loss: Some online converters may compress the audio file during the conversion process, resulting in a loss of quality compared to the original video..
- File Size Limitations: Many online converters impose limitations on the size of the video files you can upload for conversion. If your video file is too large, you may need to use a different method or consider splitting the video into smaller segments.
- Internet Connection: Using online converters requires a stable internet connection, especially when uploading and downloading large video files.
Transferring Audio to Computer or Other Devices
So when your video is finally converted, how do you move it to your computer or other devices for use?
Using AirDrop
- Enable AirDrop on your iPhone.
- Locate the audio file. Open the Files app on your iPhone and navigate to save location.
- Tap and hold on the audio file until a menu appears.
- Tap on “Share” from the menu, then select “AirDrop” from the sharing options.
- Your computer should appear in the AirDrop section as long as it is AirDrop enabled. Tap on your computer’s name to send the file.
- Accept the file on your computer
Using Email or Cloud Services
- Upload the audio file to a cloud service like iCloud Drive or Google Drive from your iPhone.
- Access the cloud service on your computer via a web browser.
- Download the audio file to your computer.
- Save the file to your desired location on your computer.
- Access the audio file on your computer using your preferred audio player or software.
Before converting your videos to audio, it\u2019s essential to ensure your original recordings have clear sound quality. A wireless lavalier microphone can help you capture crisp, professional-grade audio directly into your iPhone, making conversions seamless and your final audio files crystal clear.
FAQs
Q: What formats can I convert my video into using these methods?
A: The available output formats for converting video to audio can vary depending on the method or tool you choose. However, common audio formats include MP3, WAV, AAC, FLAC, and M4A. Many conversion tools offer a range of format options to suit different needs and preferences.
Q: Is it legal to convert video to audio from copyrighted materials?
A: The legality of converting video to audio from copyrighted materials depends on various factors, including the jurisdiction you’re in and the specific circumstances of the conversion. In many cases, converting copyrighted video content to audio without permission from the copyright holder may constitute copyright infringement. It’s essential to respect copyright laws and obtain proper authorization before converting or using copyrighted materials.
Q: How can I improve the quality of the audio extracted from a video?
A: To improve the quality of the audio extracted from a video, consider the following tips:
- Use high-quality source videos: Start with videos that have good audio quality to ensure better results.
- Choose a reputable conversion tool: Select a reliable conversion tool or method known for preserving audio quality.
- Adjust settings: Some conversion tools allow you to adjust settings such as bitrate and sample rate, which can impact audio quality. Experiment with these settings to find the optimal balance between file size and quality.
- Consider audio editing software: If necessary, you can further enhance the audio using dedicated audio editing software to remove noise, adjust levels, or apply filters.
Q: Are there any free apps that can convert video to audio without watermarks?
A: Yes, there are several free apps available for converting video to audio without watermarks. Some popular options include VLC Media Player, Freemake Video Converter, and Online UniConverter. These apps offer basic audio extraction features without adding watermarks to the output audio files. However, it’s essential to read user reviews and verify the features and capabilities of each app before downloading to ensure it meets your needs.