.png)
.png) Français
Français .png) Deutsch
Deutsch .png) Italiano
Italiano .png) 日本語
日本語 .png) Português
Português  Español
 Setting up a home studio is the easiest until you hit one major roadblock: connecting your audio mixer to your computer. Whether you are thinking of podcasting or recording your first album, this connection turns your gear into a powerful production setup. You need to first understand the difference between amateur and professional sound, as this helps you in bridging the gap between analogue hardware and digital recordings.
This guide will walk you through everything, from why this connection matters to exactly how to do it!
Understanding Why You Need This Connection
Your mixer serves as the command centre of your audio world. It’s where your microphones, instruments, and playback devices come together and channel them into one controllable output.
Here’s why this setup matters:
- You can hear and adjust your audio live as it provides real-time monitoring.
- It helps you in clean signal management, like you can shape your sound before it hits your computer.
- You have tactile control over volume, tone, and EQ with physical knobs and faders.
Modern mixers range from compact 4-channel units perfect for solo podcasters to massive 32-channel boards capable of handling full bands. Regardless of size, they all share the same fundamental purpose: giving you tactile, immediate control over your audio landscape.
Choosing The Right Connection Method
The connection between your mixer and PC can be established in multiple ways, each offering unique benefits based on your requirements and budget. Knowing your choices helps you in making informed decisions.
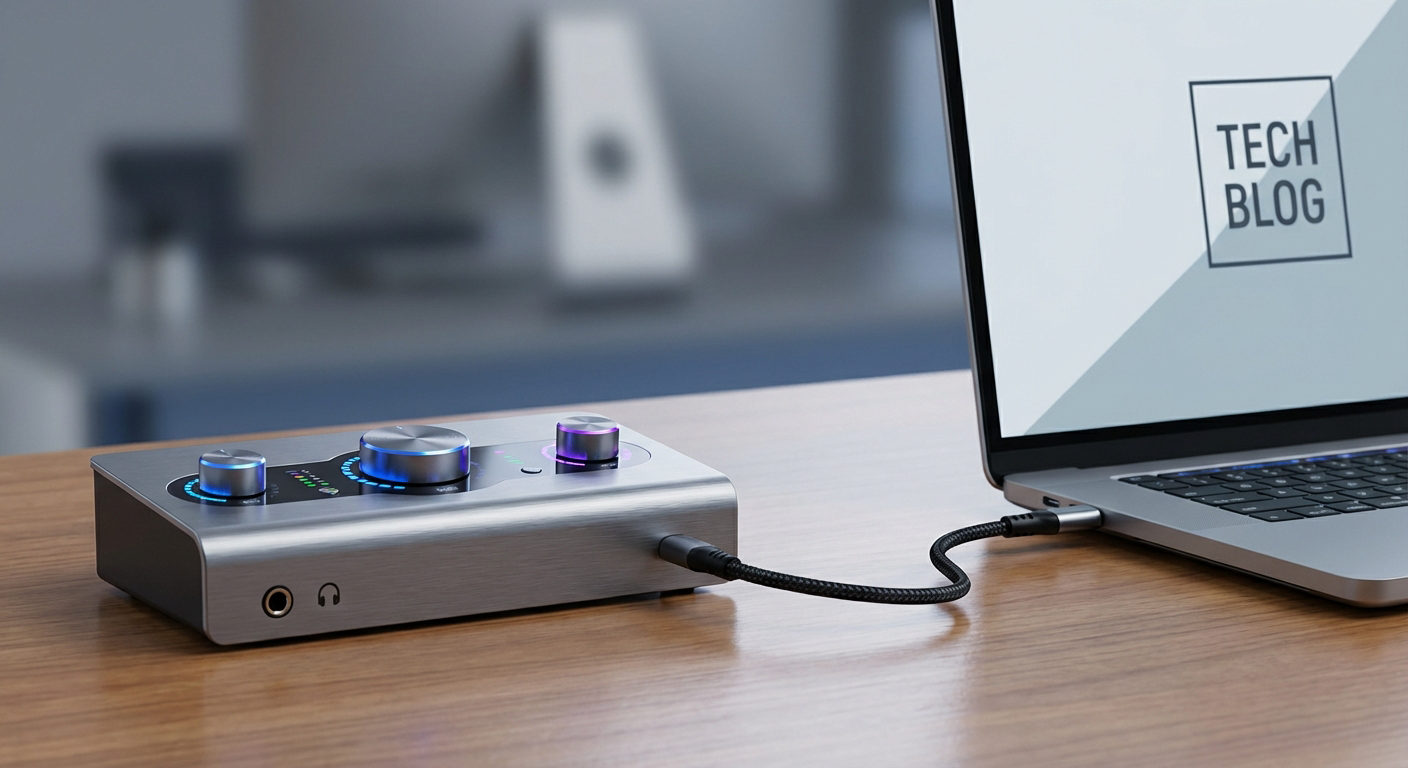
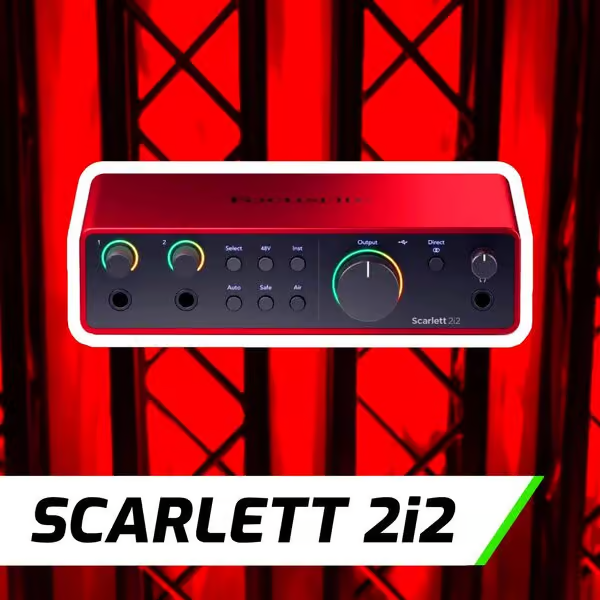
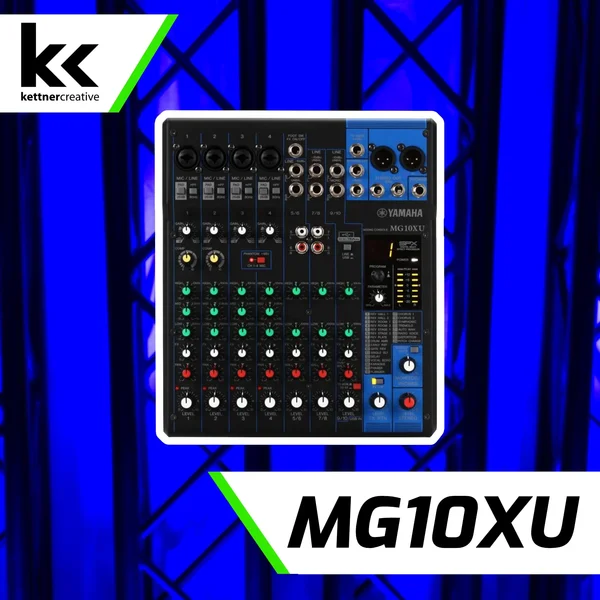
- USB Mixers- Many mixers include integrated USB audio interfaces.
Pros:
- Plug and Play
- Digital signal transmission
- Sends and receives audio via one cable
Best for: Podcasters, streamers, solo musicians
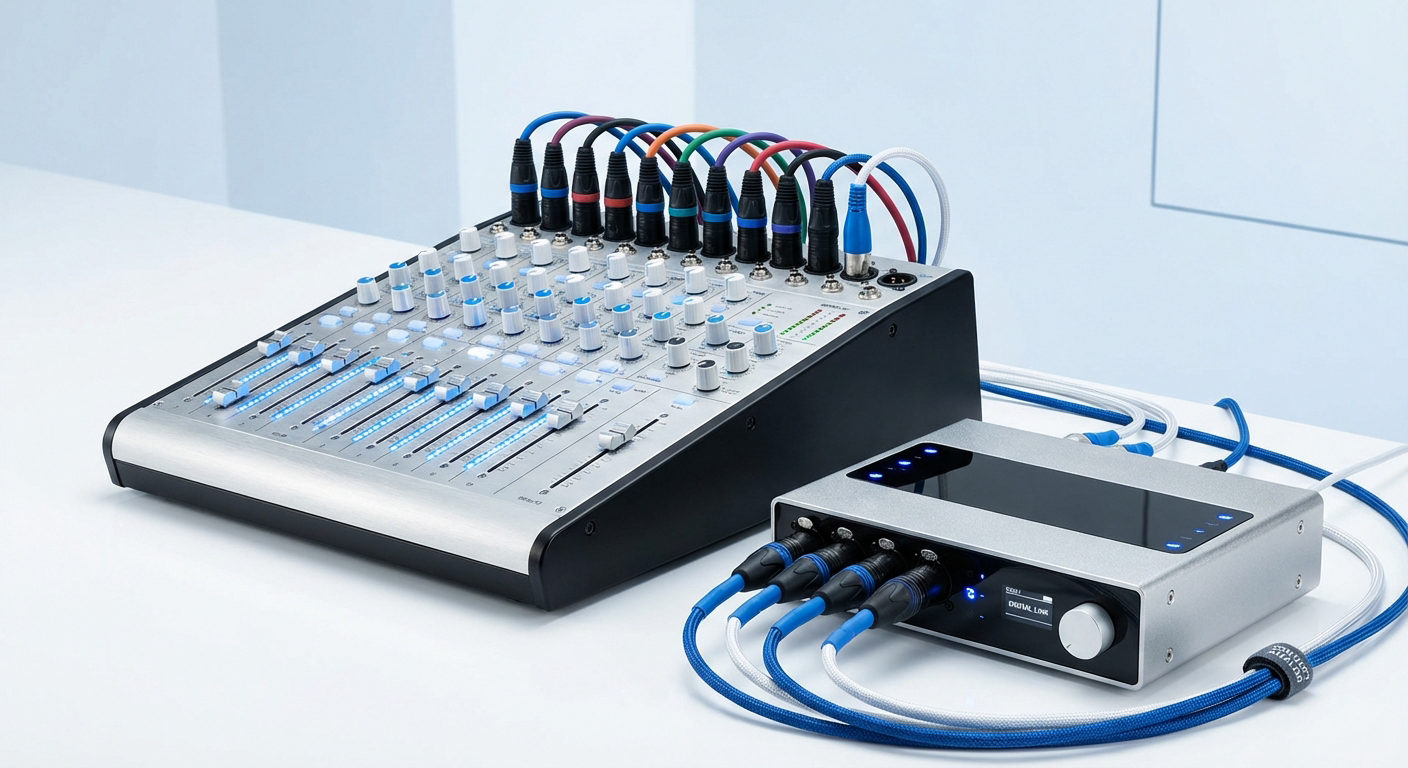
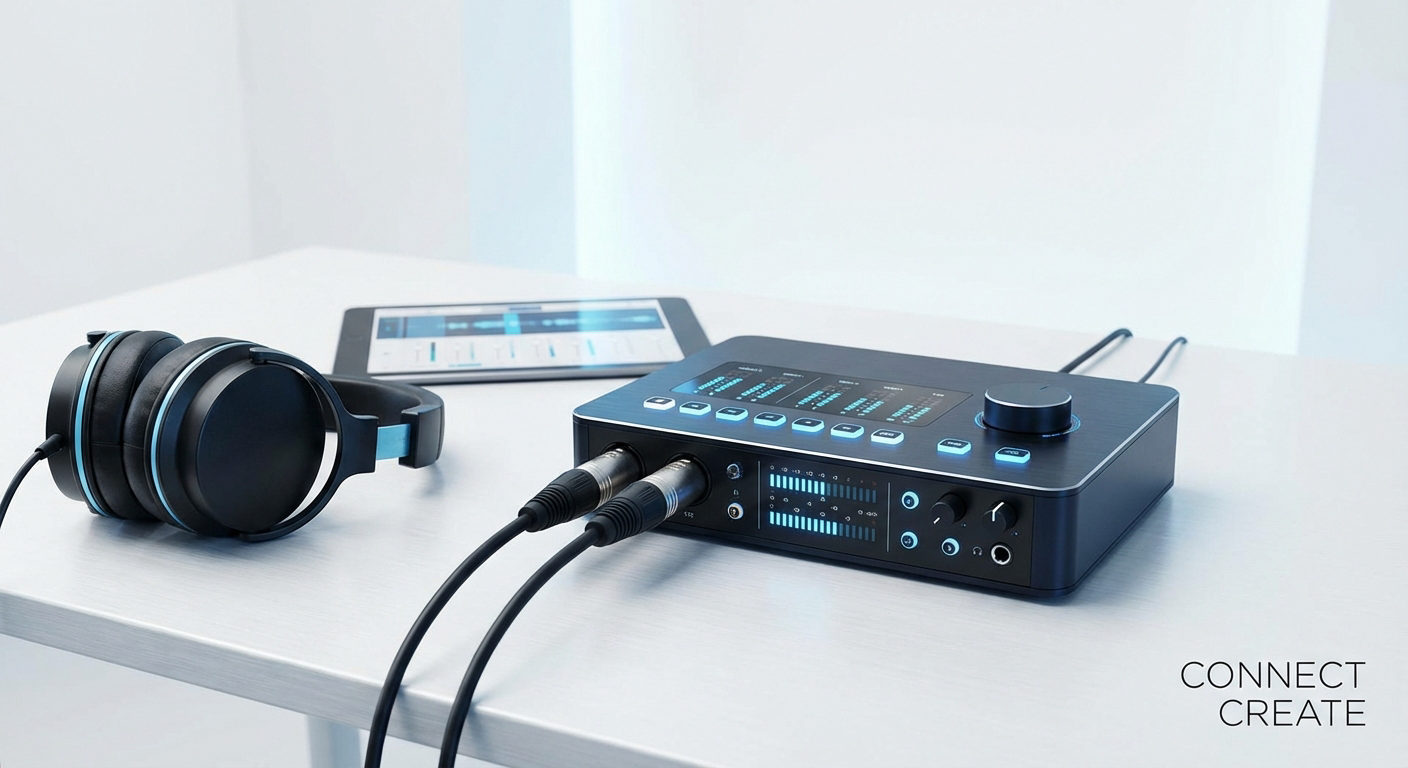
- Audio Interfaces- If your mixer doesn’t have USB, or if you want the best audio fidelity, use an external audio interface.
Pros:
- Superior sound quality and A/D conversion
- Lower latency
- Professional software support
Best for: Music producers, professional voiceover artists, bands
- Direct Analogue connection- Using your mixer’s output to connect directly into your computer’s line-in port.
Pros:
- Cost effective
- No need for extra gear
Best for: Beginners on a tight budget
Step-by-Step Setup Process
Proper setup begins before you make any connections. Taking time to prepare prevents common issues and ensures a smooth installation experience.
Step 1: Pre-Connection Preparation
To protect your equipment and prevent software errors, always set up carefully before making any connections.
- Start by shutting down your computer, mixers, and interface first.
- Have all your gears within your reach: the mixer, cables, headphones or monitors, and your computer.
- Visit your mixer or audio interface manufacturer’s website.
- Look up your specific model and download the latest drivers and control software to ensure optimal compatibility and access to advanced features.
- Organise your desk or table, lay out cables and label ports with tape if needed.

Step 2: Connect the Hardware
This step differs slightly depending on your connection type.
- USB Mixer to PC
- Locate the USB Port, usually found on the back panel,
- Plug one end of the USB cable into your mixer and the other end into an available USB port on your computer.
- Once connected, turn on the mixer before the computer as this will help your PC detect the device properly.
- Now, turn on the computer so that it can automatically detect the mixer and install the basic driver or prompt for driver installation.
- On Windows: You’ll see a “Device ready” pop-up in the system tray.
- On Mac: Open System Preferences > Sound to see the mixer listed.

- Non-USB Mixer via Audio Interface
- Identify the Mixer’s Main output, typically labelled Main out, Master Out.
- Use appropriate cables to connect the right and left inputs on the interface.
- Ensure secure connections.
- Connect your audio interface to the computer using a USB cable.
- Even if plug and play, install the manufacturer’s dedicated driver for better latency control, enhanced audio resolution and compatibility with DAWs
- Power on the mixer first, followed by the audio interface, and finally your PC.
- Analogue Connection to PC Sound Card
- Locate the Mixer’s Output
- Get an appropriate cable, as most PC line-in jacks accept 3.5mm stereo plugs.
- Plug it into the computer and remember, do not use the microphone input as this can distort the signal.
- Select Line-In as the Recording Device.
Step 3: Computer Audio Configuration
- Right-click the speaker icon in the system tray (Windows) or open System Preferences (Mac)
- Select “Open Sound settings” or navigate to Sound preferences.
- Choose a mixer from the Input device dropdown menu.
- Select the mixer from the Output device dropdown menu
- Check the input by speaking into the microphone that’s connected.
- Verify output by playing audio through the mixer speakers

Step 4: Audio Interface Setup (For Non-USB Mixers)
You must set your mixer/interface as the audio input/output in your DAW (Digital Audio Workstation)
- Connect your mixer’s main out to the audio interface’s inputs.
- Connect the interface to your computer via USB.
- Install drivers for the interface.
- Use the interface’s software to set routing options.
- Open your sound settings and select the interface for input/output.
Optimising Your Setup for Professional Results
- Avoid clipping by starting with faders down and increasing levels slowly.
- Always keep an eye on your input & output metrics.
- Use direct monitoring to eliminate latency during recording.
- Update drivers and firmware regularly from the official site.
- Keep buffer size low when recording, high when mixing.
- Disable Wi-Fi and background apps to free up system resources.
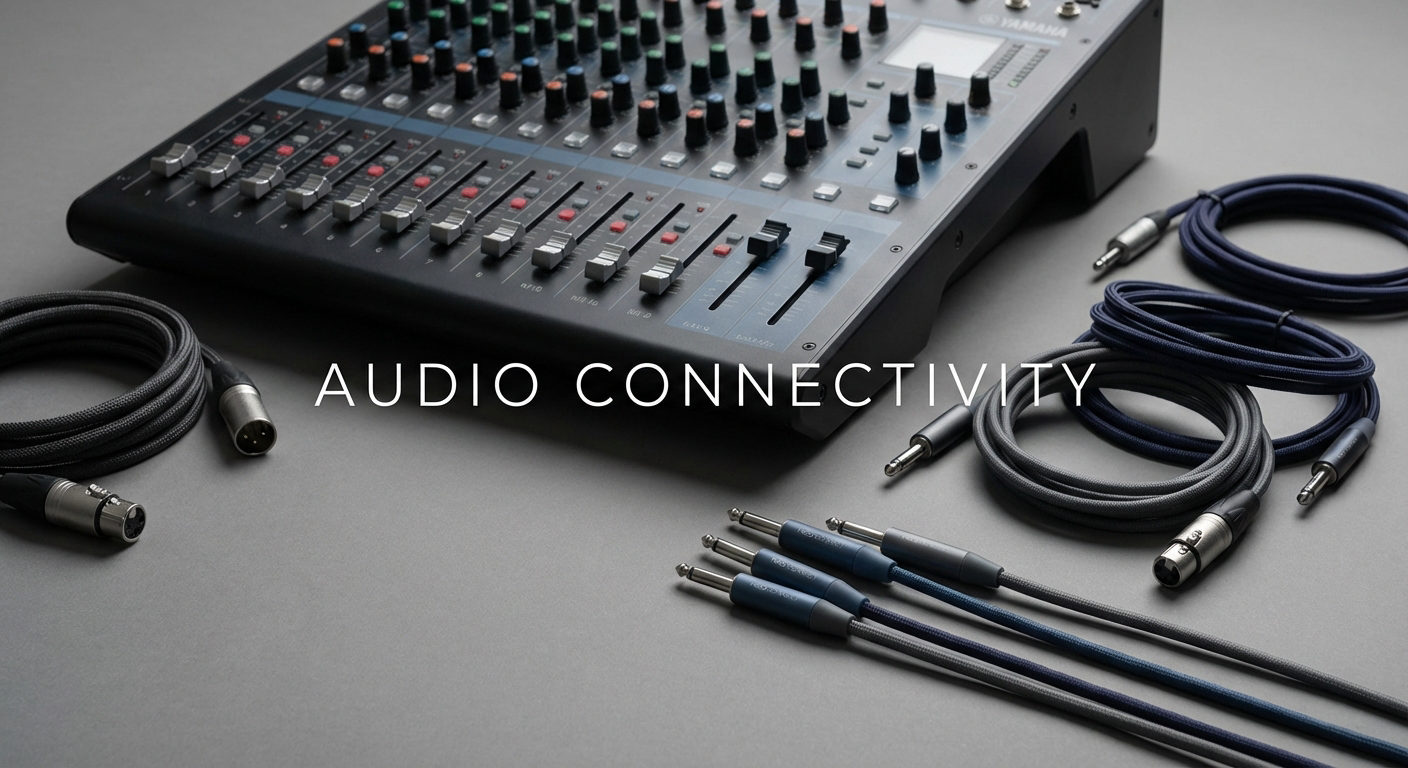
- Use high-quality, shielded cables to prevent interference.
- Don’t record in untreated rooms; use acoustic panels or blankets.
- Leave 6dB of headroom when recording to avoid digital distortion.
- Position studio monitors at ear level and in an equilateral triangle.
- Calibrate your monitors using pink noise and a reference mic if possible.
- Label and organise cables to prevent accidental disconnections.
- Set gain properly at each stage in the signal chain, don’t rely on one knob.
- Save DAW templates to preserve your best settings and routing.
- Check for ground loops if you hear hum, use isolation or DI boxes.
- Use reference tracks in the same genre to check your mix balance.
- Backup your sessions regularly to avoid losing work.
- Avoid overprocessing during tracking, record clean and process later.
Troubleshooting Common Issues
Audio Dropouts or Crackling
Switch the USB cable to a different port, preferably one directly on the motherboard. Avoid USB hubs where possible.
Free Up System Resources
Close background apps (e.g., browsers, music players) that may hog RAM or CPU during recording sessions.
Buzzing or Humming (Ground Loop Issues)
Use balanced cables (XLR or TRS), plug all gear into the same power strip, and enable ground lift if available.
Unstable Audio Performance
Ensure you’re not overloading USB bandwidth, and avoid connecting multiple high-power devices to the same bus.
Conclusion
Whether you choose USB connectivity for simplicity, audio interfaces for maximum quality, or direct connections for budget setups, the key is understanding your specific needs and following systematic setup procedures.
Remember that great audio starts with clean connections, proper gain staging, and taking time to configure your system correctly. While the initial setup might seem complex, the investment in learning these fundamentals pays off in every recording session. Your mixer-PC connection is the foundation that enables everything else in your audio journey.